Leaderboard


Popular Content
Showing content with the highest reputation on 01/07/21 in Posts
-
I am cleaning some things out. These are free and I will ship them to you. Dakiom R103 feedback stabilizers. You can look them up on the net, all sorts of reviews. These are the RCA connector ones (female RCA on one end. male RCA on the other). They go between a cd/dvd player (for example) and a receiver, between amp and preamp, etc. They are supposed to "smooth out" the sound. I think they were about $100 for the pair. I have two of these. You may claim one or both. Headphone extension cord - probably 10 ft or more. The cord is an black, umbilical cord (like an old phone land line cord). 1/4 phono plug on each end (male on one end/female on the other). Dayton/Parts Express mini headphone amp. This is not the current version they offer, but it is a digital amp, it has speaker connectors so it could work as an amp for very efficient speakers or use it for headphones. I have one of these, basically new in box - I think it was a $30+ item on sale. I am pretty sure this is the link to what I have. https://www.parts-express.com/dayton-audio-dta3116hp-class-d-mini-amplifier-with-headphone-amp-2-x-15w--300-3810 My only ask is don't claim these to simply sell them. I can do that - If you don't like them, please offer them back up here to someone else. Send me a PM me on what you want, your mailing address and give me a few days or so to get them in the mail to you. Thanks, Kevin6 points
-
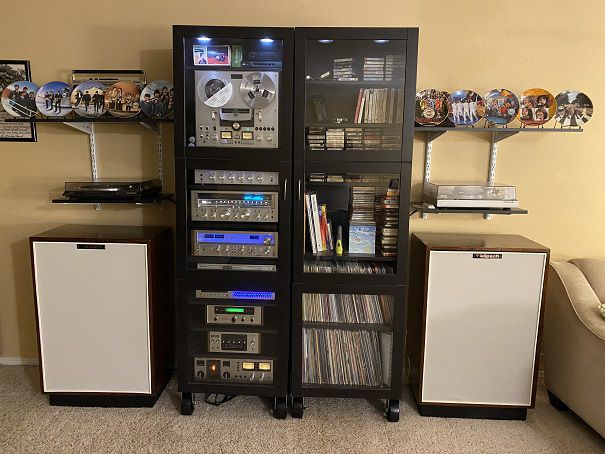
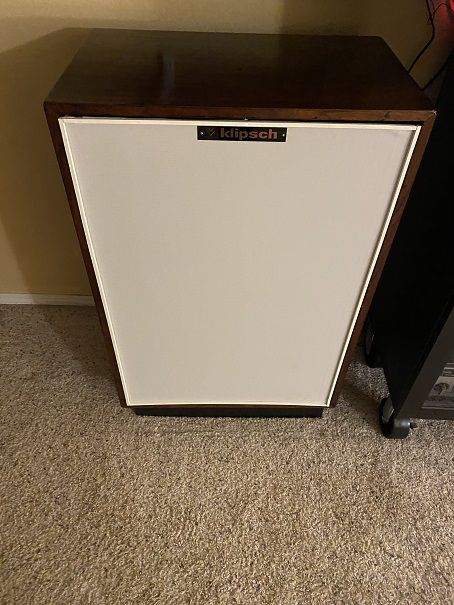
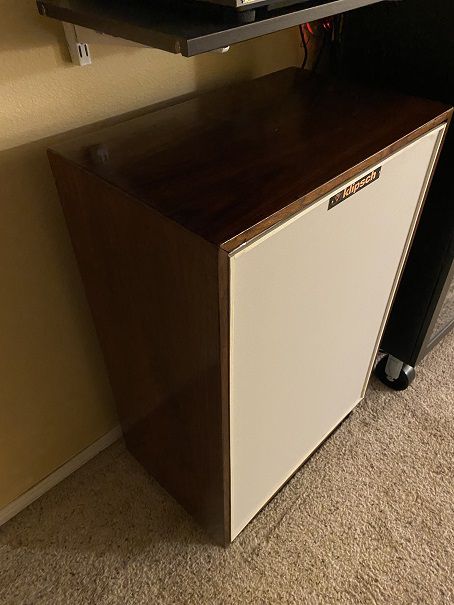
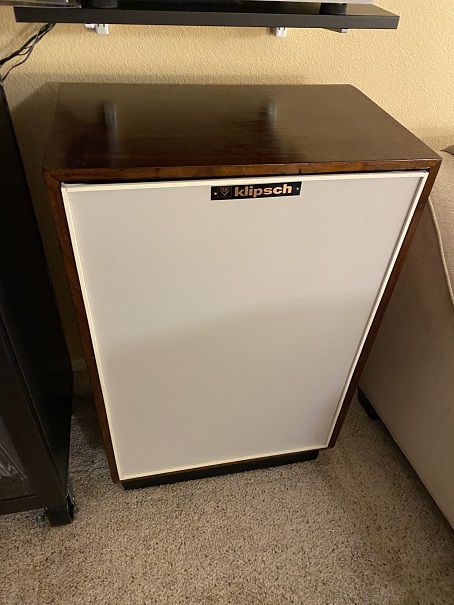
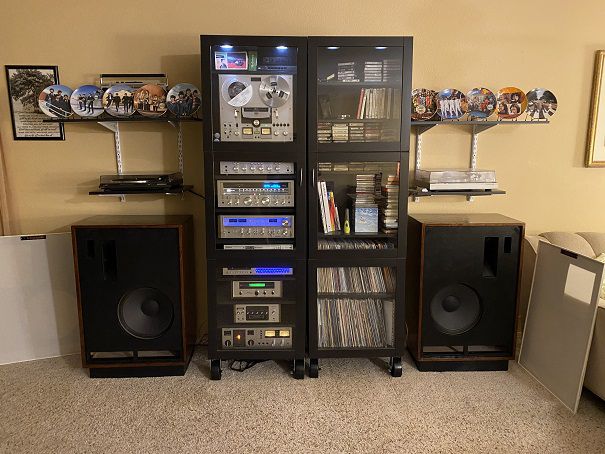
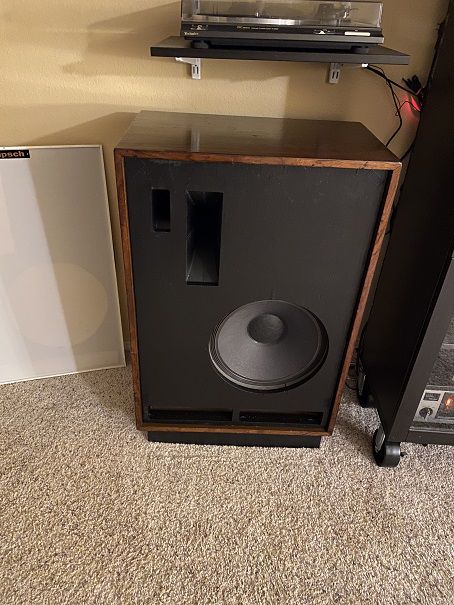
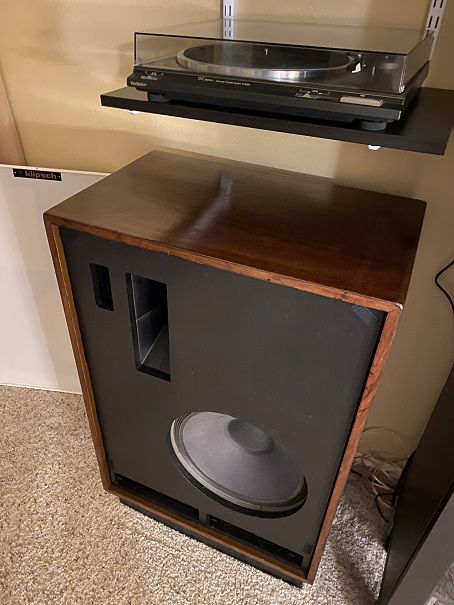
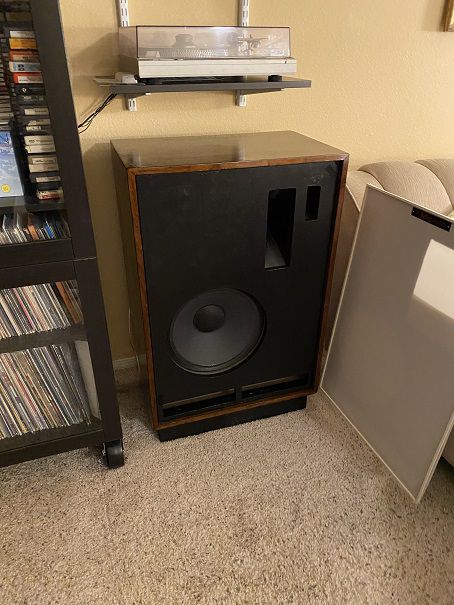
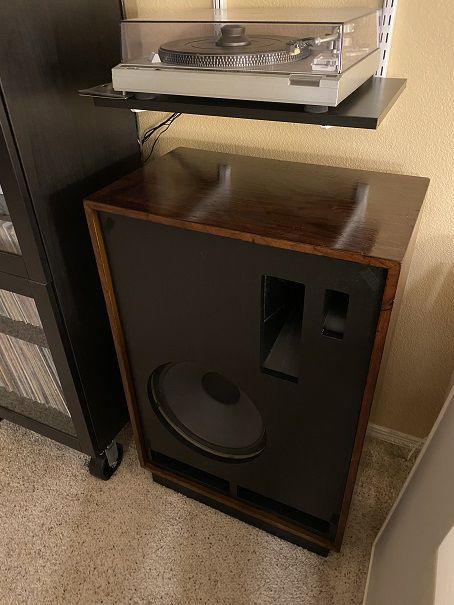
STEP 7: FINAL ASSEMBLY, TESTING, AND SUMMARY Materials Needed: - Velcro Strip 4-pak / $3.88 Home Depot - 1.5" #8 Stainless Wood Screws, Box of 50 / $4.39 Home Depot Total Cost: = $8.27 (plus tax) Time Needed: Approx. 1 hr. to install rear panels and Velcro strips; place speakers and connect speaker cables Finally, the big day is here... Went home yesterday and installed the drivers and crossover, etc. in the second speaker cabinet. Next, I installed the rear panels back on both cabinets using new stainless wood screws. I should note that ALL the screws used on the project were stainless (most of the originals were either brass / plate steel and had either rusted or corroded badly in some cases) so these fasteners should stay new looking and corrosion-free for the life of the speakers. Once the cabinets were complete, I uprighted the speakers and placed them in the approximate location I wanted them to go. Next, I installed the speaker wire cables from my system onto the rear panel terminals. Then, I cut the Velcro strips in half (to make 8 of them) and adhered 4 to each speaker motorboard. I adhered the second half of each Velcro section to the appropriate location on the inside of each speaker grille. After everything was finished, it was time to turn the system on and hear the results: My Front Room Audio System I've got 3 vintage receivers to choose from: - Pioneer SX-780 / 45 wpc - Sansui G-5700 / 75 wpc - Marantz 2230 / 30 wpc The system is wired through both an amplifier selector switchbox and a speaker selector switchbox so that I can choose any combination of receiver, media player, and speakers that I have. For media choices, I have (2) different Technics turntables (one belt driven and one direct drive); a Panasonic Pro Logic 5 - CD / DVD changer; an Akai GX-265D Reel to Reel deck; a Pioneer HR-101 8-track deck; and a Teac A-400 Dolby B /C Cassette deck. Regardless of the media / receiver combination, sound flows through a Rockville 21 - Band Equalizer and a Pioneer SW-202a Reverb Amp and then out to the speakers. For speakers, I have pared myself down to these Cornwalls and a pair of 1959 University Dean Cobreflex 12s. At one time I had 14 pairs of speakers in my Front Room (boy was that a nightmare, LOL) but I chose to keep only these 2 pairs as they were the best sounding (or had the potential to be) IMO. Anyway, enough background... here are some more Cornwall photos so you can see the finished project: With the grilles removed: Once I fired up the music, the sonic improvements vs. the original condition speakers were quite obvious. First and foremost, the entire mid-level sound profile was entirely different. The midranges now provide not only an enhanced sound throughout their range; but they also bring a more well-defined sense of 'presence' and soundstage detail that I had not heard before. The tweeters seemed to extend higher, but at the same time were a little more subtle and delicate sounding than before. I had to go back and recalibrate my EQ as the previous settings were resulting in a sonic profile that was much too bright and flashy now. The next thing I noticed was a change in the bass response and characteristics. Overall, the low frequency tones were now more sharp, less muddy and tighter. The amount of 'punch' was not only increased, but the frequency where you experience that punch seems to have dropped down by maybe 40 - 50Hz. Again, I had to adjust the lower frequencies on the EQ as this new combination of correct woofers / rebuilt crossovers / added 2.5" risers didn't seem to need as much manual assistance from the EQ settings as before. Overall, the sonic tone, soundstage, clarity, and spatial layout were noticeably improved and just a richer, more well-defined sound overall. I tested these out using a couple of Steely Dan recordings; a CD of "Can't Buy A Thrill" and an LP of "Aja". I asked my son - who has no interest or great knowledge about anything audiophile - I asked him what he thought of the new sound. His response was that when the music had a horn section, it felt like the players were standing right in the room... and he could hear different instruments coming from different parts of the room as if the band was somewhere in front of him... Cosmetically, I am quite pleased with the decisions to go with a contrasting darker walnut oil finish and the ivory grille fabric. I really like that look; also glad I painted the risers the same black as the motorboards. Grilles off, the matching risers look more 'factory' to me; grilles on, they kind of let the speaker cabinets stand out more vs. if I had finished them to match the cabinets. I think I got the level of sheen just where I wanted it to be - a nice, reflective surface that is not so glossy that it makes the wood veneer look like vinyl instead. I do think I should have went with the smaller (OEM) logo size; to me, these larger logos look a little too overstated and 'gaudy'. I may visit eBay again and buy the smaller set after all... In Summary - First, for those keeping tabs on the project metrics, here are the totals in cost and time: Total Cost for All Materials: $487.06 + $50.00 initial purchase price = $537.06 Total Labor Time for All Work Performed: Approx. 24 Labor Hours So, basically, I now have this pair of fully functional, fully restored (and pretty nice looking, IMO) 1971 Klipsch Cornwalls for a total cash outlay of a little less than $550 and 3 full workdays of sweat equity. In my case, the labor was spaced out over a period of about 4 weeks. Now, in the interest of accuracy, if someone was attempting to complete this entire project non-stop, that actual clock time would be significantly longer when you factor in the dry times for the paint and oil finishes, etc. More like maybe 72 - 80 hours of clock time when you include non-labor items like drying times. So how do I feel about this whole project? Well, again I want to emphasize that I am NOT a 'professional' cabinetmaker / carpenter, painter, furniture finisher, or electronics guy. I honestly feel that if I could do this successfully - most anyone else could. I would say that there is a bit of patience needed on things like the cabinet refinish; you definitely don't want to rush that. But, overall, the skill level I would say that was needed for this project was "moderate"... if you know your way around basic hand and electric tools, if you have ever painted anything like a room in your home, if you understand simple electrical concepts like polarity and if you have ever used a soldering iron... YOU can do this.
 5 points
 -
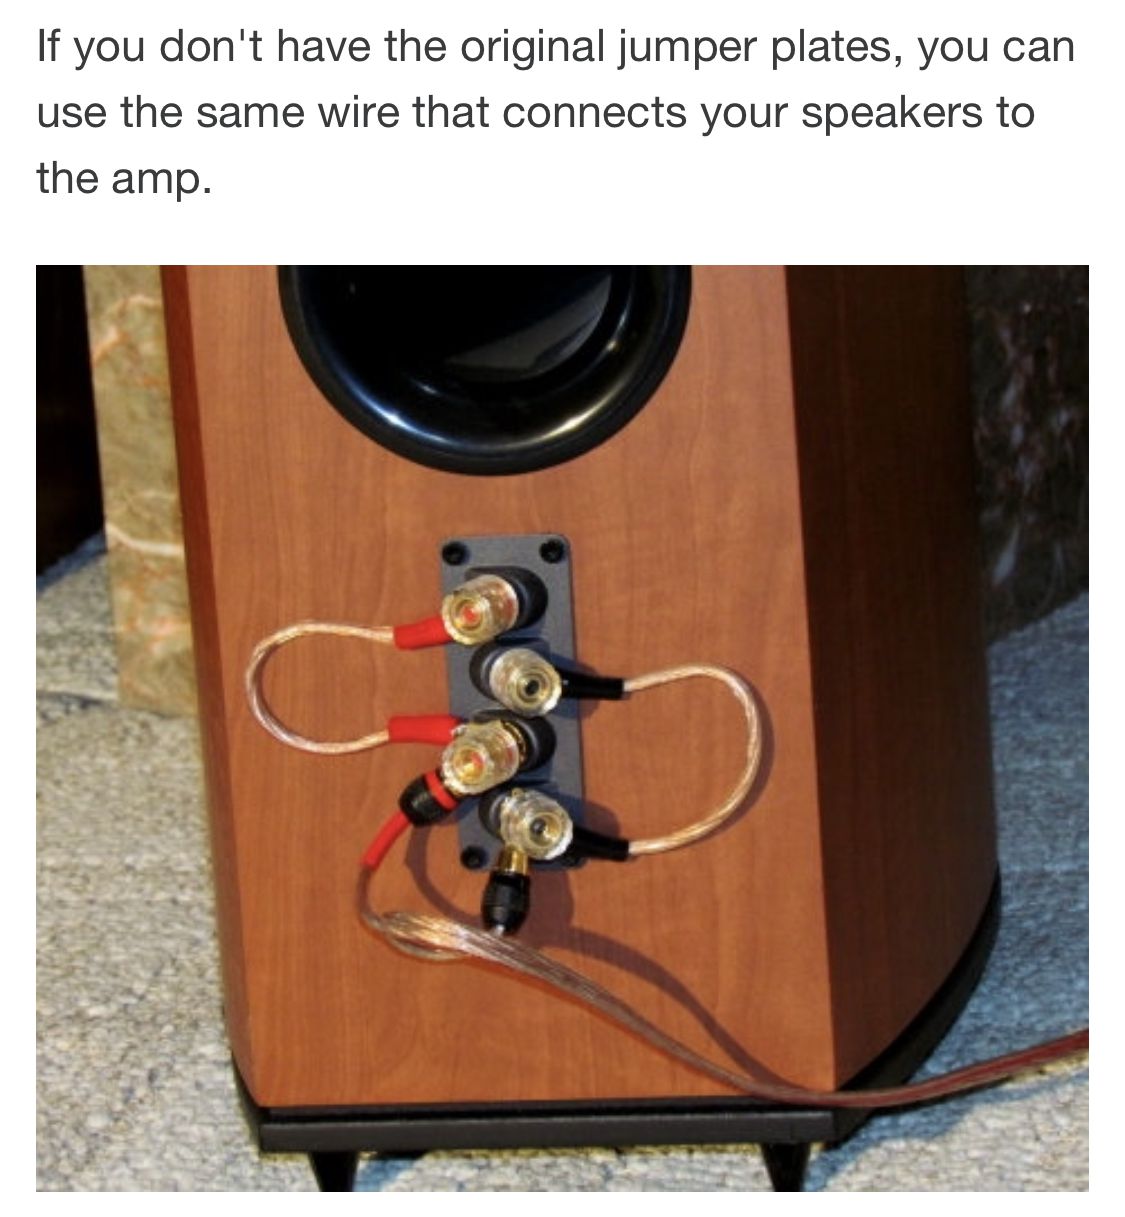
One more time.....you HAVE to look at the network as a system. It provides a voltage transfer curve to the drivers in order to maintain the original frequency response curve. Changing a component of the system requires that the voltage transfer curve be checked. If it has changed then the original intent of the frequency response curve has changed and would require that the value of other components , including the cap be changed in order to get the original voltage transfer curve. Changing caps arbitrarily without checking the voltage curve is like equalization. Of course some caps are better for audio signals but once the choice is made For the cap and other components and the network is designed around those components that give the desired voltage transfer curve, changing one of those at random will NOT guarantee that you have the correct voltage curve.5 points
-
I updated all the caps in my Ver1. CF-4’s with the ClarityCap PX and the ClarityCap ESA series. The resistors were updated with Mills. The results were like taking a blanket off of the speakers.4 points
-
Couldn't get in till Wednesday. On start up the "engine malfunction" message was gone and it ran smoothly. A picture of the engine was still lit so I took it in anyway. They checked the codes and said the same as before "2 leaking injectors". Told them that I had used Textron twice and the light disappeared. Tech said it was not a cleanliness problem rather a mechanical one. So he cleared the codes and said he was willing to "kick the can down the road" and see what happens. No charge.4 points
-
4 points
-
Former King Crimson bass player Peter Giles teamed up with Ian McDonald a multi instrumentalist in a short lived band - only releasing this one album in the psychedelic/ Prog genre Peter Giles was replaced with Greg Lake to join the newly formed King Crimson by Robert Fripp and brother Michael Giles but joining King Crimson as a guest artist on the record In The Wake Of Poseidon Artist - McDonald and Giles Title - Self Album ID - https://www.discogs.com/McDonald-And-Giles-McDonald-And-Giles/release/20256834 points
-
wore this shirt one night when in Lake Tahoe. walking through the casinos and people were giving me high fives they liked it so much.4 points
-
Loose nut behind the wheel.3 points
-
@mustang_flht - First time for me and this band I just searched out and listened to a song that sounded interesting3 points
-
I have no idea who the guy in my picture is, but thought the shirt was funny.
3 points
-
why I like session musicians ... because they're good. my man louie Shelton was one of the best.3 points
-
When Frank was out I was totally out! lol Dude on the left! hahaha Gonna hit it Steve. I know the phones gonna ring early in the morning. Ugh. Peace out!3 points
-
knew the guy on the left ... never met frank but the three of us share a few things in common.3 points
-
I have to somewhat agree. I think they have decent bass. I played my La Scalas for a few years in different positions and rooms and was completely happy with them. Thrilled, even. Moved by them. Excellent imaging. I love how quick and tight the bass is. Fantastic mids and highs. Or so I thought... I tried a little experiment with 2 subs I had on hand and guess what? They are still in use 99.9% of the time with my La Scalas. I never thought they could sound better, but the subs take them to another level. Sent from my iPhone using Tapatalk3 points
-
Yes, and it's about time, this has been needed for a long time. Maby even a second volume eventually, there is enough story/history to do it. The story needs to stay alive, it could easily die-off as time passes. Honestly it's the reason we try to help the museum.3 points
-
No. If there was, Klipsch and everyone else with LaScalas would have already done it. It's the physical limitations of its folded horn.3 points
-
That's funny, I have this one which fits the way I feel most days.
3 points
-
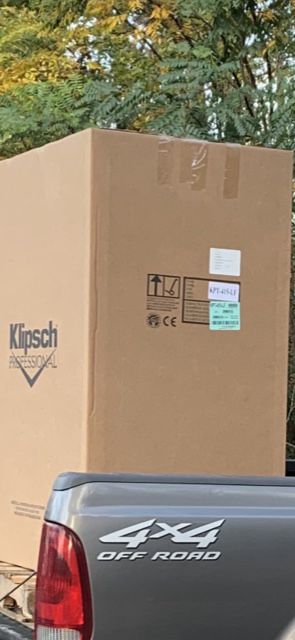
KPT-415’s
3 points
-
Now a little live music Song selection on this album is both newer work and old favourites Artist - King Crimson Title - Live At The Orpheum Album ID - https://www.discogs.com/King-Crimson-Live-At-The-Orpheum/release/74188653 points
-
Just had to say it. Over the last few days I have been getting my '80 KHorns back in stock configuration in order to list them for sale. Last night I completed the task. Got them tucked back into really the only two good corners in my basement rec. room. Hooked them up with one of the Crown D75 amps that I modded a while back. Ran cables from my mixing desk across the floor to the amp(not elegant but functional). Hooked speakers up with relatively short cable runs........ MAN-O-MAN do these things sound good...40 year old non modified crossovers and all.. Absolutely no problem being pleased to offer these for sale to a new owner to enjoy....For another 40 years. THANK YOU PAUL W. KLIPSCH2 points
-
Well my 2014 Dell XPS 8700's HDD took a dump over the weekend so I was in the market for a new home computer but decided to save $700.00 to $800.00 and just fix what I have. I figured that I would add more RAM, went from 8gb to 24gb, and replace the HDD with a 500gb Samsung 860 EVO SSD and be set. Full diagnostic done on the processor(i7 4th generation) and video card(NVIDIA 645) with a clean bill of health and this thing is better than new. Did I say FAST? Total $$$ spent, $140.00. Bill2 points
-
We have been fortunate that only one of our approximately 1200 clients has passed away from Covid-19. At least one staff member and her husband have passed away. We've had numerous active cases, but the've come through ok. Testing has been a nightmare to pull off. Our department (IT) has been stretched as more staff had to work remotely. Network infrastructure could sure use an overhaul, pushed to the limits on bandwidth. It's help that most of the city had gigabit to most all businesses and homes.2 points
-
2 points
-
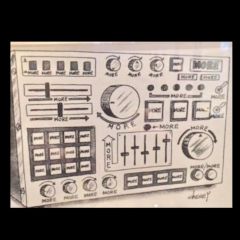
Like this?
2 points
-
I think you've really done a great job. Congratulations . It has given me pleasure to accompany your project from the beginning. Have much joy with your 1971 vintage Klipsch CW's.2 points
-
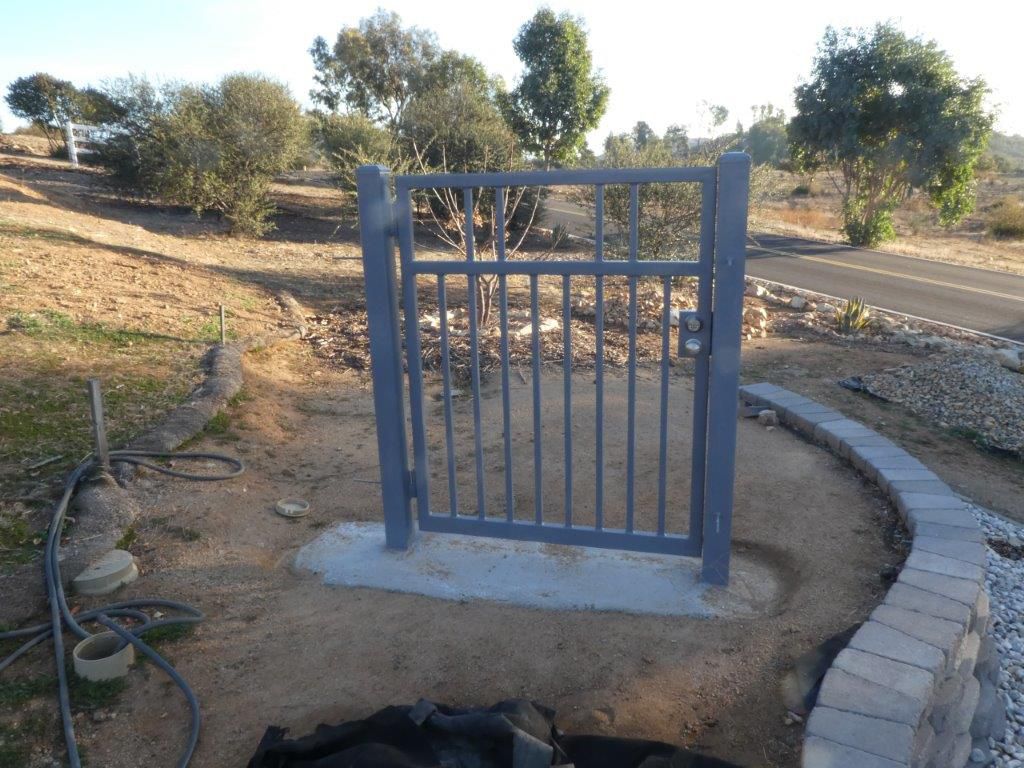
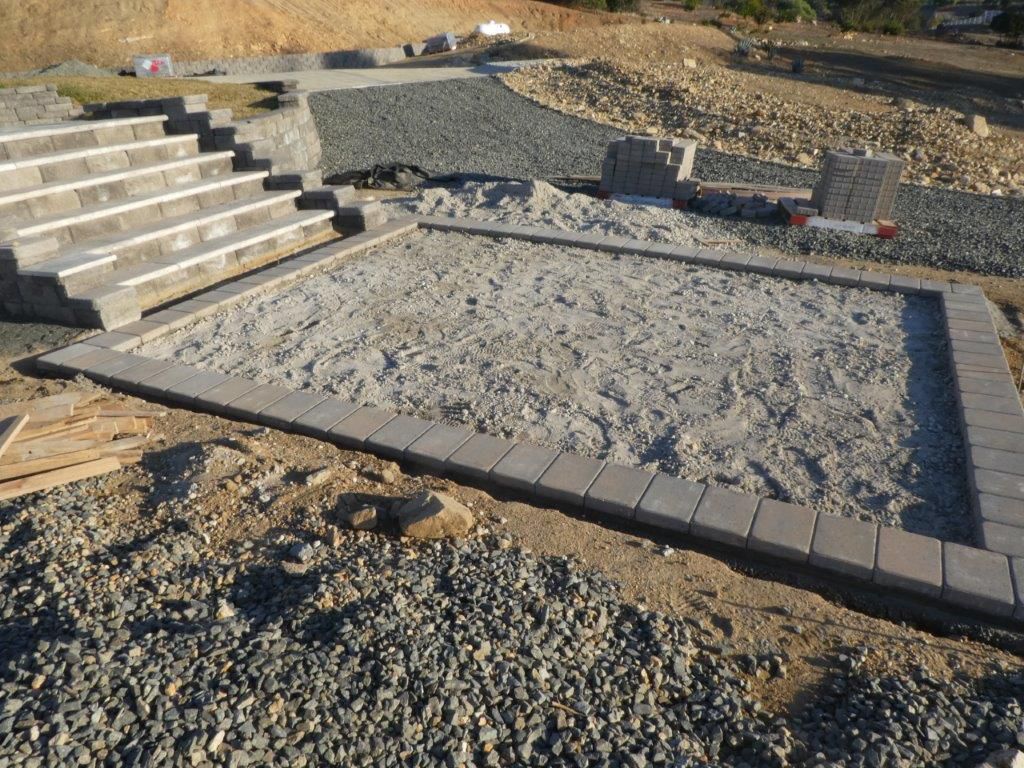
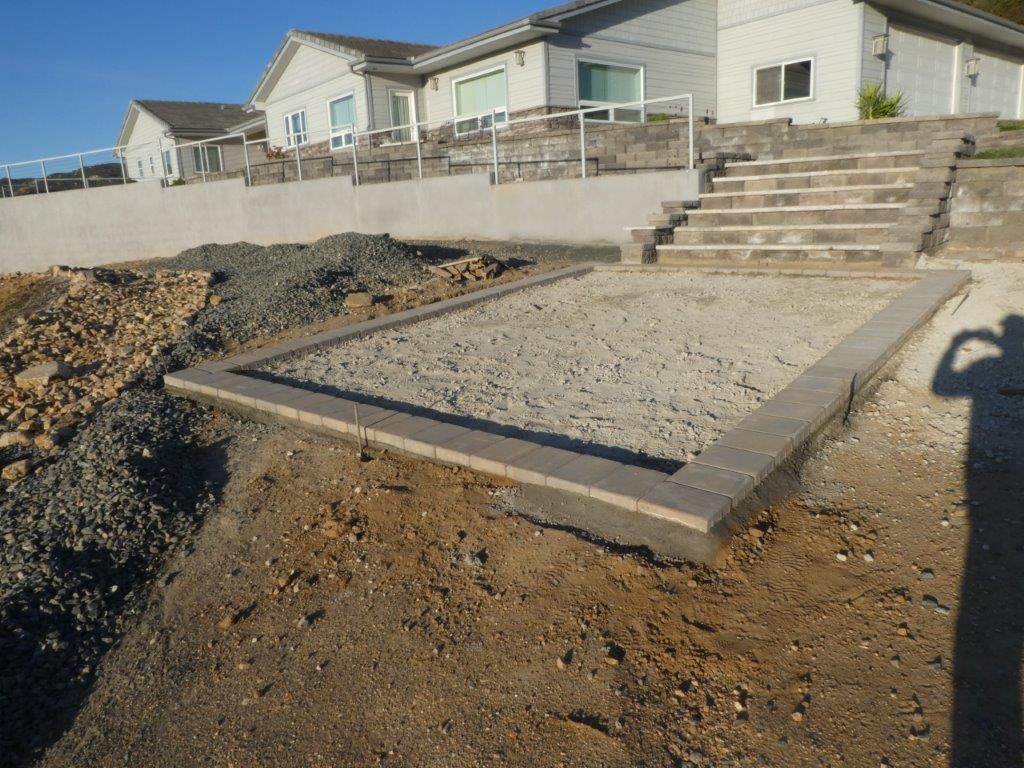
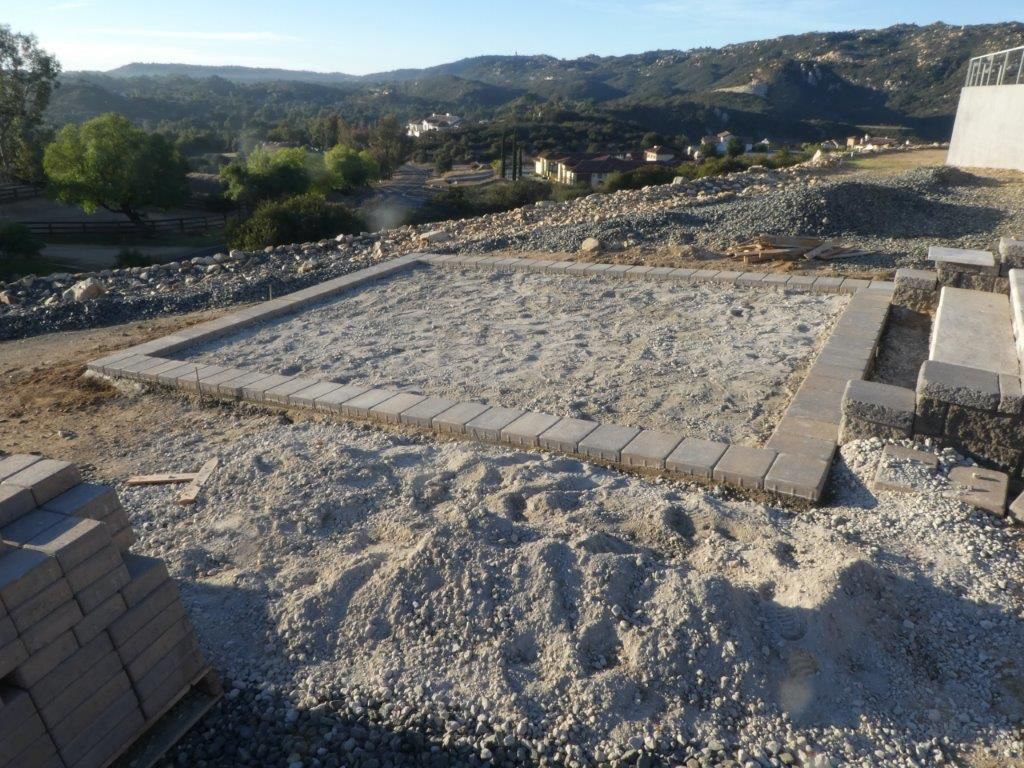
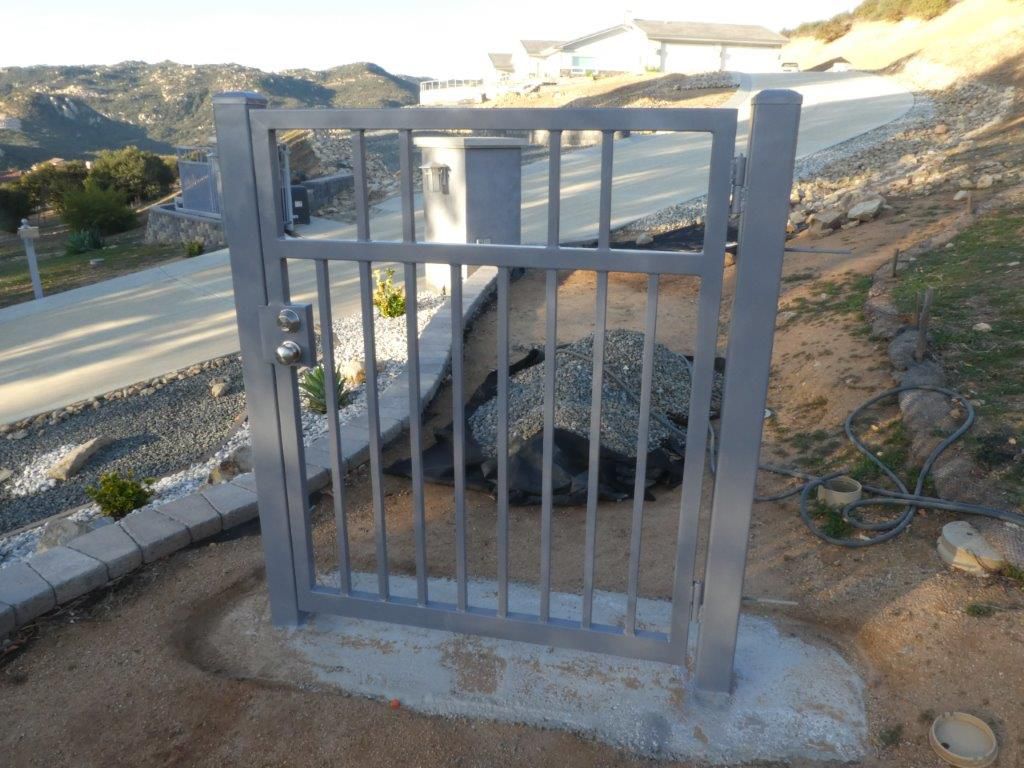
Man Gate completed. And paver "landing area" started. Thought it would nice to have a small area in front of steps to the house that is not just gravel, so that ladies don't have to walk in gravel. To heck with the guys, after they drop off the ladies and park they can deal with the gravel And the man gate will make more sense when the fence butts up to it, you'll see.
2 points
-
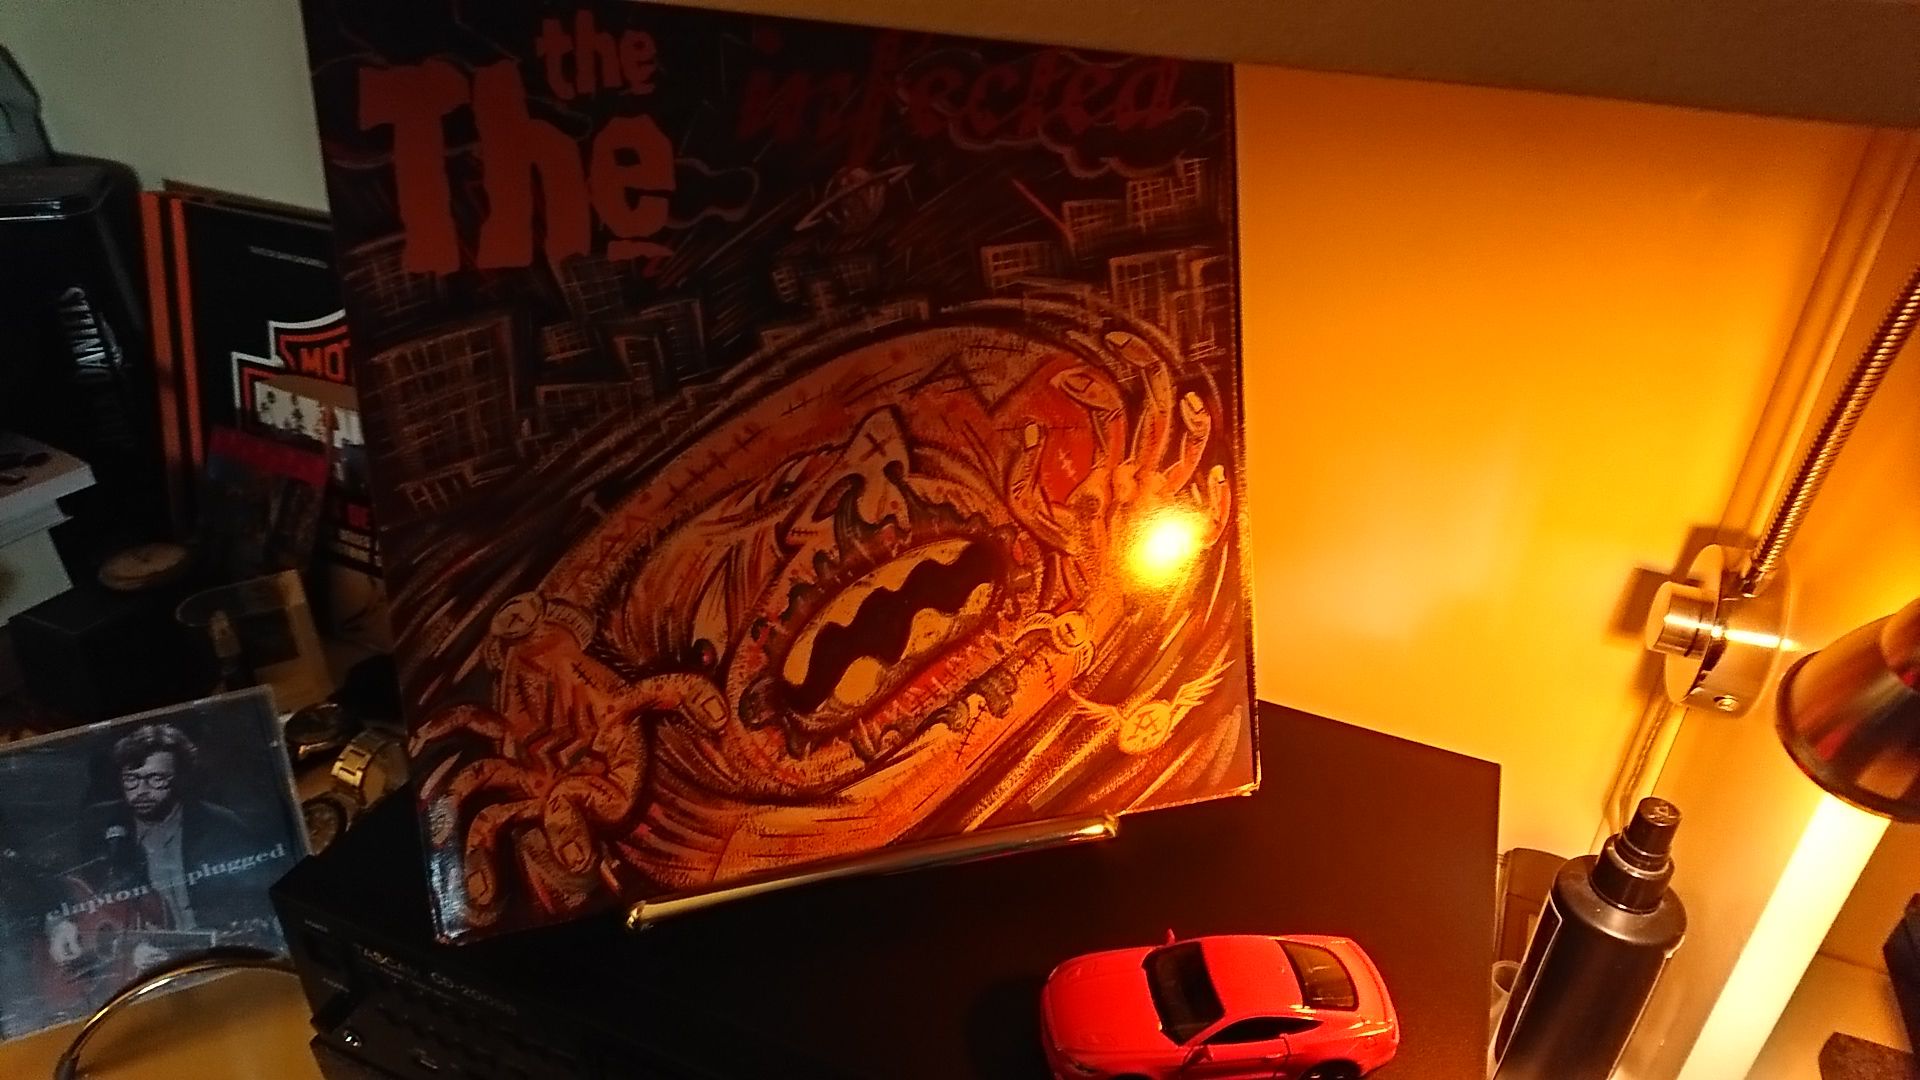
Discovered the THE at a cool night club here in the 80s called the Pterodactyl. Anything went on at that place and actually the cliques were not easy to spot at first. Nice to see others posting them on here!2 points
-
All items have now been claimed. Thanks, Kevin2 points
-
For something a little different. This song comes up often on a Pandora station of mine. A little east meets west.2 points
-
Yes Sir, straight from Hope, Arkansas.2 points
-
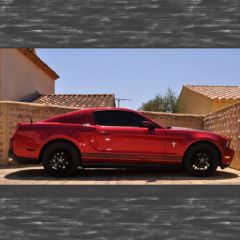
very low mileage car , slightly above 30k miles , for a 9 year old car , less than 3k miles per year , fo that kind of mileage , you gotta drive it , open the engine wide , let her rip , you dont , it gunks up ---2 points
-
Steve, the biggest difference, to me, is that the bass is cleaner on the Lascala and the mid bass punch is more tactile. The Cornwall goes lower but I prefer to use a sub with my Lascalas and LSI's so that's not an issue that bothers me. The Lascala is horn loaded down to 100Hz then acts like a direct radiator firing through a small slot below that. That's why many including myself use a sub with them.2 points
-
Let's back up. I installed the two sticks of RAM(20 seconds of effort), my buddy did the rest. Bill2 points
-
75 years now Fixed it for you 😀 Congrats Eric, nice speakers.2 points
-
an oldie but a goodie ...2 points
-
Hmmmmm, food for thought anyway!2 points
-
and as a kid, it was an honor when they'd let me turn the spits. of course, the adults would argue about which wood is acceptable; but white oak always won. charcoal briquettes were never used. that generation had all died off ... but there are a few of us that still try to keep the old tradition alive. I have a few of the spit rods that my uncle made (he was a metal worker by trade). they're about four foot long and you can put a lot of meat on those things.2 points
-
2 points
-
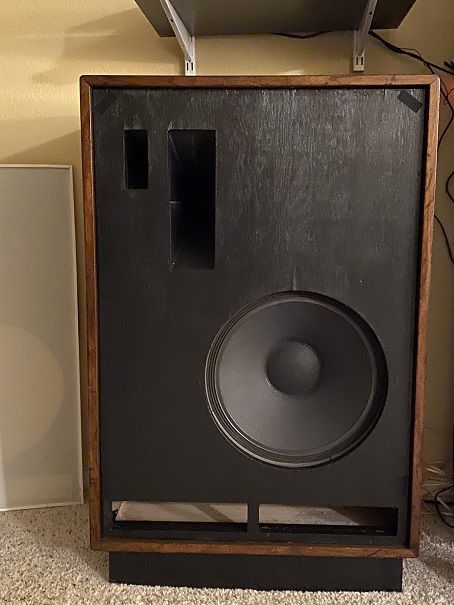
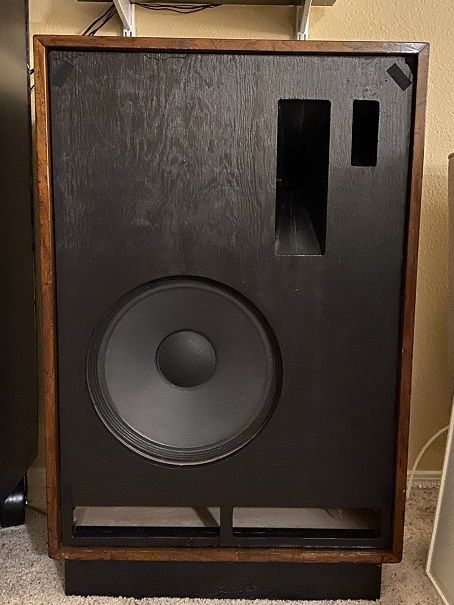
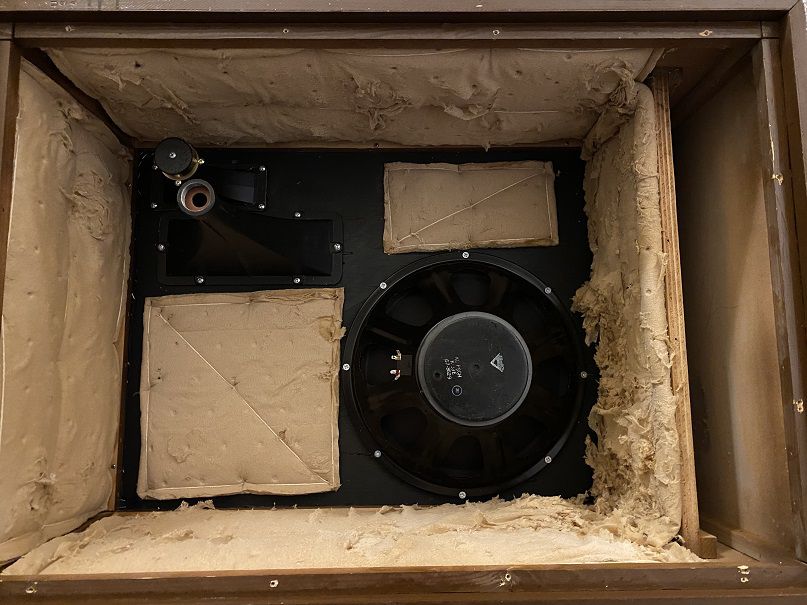
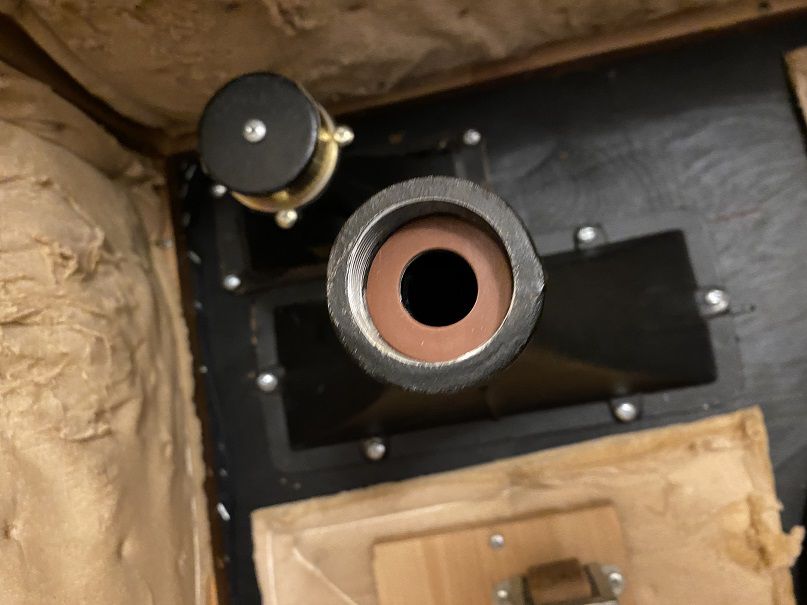
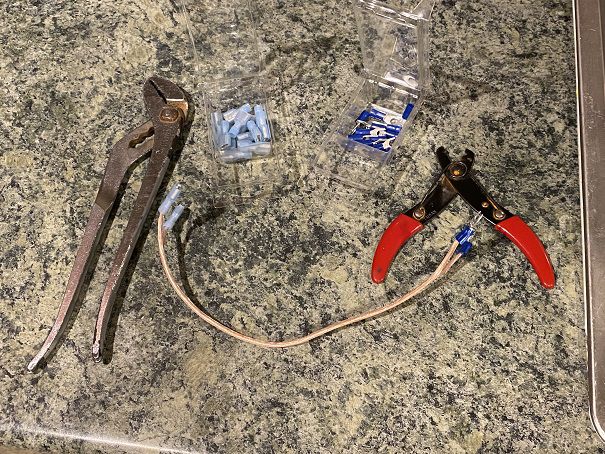
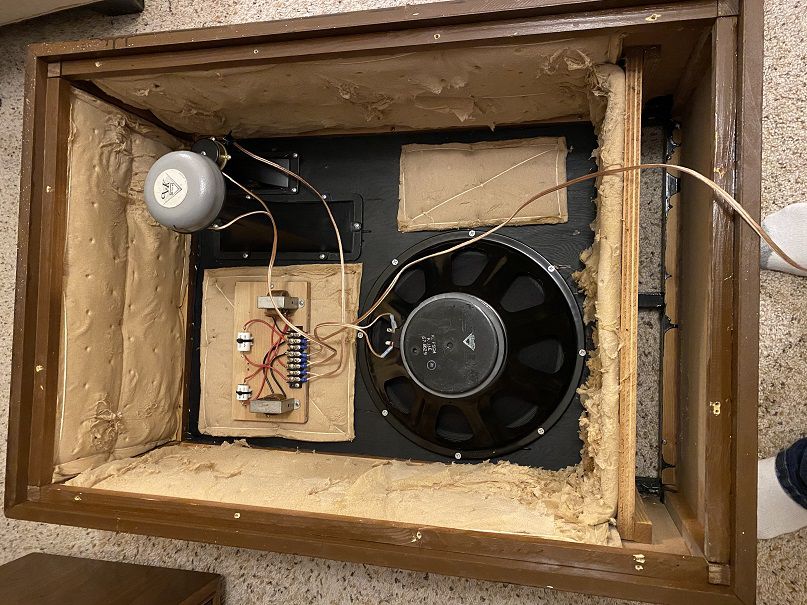
STEP 6: DRIVER INSTALLATION AND WIRING Materials Needed: - (2) Klipsch model K-33 15" Woofers / eBay $259.27 (total for both, including shipping) - 10 linear feet of Monster #14 gauge speaker wire @ $0.17 / ft / Best Buy $1.70 - #10/12 size spade terminal ends, Box of 20 / Home Depot $2.49 - #10/12 size slide terminal ends, Box of 12 / Home Depot $2.88 - #10 size 1.25" wood screws, Box of 50 / Home Depot $3.99 - (2) Midrange horn gaskets @ $1 ea. / Bob Crites $2.00 Total Cost: = $272.33 Time Needed: Approx. 1 hr. per speaker (2 hrs. total) to install drivers / crossover / complete wiring installation Now we are coming to the fun part - finishing up and testing these out... I have to say, as I was going through the installation of the drivers, etc. last night, I stopped to think about how (overall) relatively easy and problem - free this entire project has been so far. Yes, it has taken some money - although I think less than I initially thought - and yes, taken some time... but really it has gone pretty smoothly so far. And I am pleasantly surprised by how "un - DIY" things are looking up to now. I mean, I know I could have paid a seasoned pro on things like the cabinet refinish - but the end product isn't going to scream "DIY garage project" to anyone who sees it. Feeling somewhat proud of the effort at this point. And honestly, for me, I think the biggest change in MY attitude while working on this was to allow for time and patience... I tend to be one of those guys who sometimes rushed through a project; and sometimes with sloppier than expected results. Not this time. Anyway, I proceeded to install the drivers and crossovers back into the cabinets. A few tips: 1) Place the cabinet on the floor face down. If you have a hardwood floor put a towel or something soft between the speaker face and the flooring (I have carpeting, so no worries there). MUCH easier to install the drivers without having to hold them up (and perpendicular) against the motorboard while getting those first few screws tightened; 2) Install ALL the screws per driver loosely, then go back and tighten them all. This avoids misaligning the driver mount openings with some of the screw holes in the motorboard; 3) Install the midrange driver after you have already attached the horn to the motorboard (don't forget the gasket!); 4) Go with a screw size 1 size larger than what was previously installed. This will ensure the new screws attach firmly, even if some of the original screw holes are a little stripped out; 5) Check the length of your screws against the combined depth of the driver mount and the motorboard to avoid screwing all the way through to the face of the speaker. I originally thought 1.5" screws would work, but when I measured the screw would have protruded out the front face by about 1/8 of an inch. So I went with 1.25" screws instead; 6) Pay attention to the location of the "+" and "-" terminals on your drivers. Once installed, it may not be so easy to tell which one is which. All drivers installed Don't forget the midrange gasket! Measure out the cabling from the crossover to each driver. include an extra inch or 2, so that the cables are not tight or pulling at the terminal ends. You could solder the ends to each driver if you wanted; I went with slide terminals to allow for easy removal should it ever be needed. For the crossover ends, I used spade terminals because that was what the original wiring used One speaker all finished and ready to close back up Last night I finished 1 speaker. Tonight (hopefully) I will finish the other... and then it's time for the Big Test (!!!)
2 points
-
Consider this: The 2017 Freshman class at Alabama has had 5 Heisman vote getters: 1. Devanta Smith 2020 winner 2. Tua Tagovailoa 2019 runner up 3. Mack Jones 2020 5 Nagee Harris 20202 points
-
2 points
-
Something experimental today and the development of frippertronics after Brian Eno showed Robert Fripp his tape looping system A wonderful collaboration by 2 brilliant musicians Artist - Fripp & Eno Title - No Pussyfooting Album ID - https://www.discogs.com/Fripp-Eno-No-Pussyfooting/release/73866372 points
-
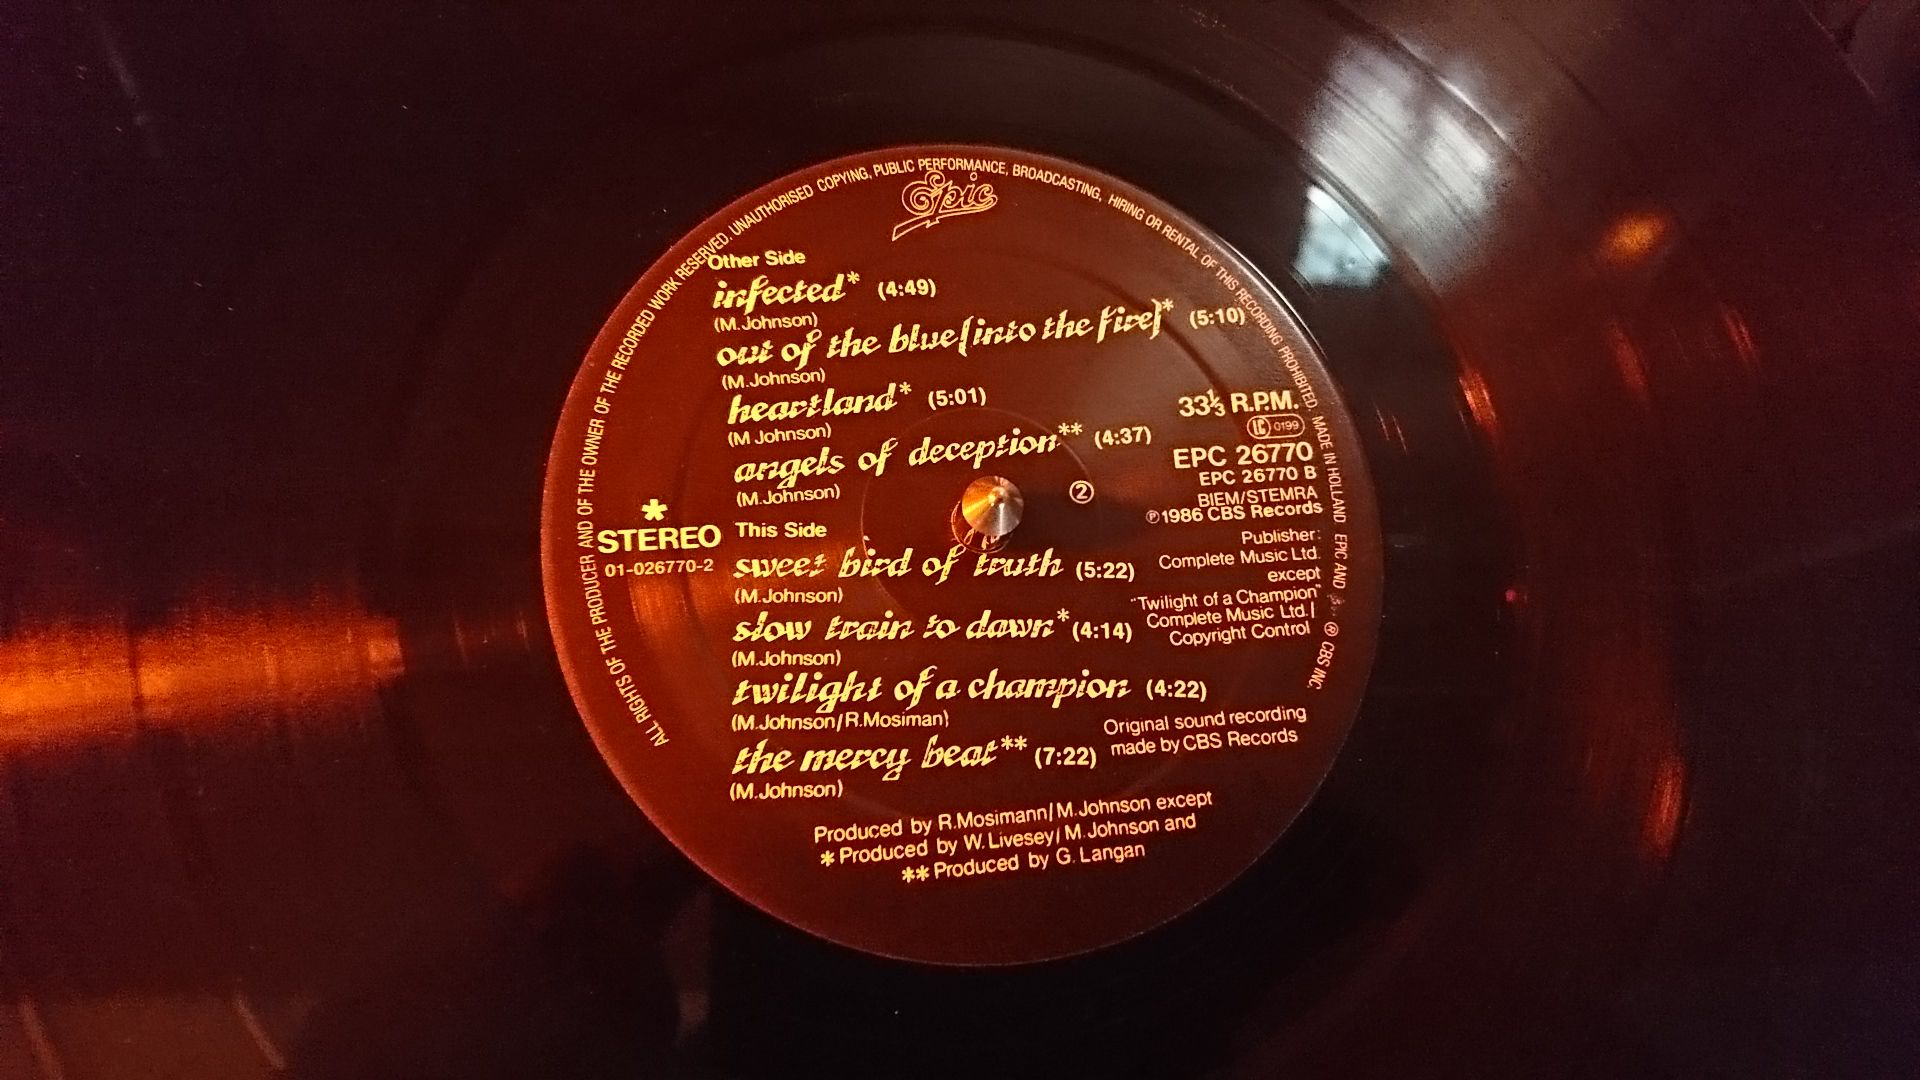
The The2 points
-
So I purchased another pressing of Santana Abraxas just to see if it’s as good or better than my current 1970 Australian pressing It’s a Japan quadraphonic pressing Artist - Santana Title - Abraxas Album ID - https://www.discogs.com/Santana-Abraxas/release/28391972 points
-
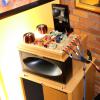
Lampizator Pacific Got it today , sounds really good2 points