Chorus1 Fan
-
Posts
142 -
Joined
-
Last visited
-
Days Won
1
Content Type
Forums
Events
Gallery
Everything posted by Chorus1 Fan
-
ZZ Top: "Fool for Your Stockings" (best recording is found on "One foot in the Blues") Pat Donohue: "The Road to Kingdom Come" Police: "Murder by Numbers" Dire Straits: "Six Blade Knife" Los Lobos: "Kiko & the Lavendar Moon" Steve Winwood: "Higher Love" Pink Floyd: "Time" Thin Lizzy: "Cowboy Song" KD Lang: "Constant Craving" Tracy Chapman: "Fast Car" Cowboy Junkies: "Sweet Jane" John Secada: "Just Another Day" Shannon: "Let the Music Play" Ace of Base: "All that She Wants" Copeland: "Fanfare for the Common Man" Pachelbel: "Kanon" (On
-
Cool, & thanks! I would say don't expect a huge increase in bass, just a better, solid low end (depending on the recording) In my case, I used a cd bass freq "test tone" cd & did before/after testing. Before, anything below the 45hz note was barely audible. After, the dropoff moved down to 39hz - 38hz range.
-
Looks great, did you consider doing the "port mod" ?
-
I think those who say that must mean 100w via a modern a/v reciever. I say try your Onkyo 1st, then decide. I have a 70w Luxman (R-115) pushing my Chorus 1's & with the volume at about "10 o'clock" things start falling off shelves & my chest feels like CPR has started ! (& 0 distortion)
-
https://www.facebook.com/marketplace/item/1912674878890428/ No affiliation

-
Keep an eye out for a Luxman R-115. Power specs are underrated, (brochure says 70w, testing says 85w). It & it's more expensive big brother (R-117) sound "warm" & go GREAT with older Klipsch.
-
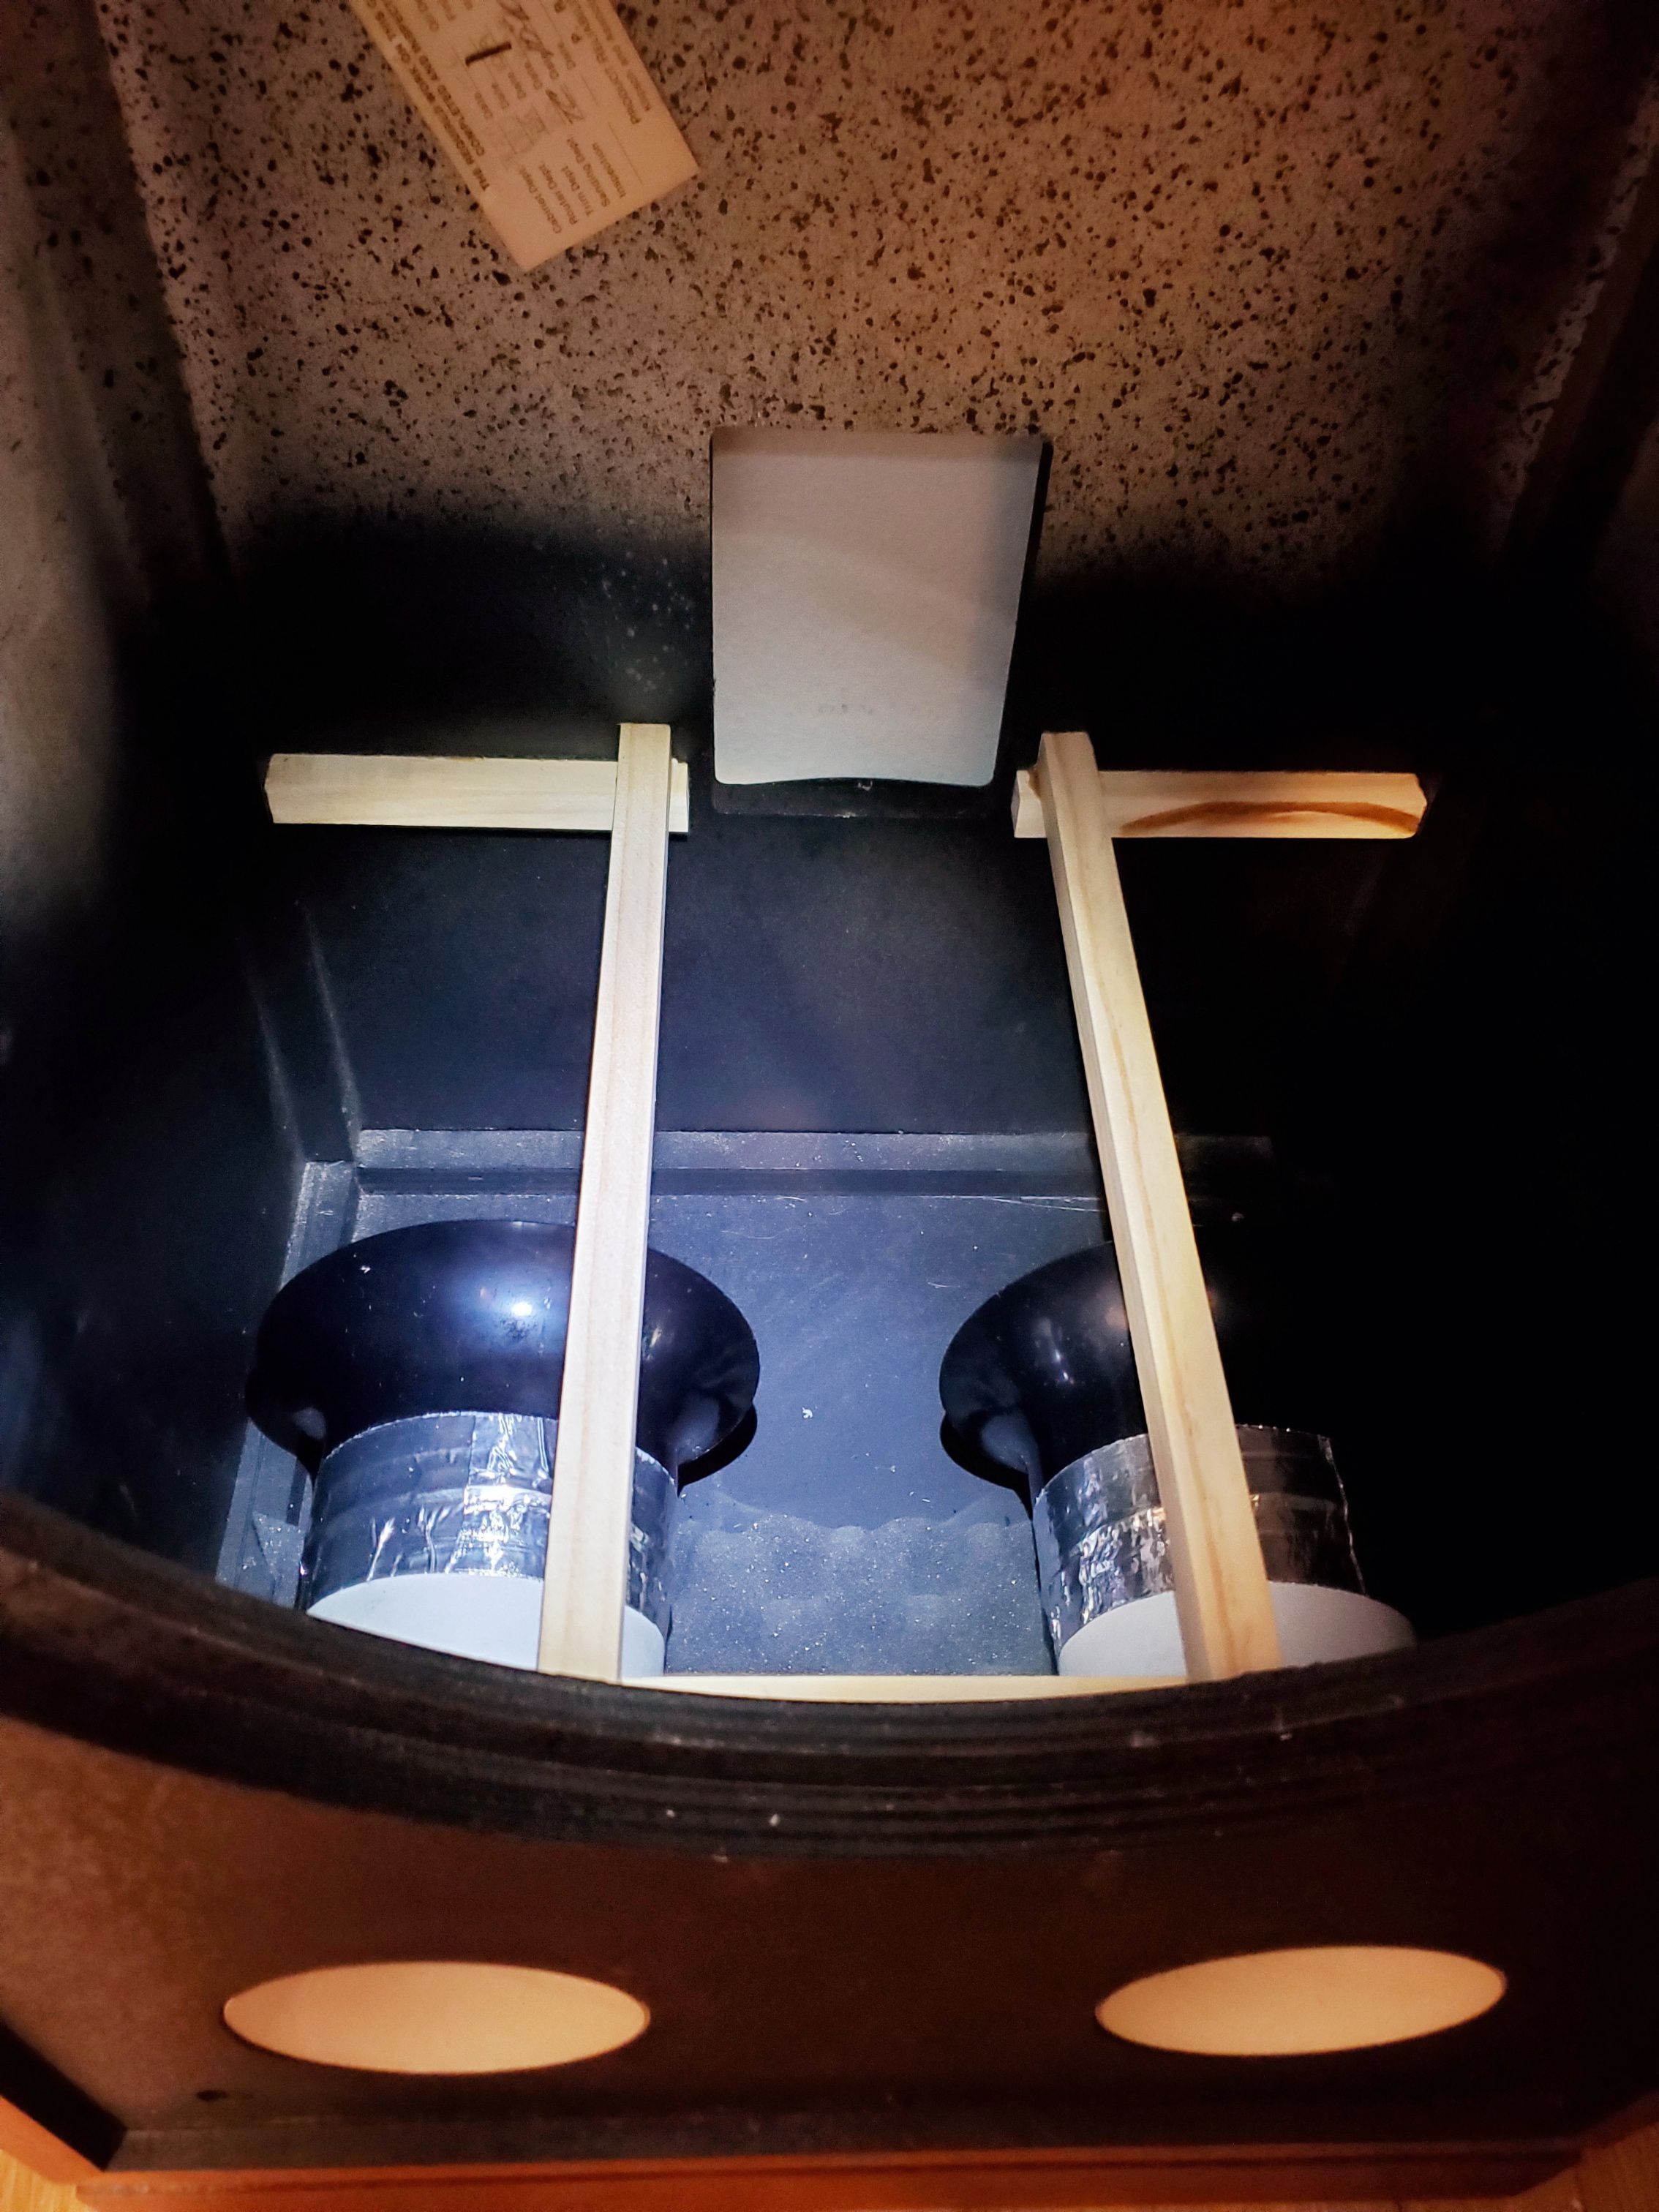
I tried EVERYTHING, & these are the best fit by far. But here's how: To get them TIGHT (a "pressed in" fit) do this: 1. Install finished tube in one at time from the inside out 2. leave an extra 3-4 inches of it sticking out through the hole 3. wrap as much electrical tape as needed on each one & test/repeat individually until it's hard to get back thru (some took 1 wrap, others took 3-4 complete wraps) 4. wiggle & gently press it back in to get a final "flush" fit & have it as tight fitting as possible 5. hot-glue the joint on the inside of the speaker where the port meets the back of the front motorboard wood. This makes em rock solid!
-
It won't fit (tried it) the factory opening is a little too small. But these will: https://www.michaels.com/white-shipping-tube-by-celebrate-it/M10323409.html?dwvar_M10323409_size=4" x 10"&dwvar_M10323409_color=White Detailed info on page 3 of this thread:
-
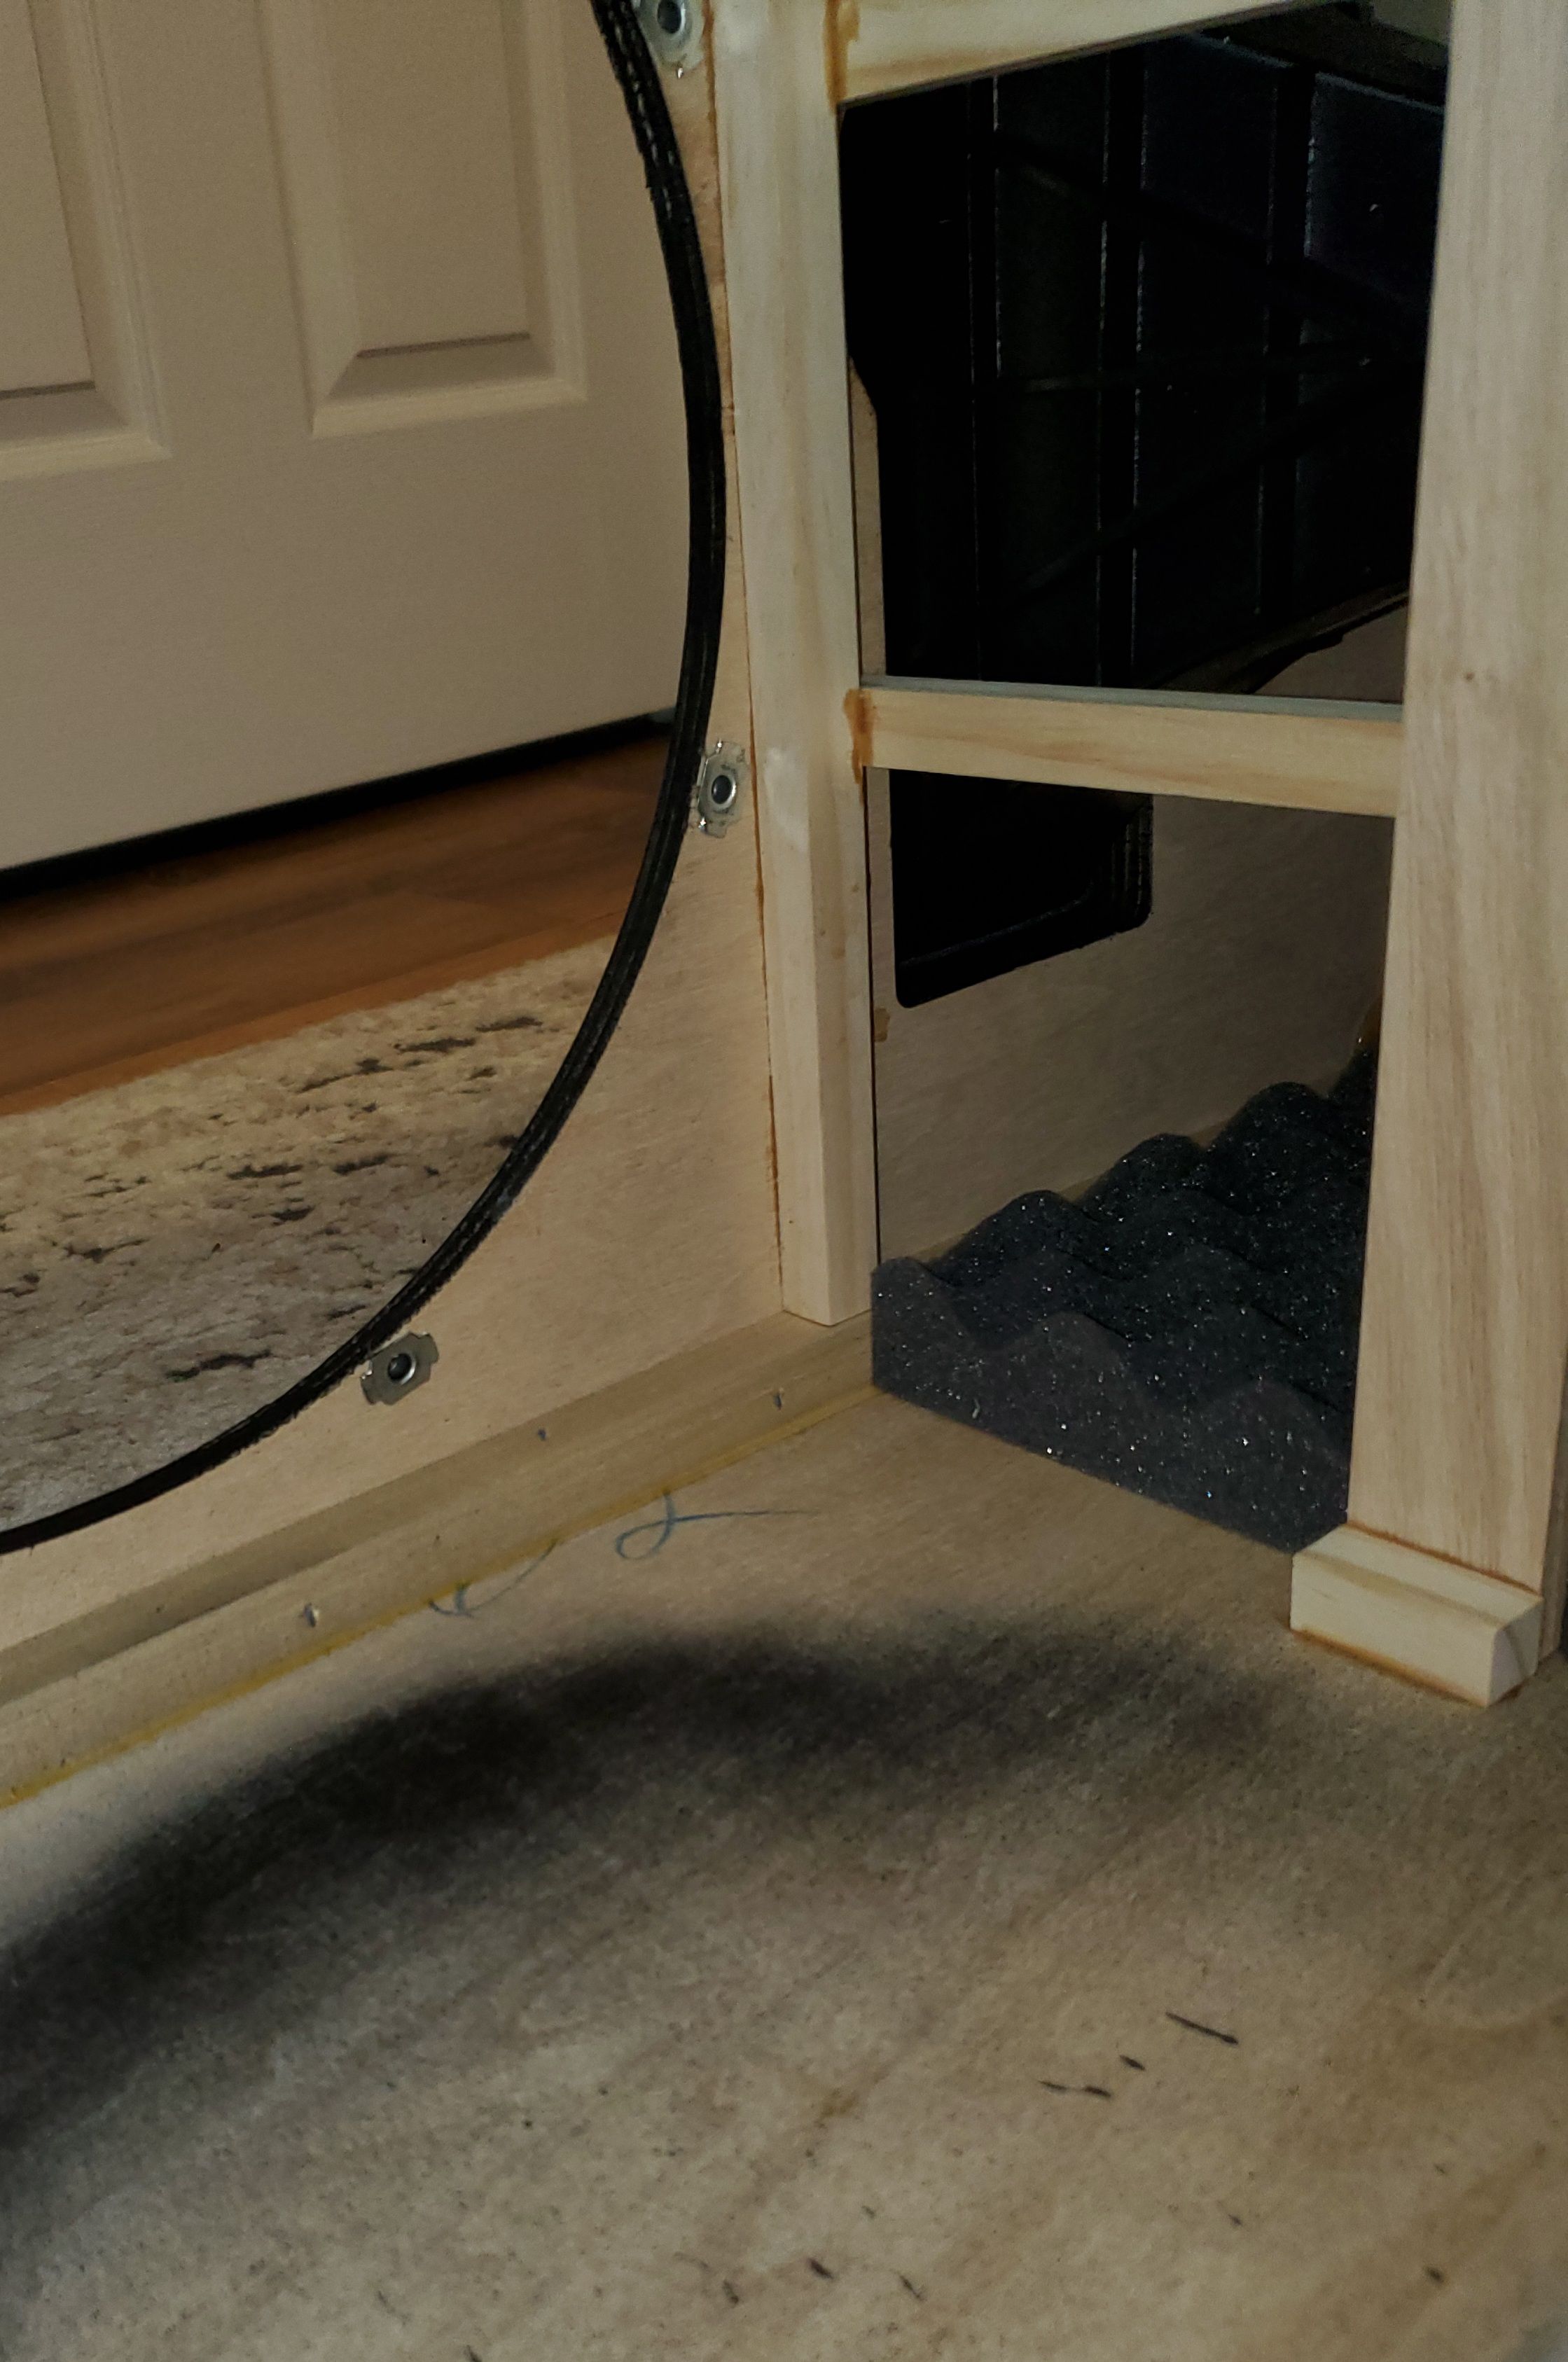
Ports are in, & the lower bracing below the woofer opening is almost finished. I still need to glue in the crosspiece that ties the front-to-rear braces together. The "crosspiece" braces are what takes the flex out of side panels, (1 upper & 1 lower).
-
I think it depends on where you're putting em, & what you listen to. I am the "oddball" who did the opposite 😃 I bought a pair of pristine Chorus 1's , modified the ports (thread on here) then played em side by side for quite a while. I eventually sold my La Scala's I had bought new & owned since 1984 In my 12 x 14 (vaulted ceiling) listening room, I prefer the chest pounding mid bass the 15" Chorus pro woofer provides. My La Scalas just fell short side by side. (don't have room, & don't want a sub) The La Scala mid horn was better, but not by a mile. I'm still happy 3 years later w/o regrets. I don't miss my La Scalas, & would still do the same thing over for MY room.
-
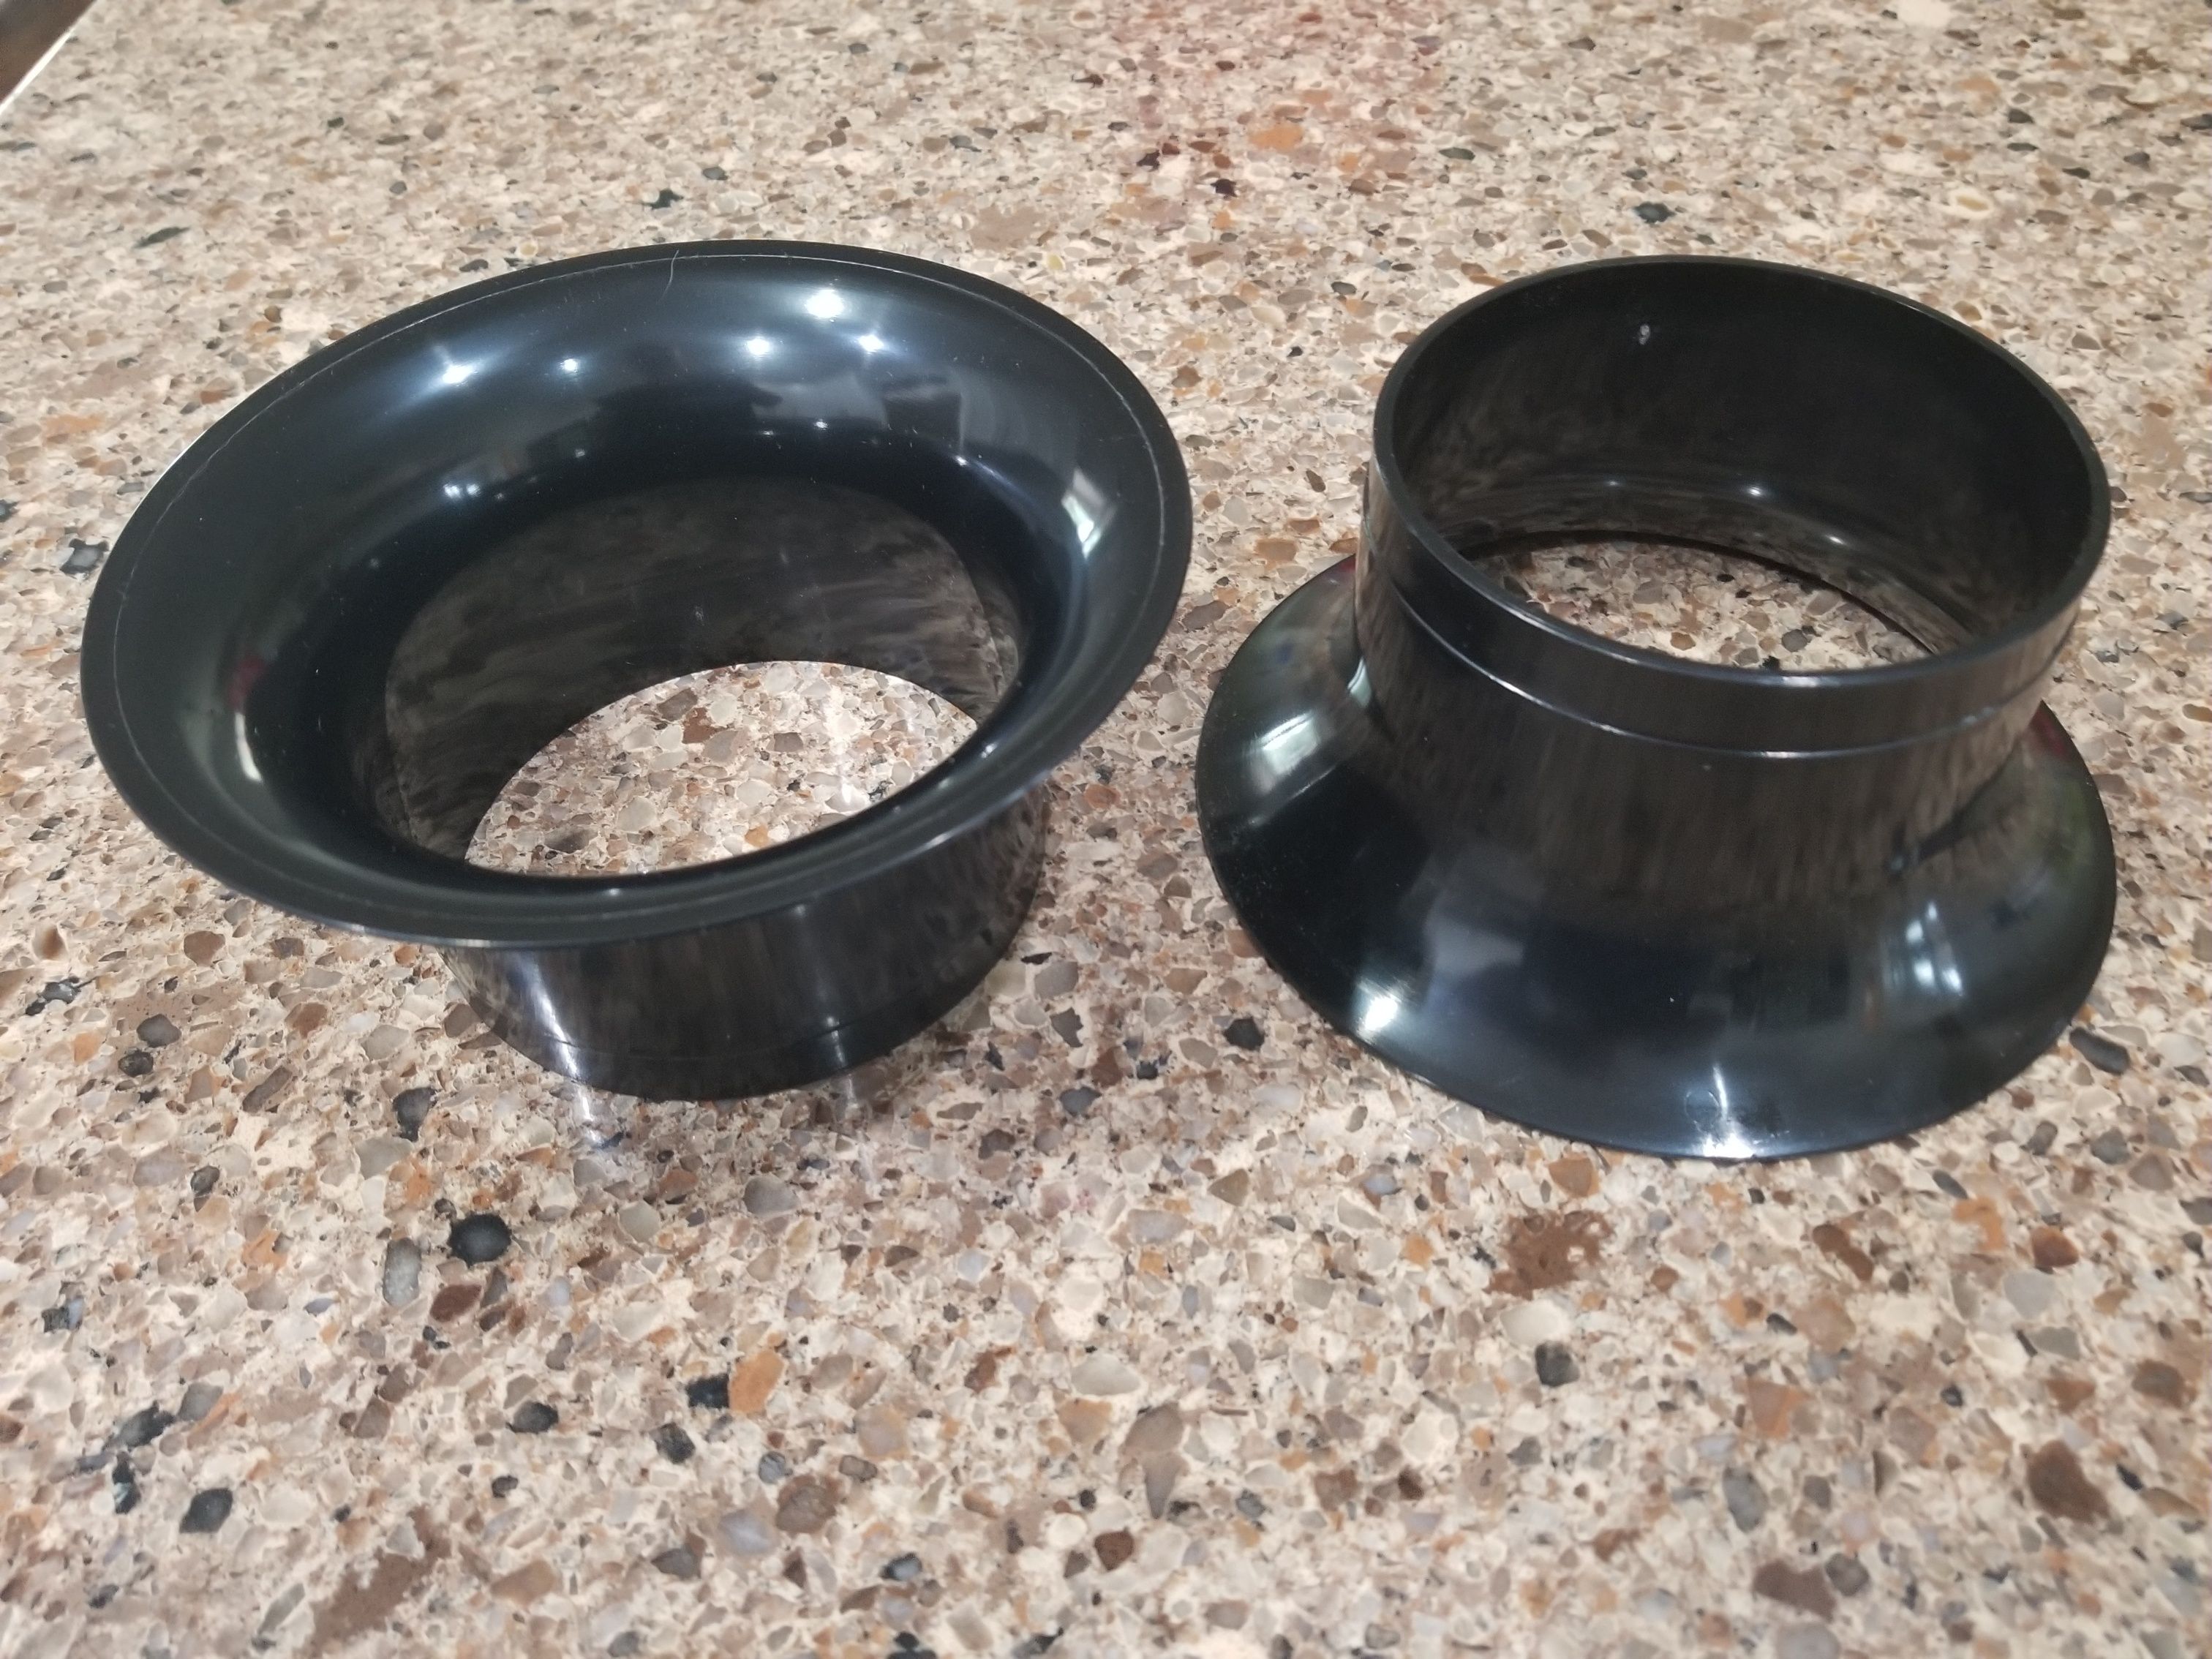
The inside portions are 4" INTERNAL port flares (external one is shaped a little different) from "Parts Express" https://www.parts-express.com/Precision-Port-PSP-4IF-4-Inside-Flare-for-Port-Tube-268-377
-
I tried EVERYTHING, (too big, too little, etc.) & finally found these at a chain craft store called "Michaels". They're almost an exact fit. 1.) push them thru from the inside outward until about 3" sticks out the front. 2.) wind 2-3 layers of electrical tape around the end until it's a tight "press fit". 3.) pull it back thru by working it/wiggling it & install flush to the surface. 4.) Hot glue the inside seam, where the ports/wood meet. (makes em rock solid) I also use my chop saw with a fine tooth blade to trim to length. In the pic the right one is trimmed & the cut piece beneath it. https://www.michaels.com/white-shipping-tube-by-celebrate-it/M10323409.html?dwvar_M10323409_size=4&utm_source=CJ&utm_medium=2470763&utm_campaign=14079089&cm_mmc=Affiliate-_-CJ-_-2470763-_-14079089&affSource=2470763_14079089&cjevent=2c79bd6994ee11eb827d02db0a82b82c Here's a Link. My pic is from my 1st pair I did, (the 6.2" size), but the 10" size can be cut down into two ports (or 1 speaker), so cheaper to buy two 4 x 10" ones.
-
The ports are almost ready for install, they just need a final layer of A/C metalized tape over my glue joint (I use the foil tape made for a/c duct joints to provide extra stability)
-
Now listed as "pending", hopefully a forum member 😃
-
https://www.facebook.com/marketplace/item/1457026601295862/ Klipsch Oak KG 4.2's in Orlando. 150.00 for the pair! (no affiliation)
-
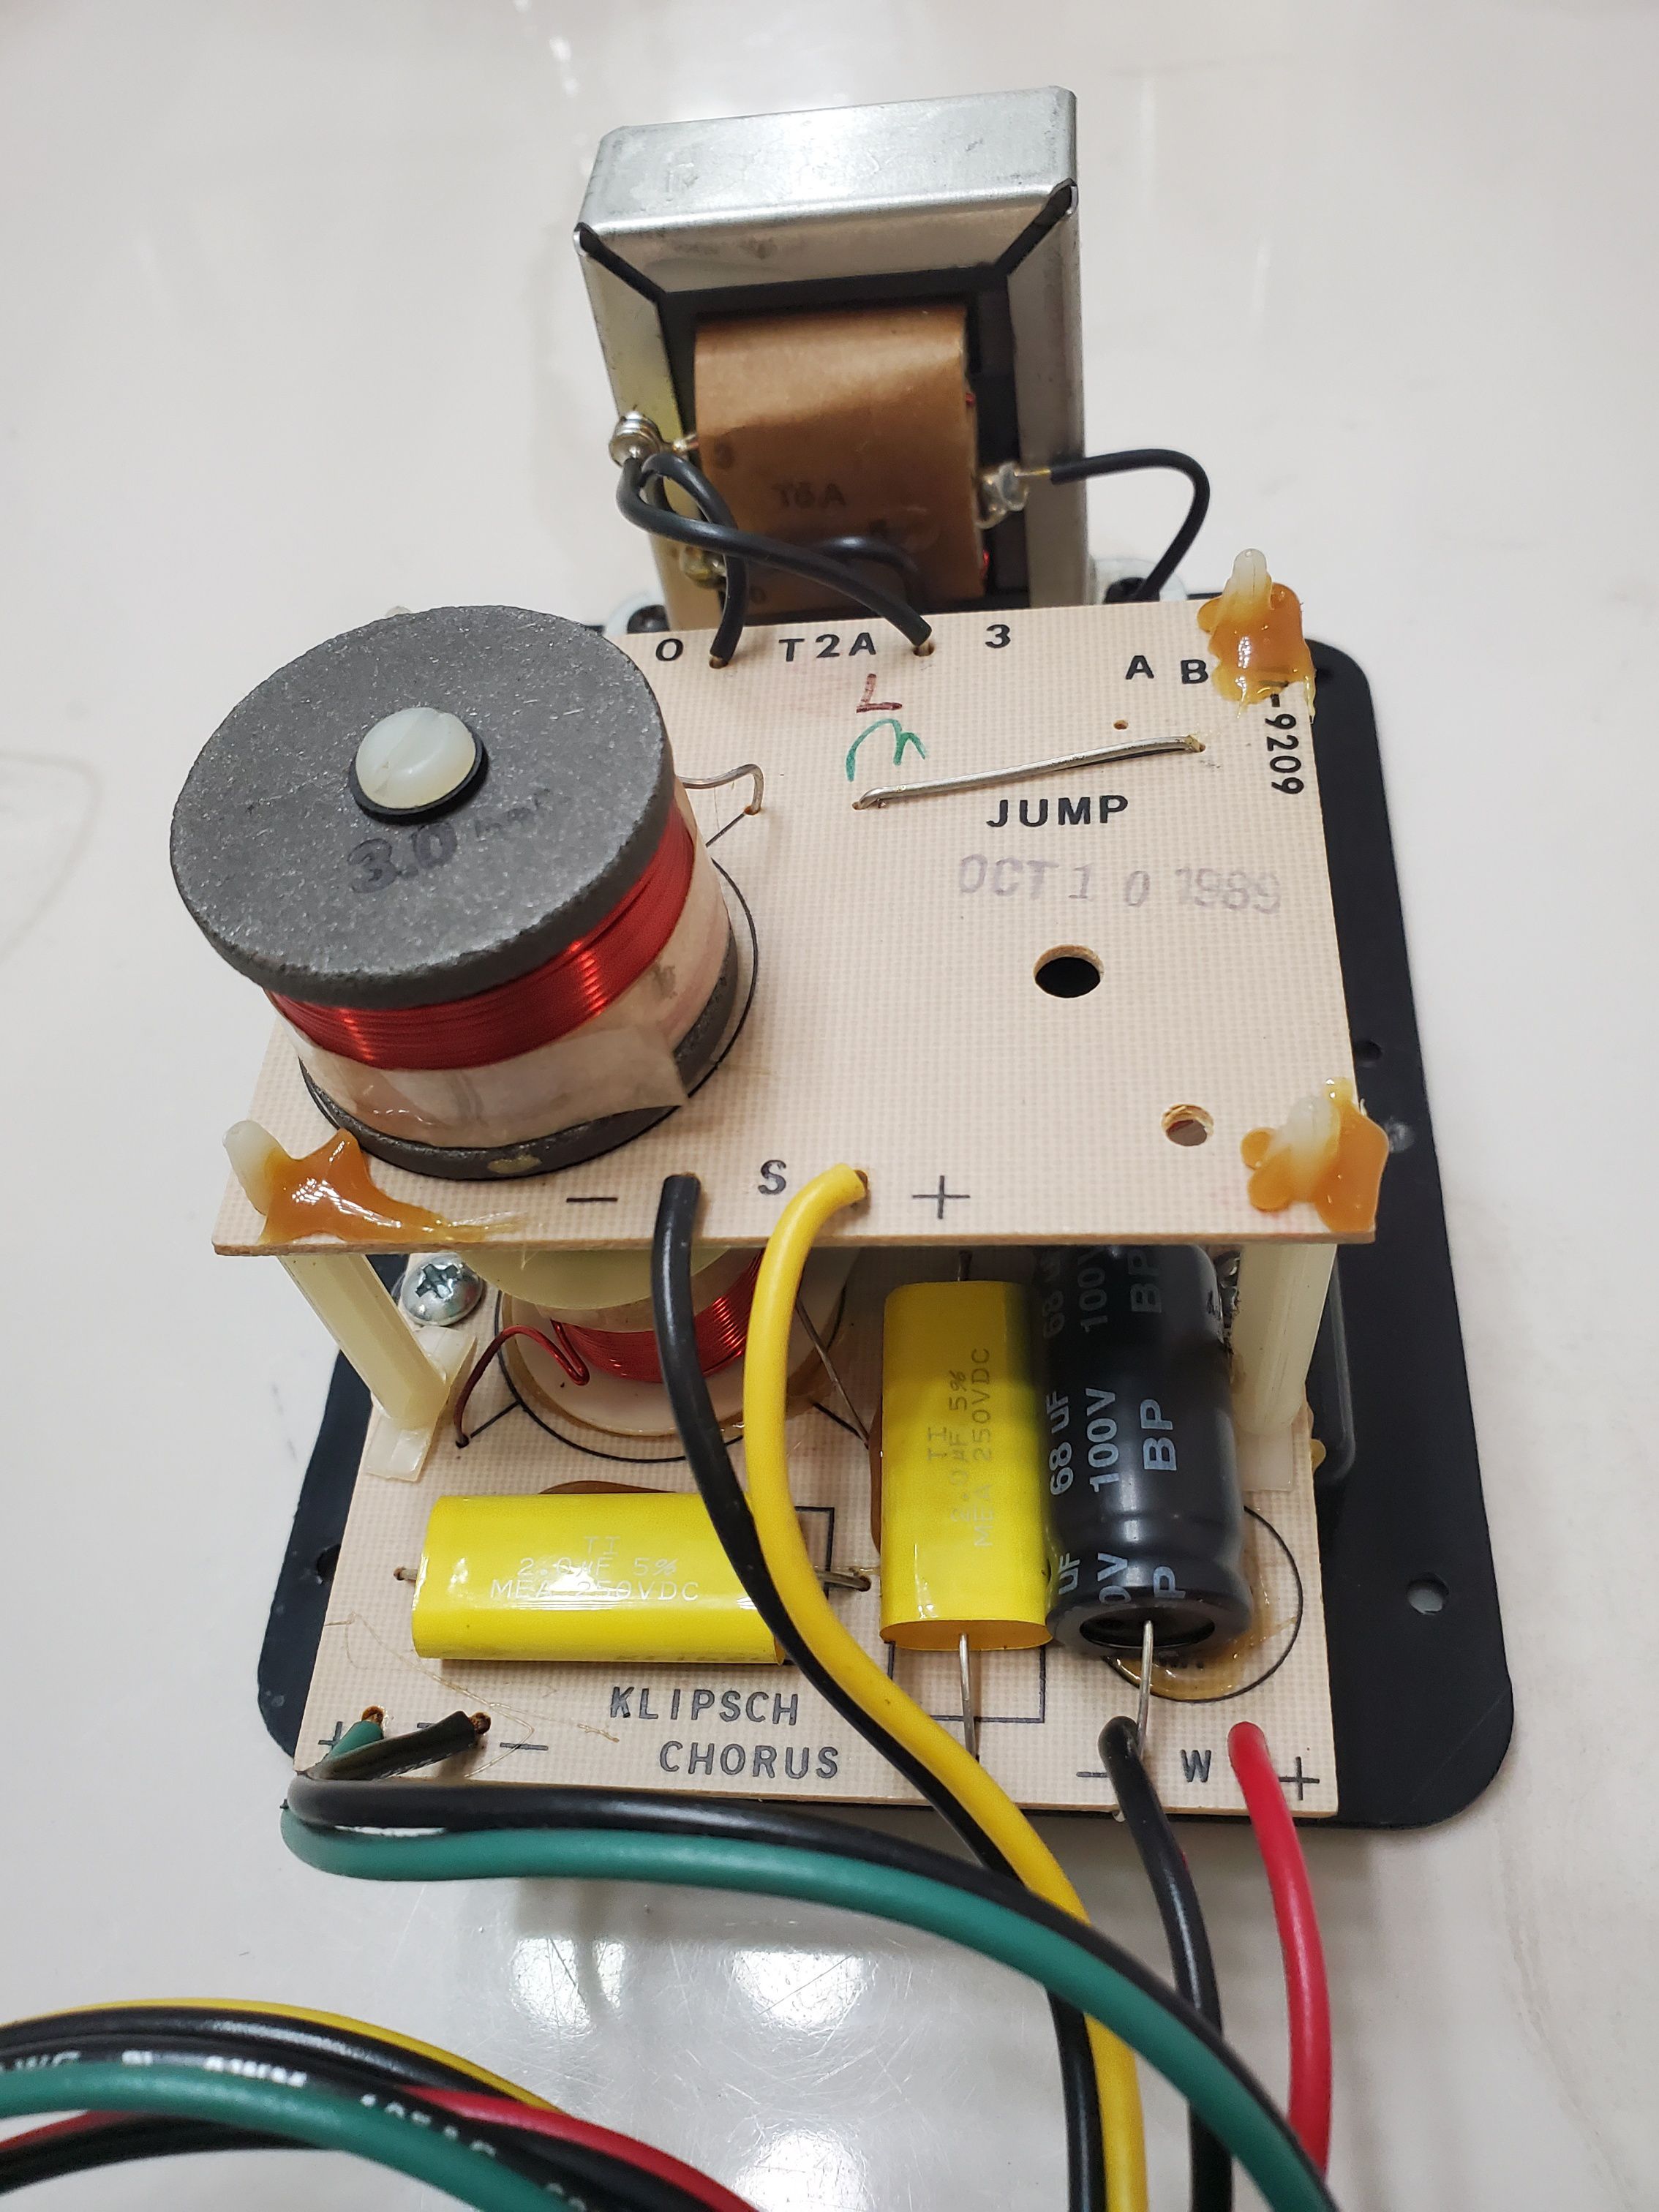
Crossovers are now done & ready for re-install. All the caps were the Klipsch originals from 1989 & due for a changeout... I ordered the "new" Klipsch approved JEM capaciter kit from Jim for 64.00. Then I had my local vintage stereo expert install em (been in business 35+ years) Probably be about 2 weeks before I sound test em though, gotta finish up the 7" port extensions 1st
-
 Bracing is kinda like sushi: some love it, some hate it 😃 We all hear sounds differently, so I say "to each, their own" (no completely right or wrong answer) It's VERY subjective based on how YOU percieve sounds. I also think in some Klipsch models it's unnecessary, & may even be a "negative". But, in other models it may be an improvement. All I know is moderate bracing made a noticable difference (a good one) in my 1st pair of Chorus 1's & I liked it so much I'm doing it over again on my 2nd pair. I only post build threads & info for the curious, but would never try to sell everyone on the idea of "it's gotta be done".
 -
Here's a pic of the small "cleat" glued on the side to side brace. This is what really glues the side brace to the side cabinet wall. You can also see my 3/4" x 3/4" brace on the front wall that provides additional stiffness to the narrow (weak) spot between the mid horn & woofer mounts on the front motorboard. (The 3/4" x 3/4" brace in the corner that runs top to bottom of speaker is a factory Klipsch piece on all 4 internal corners. The top/bottom corners have this too)
-
JEM Performance Audio...my experience!
Chorus1 Fan replied to Sancho Panza's topic in Technical/Restorations
They were the factory original caps (& Jim sent em back w/o me asking) I haven't heard em yet, but the caps were from 1989, & "due". My Chorus 1's are apart for a few more weeks b/c I am also doing braces above & below the 15" woofers & installing 7" flared port extension again for the 2nd time (these are my 2nd pair of Chorus 1's 😃- 57 replies
-
- 4
-

-
- jem performance audio
- aa crossovers
- (and 3 more)
-
JEM Performance Audio...my experience!
Chorus1 Fan replied to Sancho Panza's topic in Technical/Restorations
I had a GREAT experience using JEM ! I Spoke with Jim via phone, (he's super nice & helpful) ordered the cap kit for my pair of Chorus 1's for 64.00$ I then had my local vintage stereo shop guy install em to prevent any potential shipping damage of the frail Chorus boards. (& he's an expert solderer, & has been in business 40+ years...
- 57 replies
-
- 3
-
-
- jem performance audio
- aa crossovers
- (and 3 more)
-
Chorus 1's get my vote. I also think they're realatively "underappreciated" even by Klipsch fans due to the Chorus 2 having a tractrix mid. (but in a small or normal "house sized" room this too is a non-issue. For my 13' x 12' listening room, I don't think I'd trade mine for ANY other model ! (& I had La Scala's in there prior to my Chorus 1's)
-
So, Jim (& HDBRBuilder), do you have any "inside info" on the Chorus 1 assembly line? (IE: why Klipsch mixed two substrates in one box)
-
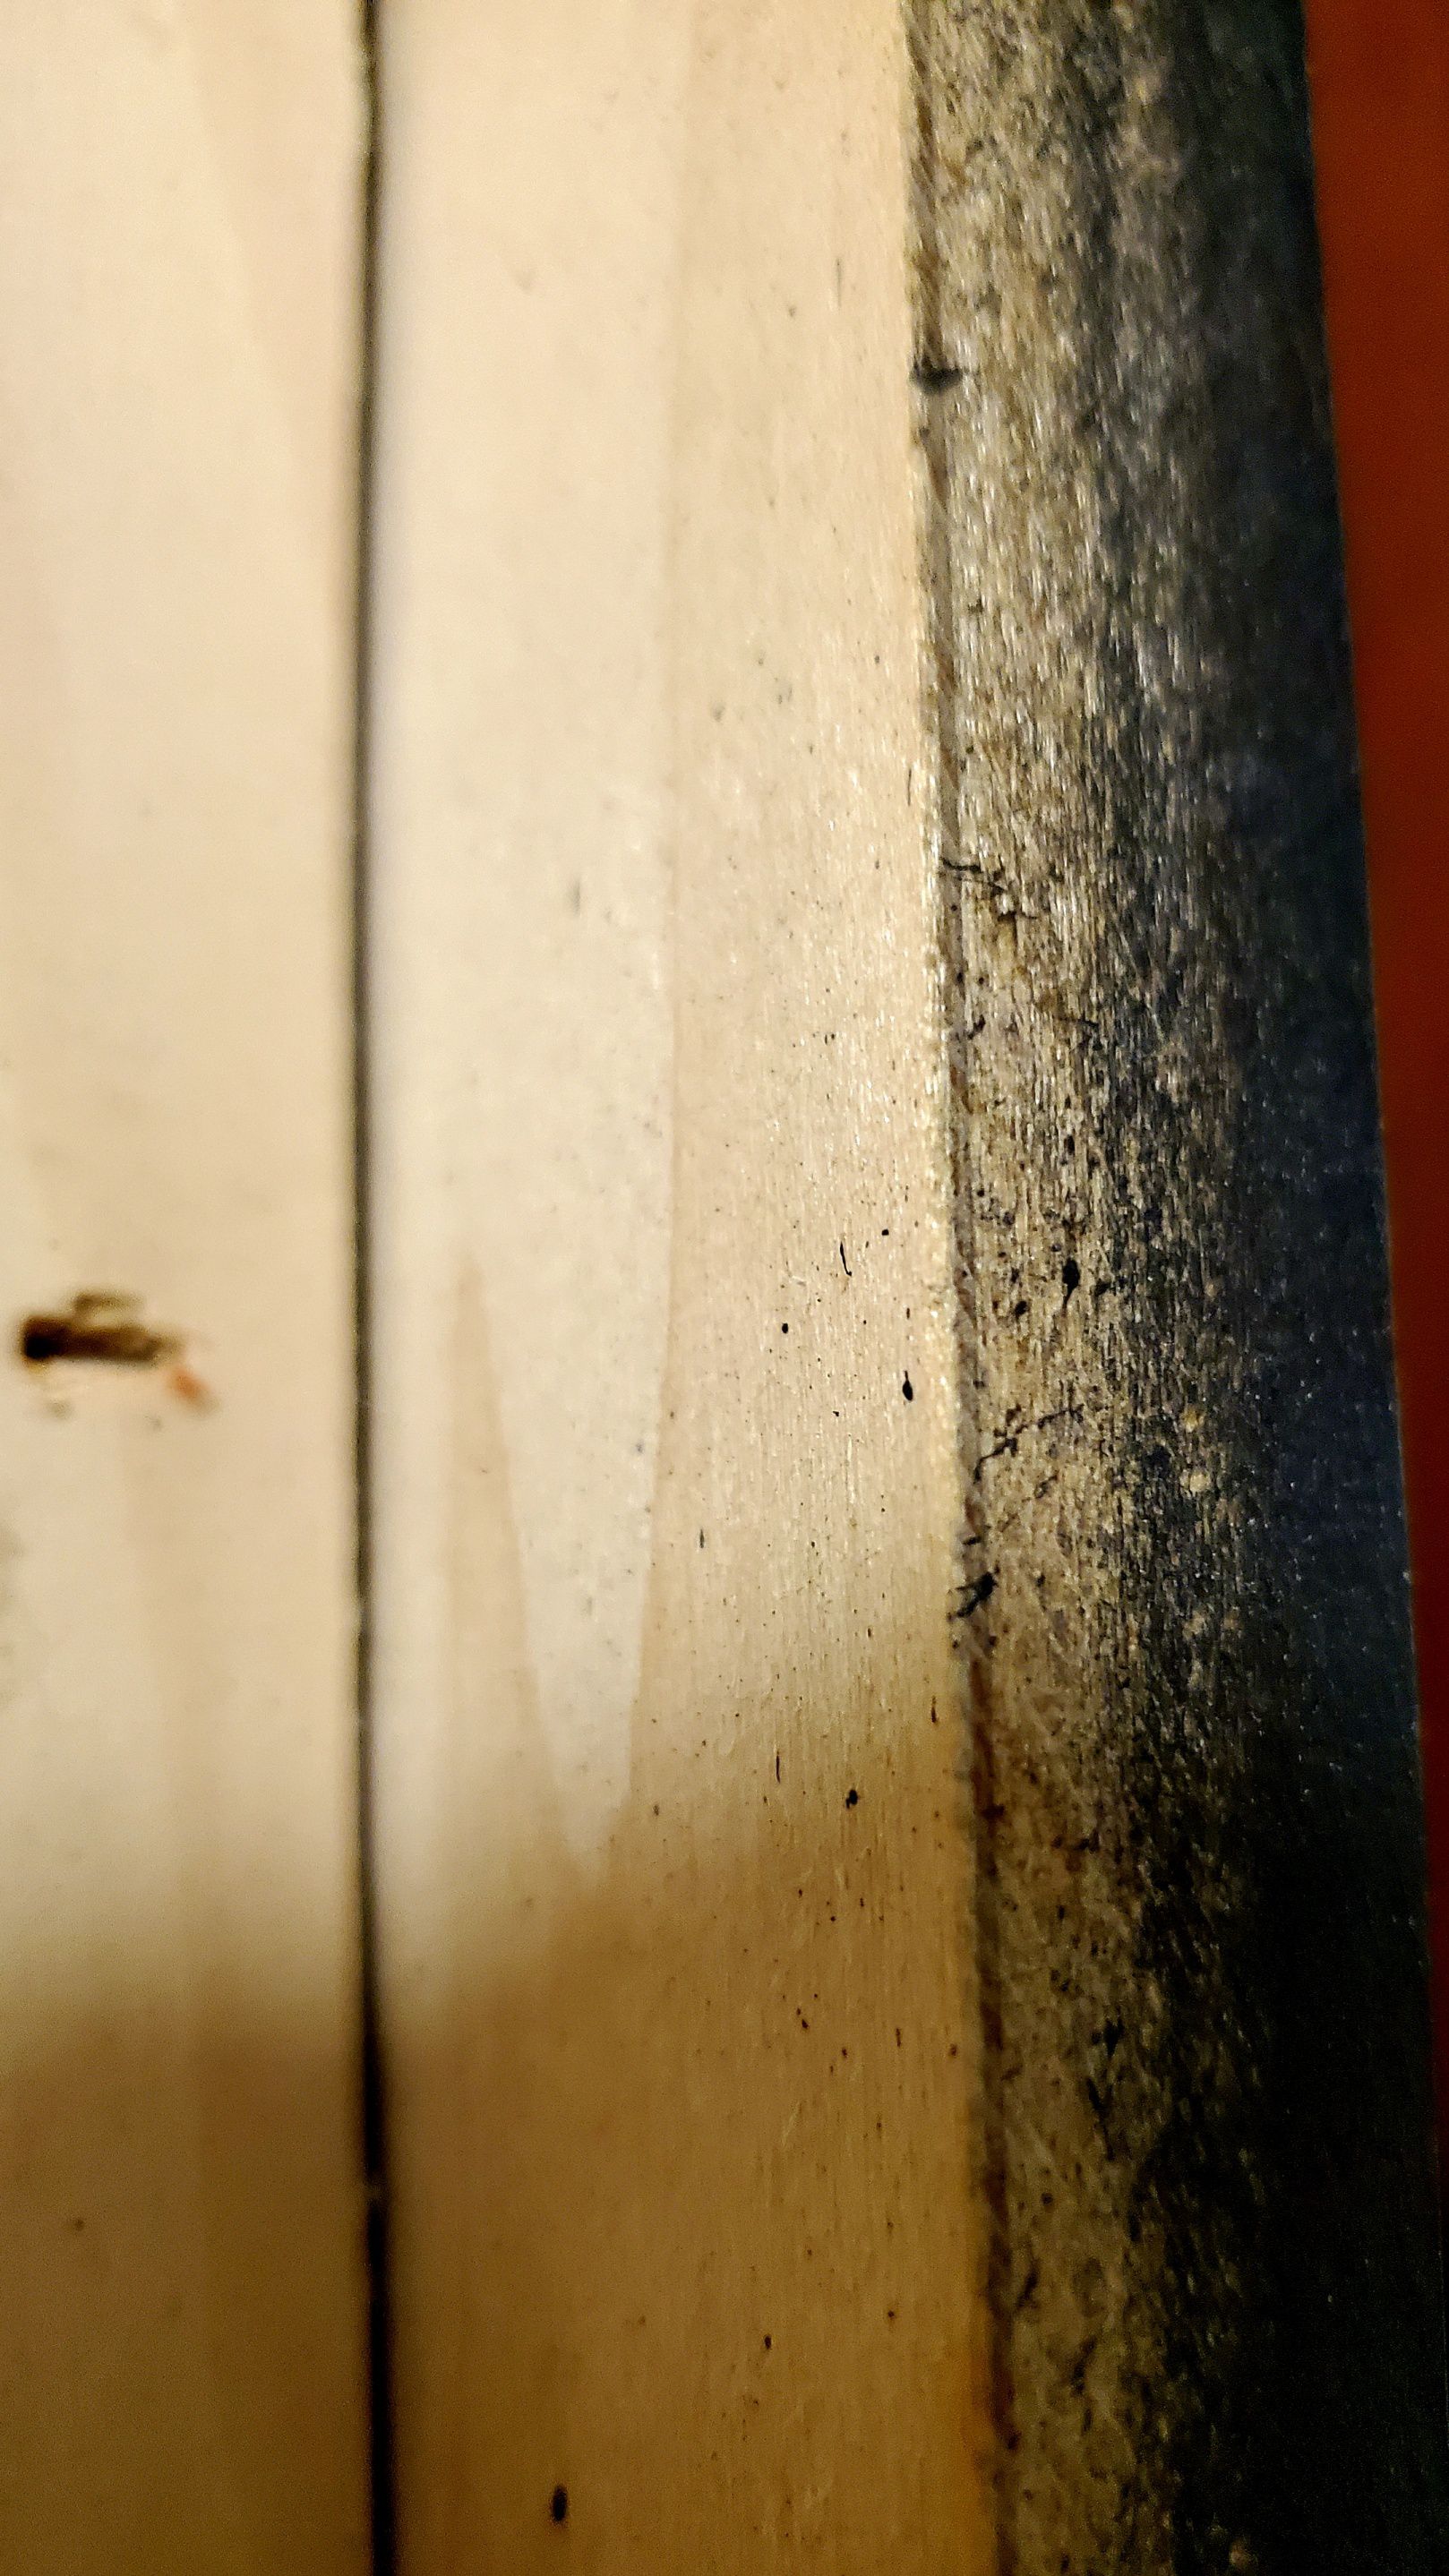
Anyone here ever had or seen a "broken" Chorus 1 side panel? (Mookie?) Or burnt one 😂 Aha! "playing detective" I flipped em & took a pic of the riser wood. It's veneered (?birch) MDF just like you described. so I'm sure the sides/top/bottom are the same stuff. Still makes me wonder why Klipsch did that (cost, accoustics, etc.) I posted my "why" question over in the ask the historian section to widen the opinions ( esp. for Jim & HDBRBuilder's)
-
Then I could also see how it may have been easier to hot glue the factory corner bracing to a smooth veneered interior panel vs a plain mdf one.
-
Then I have a 3rd question 😃 I wonder what the cost difference was between a sheet of "double veneered" mdf -vs- the birch plywood they used for the front & rears? Was it a significant savings? If not, (significant savings) why didn't they just use plywood on all 4 sides... accoustics?


.jpg.2d9b17dd521025c70719d9da20e213fa.jpg)