


Micklipsch
-
Posts
292 -
Joined
-
Last visited
Content Type
Forums
Events
Gallery
Posts posted by Micklipsch
-
-
GONE
in Garage Sale
20 minutes west of Chicago if you want them.

-
 1
1
-
-
2 hours ago, hron61 said:
Awesome job.
It's been fun following this thread.
I bet they sound as good as they look.
They definitely sound great. I made a point to audition them before I dipped a brush into that stripper! Thanks man
-
16 hours ago, geezin' said:
Looks great from here. Nice job.
Appreciate it, brotha
-
3 hours ago, billybob said:
Cool outcome...
1 hour ago, Travis In Austin said:That’s amazing! Great job.
27 minutes ago, Mikekid said:Very well done Micklipsch! 👌👏
Thanks, guys! Means a lot, really

-
2
-
-
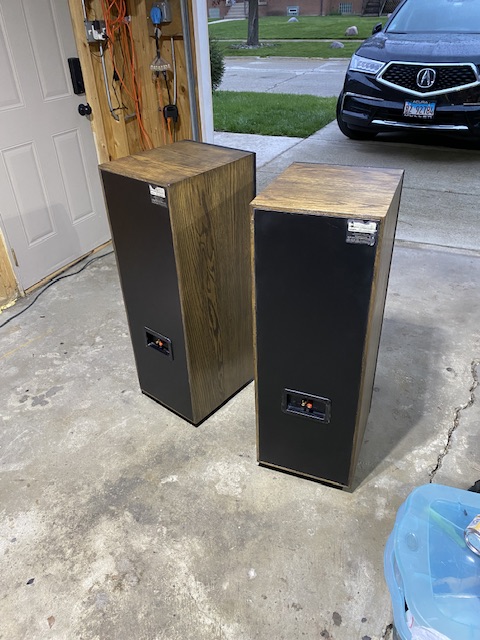
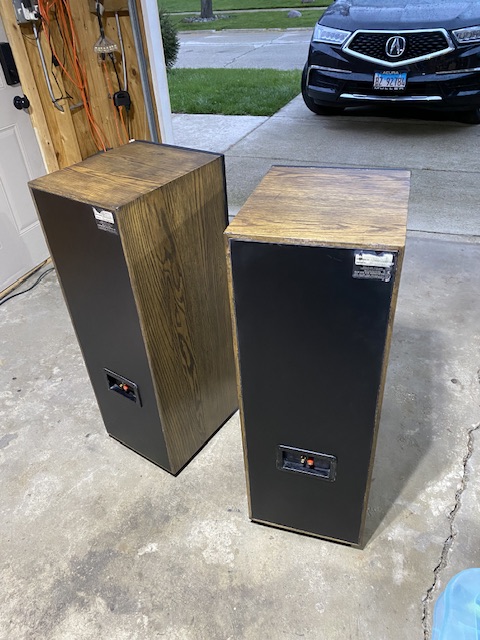
Anyhoo, this job’s in the books. I’ll talk about my shortfalls in the next post and what I’d do different next time. Hopefully this all helps folks wanting to attempt a restore. Thanks for lookin’

-
3
-
-
4 hours ago, avguytx said:
Me personally, as I have a pair of awful looking satin black CF-3 v1's, I'd get everything squared up, corners, etc., and slap some new veneer on them and call it good. Those are a cinch to veneer as it's only 3 sides to be done. Use some cherry, walnut, mahogany, etc and call it a day.
Or, just repaint them satin black. That would look better than oak veneer that's splotchy anyway.
I hear ya. I was prepared to just redo the black but wanted to see how I’d do naturalizing the wood. I’m like you where oak isn’t my first choice—I’ve always been keen to walnut. You also probably have ash underneath yours which looks fantastic with some light stain and/ or a lacquer like this guy did to his Chorus, given the cabs aren’t all tore up. I may do my CF4s up like that someday.
I actually wanted to attempt a redo this go around and learn some stuff. The tops of one of these would’ve been a perfect candidate for a new veneer. I’d like to try my hand at veneering should another one of these opportunities come along.
-
1
-
 1
1
-
-
I’m dealing with a similar issue with one of mine and honestly it’s not a straightforward issue to deal with. Klipsch both sprayed the motor board with a black resin or they covered the entire motorboard in that one piece mould that you have. Unless the issue is relegated to one flat area you could possibly cut out and make repairs using a vinyl stick on of similar material but otherwise it looks like you may just have to pull that whole mould off and refinish the motorboard in any desire that you like.
I thought about pulling the moulds off and having them and the horn shroud finished in piano black but that’s bucket list stuff at the moment.
-
1
-
-
6 hours ago, MicroMara said:
I like to follow up what and how you´re restoring the CF 2 , very very nice and quiet professional !
Haha, thank you! I’m but an eager learner.
I’m happy to answer any questions regarding the restore. Cheers 🍻
-
2
-
-
1 hour ago, Marvel said:
No, Trade Secret.
Hmm. The scratch remover is coconut oil based and 0% VOC. Maybe the polish? I couldn’t find a straight answer but when I looked that up, oleic acid pops up which is derived from oils.
-
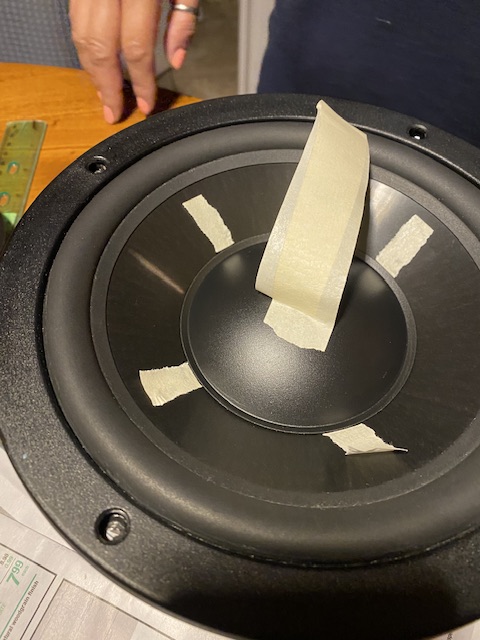
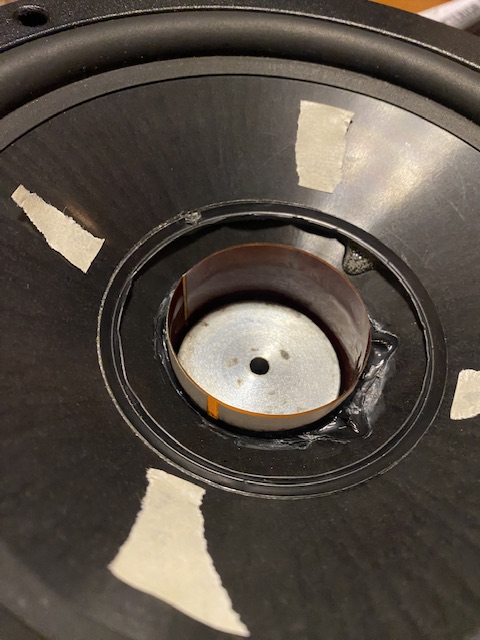
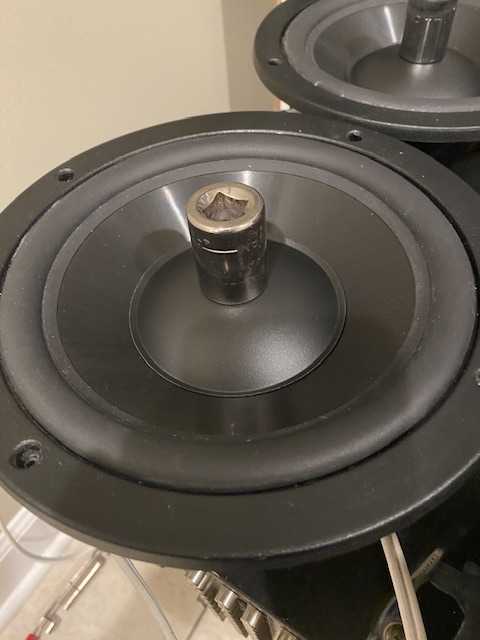
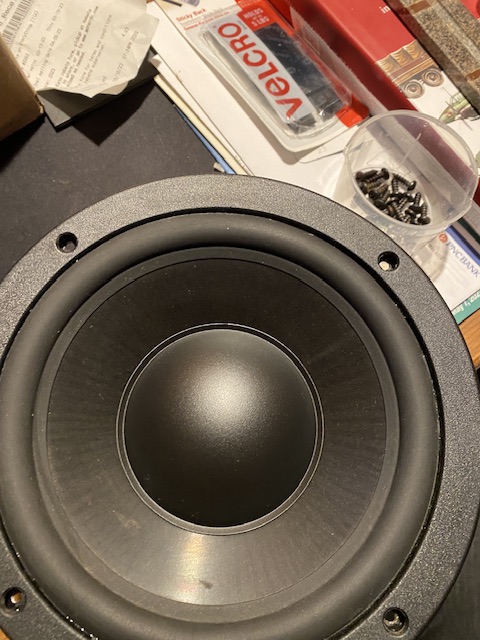
Started by finding a central measuring point from cone surround to the new cap's perimeter. Centered it was 1". Then marked where the cap perimeter would sit with masking tape using that measurement. Next, took a long cut of masking tape, folded it, sticking it together, leave for the last inch or so to form a grip point for the cap's center for lowering it into place. Came out pretty well I'd say!
-
3
-
-
44 minutes ago, Marvel said:
It's a water based urethane
The original factory finish?
-
Nifty little trick especially since these are going to always be open faced since the grilles were MIA. Don't need to be seeing that little corrosion on those screw heads.
-
1
-
-
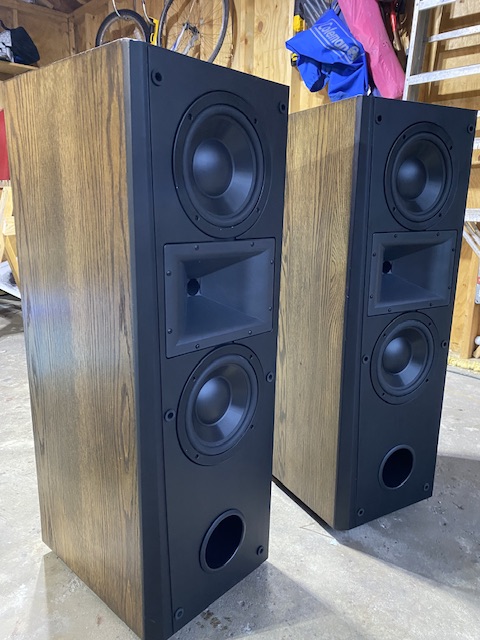
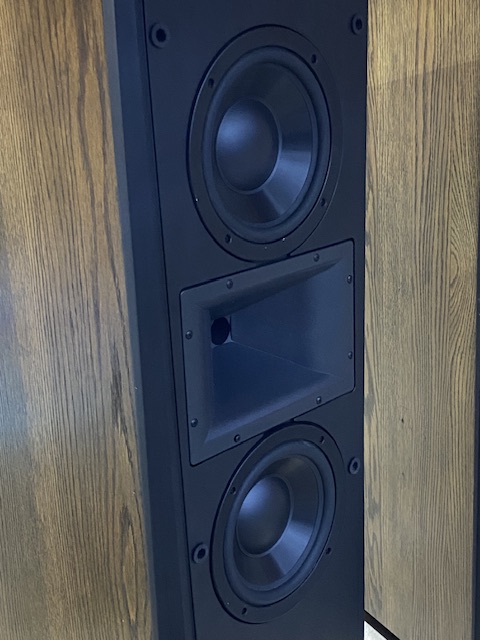
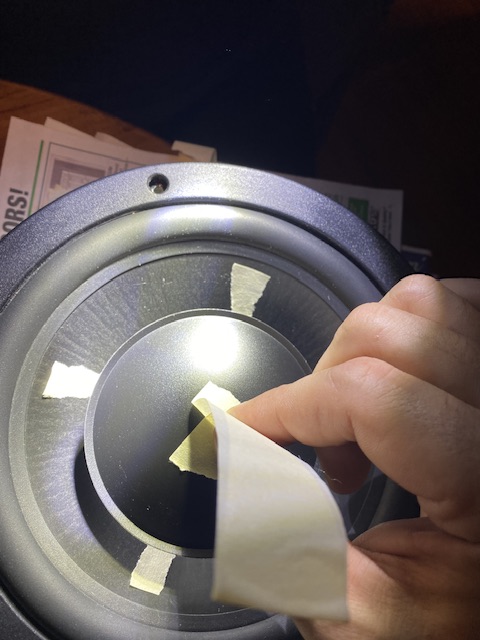
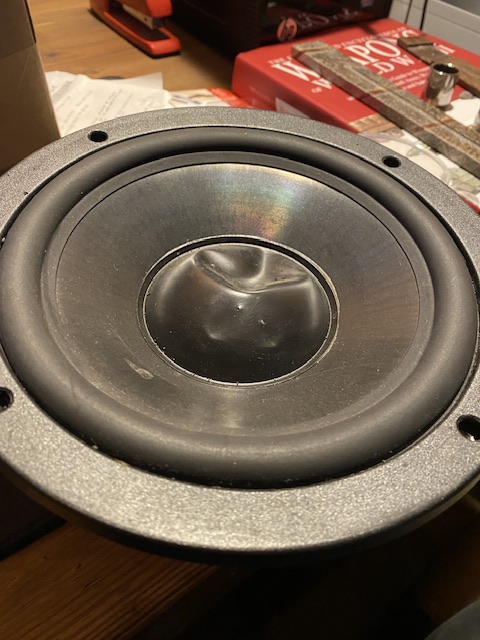
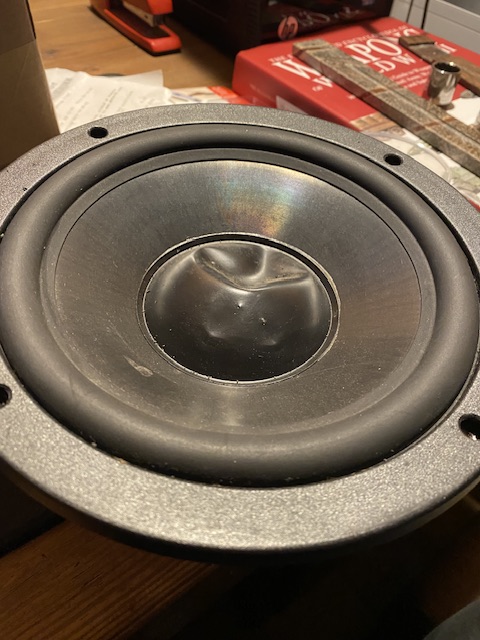
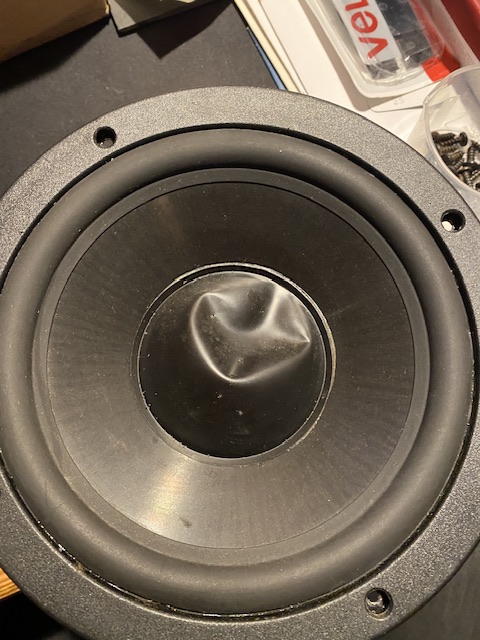
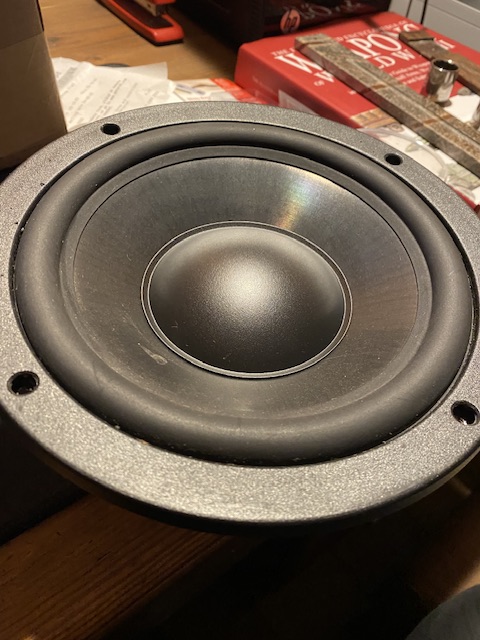
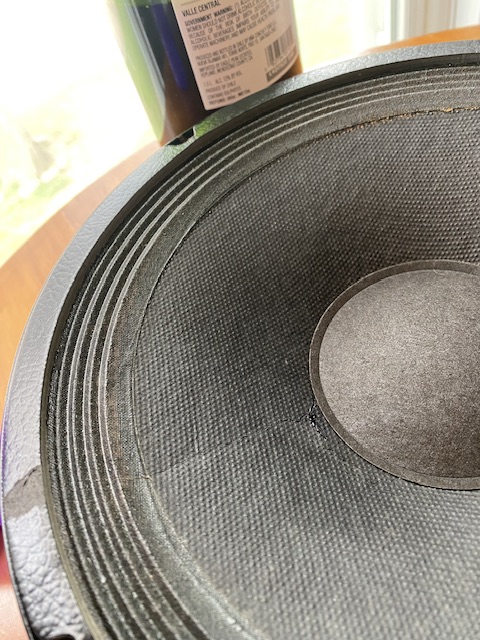
Caps are in. I was worried about the .29” looking obscenely large on the cone but it’s not bad, I’m actually happy with it. If we’re splitting hairs, the OEMs are smooth and therefore glossier, these are very finely textured giving them a more satin appearance. Cones still need a wiping, but we’re at the end here. Just need to button everything back up.
-
3
-
-
12 minutes ago, OO1 said:
looking real good
Thanks Randy. I got a trade secret kit finally. Had to have it mailed via Home Depot. I used the process on some oiled walnut KG2 (squared) and they came out spectacular. I’ll probably make a separate post on that and become a TS advocate like yourself
-
1
-
-
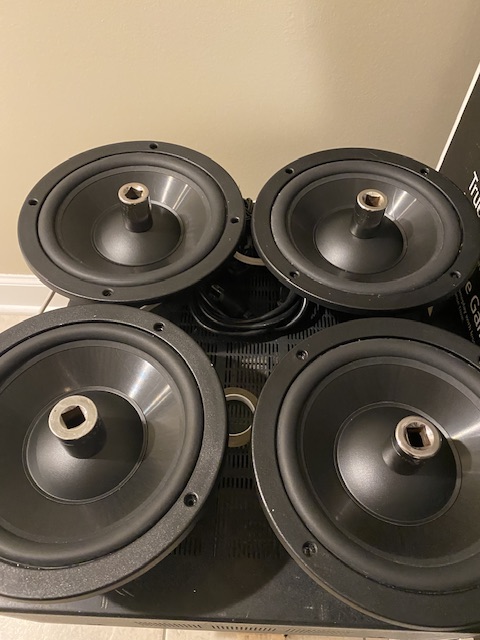
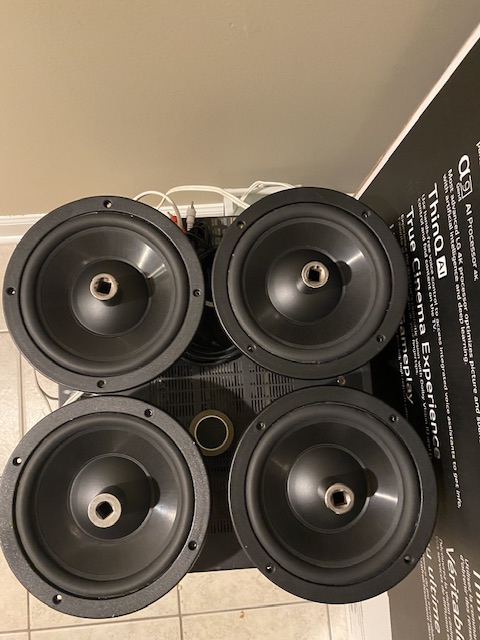
Passives’ dust caps changed to fresh new, and woofer repaired. Will button these up in a bit here and snap some finishing shots.
-
4
-
-
1 hour ago, Marvel said:
I think they are looking pretty nice.
Thanks 😊 definitely not masterpieces but I’m learning my best on my own here.
First coat of matte lacquer went on today, nice and easy. Dried quick and made practically no difference appearance wise. Then the second coat… holy cow. It’s like applying krazy glue in swaths. Setting up seconds after your stroke it on. The top on one of them looks sort of bubbly after this second coat. Hoping it settles down more and/ or the third coat rectifies it.
I know this stuff is traditionally sprayed on but I bought the Watco stuff that’s meant to be brushed. It still requires some finesse and it’s not as forgiving as I’d prefer!
-
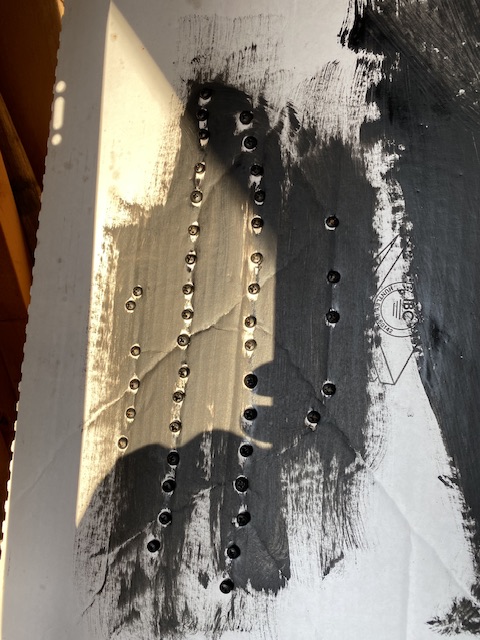
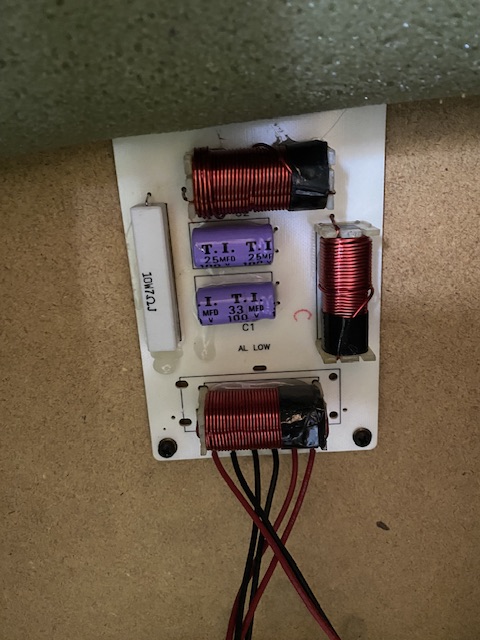
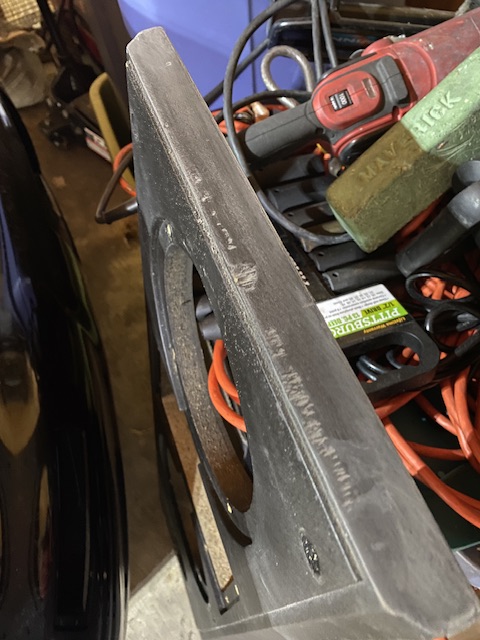
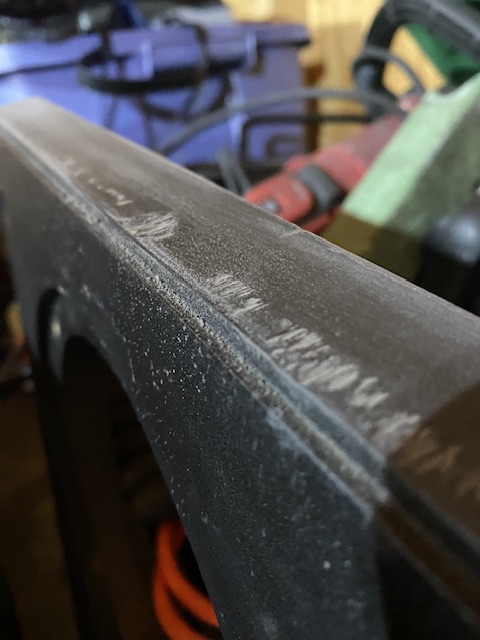
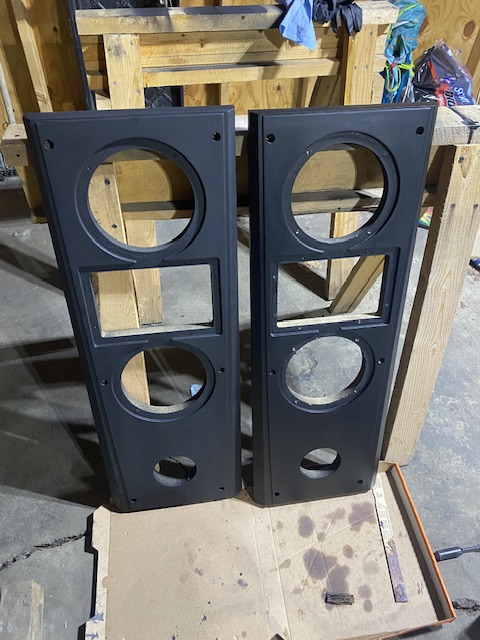
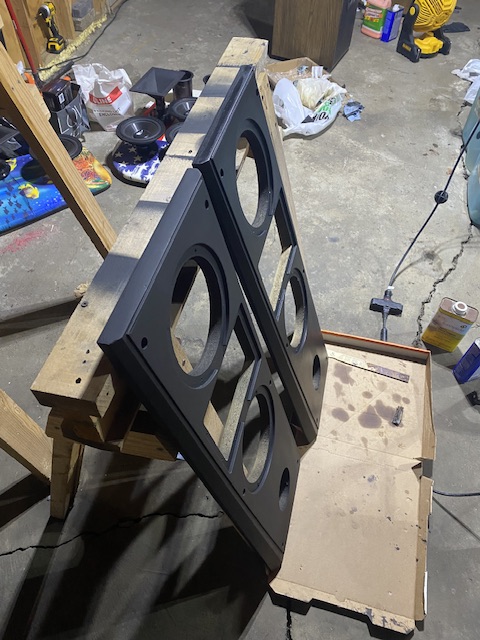
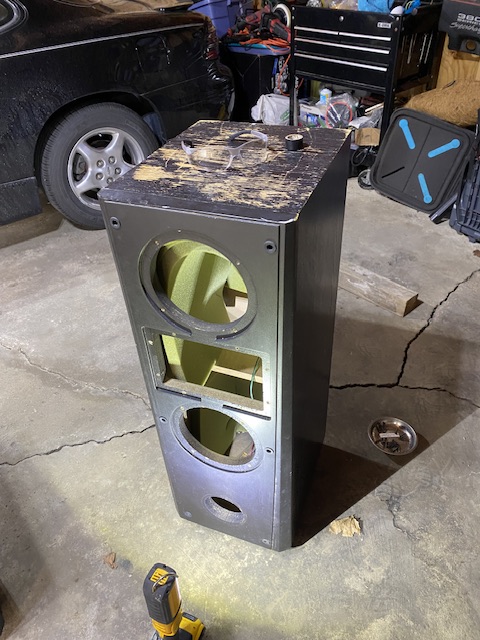
Miscellaneous pics of the innards, those gashes on the tops of the mbs and first coats of flat (left) next to satin (right).
-
5
-
-
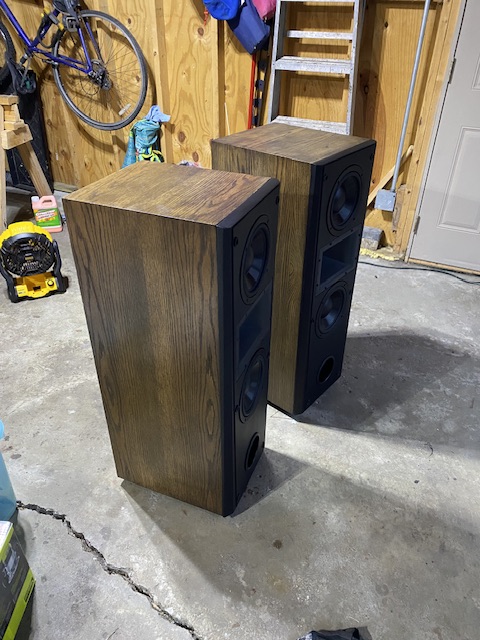
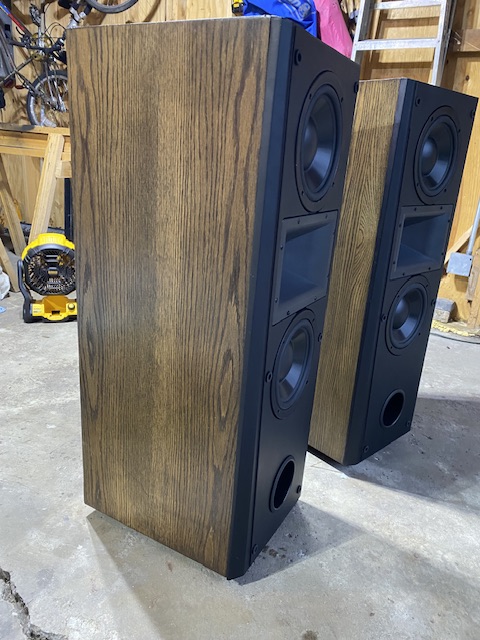
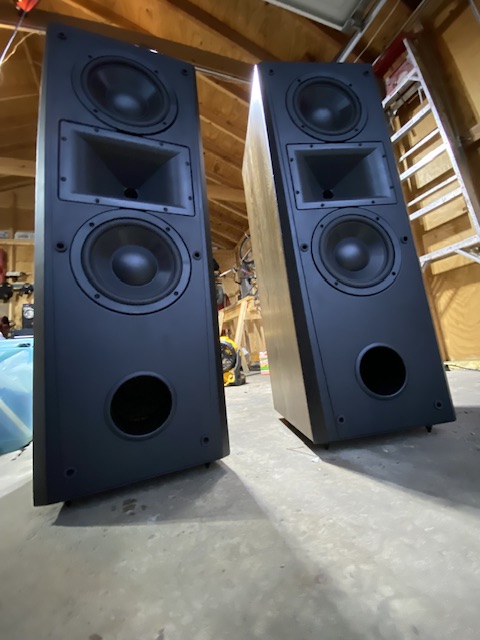
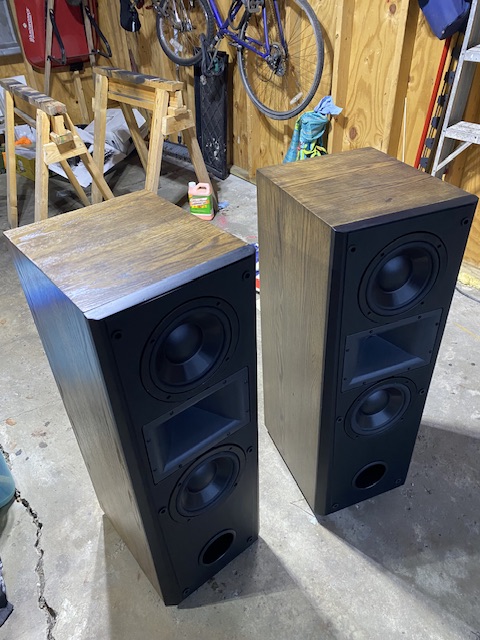
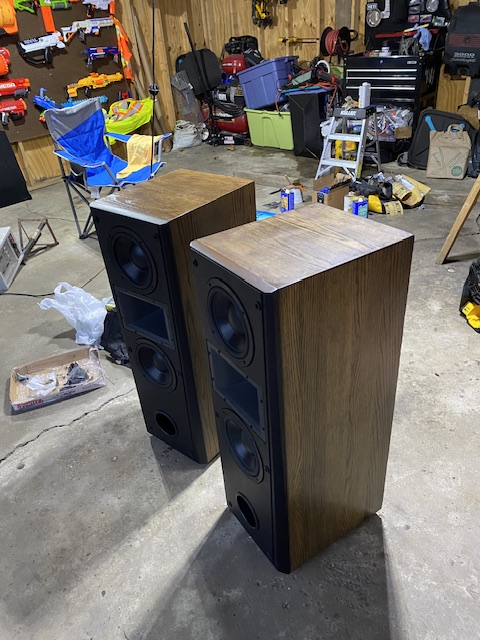
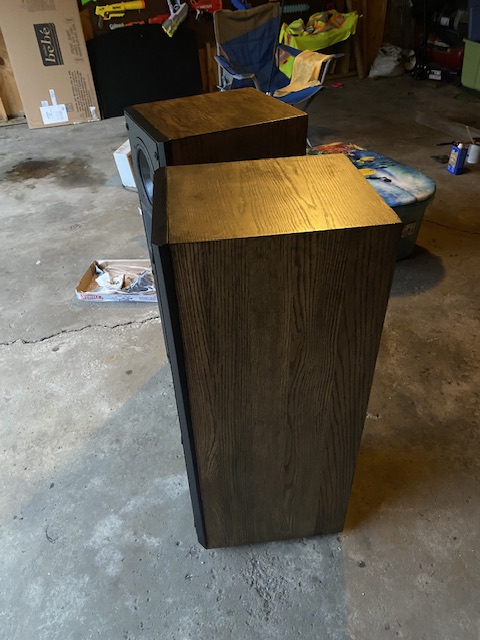
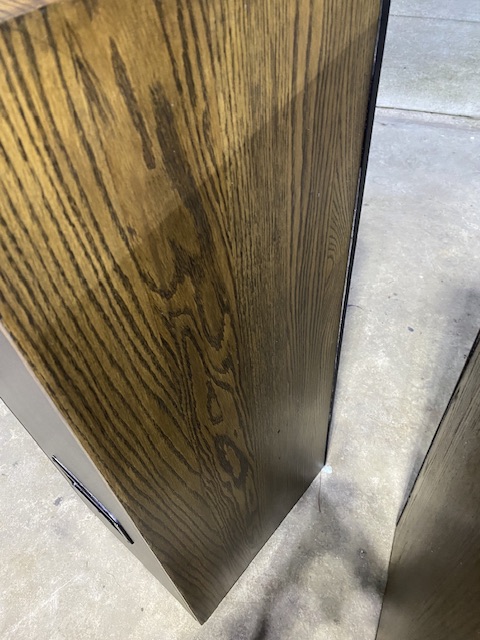
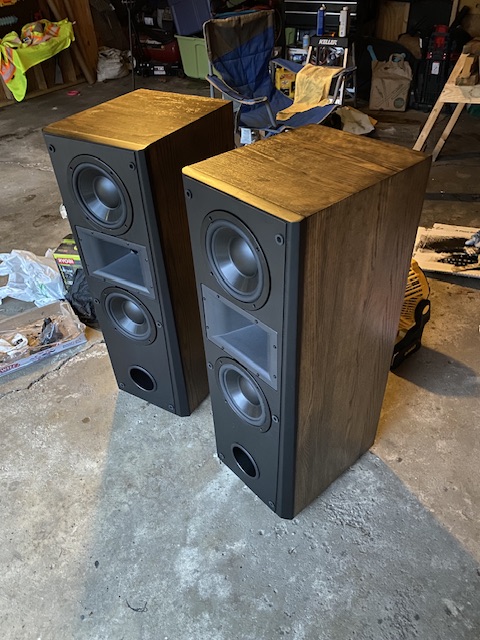
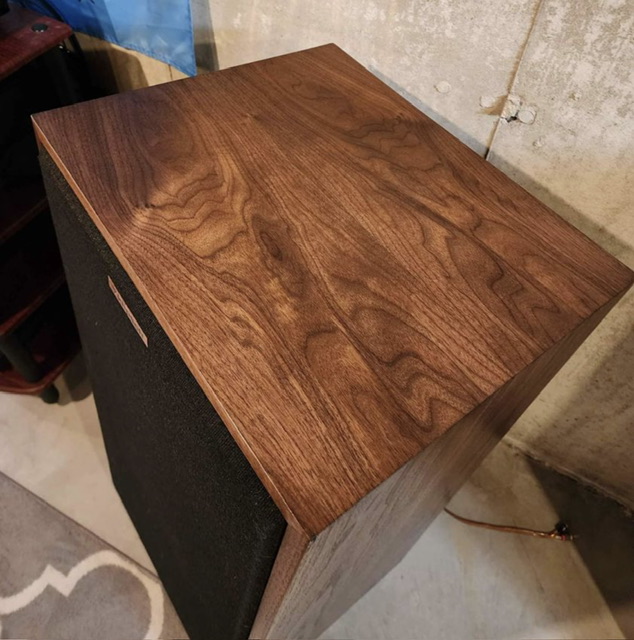
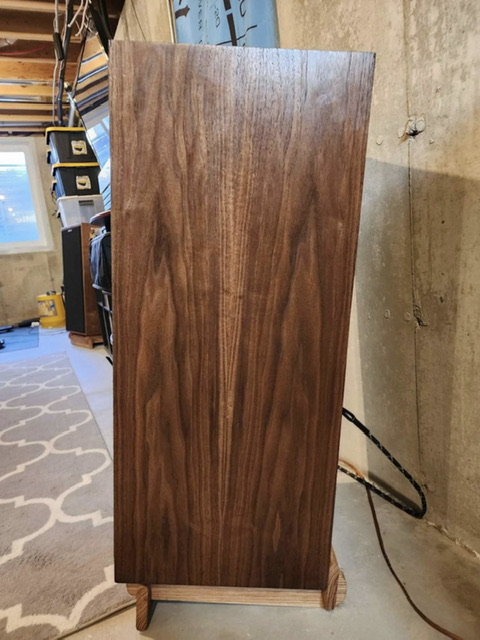
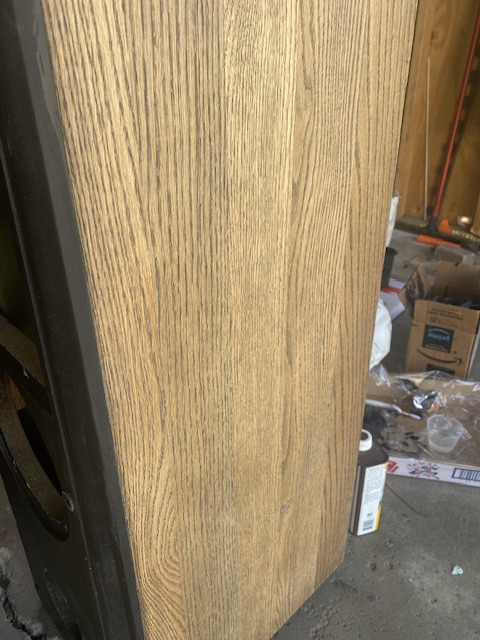
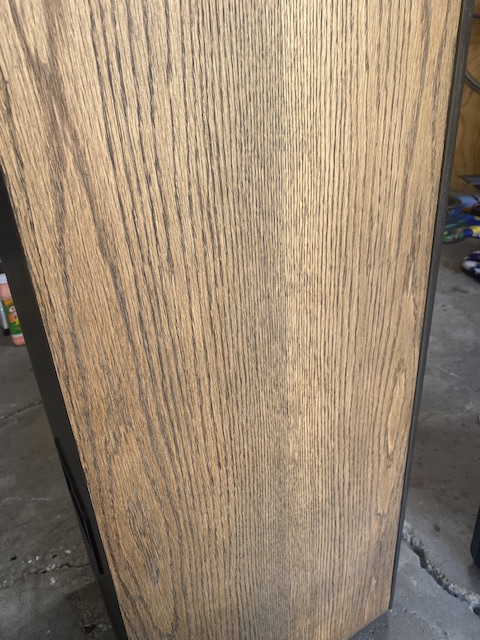
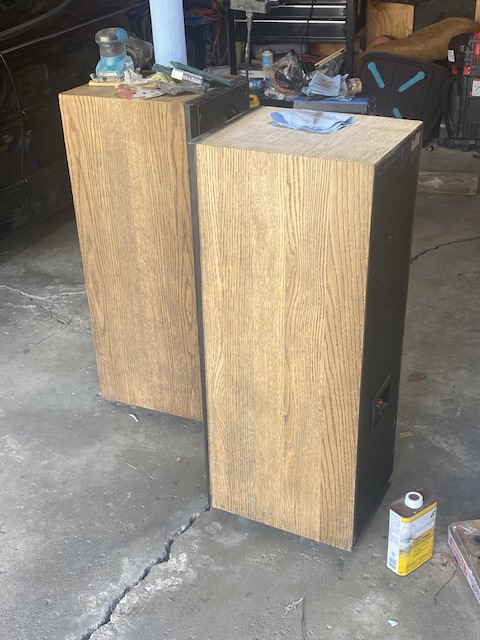
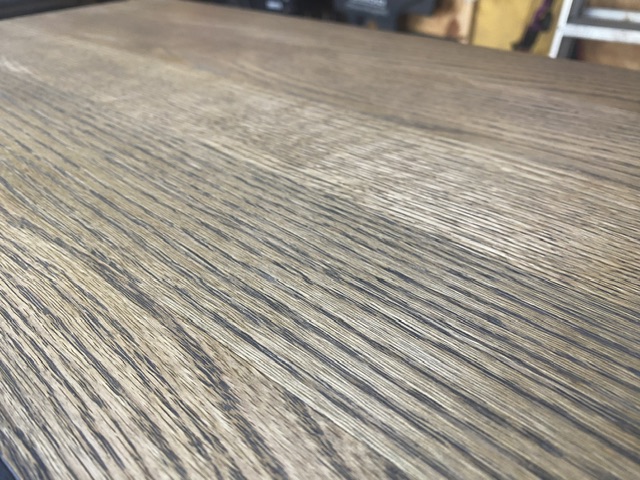
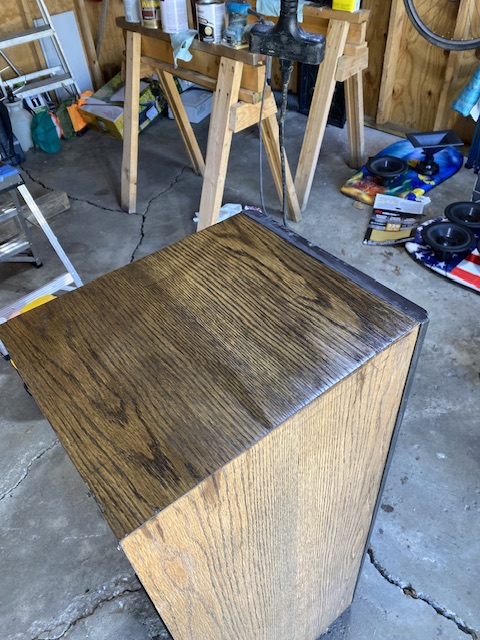
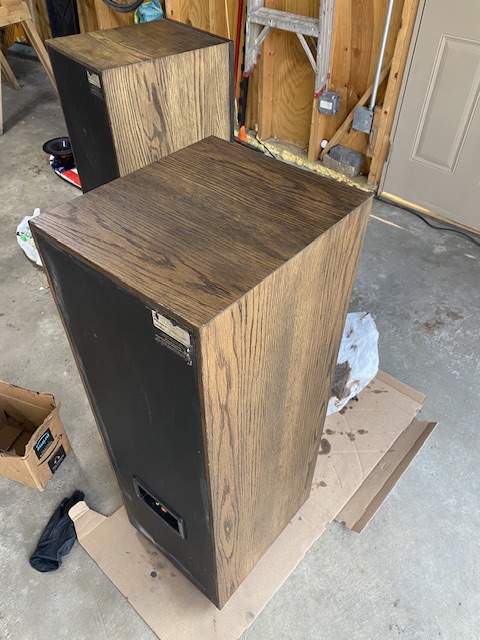
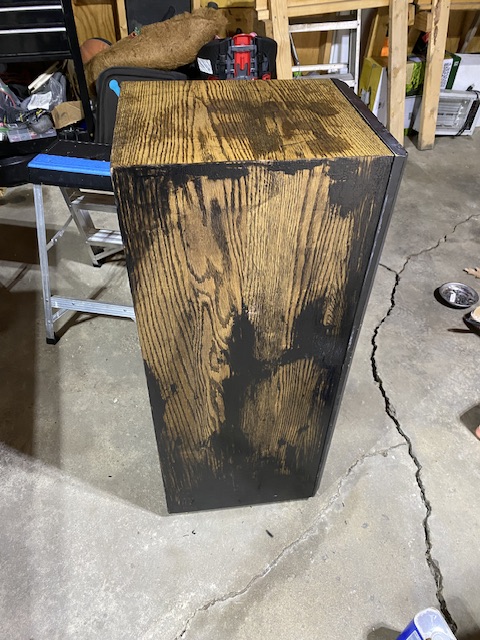
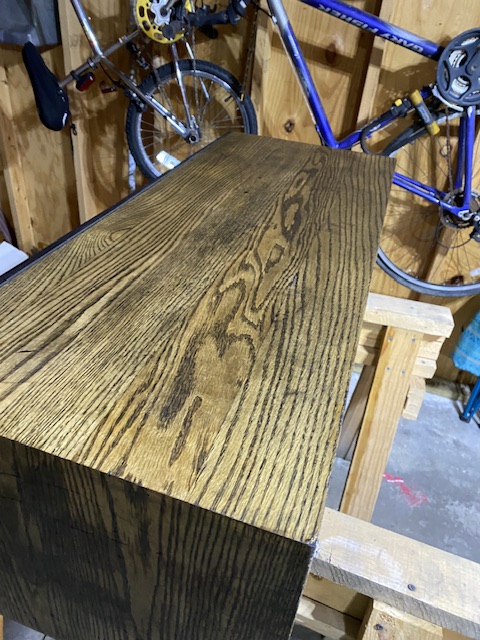
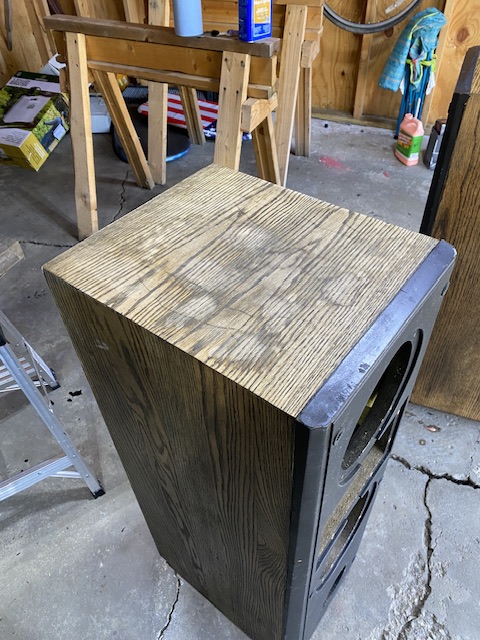
Coming to the end of this restoration. With any luck tomorrow should do it. I did my best to save them from a black recoat, and it’s arguable if I just should have.
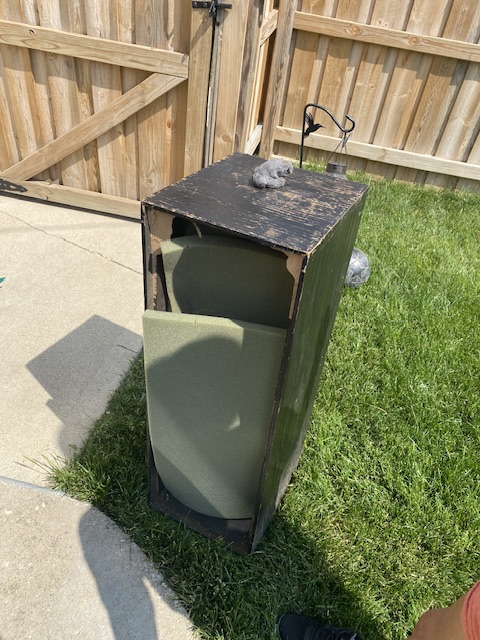
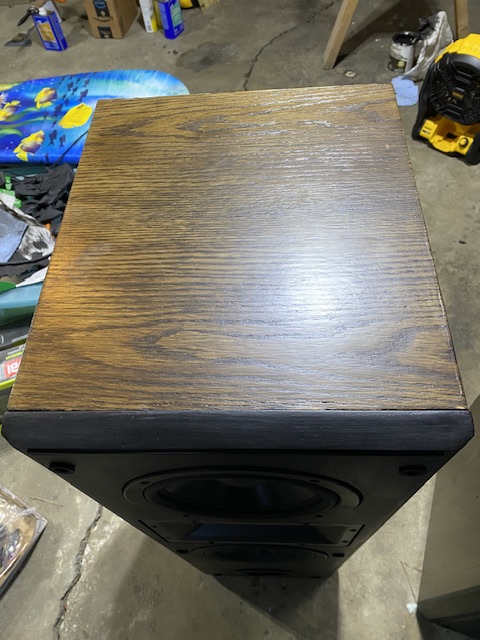
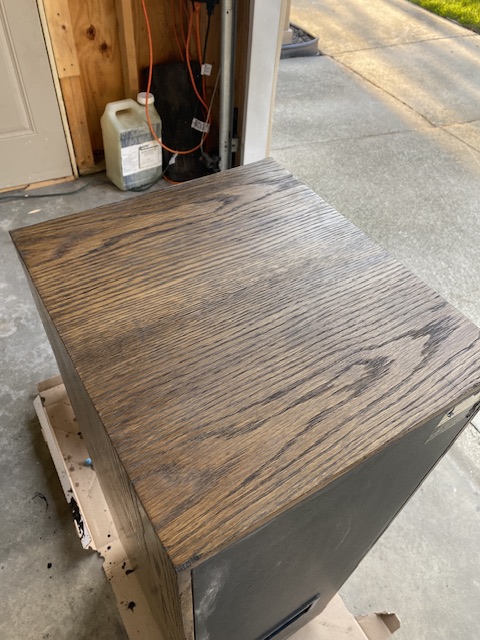
The top of one of them was the main ballbuster, all other wood surfaces were pretty nice. I went with as dark a stain I thought I could get away with that masked the deep set water damage on that one troubled top while still allowing some of the oak’s character to show. Varathane True Brown. I bought Ebony as a backup but I think the former is fine.
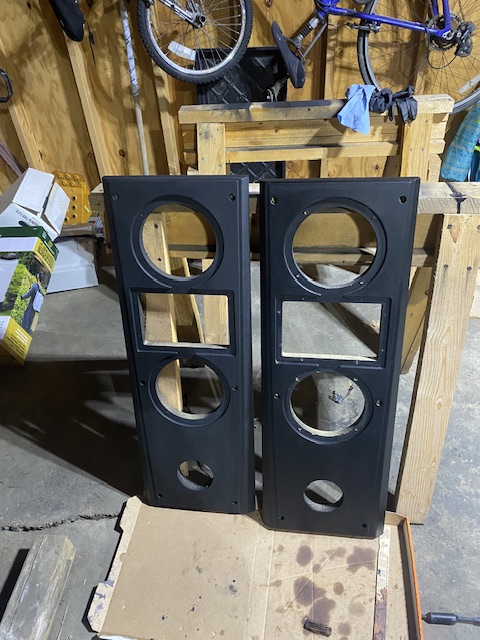
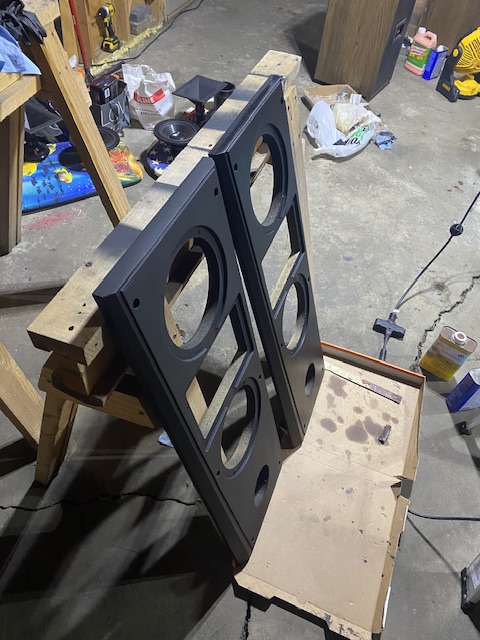
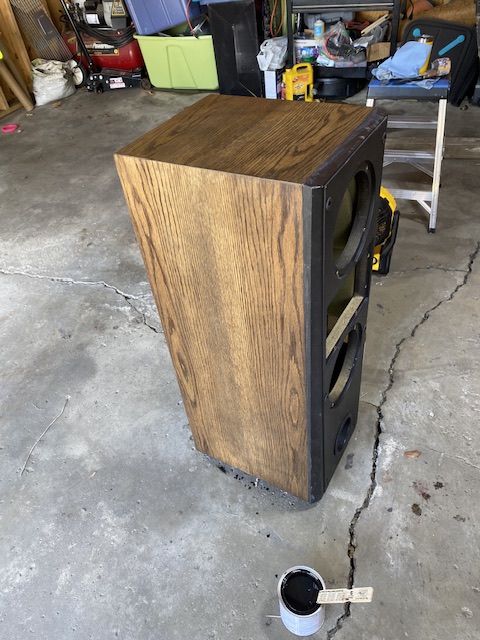
Motorboards were “ok” but the tops were all gouged up. So.. sanded them down to flush then experimented with flat black on one, satin black the other. I feel satin black looks better and resembles closer the factory finish. So one more coat of that on them tomorrow, and the cabinets will get finished in several coats of matte lacquer. Of note on Epic motorboards, either earlier on or with different models, they went from spraying a type of resin to using a single piece mould.
Ordered four 3.54” poly dust caps. I couldn’t find the original 3.25” size in poly anywhere so it was go with the original size in a different material, or keep the original poly look just a smidge bigger. They’ll be here Saturday and so I should have them all buttoned up after they dry on, Sunday.
-
4
-
-
59 minutes ago, Iteachstem said:
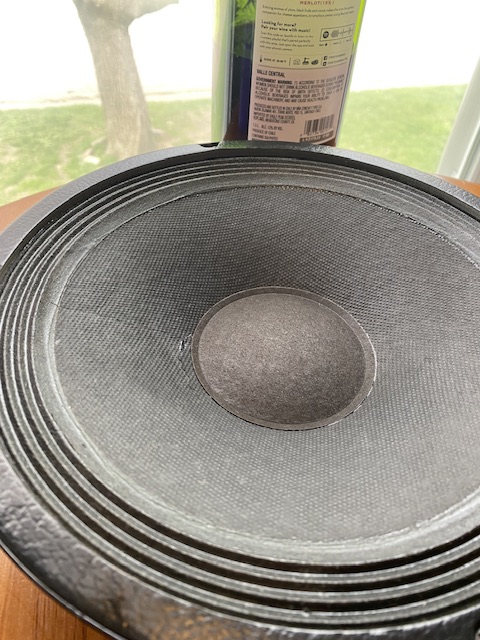
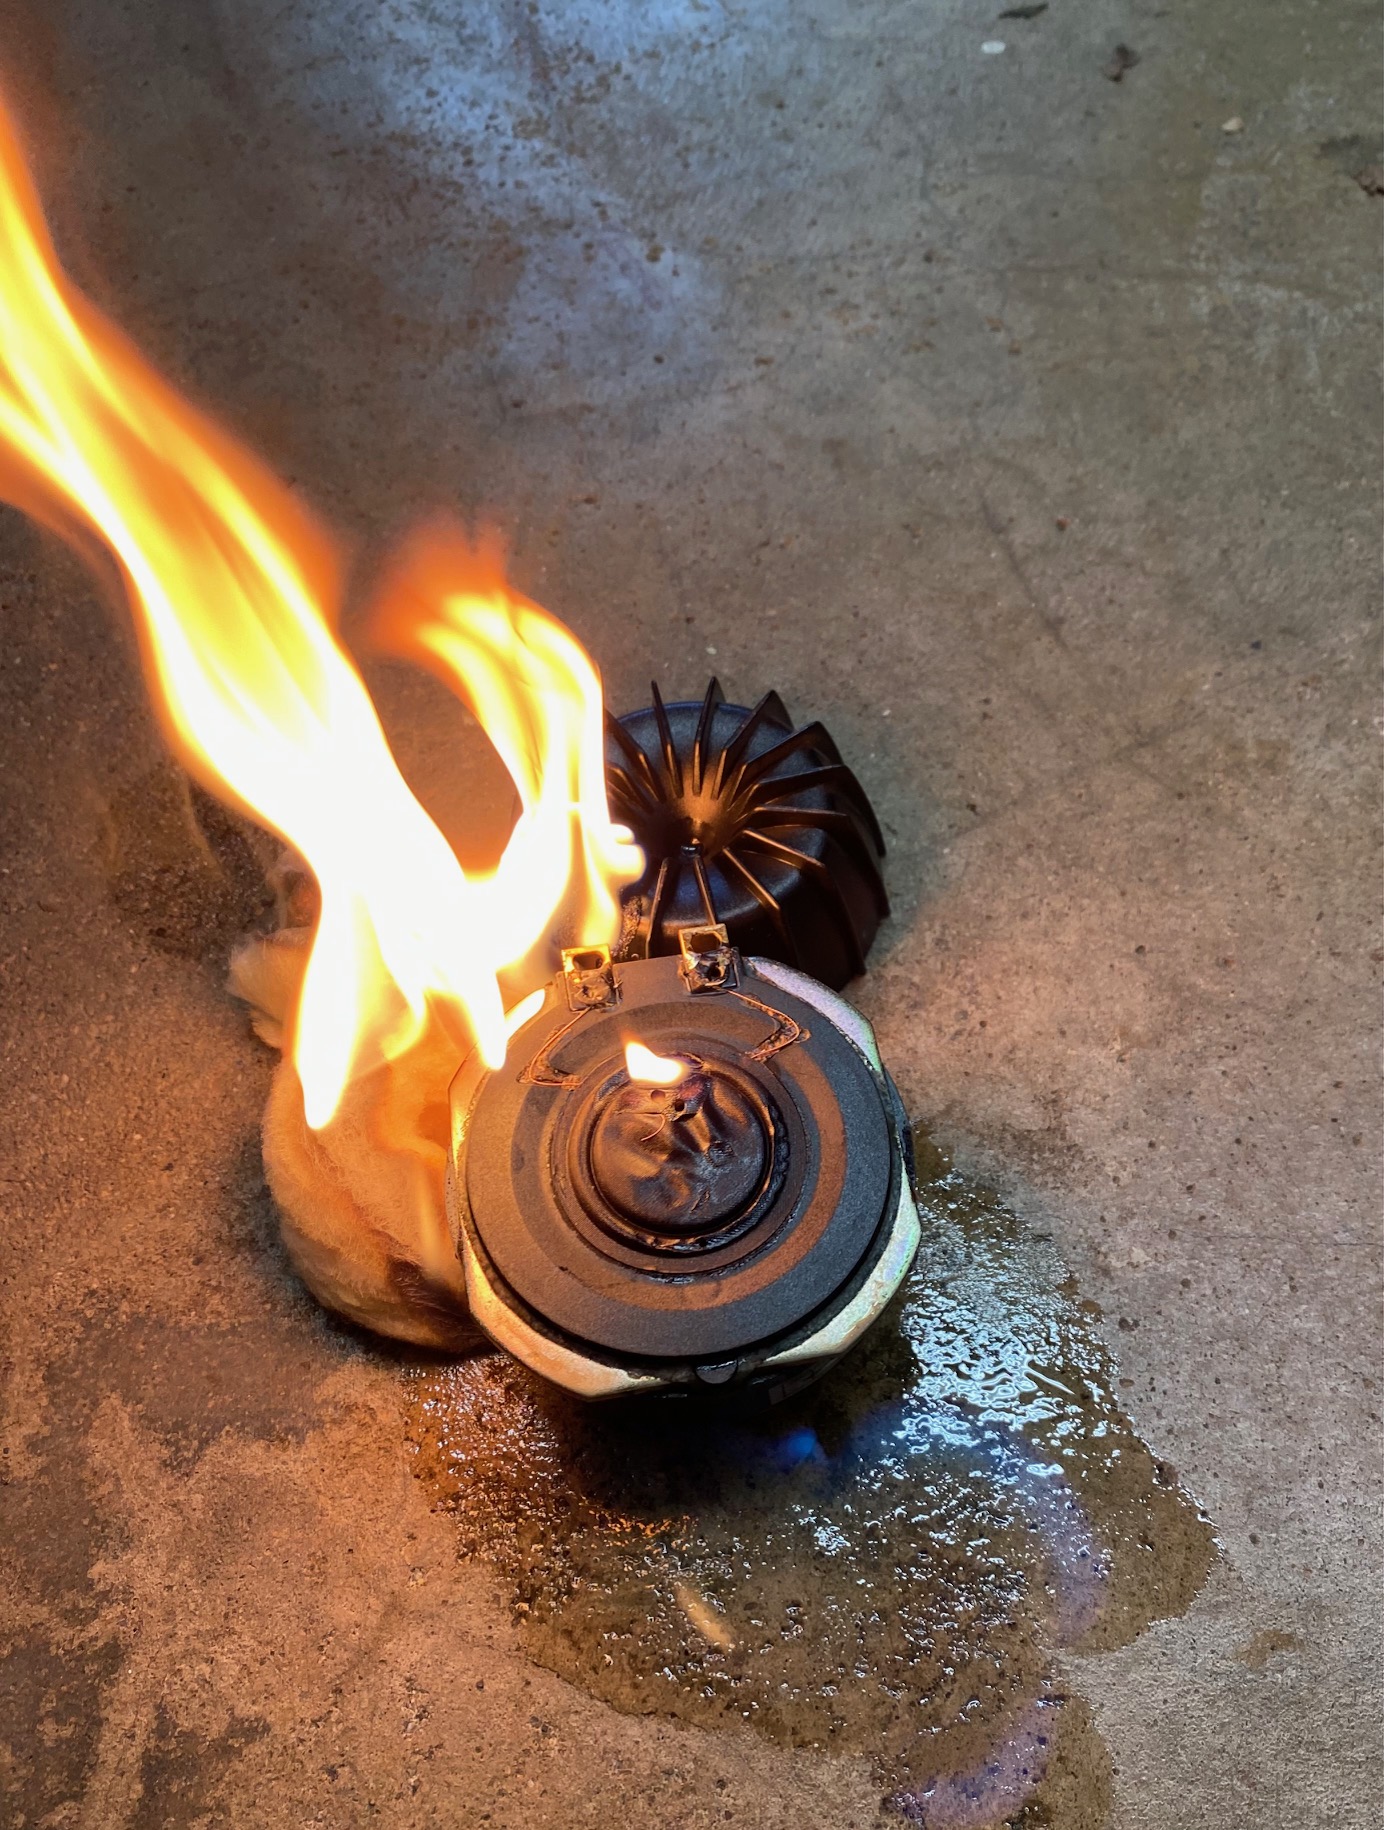
I set this picture up a long time ago to do a parody of many of the adds on the sales apps like CL, offerup, marketplace, etc. The funny thing is that this and another tweeter were in a semi-nice group of speakers (4 towers and a center) that the guy swore were in perfect condition. Withing 2 seconds of him putting on music to demo I could tell that something was way off! 2 out of the 5 tweeters were toast! How can you not tell that? At least he was not one of those guys that swears everything works and only meets you at a public place were he can't verify that everything works. He did make it right and knock off a little $ once I showed him what was wrong.
Tweeter For Sale- Used only twice! Has been in storage for the last several years. It worked the last time I used it. I have no way to test it. Selling for a friend! Excellent condition!
Had a similar run-in with some, let’s say eccentric, individual on his pair of “mint” KG4s. I get there and he’s got crap parked on top of one, of course leaving digs and scratches, most of the dust caps are dented in, they’re refinished in some high gloss black with some of it sloppily on the motorboard—and the kicker, one of the tweeters, completely dead. Mint!
-
 1
1
-
-
On 4/5/2023 at 5:55 PM, Iteachstem said:
The guy said it was in really nice condition. I'm really starting to see a huge gap between what I think is good condition and what the rest of society thinks is good condition
This^ so much. Countless adds with “excellent condition” only to open the pics and see things that appear to have fallen off a moving truck.
-
2
-
 2
2
-
-
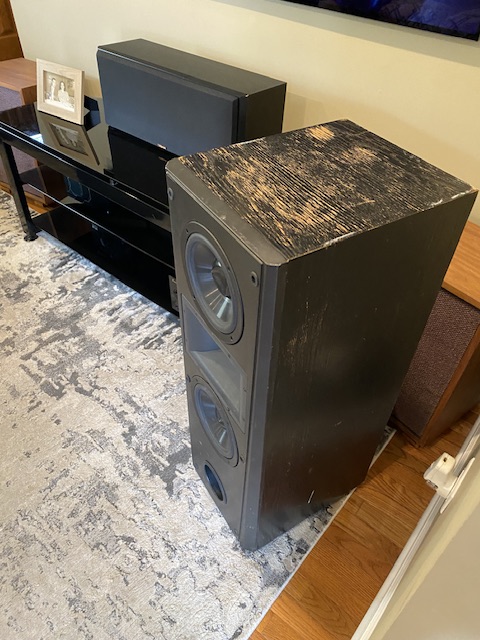
23 hours ago, wuzzzer said:
I don’t have any experience with what you’re asking, but I’d recommend pulling your center speaker forward so it’s flush with the stand It’s on. Pushed back like it is will give you tons of reflected sound from the stand which is not a good thing.
The joys of kids. Perfect center placement, or risk grimy hands and damage.
23 hours ago, Peter P. said:Here's what I suggest: Practice on the cabinet BOTTOM using a belt sander to see how well it removes the paint without damaging the veneer.
Another option is to refinish the cabinets as you mention, but repaint only the top in black.
Last idea would be to have some opaque glass tops cut and placed on top of the cabinet. Heck; you could even use self-stick pantry shelf liner material.
The most extreme repair would be to remove the veneer from the top only and apply a new piece.
Or better yet; position them upside down!
Good call on bottom practice. I intend to use it to sample final finishes.
Black top only would drive me nuts lol I’d sooner do the tinted glass top.
Upside down CFs would look pretty funny! Port up in the air with 4 large spike feet holes in the bottoms, err, now tops.
21 hours ago, jjptkd said:The veneer is very thin if you sand too far you'll lose the wood grain and end up with smooth spots.
Yep. Whole purpose of this project was to cut teeth on the procedure. So far so good, mostly!
-
2
-
-
Went to a woodworking forum and plenty of folks talk about using a power washer on low setting to extricate all of the paint out of the grain. This, after stripping, and or lacquer thinning, MS, then acetone.
-
1
-
-
What did you do originally to restore them? Is there big missing hunks of walnut anywhere? I wouldn’t think about a re-veneer unless that is the case and you didn’t post any pics like that. I wouldn’t nuke them with duratex as they’re beautiful walnut.
Without more context and pics, possibly just turpentine and a re-oiling? I’m with Dean on the character marks on top.
-
1
-
-
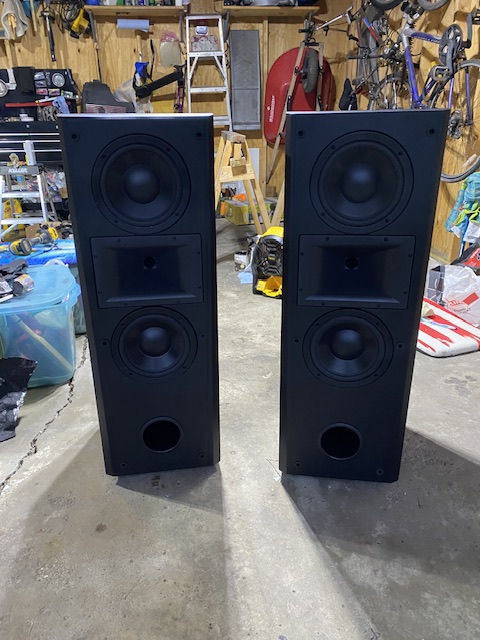
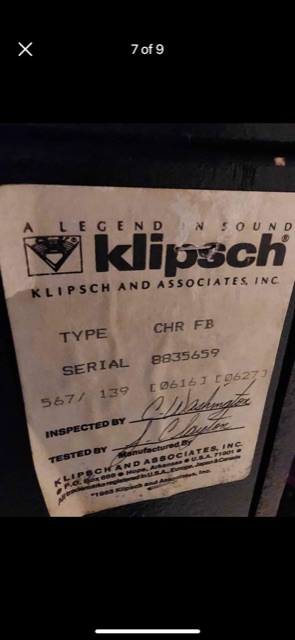
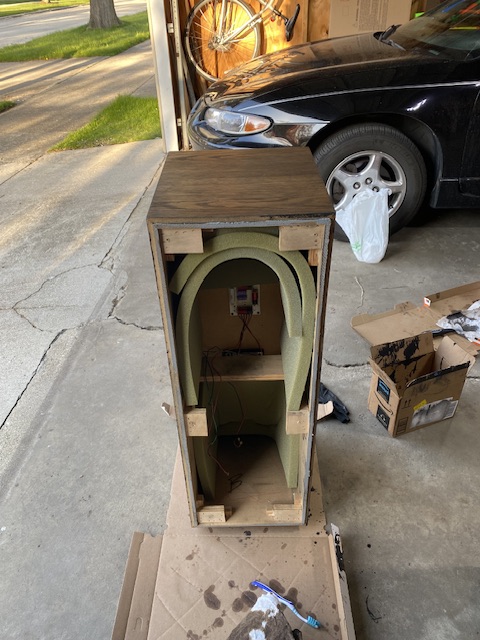
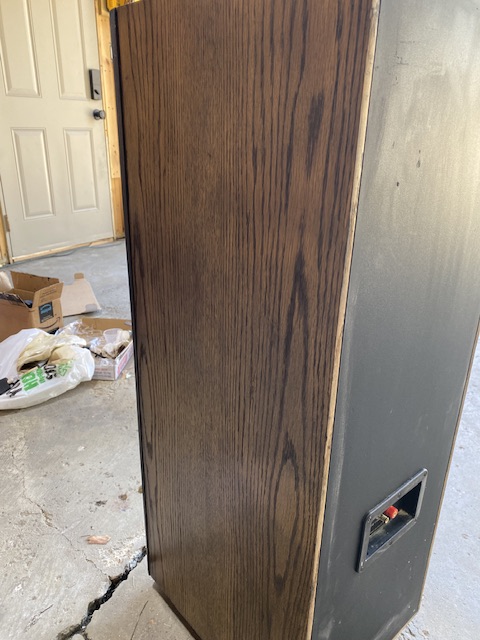
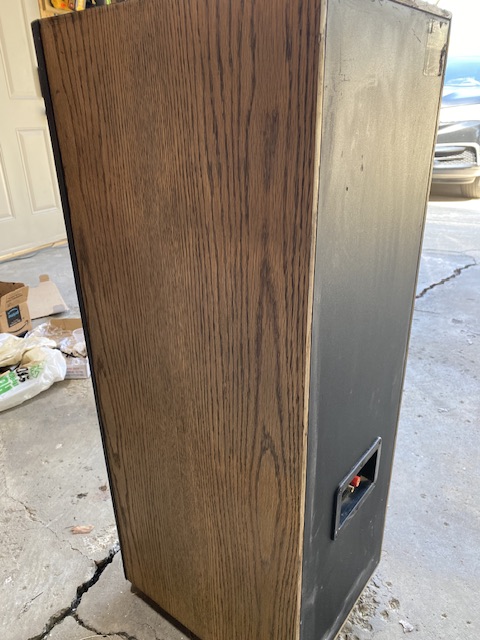
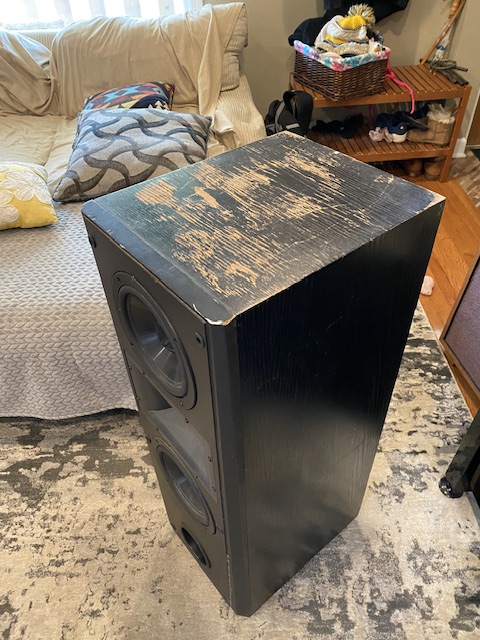
Grabbed a pair of sonically perfect, perfectly ugly CF2s for $80 (the diaphragms in these in case my CF4s ever needed them was worth the cost alone) and figured I’d cut my teeth on attempting a little restore. The satin black is soaked in pretty deep as I’m currently doing strip, wipe with mineral spirits, repeat. One of the tops revealed some ugly liquid damage once the top was stripped off and I’m wondering at this point, how far I could actually sand down or if I should just leave them as be and refinish in fresh satin black. I would kind of like to use a nice walnut colored stain, but it might not be the best idea if I can’t get this top looking right. What do you all think?
-
2
-
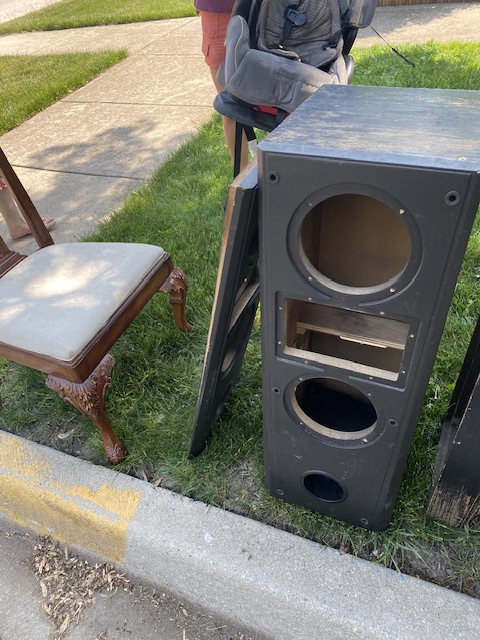
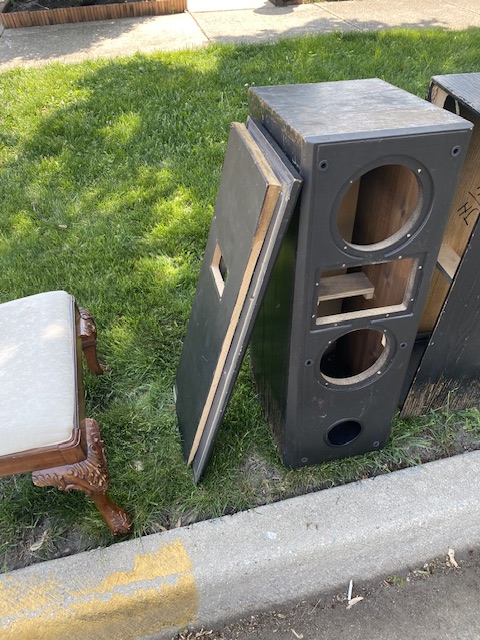
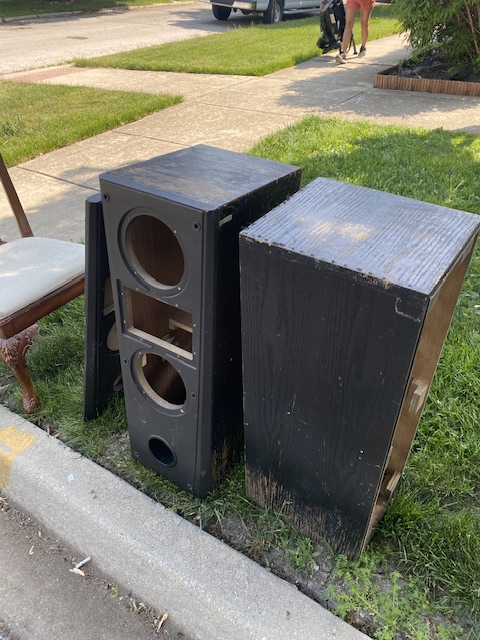
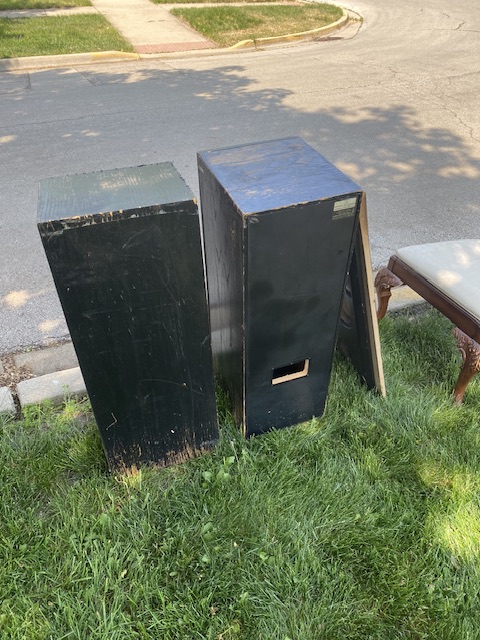


GONE
in Garage Sale
Posted
Free to a forum member everything included. If no takers, I’ll probably keep the insulation, grommets, feet, and port tubes.