RobBeamer
-
Posts
37 -
Joined
-
Last visited
Content Type
Forums
Events
Gallery
Everything posted by RobBeamer
-
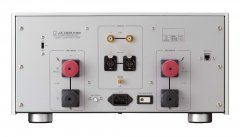
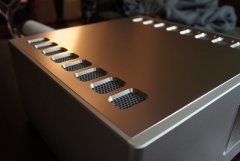
Luxman M-800A - 4 Rear Panel/Stock Photo
RobBeamer posted a gallery image in Members Albums Category
From the album: Luxman M-800A
Forgot to take a picture of the back before installing it so grabbed one from the importer site. -
Wasn't a planned purchase and doesn't fall cleanly into my current plans for any of my systems so might just sell it on after a few months. Cool enough piece of gear I thought it would be worth posting some pictures and observations while I do have it. Observations will accompany the pictures as I post them. It's a work in progress. I think I'm close to figuring out how to sort these the way I want but if you want to go through them in my intended ordered the naming convention starts with Luxman M-800A - 1, Luxman M-800A - 2, etc.
-
-
From the album: Luxman M-800A
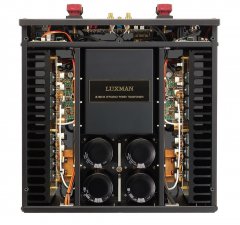
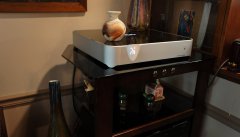
So back to the power rating. While Luxman does only rate it at 60x2 that rating is at extremely low distortion and given as doubling all the way to 1 ohm (60, 120, 240, 480). The real maximum numbers are much higher than that with Stereophile getting 160 at 8 ohms, 260 at 4 with both channels driven and 480 at 2 with one channel. Still not massive numbers compared to some of the big boy amps including the massive Krell monos I used to have but it at least begins to explain why all the reviews for the M-800A spent so much time commenting on how well it does even when driving fairly difficult speakers and even when compared to megawatt amps some of those reviewers had on hand for comparison. The class A numbers are worth commenting on. This is the only amp Luxman gave the "Pure Class A" designation. While John Atkinson speculated that it was transitioning to class B when driven past that first 60 watts .... 60 is a pretty good sized chunk of class A watts. Especially when you compare it to the current M-900u which replaced the 800, looks nearly identical in the stock photos with the top plate removed and only does its first 12 in class A. Even more impressive that the massive M-1000f monblocks only do their first 30 in class A. These are all Luxman numbers and based on the fact: That the power consumption at idle lines up as you would expect for those given numbers and ... That the amp has done a really nice job of heating up my normally cold basement while just sitting there looking pretty I'm guessing they are accurate. -
From the album: Luxman M-800A
The M-800A and it's monster big brother the B-1000F were developed as part of their 80th anniversary celebration and signaled them also attempting to be part of the US high end market again. A few years ago when I was in a fairly constant upgrade cycle and, at the time, had a pair of the Thiel CS3.7 that don't allow bi-amping so I was looking for something with a bit more muscle and leaning towards monoblocks. An online seller that deals with mostly used high-end items had two of these listed. One was near perfect and the other had a significant but not unsightly gouge in one side panel so I could have gotten the pair (they bridge into pretty beastly monos) for well under what the MSRP for one had been. My general rule is that I can rationalize throwing down a fair chunk of change on gear so long as I feel confident that I can get most or all of that money back out of it if I sell it on at some point. And that was the problem. With Luxman really just back in the US market and no real guarantees the new ownership was fully committed to re-establishing them in the high end market I was afraid they would disappear and kill the value of the limited line they had released at that time. While anguishing in indecision over the 800s a pair of very nice Marantz MA-9S2 showed up at Audioclassics with a great price relative to the original MSRP so picked those up and lived happily with them for a number of years. But I had spent enough time obsessing over the Luxman and reading through every bit of information about them I could find online .... the M-800A always stayed in the back of my mind to keep an eye out for but you just never see them for sale any more. -
From the album: Luxman M-800A
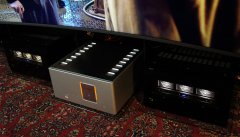
While I have been looking for another amp to add to the system in my big room something like this wasn't even remotely on the list. In fact, I've actually sold off some things to simplify the system (a relative term with this rig) including two pairs of monoblocks (Marantz MA-9S2 and Krell 650M) I was using to bi-amp my V1 Revel Salons. I currently have a Marantz 8802A in the room which is a fairly nice piece of gear that I got a good price on and let me start arranging things for the immersive audio formats while waiting for something with more channels/flexibility and a little better in the analog section that doesn't cost as much as a new car. I really like the big Denon POA-A1HDCI amps that I've had forever (amps on either side of the Luxman and there's a third, now in the back of the room, that the Luxman replaced) and mainly just wanted another one of those but they're getting increasingly difficult to find so had expanded my search to other high powered amps that might physically and aesthetically fit into that middle spot allowing me to move one of the Denons to the back of the room to power the rear surrounds and other effects speakers. So how does a pricey high-end amp that the manufacturer only rates at 60 watts x 2 into 8 ohms find its way into that middle spot? Click through the pictures if you care to find out. -
Thanks. I want to run some model from the Palladium line (probably the bookshelf as I don't have a convenient spot for the towers) through one of my systems at some point. Wish I'd picked up something when they were on clearance everywhere as it's pretty rare to find them coming up used these days.
-
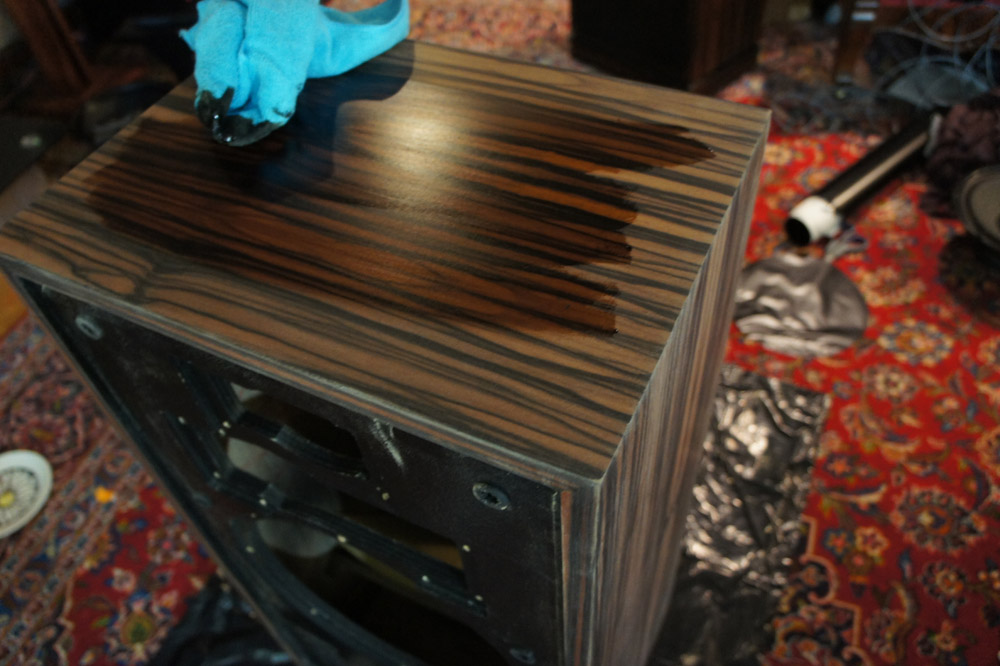
Thanks ... and thanks for all of the other positive comments. I had a range of different grit paper when I was experimenting on the first pass but ultimately figured out that using 120 to get through the lacquer and scratches and then 220 after that to smooth it out was all I needed for where I wanted to be. The 120 on that hand/mouse sander wasn't too aggressive and actually takes a number of passes (sanding, wiping them off, sanding, wiping them off ... etc) to get through to the actual wood. Which is good I think otherwise you might sand right through something you didn't want to. Then the 220 (still using the mouse) just to remove any of the fine marks left by the 120. Thought about switching to something a little finer and doing it with a block in the direction of the grain after that but it was getting late in the day on Saturday with rain in the forecast for Sunday so just stopped there. And even looking closely after finishing it all up looks good to my eye so probably wasn't necessary to do any more. I used Minwax Provincial 211 because I already had some but probably anything on the dark side would work. Even though the wood looks really pale after the sanding I think there's a fair amount of the factory staining still in there and the little bit of the stain I used just seems to bring it back to the original color(s). One thing I figured out that helped on the second pass was, because it's a dark wood, if what's coming up from the sanding is still light colored you're still taking off lacquer. Once it starts turning brown you're through to the actual wood.
-
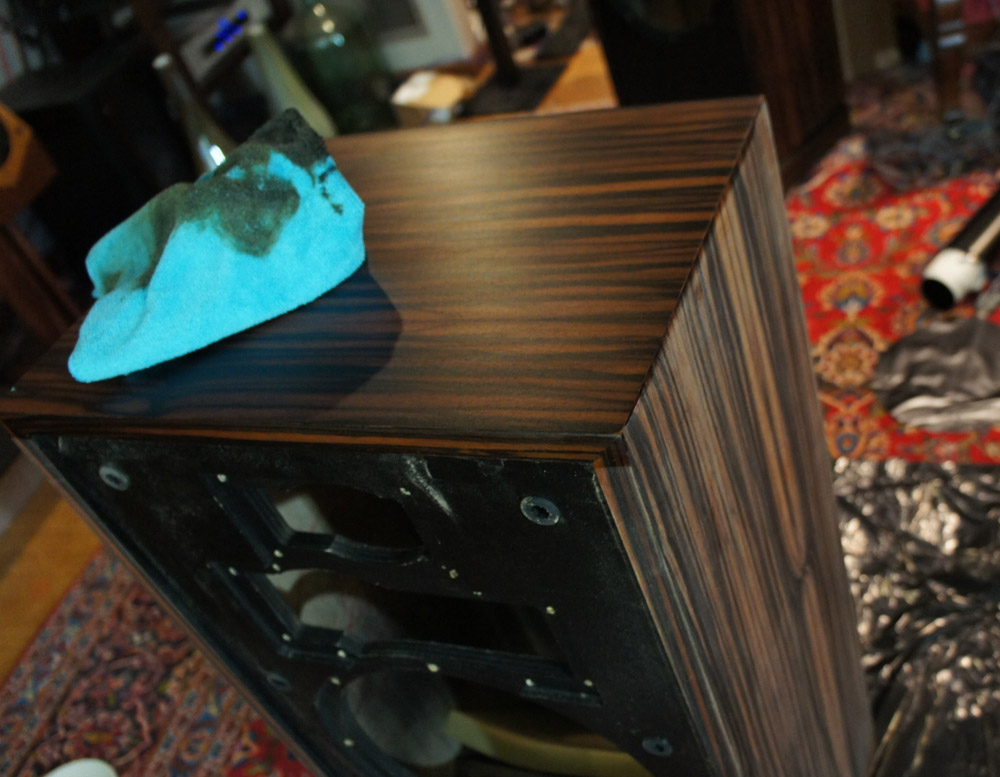
Gave them a week to fully dry and did some more touchups on the finish during that time along with working on the grills to try and get them looking close to new. Used the Howard Feed N Wax on them and like the results. Since the staining was done recently they already had a good amount of "pop" so the change with the wax was subtle but I like it. Evens the finish out and makes it look .... rich ... for lack of a better word. As good as (I think) they look in the pictures they do look better in person. Overall very happy with the results and done f'n with them for a while.

-
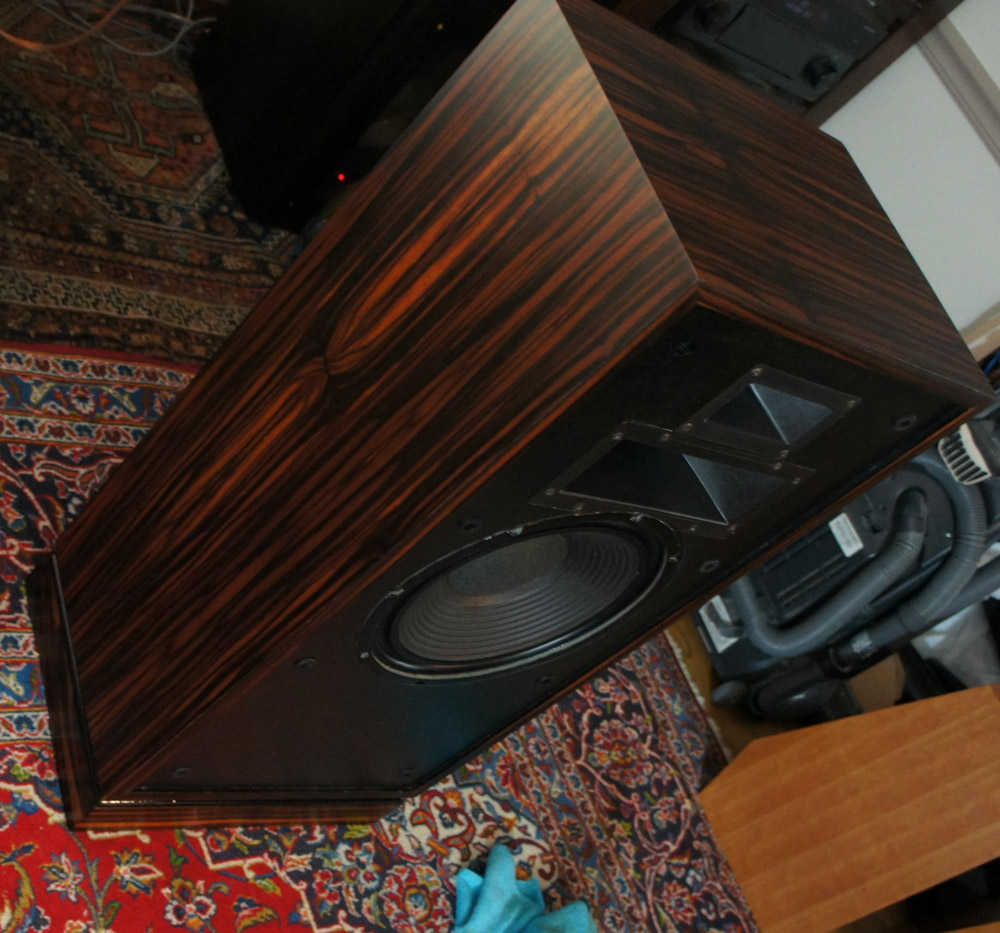
Did a few things before putting them back together .... some a little OCD: Touched up the more noticeable spots. Where the veneer chips if you can see the glue that holds it on it doesn't soak up the stain at all and really stands out. I just use a marker on those spots and wipe off the excess. Shiny paint on the cardboard/fiber part of the woofer frame didn't look great so used some satin black vinyl wrap on those. Black paint at the top of bases was a little dingy so used some gloss black vinyl wrap to see what it would look like. Pretty subtle but glad I did it.
-
After giving the stain just an hour or so to sink in a bit used a clean microfiber to get them mostly dry. Used a fair amount of force with the grain then left them overnight.
-
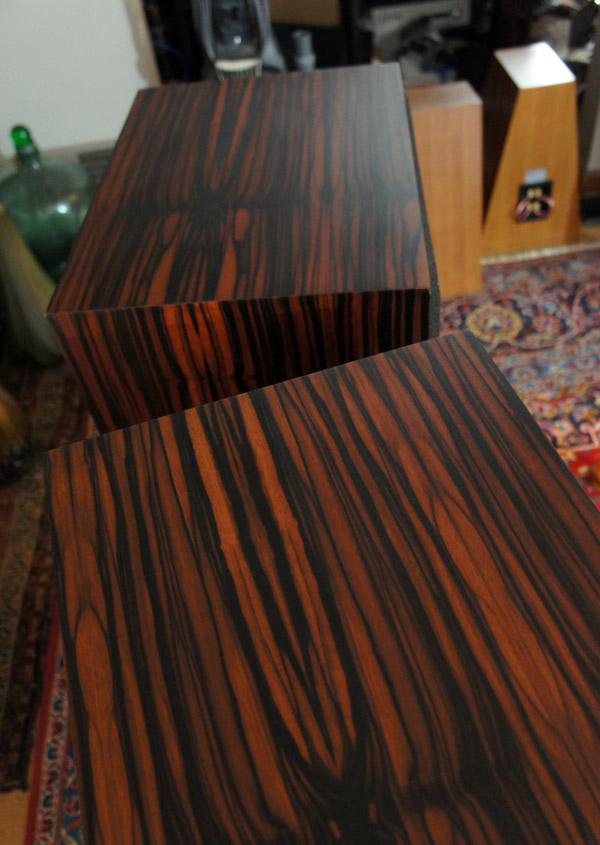
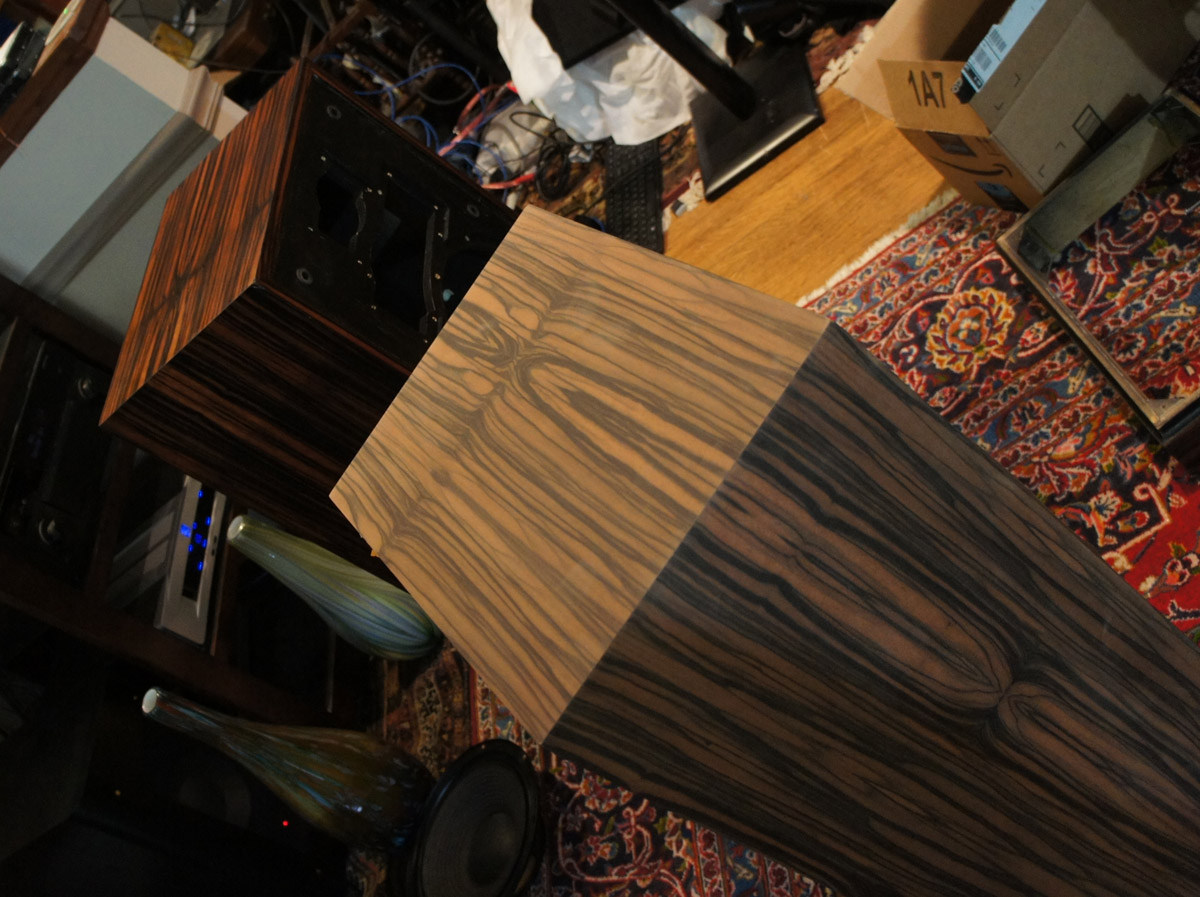
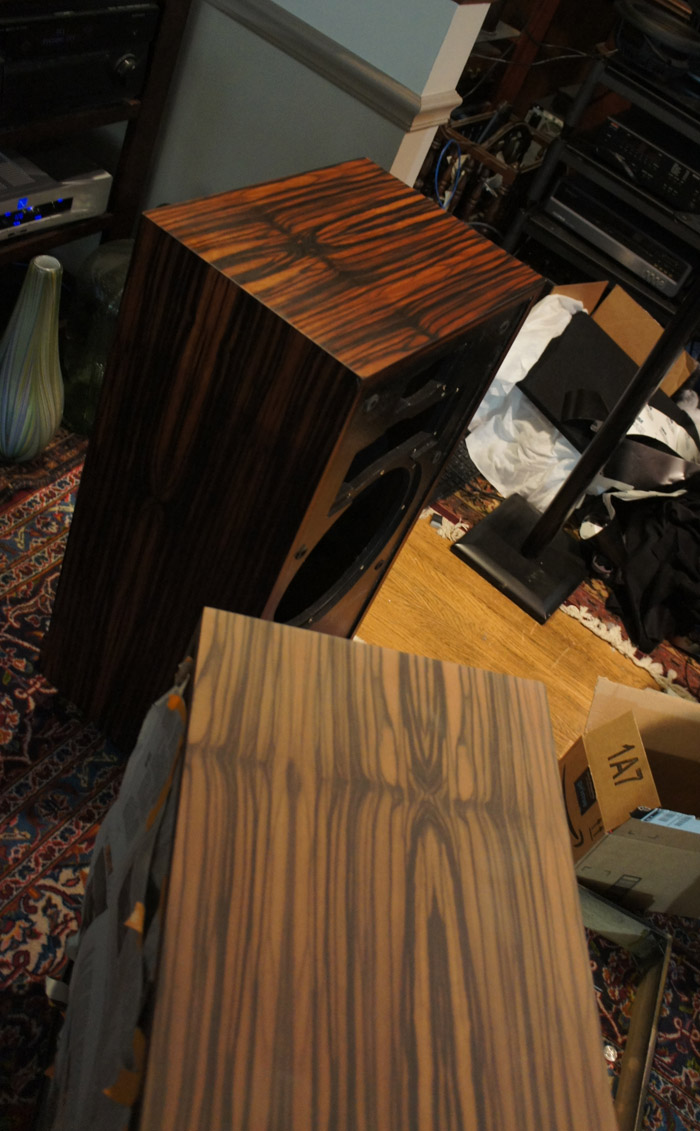
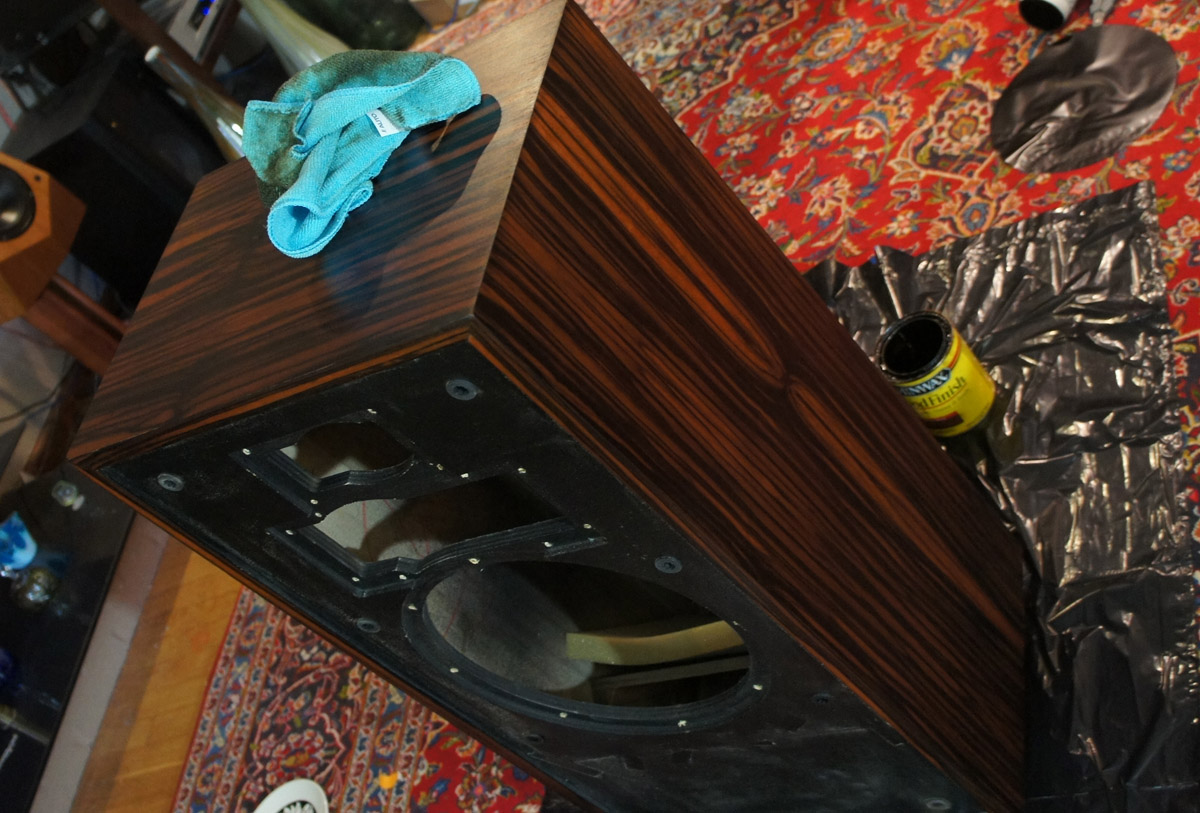
Just a couple showing the first one post stain next to the second pre stain
-
Then put on my plastic gloves and applied the stain. I just dip a microfiber in the stain and then spend a lot of time rubbing it in to make sure it's even. Lots of forceful strokes with the grain so, by the end of this step, there sin't much excess remaining.
-
Caveats and disclaimers: I have no real skills related to anything I did with these so don't take any of my descriptions of what I did as an indication of how I think it SHOULD be done. Someone with real woodworking talent (and less of an issue with delayed gratification than myself) could have made them look better and "more new" under close inspection. Also, since these really were not looking good at all as they were I didn't have much to lose. If I were starting with a pair that had been in better condition I might have approached it differently. Gave some thought to trying repair (rather than hide) the corner dings where a bit of veneer was actually missing but had no confidence I could do a good job of it without a lot of effort and one of the plusses of this wood is that the dark stripes are so black it makes touching up little spots with just a black marker (it just blends with the stripes) pretty easy and effective. So I went the easy route. I mostly just used one of the little mouse sanders because 1) I already had one and 2) wanted to have enough control that I didn't accidentally sand too far in any spots. Because I didn't really know what I was doing I ended up applying uneven pressure around some of the edges which had the affect of exposing the "seams" of the veneer on the edges/corners. Just a tiny bit but enough to annoy me. It was pretty easy to touch up but if I had thought about it during "Phase 1" I would have been more conscious of keeping whatever sanding instrument I was using flat and even which I did try to do this last time. After round one I had done a pretty complete job of getting rid of the nasty lacquer from my old refinish job but there were a good number of spots where I hadn't made it through the original finish because I was a little nervous about going too deep. They still looked good but you could see where it made the finish uneven .... especially from certain angles. Wanted to be more throrough this time and do a better job on the final sanding with the higher grit paper of getting things nice and smooth.
-
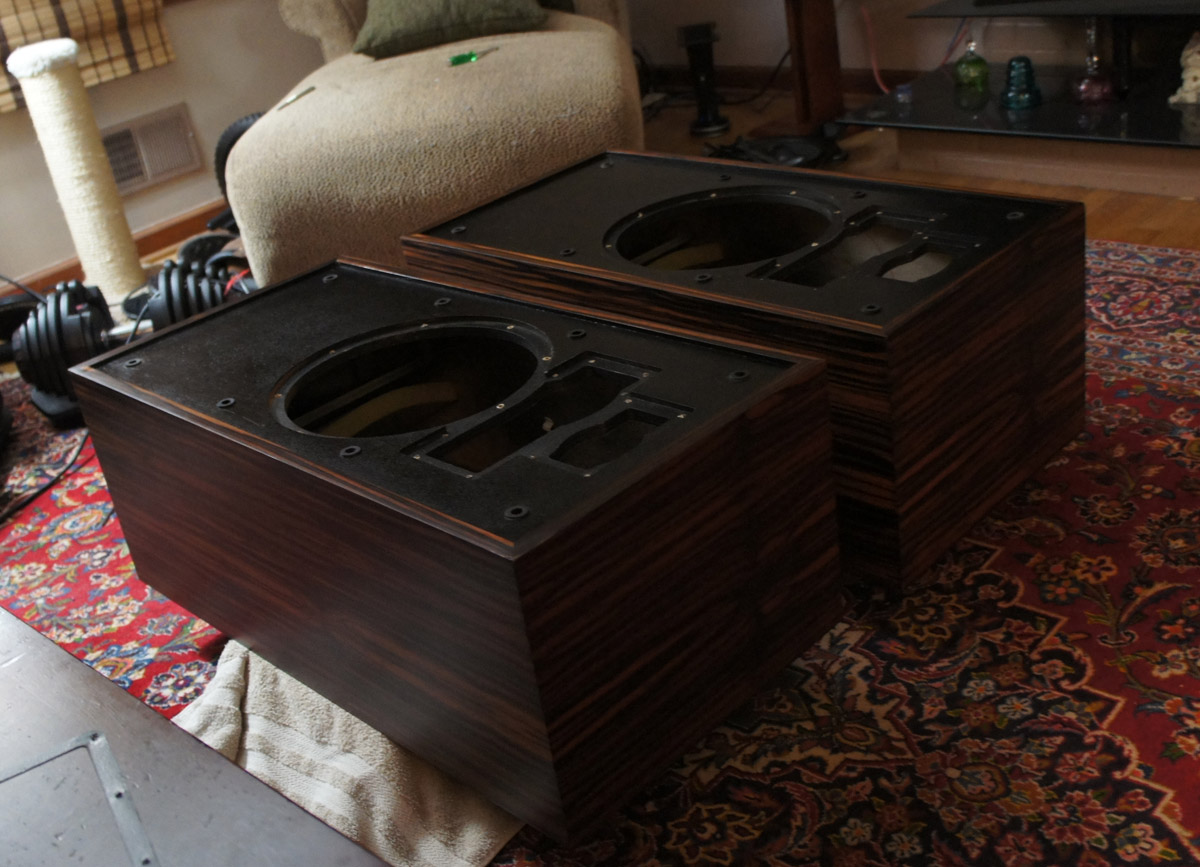
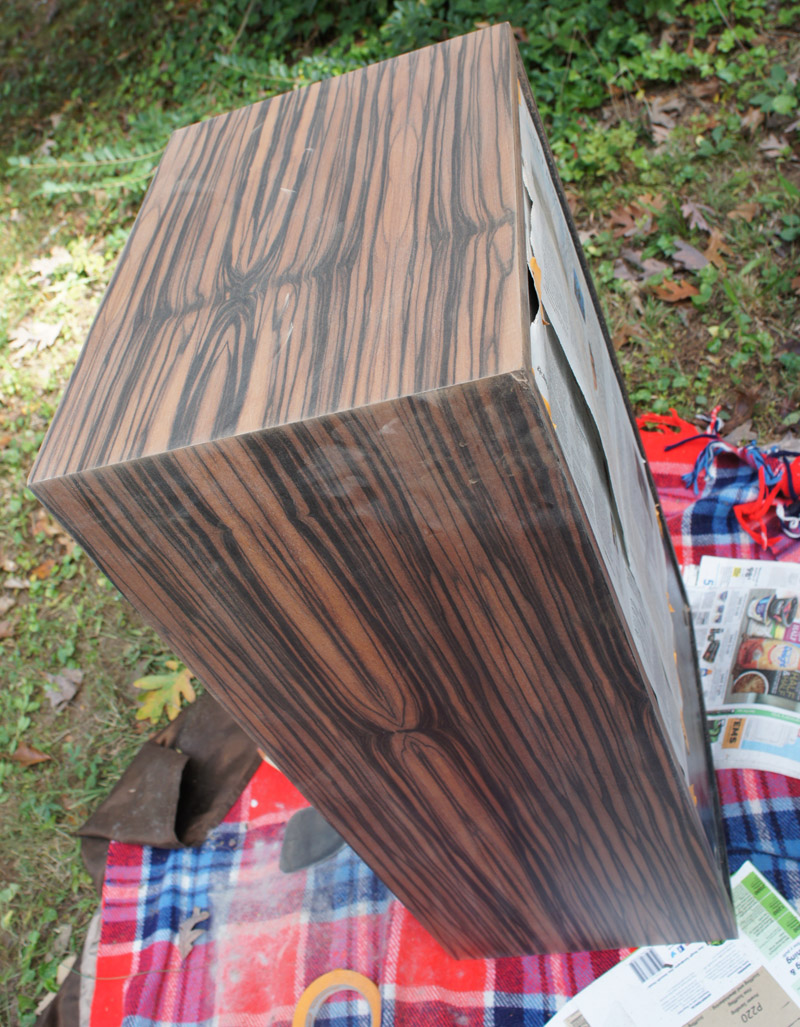
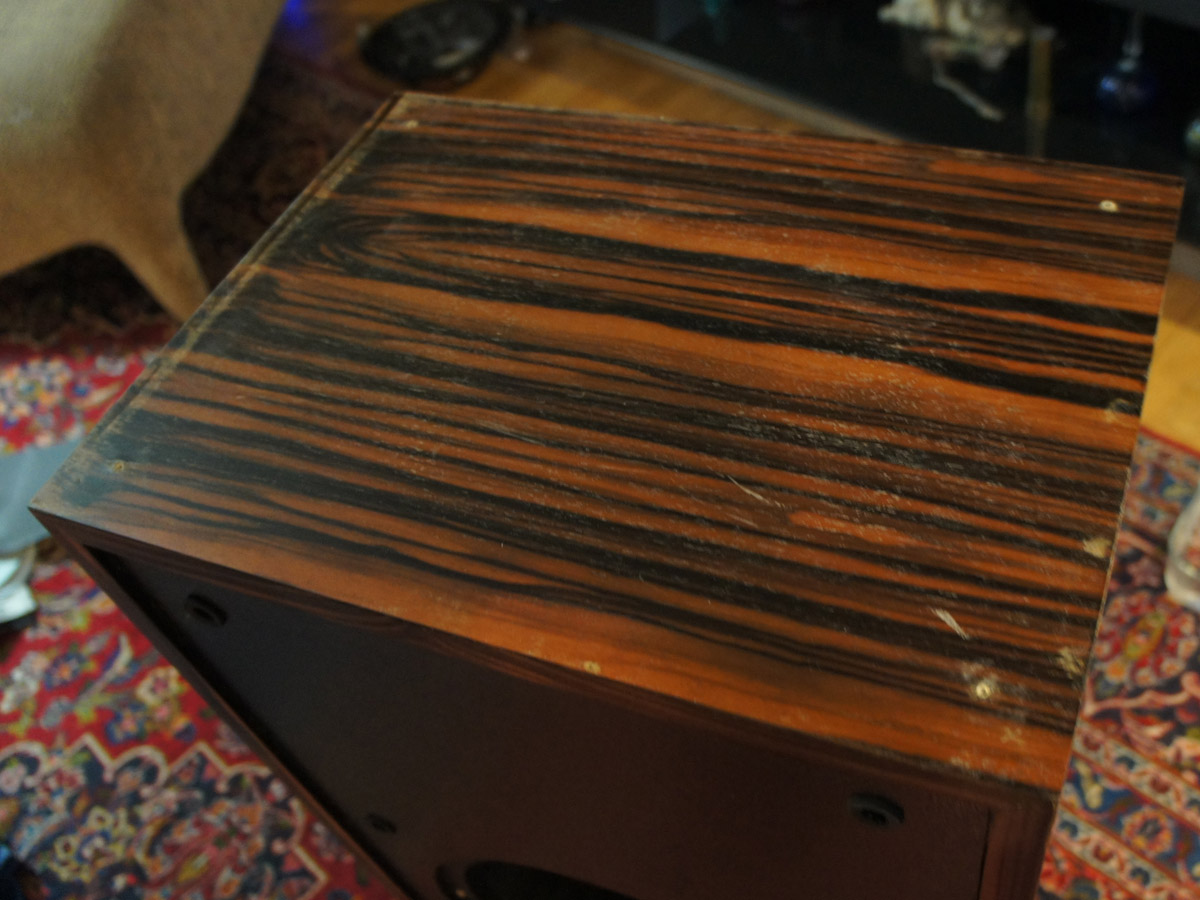
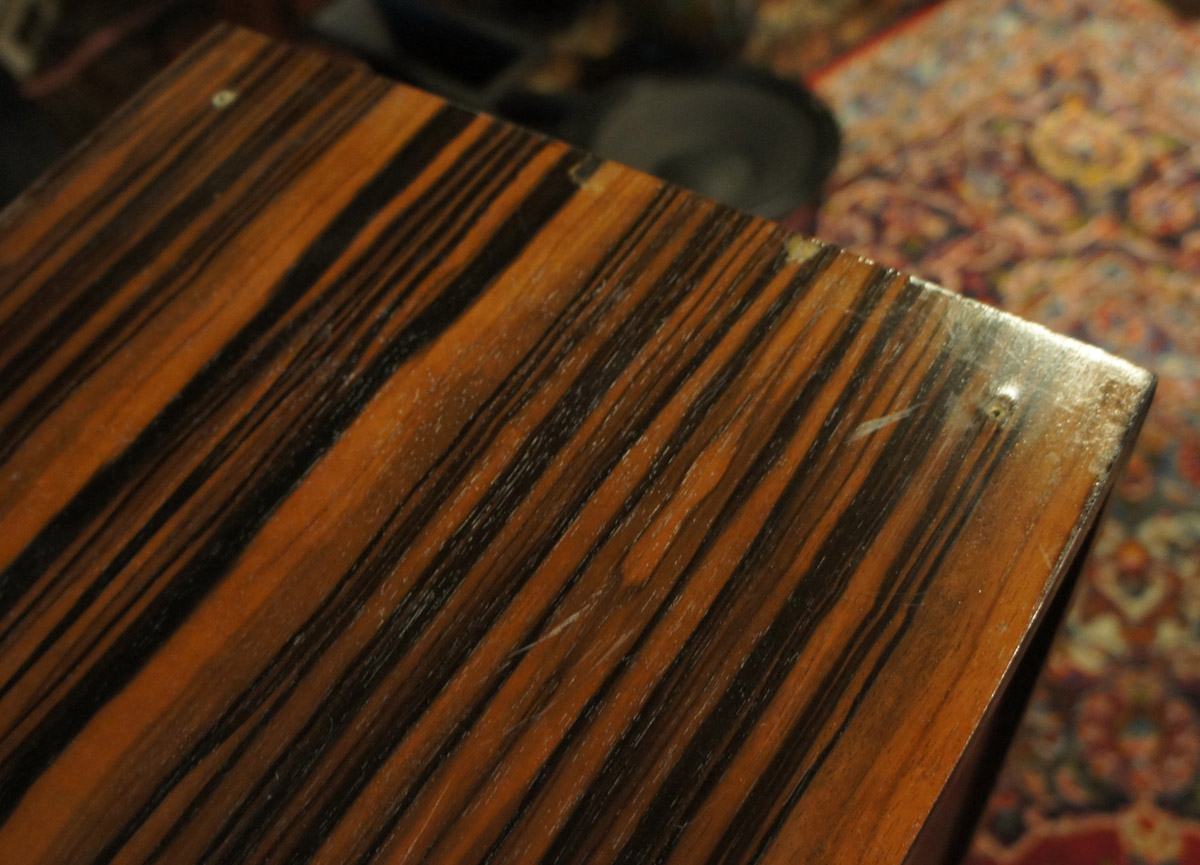
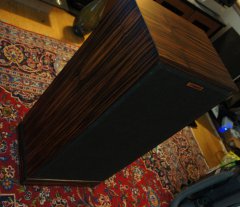
Ended up taking a while before I got back to doing a more thorough job on the Fortes. Even though I could see a number of spots that needed attention I decided to wait a bit because ... Was having trouble deciding what I wanted to do with the finish when done (reason I originally started the thread) They looked great from a few feet away and was enjoying them enough as-is I didn't want to pull them from the system Picked up some cosmetically challenged JM Lab/Focal speakers (Electra 926 and 936) that I decided to make a project out of which took a couple of weekends Wasn't sure how far I wanted to go with the Fortes. They've been through a number of moves over the years and, in a addtion to the finish on them needing the redo, they have a few dings here and there. Didn't want to run out of warm weather since I needed to do the sanding outside so gave them a second pass a couple of weekends ago and then polishing them with Howard's Feed n Wax this past weekend (finally decided I wanted to go with a more natural finish rather then trying to replicate the original factory lacquer). Believe I mentioned that I didn't touch the finish on the bottoms of the speakers previously so I took a couple of pictures of one before starting "phase 2" to give an idea of what they were looking like previously. The speakers weren't this bad over every square inch but did have little stuff all over. Lacquer was brittle causing it to chip off in places and areas that looked like little white spots that I think was just where the lacquer was separating from the grain. So a couple of before pics .... the base of one with it sanded past my old attempt at refinishing them and the factory lacquer ... and then one of the bottom with the base on after it was all done. Just to give an easy side-by-side comparison.
-
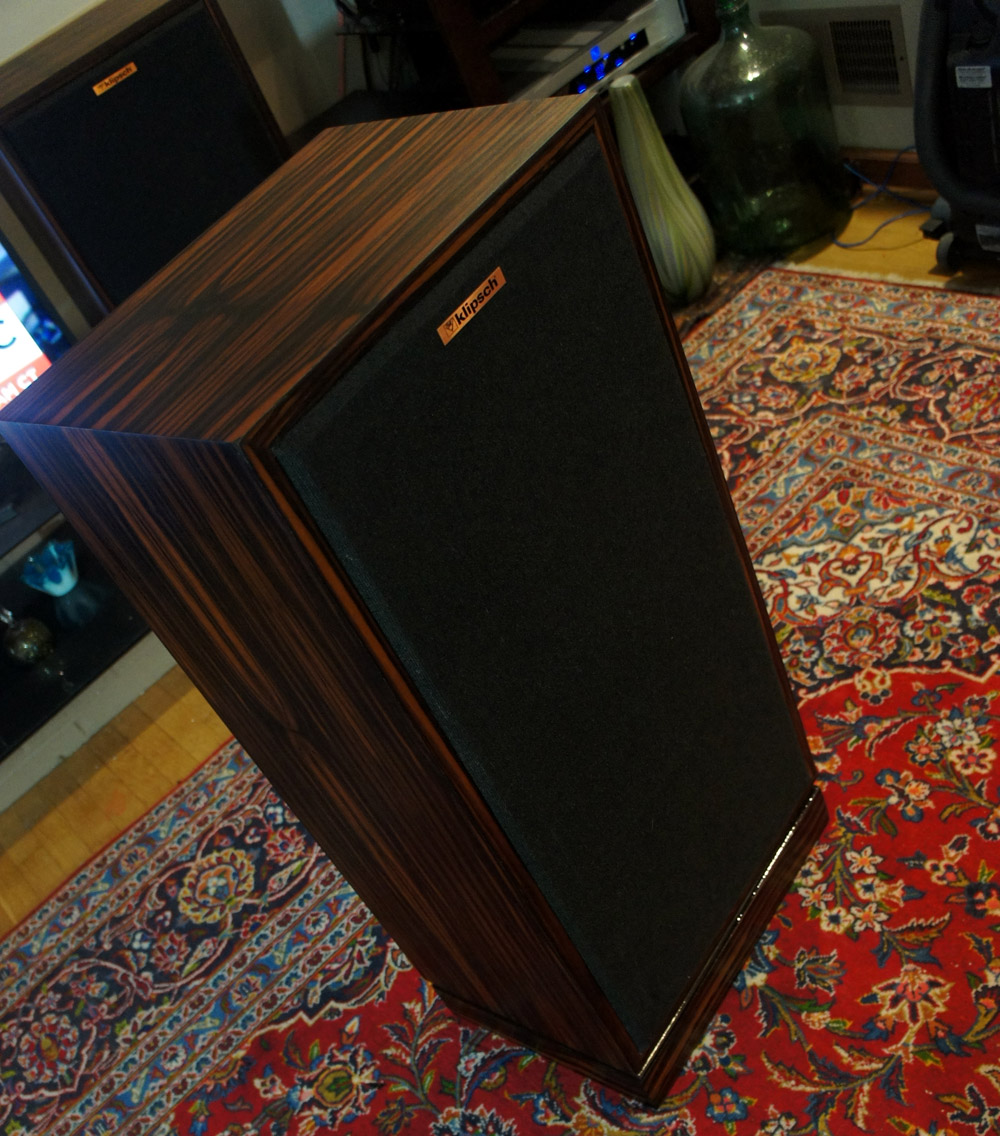
From the album: Beamer's Fortes
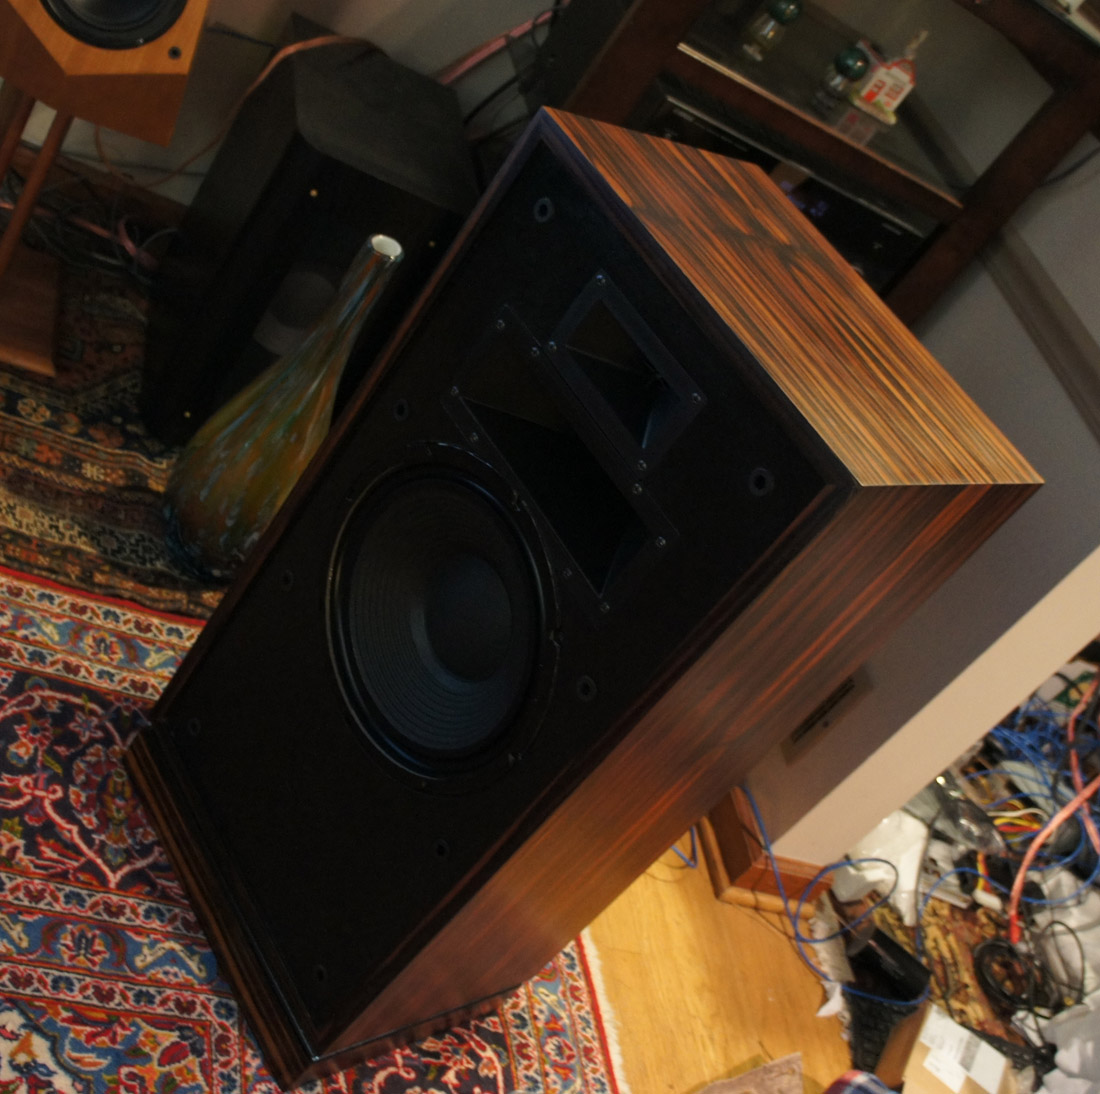
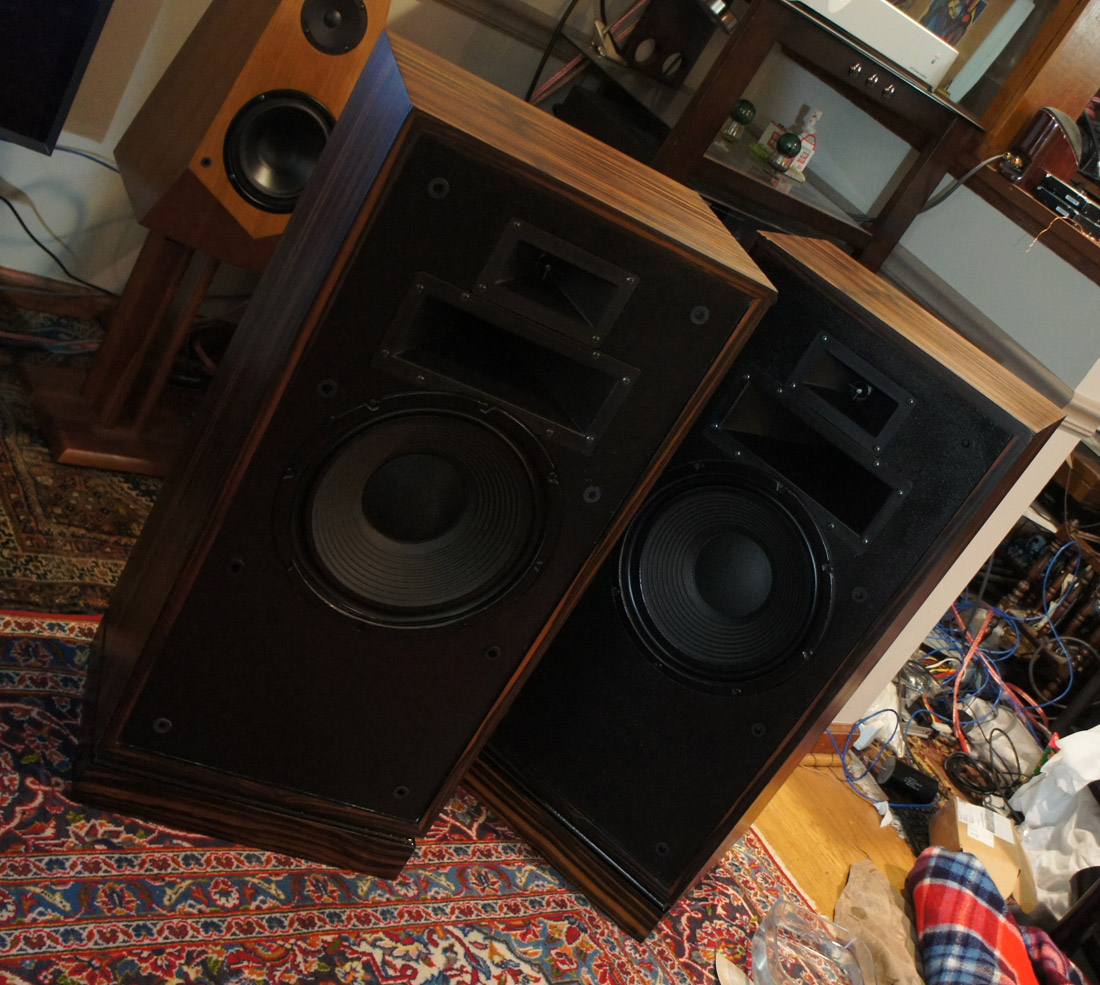
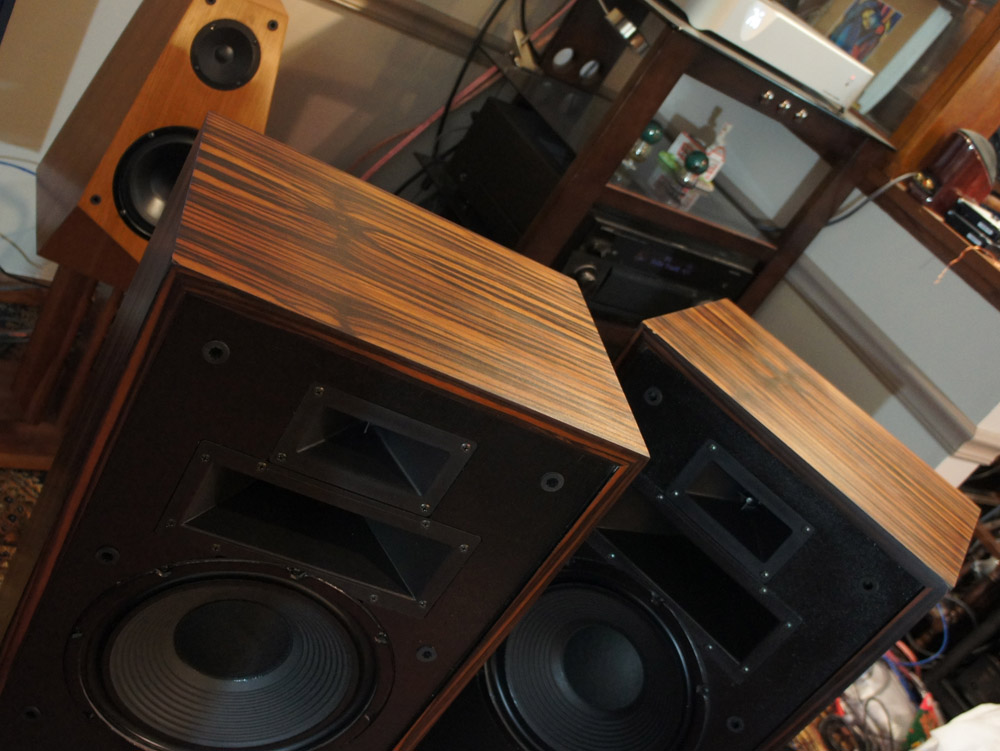
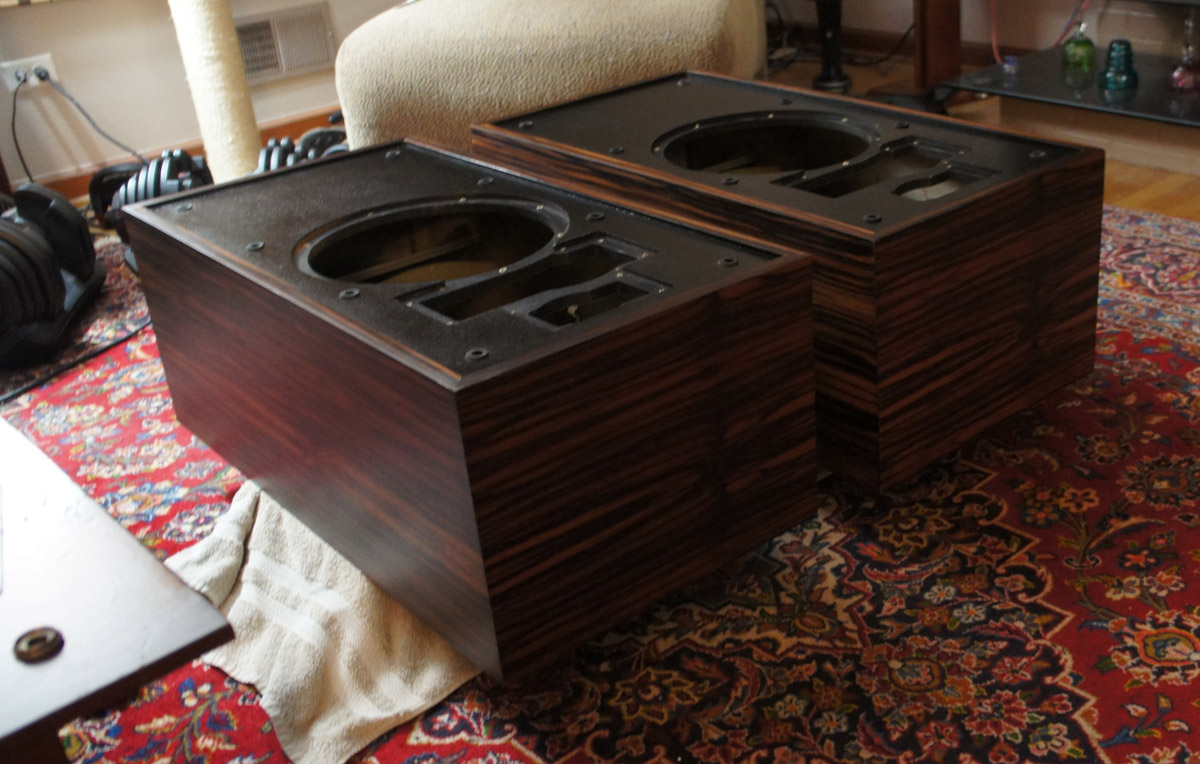
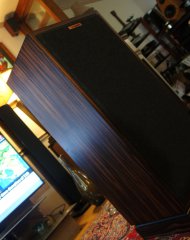
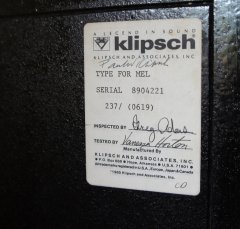
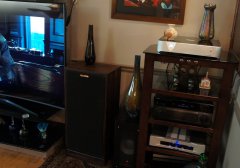
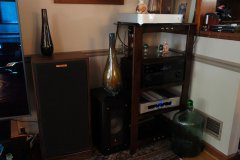
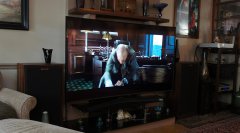
My pair of Macassar Ebony Fortes bought new but stored away for years. Recently refreshed the wood to minimize some bumps and bruises and, primarily, to undo an ill-advised refinishing job from a long while back. Did a mild upgrade to crossovers replacing electrolic (because of age) and upgrading the caps on the tweeters to basic Dayton Metalized Polypropylene and a nicer Dayton resistor. Don't do much "critical" listening where I'm using them so that's probably as far as I'll go with the crossovers. Did, however, find that I had at some point replaced one of the tweeter diaphragms and the two speakers didn't match so used that as an excuse to get a pair of the Crites titanium replacements. Probably do a little more work on the cabinets at some point but liking things enough as-is after rearranging the "small" system in the living room to accomodate I'm just going to enjoy them for a while. Purchased when I was in college and working part time at a stereo shop. Last pair of Fortes made in this finish with inspection stickers signed by the man himself. -
.....
-
-
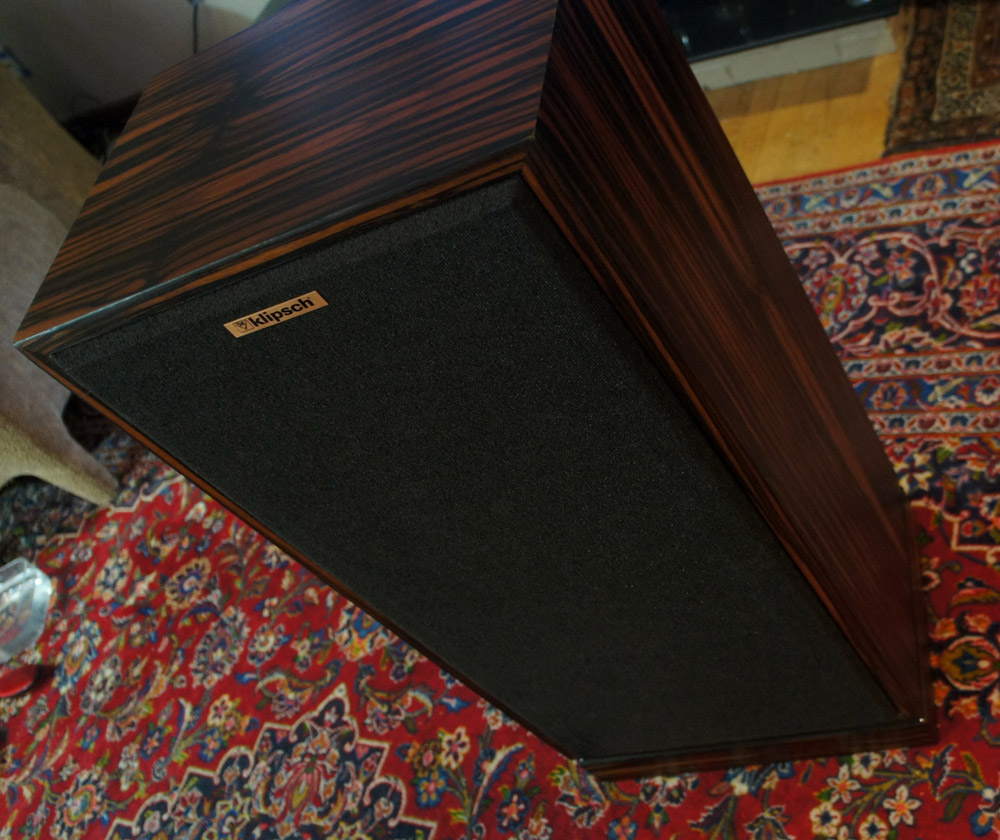
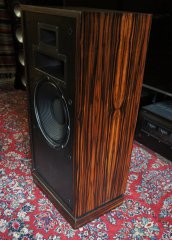
From the album: Beamer's Fortes
My pair of Macassar Ebony Fortes bought new but stored away for years. Recently refreshed the wood to minimize some bumps and bruises and, primarily, to undo an ill-advised refinishing job from a long while back. Did a mild upgrade to crossovers replacing electrolic (because of age) and upgrading the caps on the tweeters to basic Dayton Metalized Polypropylene and a nicer Dayton resistor. Don't do much "critical" listening where I'm using them so that's probably as far as I'll go with the crossovers. Did, however, find that I had at some point replaced one of the tweeter diaphragms and the two speakers didn't match so used that as an excuse to get a pair of the Crites titanium replacements. Probably do a little more work on the cabinets at some point but liking things enough as-is after rearranging the "small" system in the living room to accomodate I'm just going to enjoy them for a while. Purchased when I was in college and working part time at a stereo shop. Last pair of Fortes made in this finish with inspection stickers signed by the man himself. -
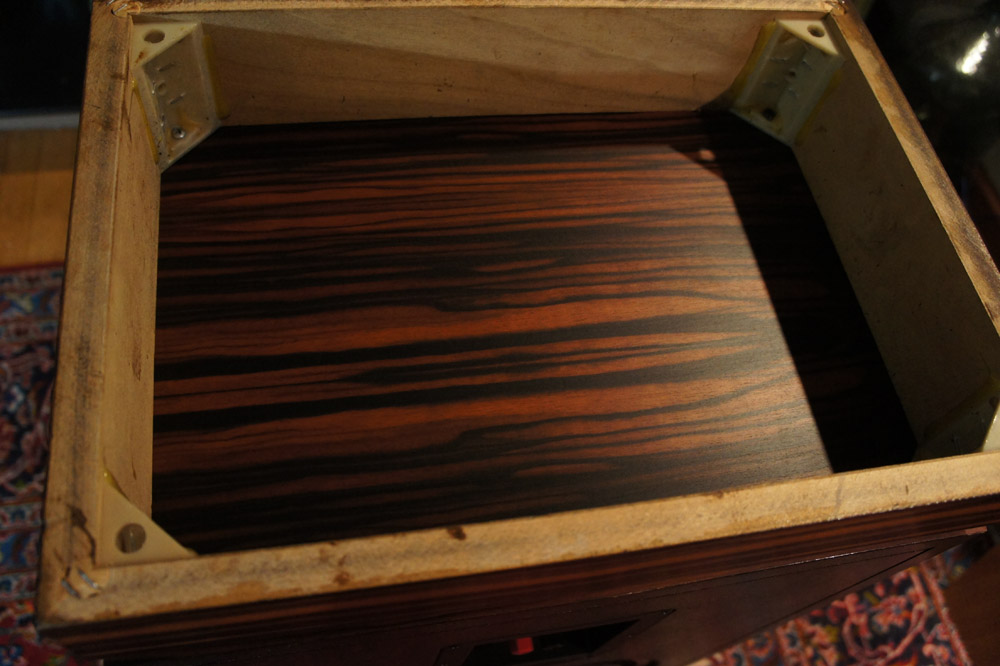
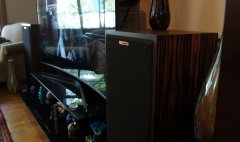
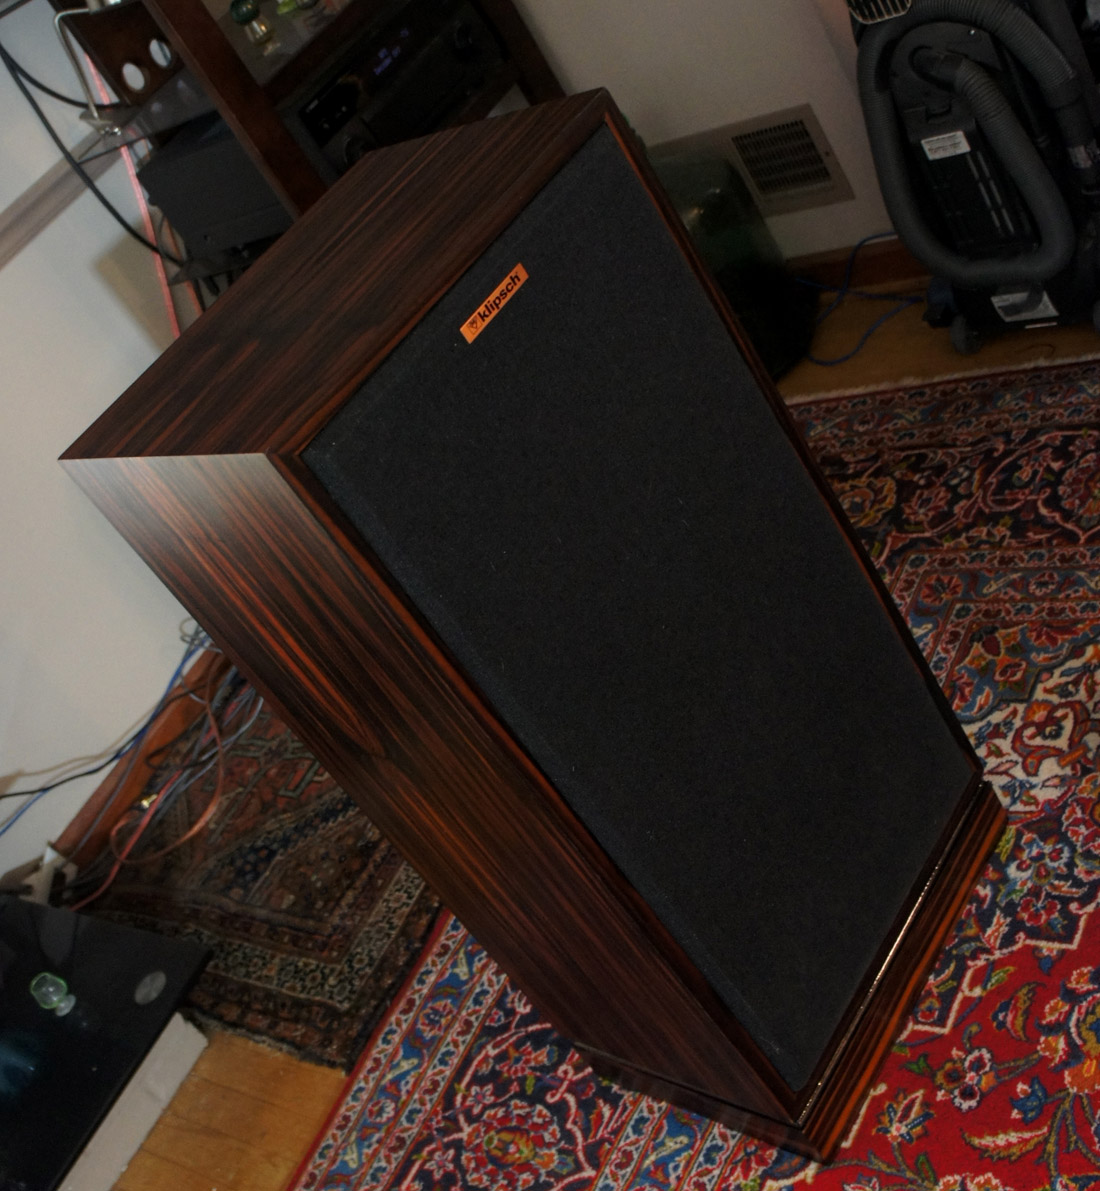
Wadia a315 - Nice little class D amp at the current closeout prices.
RobBeamer posted a gallery image in Members Albums Category
From the album: Beamer's Fortes
My pair of Macassar Ebony Fortes bought new but stored away for years. Recently refreshed the wood to minimize some bumps and bruises and, primarily, to undo an ill-advised refinishing job from a long while back. Did a mild upgrade to crossovers replacing electrolic (because of age) and upgrading the caps on the tweeters to basic Dayton Metalized Polypropylene and a nicer Dayton resistor. Don't do much "critical" listening where I'm using them so that's probably as far as I'll go with the crossovers. Did, however, find that I had at some point replaced one of the tweeter diaphragms and the two speakers didn't match so used that as an excuse to get a pair of the Crites titanium replacements. Probably do a little more work on the cabinets at some point but liking things enough as-is after rearranging the "small" system in the living room to accomodate I'm just going to enjoy them for a while. Purchased when I was in college and working part time at a stereo shop. Last pair of Fortes made in this finish with inspection stickers signed by the man himself. -
 My pair of Macassar Ebony Fortes bought new but stored away for years. Recently refreshed the wood to minimize some bumps and bruises and, primarily, to undo an ill-advised refinishing job from a long while back. Did a mild upgrade to crossovers replacing electrolic (because of age) and upgrading the caps on the tweeters to basic Dayton Metalized Polypropylene and a nicer Dayton resistor. Don't do much "critical" listening where I'm using them so that's probably as far as I'll go with the crossovers. Did, however, find that I had at some point replaced one of the tweeter diaphragms and the two speakers didn't match so used that as an excuse to get a pair of the Crites titanium replacements. Probably do a little more work on the cabinets at some point but liking things enough as-is after rearranging the "small" system in the living room to accomodate I'm just going to enjoy them for a while. Purchased when I was in college and working part time at a stereo shop. Last pair of Fortes made in this finish with inspection stickers signed by the man himself.