dewthedru
-
Posts
211 -
Joined
-
Last visited
Content Type
Forums
Events
Gallery
Everything posted by dewthedru
-
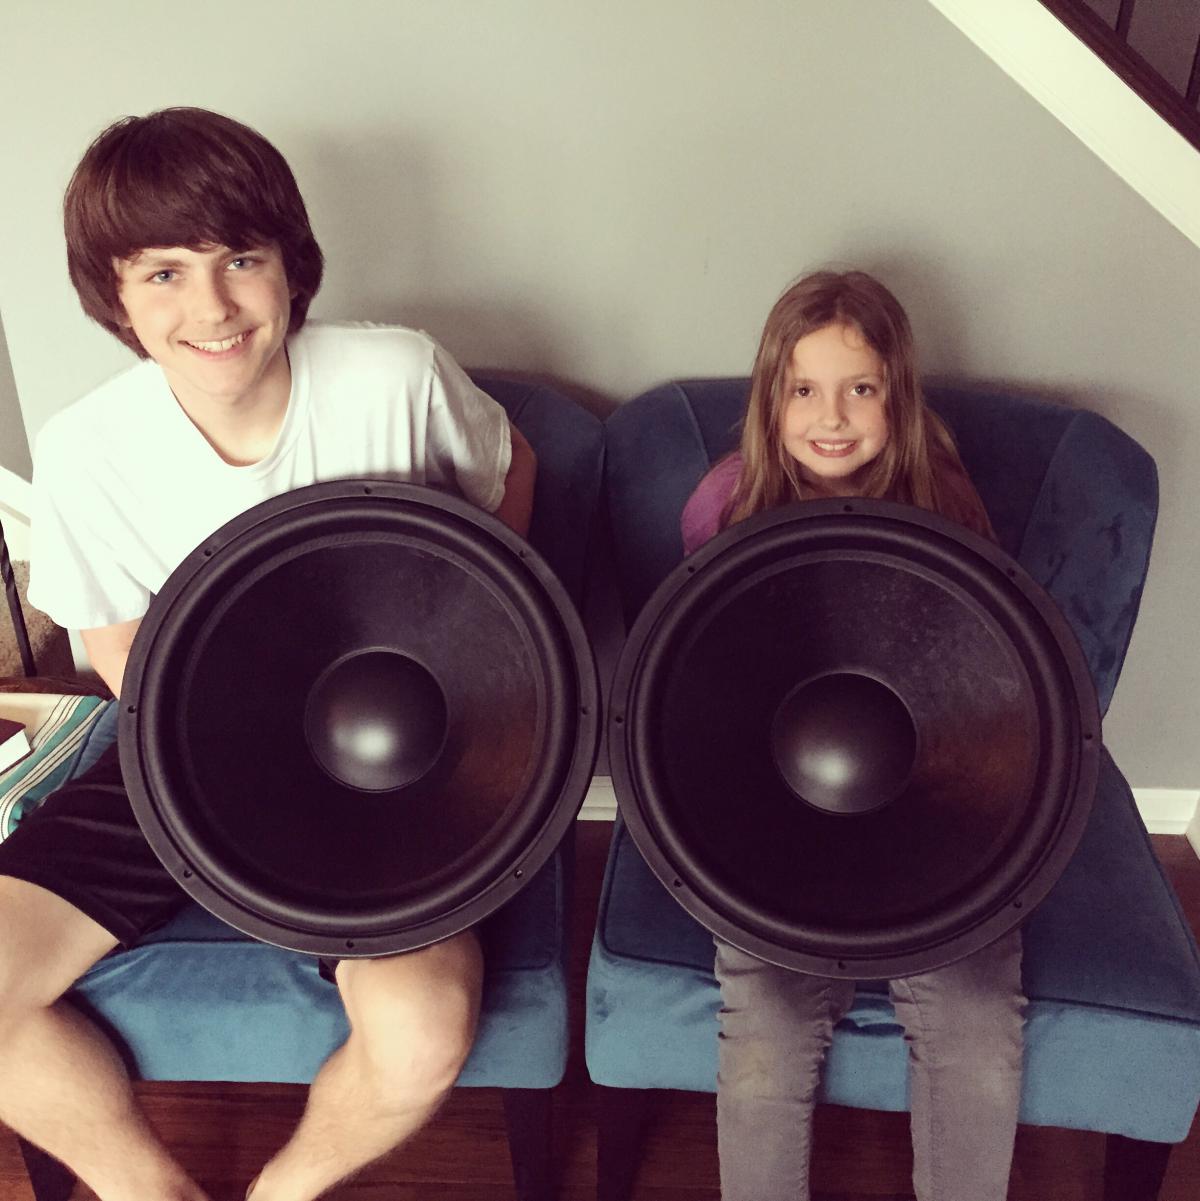
Almost done! Going to be crazy with 2 of these pumping! http://i.imgur.com/uHNWZPr.jpg Bottle for scale
-
-
you're suggested i simply rely on my ears instead of endlessly searching for "the best" way to do it per some stranger's advice or internet article?
-
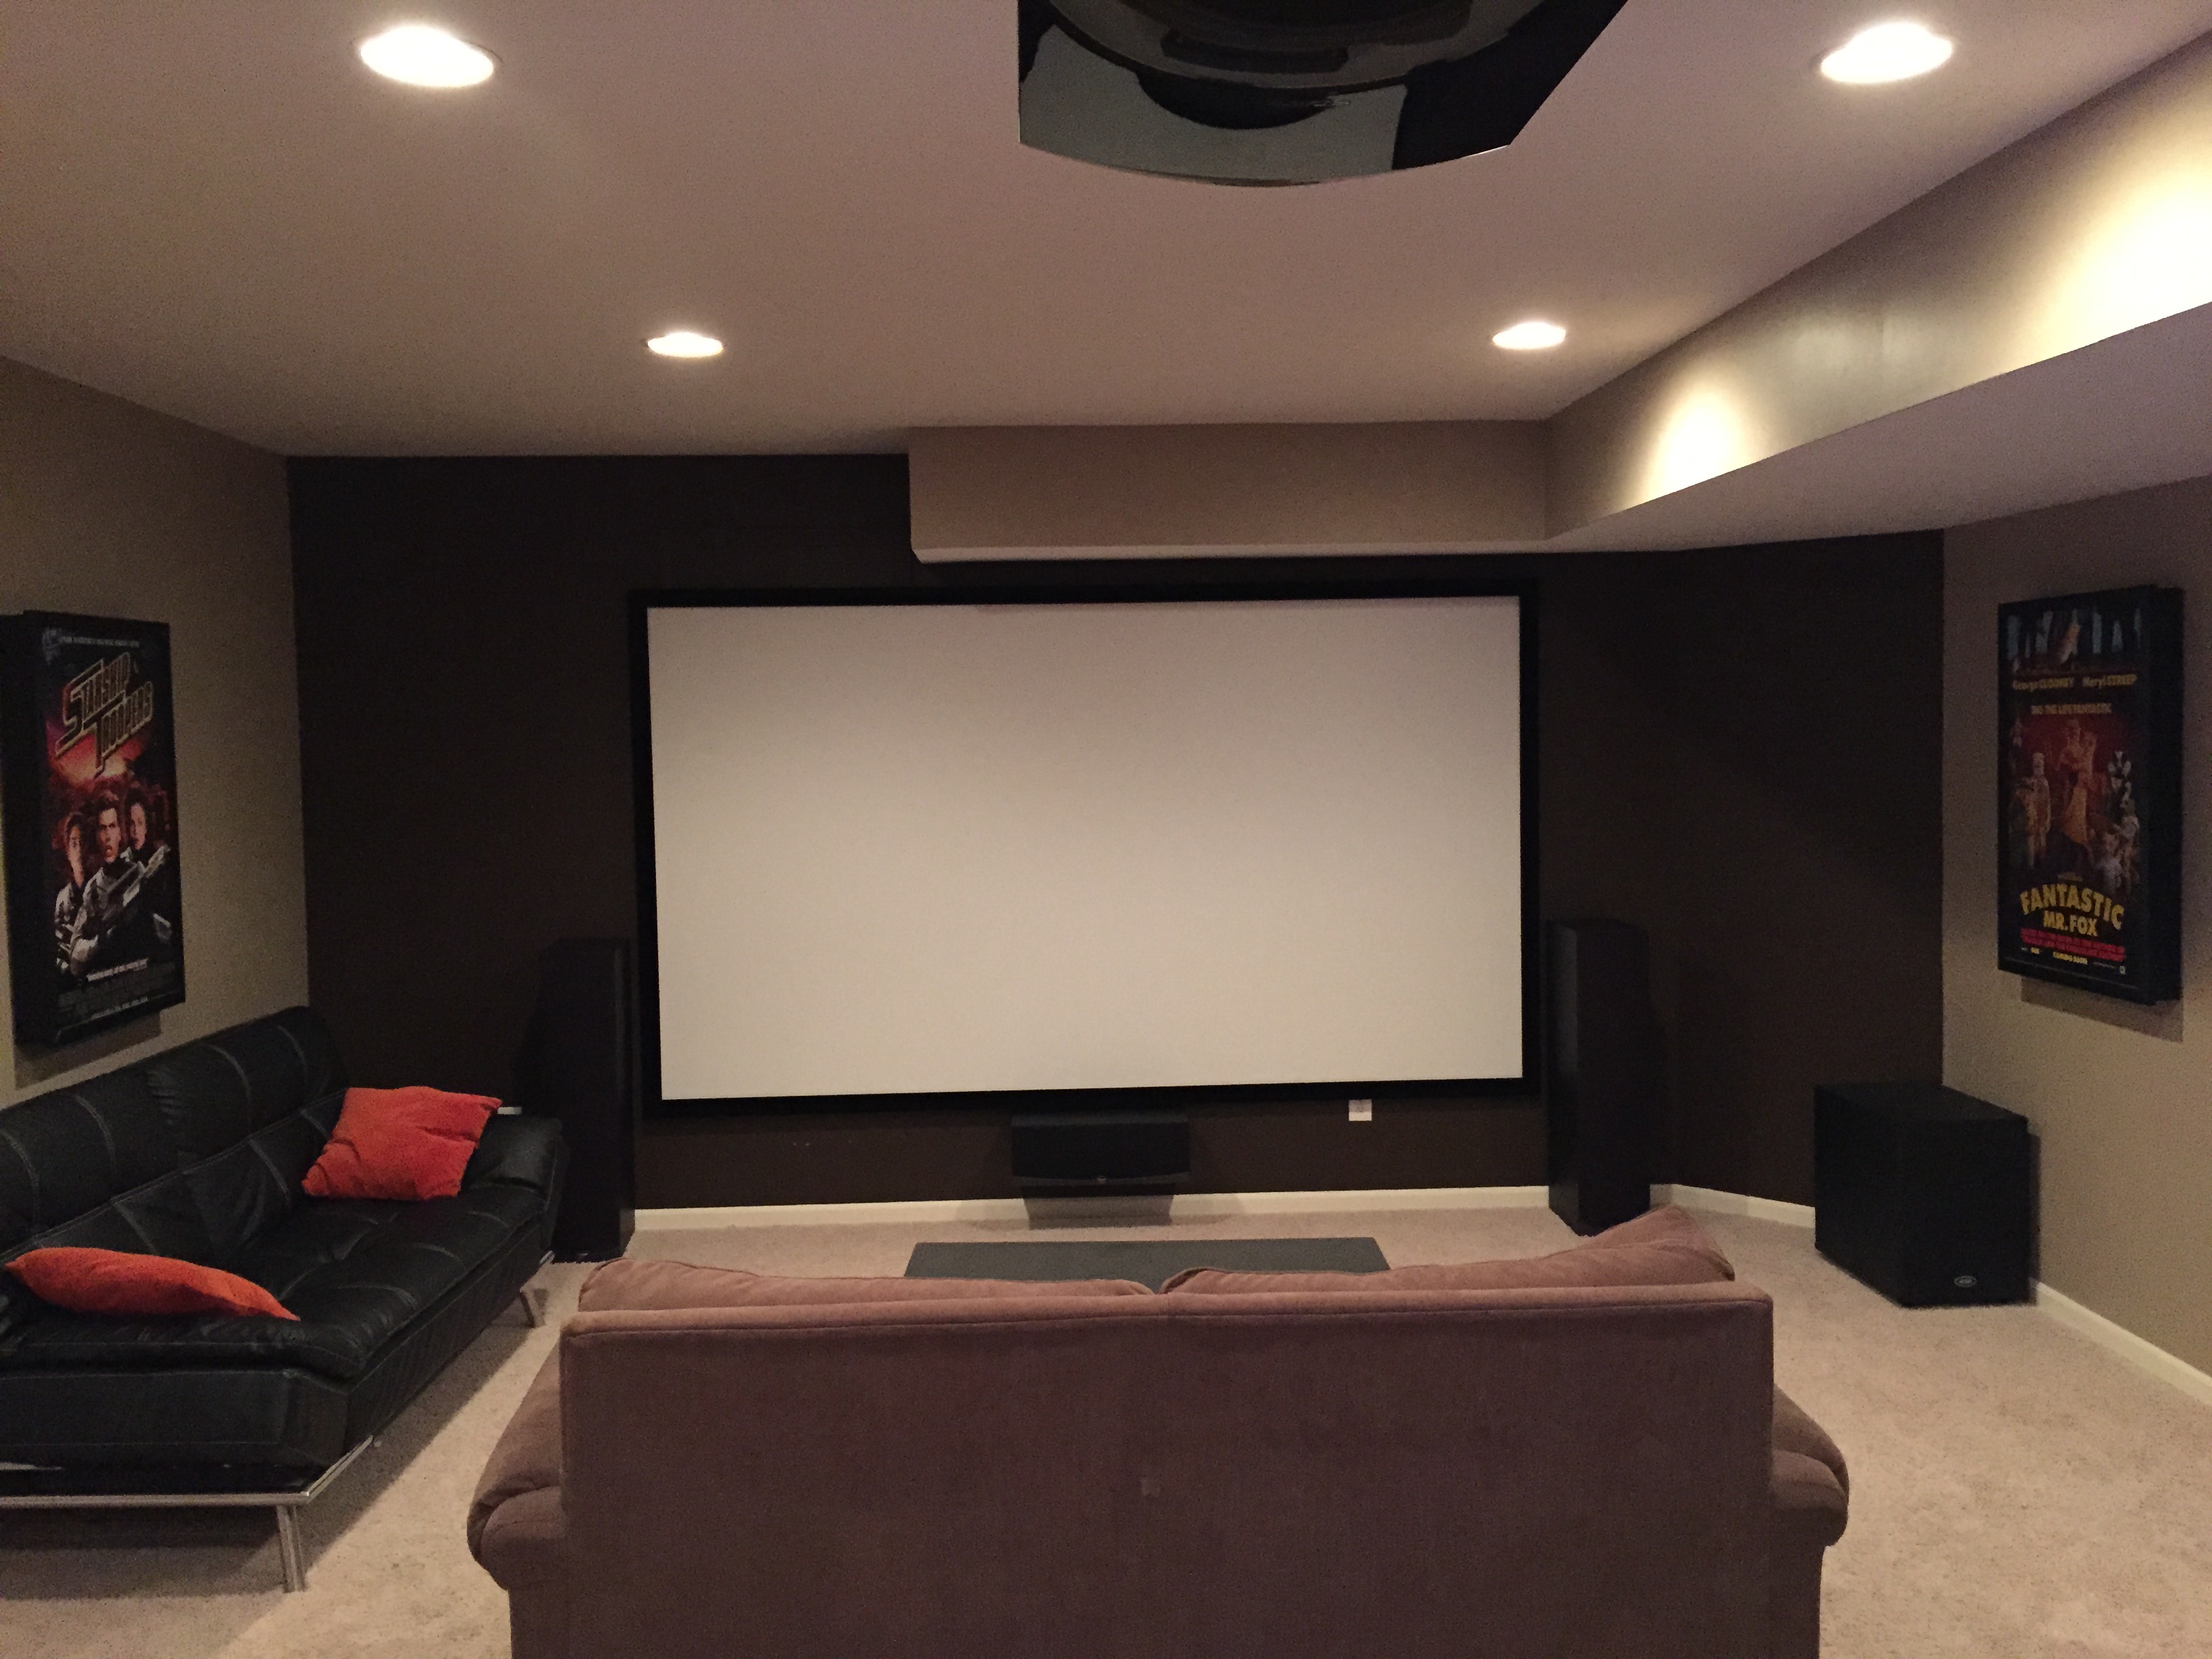
So the port would be towards the listener or towards the back wall? And the driver firing into the listening area or towards the side wall?
-
nope. def ported on the side.
-
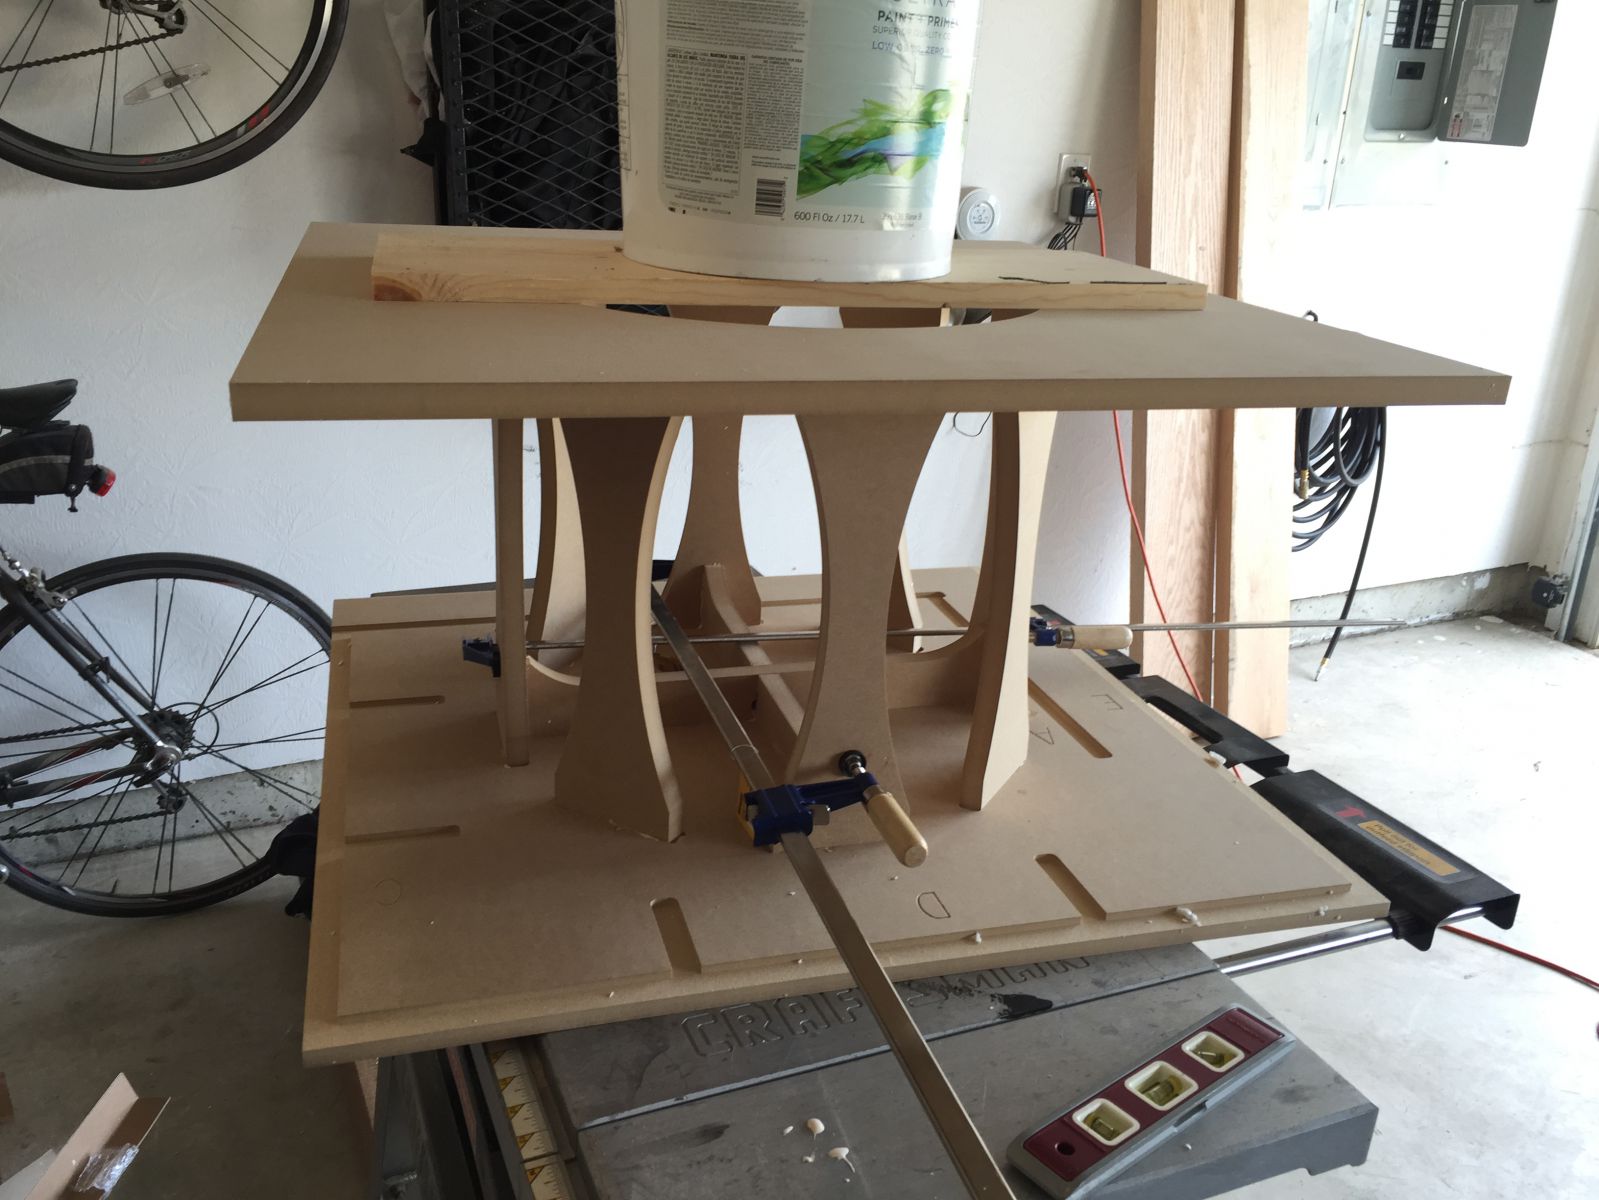
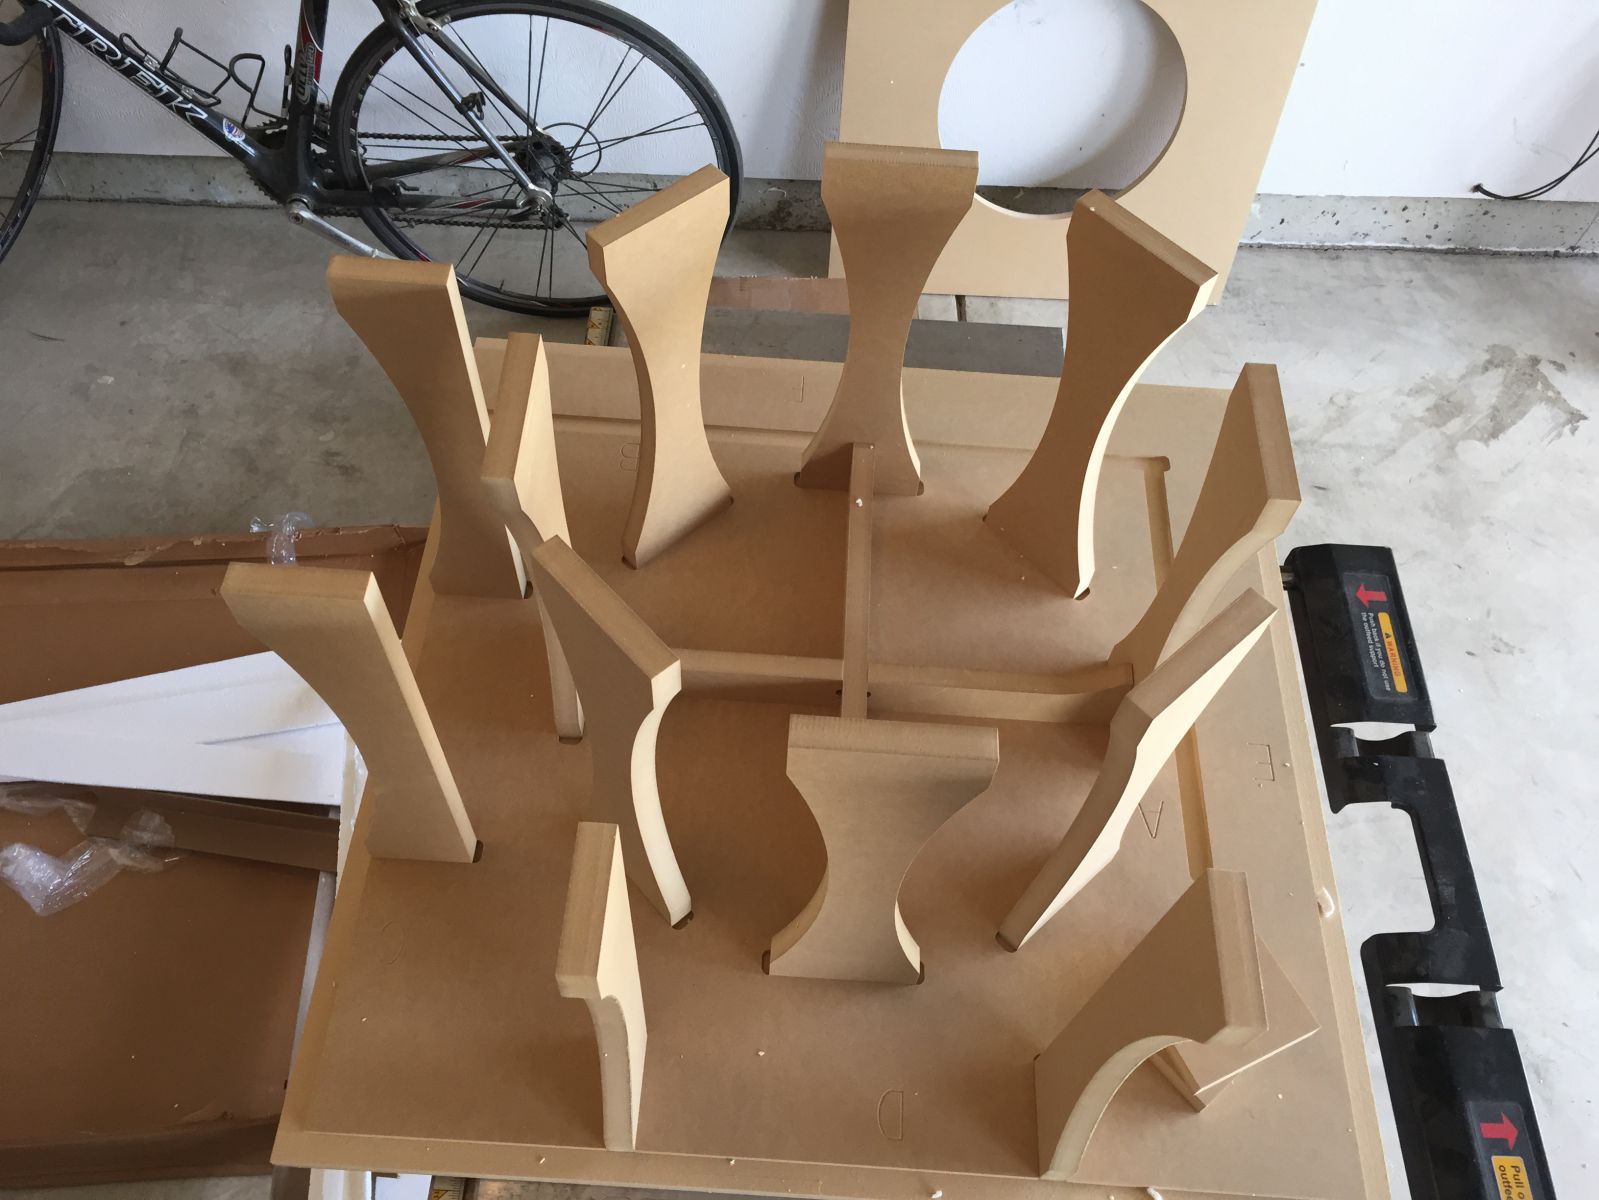
yep. i am now ready to put all the panels on. this thing is stupid easy to build. love it. the only question i have so far is that Erich suggests driving the driver mounting screws directly into the stonehendge looking supports in the box, presumably with wood screws. some of you have recommended using tee bolts instead which would presumably be inserted into a gap between the supporting stonehenge pieces. thoughts? i bought a bunch of #10 tee bolts to use and and leaning that way. i'm also trying to figure out how to improve the WAF on this build. painting semigloss black is the first option but i'm considering putting a nice top on it so it looks more like an end table. however, they'll be at the front of the room by the screen so this may be a bit silly since nobody puts end tables up front and they wouldn't be holding anything. just trying to think of a way to spruce up the look a bit. hmmm....
-
Good eyes. I just threw them in there to check all the pieces out. They are in fact turned the way you suggested in the plan.
-
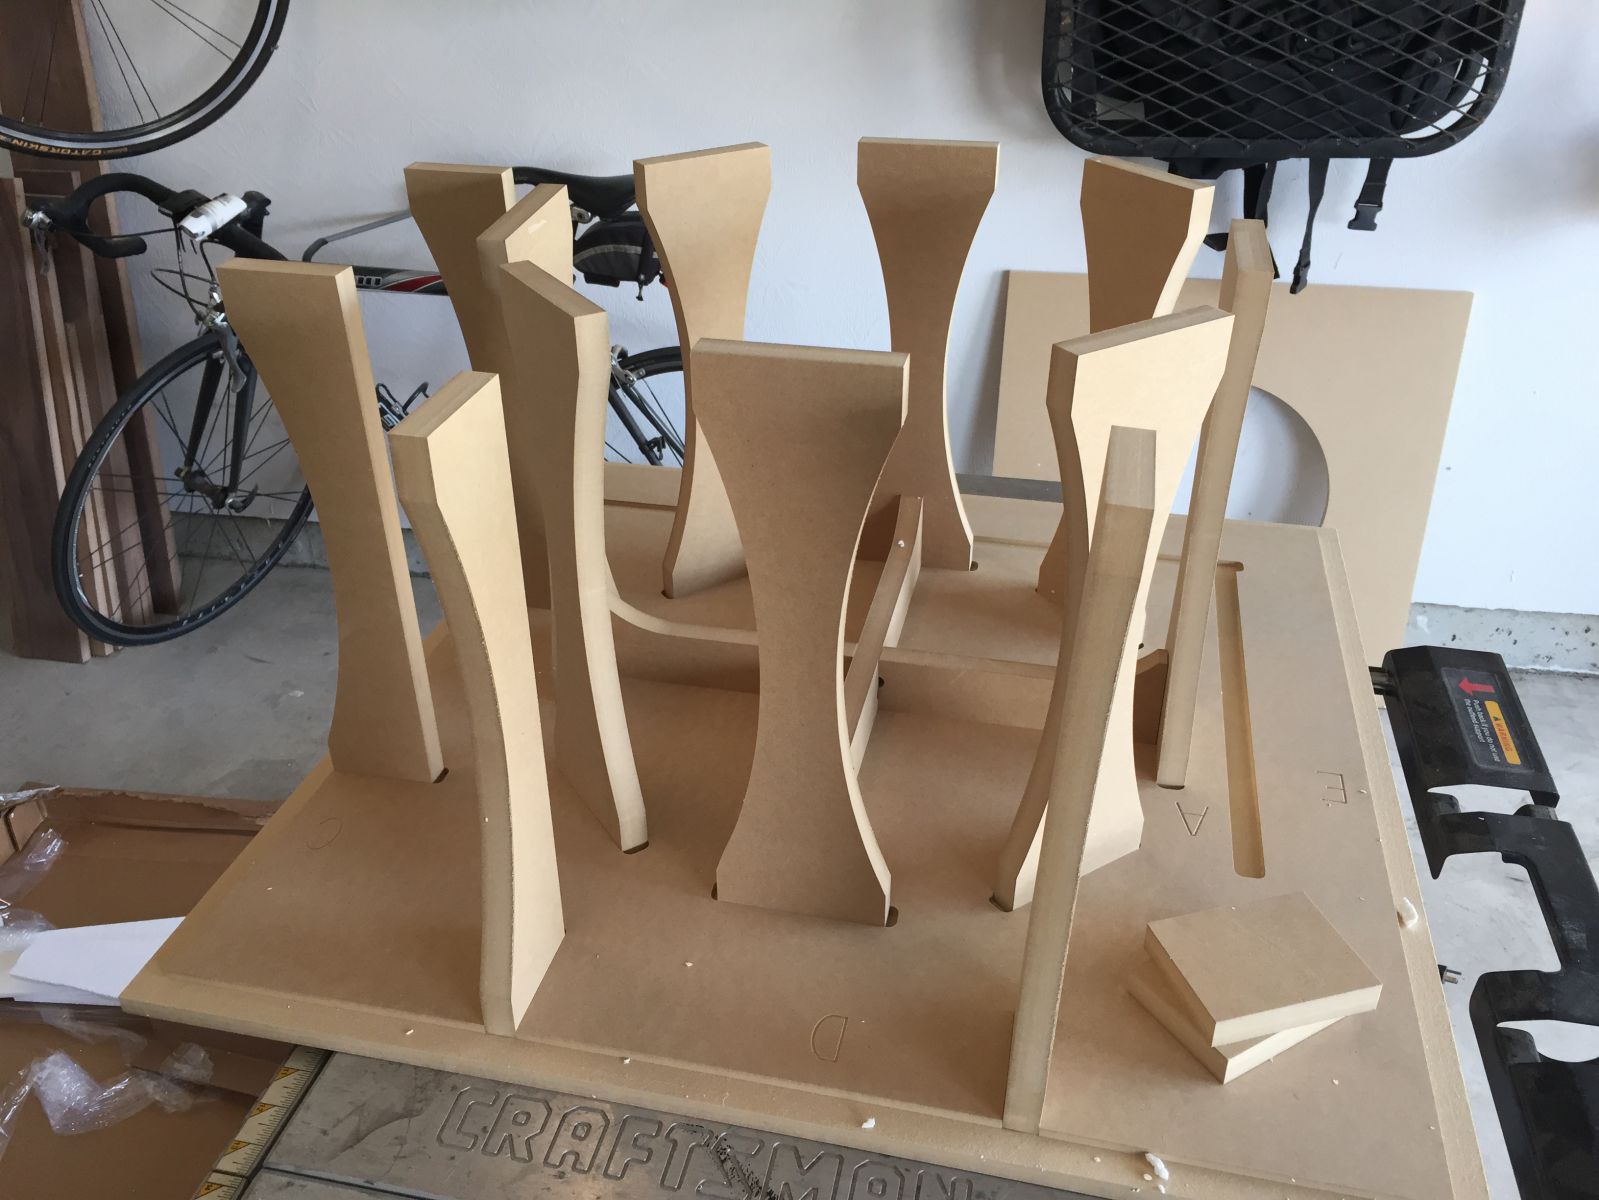
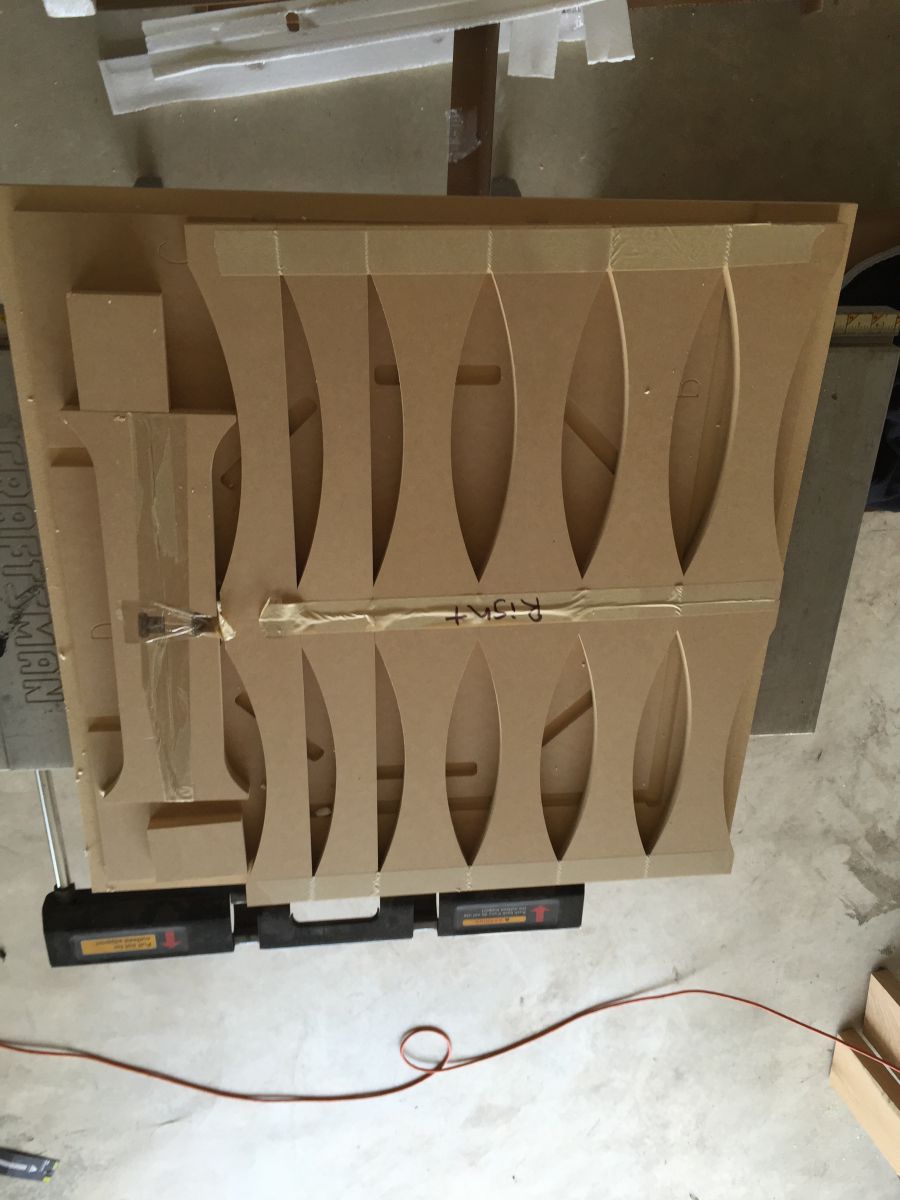
i got the flat packs from DIYSoundGroup yesterday. Arrived a little less than a week after I ordered them. Each sub is 2 boxes. 20oz Mt. Dew for scale It's packed nicely and securely. Zero issues with any of the pieces being chipped or misshapen. I put the pieces together just to get a picture of what it would look like. Everything fits in the slots so perfectly that I feel like I'm cheating somehow. But I'm still going to tell people "I built it." First step of the first one done. Will duplicate this step on the second one as soon as it dries. I only clamped the sides of the main cross brace and weighted it down with a bucket of paint. Again, it all fits so snugly and perfectly that I can't imagine you need to clamp everything. That's also what Erich says in his instructions.
-
From the album: Stonehenge
I only clamped the side pieces. The braces fit in the slots so nicely I only used the weight of a paint bucket to hold them in place while the glue dried. -
From the album: Stonehenge
-
From the album: Stonehenge
Pieces stuck in place before gluing -
From the album: Stonehenge
-
From the album: Stonehenge
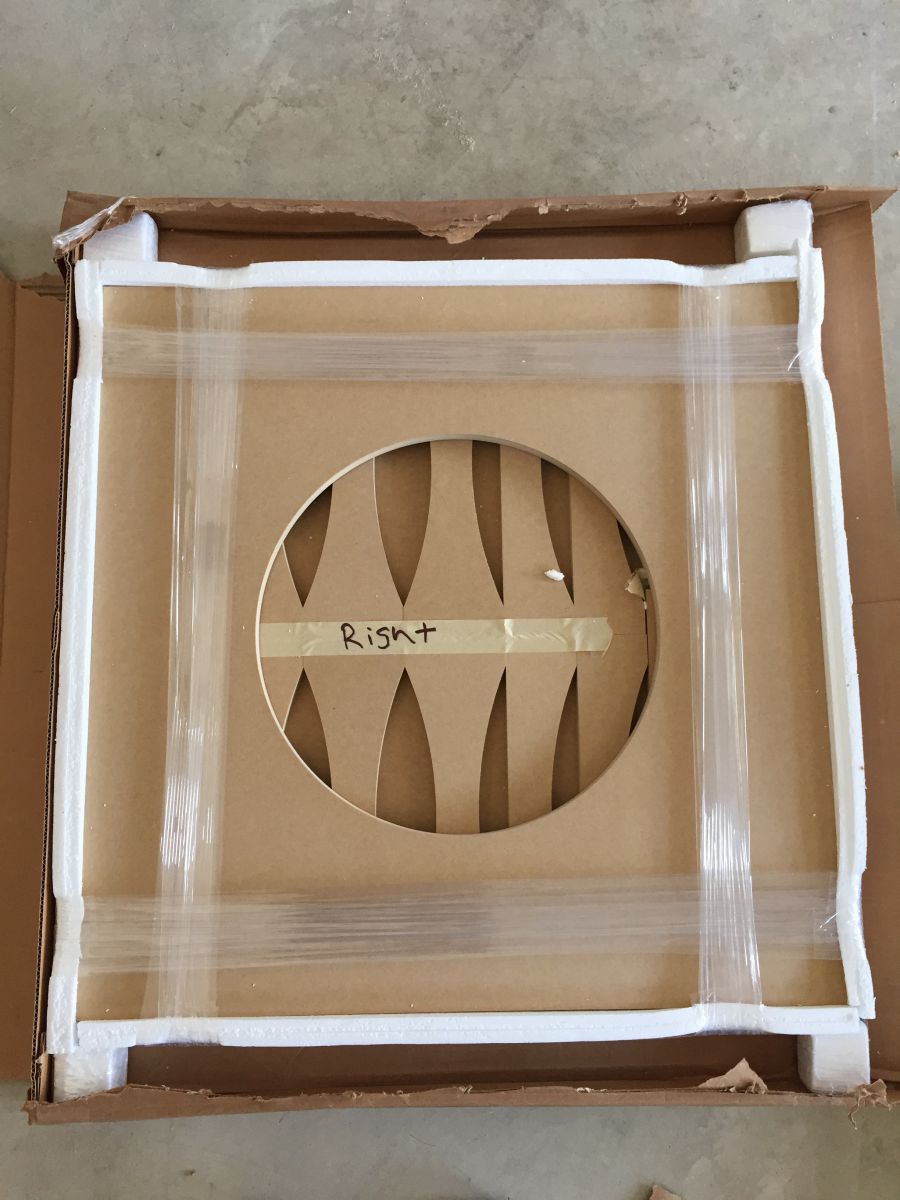
Boxes were nicely packed with the pieces labeled and secure -
From the album: Stonehenge
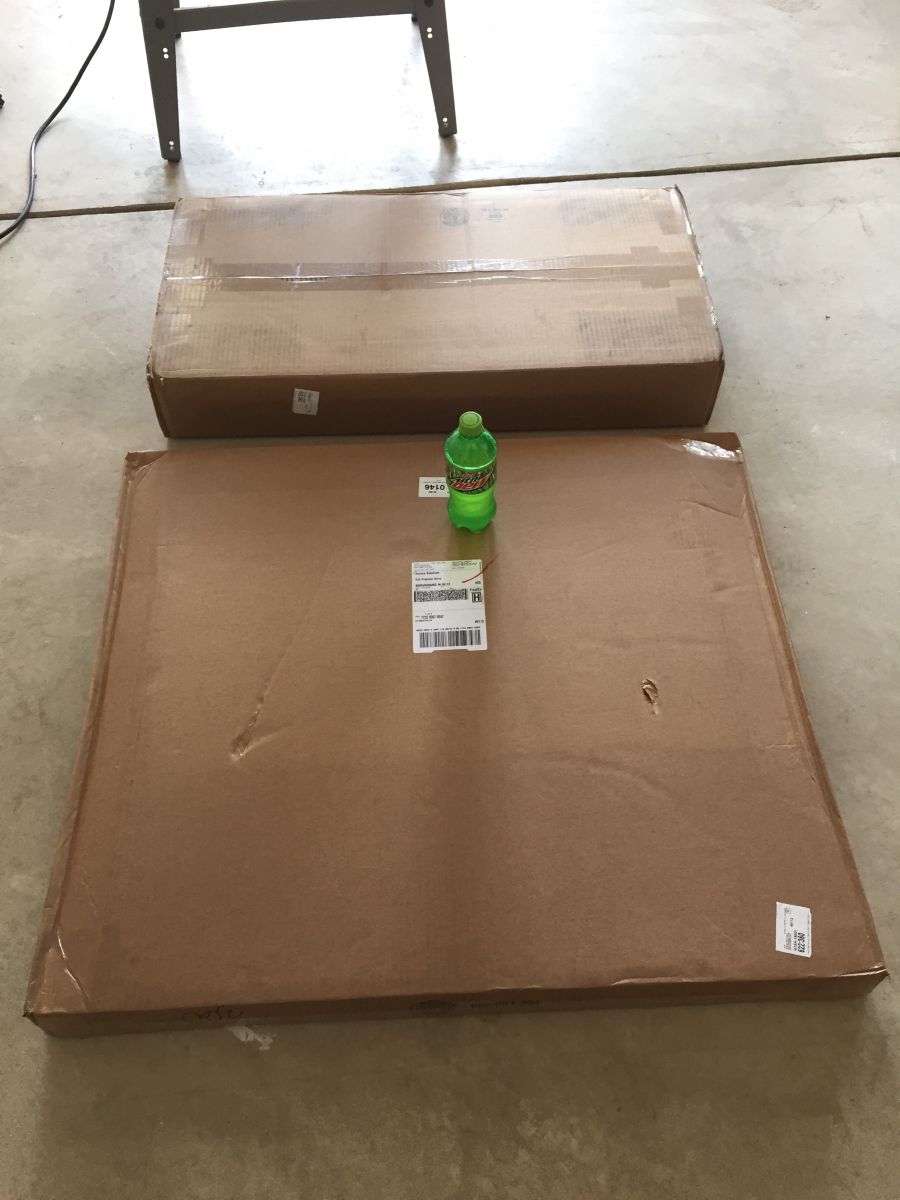
Two boxes for each sub. 20oz Mt Dew bottle for scale. -
Guess what showed up today!

-
baby steps man! i'm still trying to figure out the small stuff. like how to solder.
-
yes that should be exactly what he is doing. Dual 4's won't be available till May per the web site. He should get the dual 2's and wire for 4 Ohm/side. The amp still has more power than he'll need at 4 Ohms and will work easier. Perhaps I got the last 2 because they are on a FedEx truck scheduled for delivery tomorrow.
-
Nope. Thanks!!!
-
i'll grab adhesive and feet shortly. a buddy has a bunch of clamps i can use and i do have a finish nailer.
-
First, thanks for all the help so far. I wanted to go through my parts list first before the flat packs arrive to make sure everything is correct. I've ordered the following: 2 Stonehenge flat pack from DIYSoundgroup 2 Dual 4 ohm HT18 18" Drivers from Stereo Integrity Behringer iNuke NU3000DSP amp 50ft 12AWG CL2 speaker wire from Monoprice 2 XLR Female to RCA Female Adapter (I have extra Monster RCA cables at home I can use) 2 Parts Express Gold Recessed 5-Way Banana Speaker Terminal Cup Rectangle Neutrik NL4FC Speakon Connector 4 Pole Cable Mount (Crap! Forgot to include these in my PE order!) And yes, I really am a nOOb... Variable Wattage Soldering Iron Kester Kwik-Draw Solder Am I missing anything? The drivers get here tomorrow per the tracking info. I haven't seen any movement on the flat packs. Will send Erich a note if they haven't shipped by this weekend. I gotta go grab clamps and glue this weekend. Not sure if I'll Duratex the units or try to do something else. Suggestions?
-
 thanks for the help guys. i'm going to create a build thread if you don't think it will clutter up stuff too much.
 -
deleted
-
Absolutely. Here's one I just finished. did you have any problem getting the hole sealed? is that actually something i should be worried about?
-
i just read your review on their site. are you saying that buying something from parts express carries a higher chance of obtaining something that's improperly wired?
-
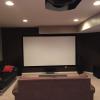
whew. i'm learning a ton here. so it looks like i could just get these to go from my receiver to the amp http://www.amazon.com/Seismic-Audio-SAXFRM-2x5-Patch-Cable/dp/B00AFEMMVQ/ref=sr_1_4?ie=UTF8&qid=1427832214&sr=8-4&keywords=xlr+to+rca+cables i'm still deciding between regular speaker terminals and speakon connectors at the sub. doesn't really matter to me. speakon seems like it would look cooler but who care really. another stupid question....am i going to want the port pointing at the side wall with the driver facing me? or the port pointed at the back wall with the drivers facing each other from across the room? edit: i'll clarify a bit. i can't put both of them against the back wall because the right side comes out at a 45 degree angle so i was planning on putting both of them at the position at which the angle stops. here's a (dark) pic of my room so you'll know what i'm talking about.