klipschaholik
-
Posts
491 -
Joined
-
Last visited
Content Type
Forums
Events
Gallery
Everything posted by klipschaholik
-
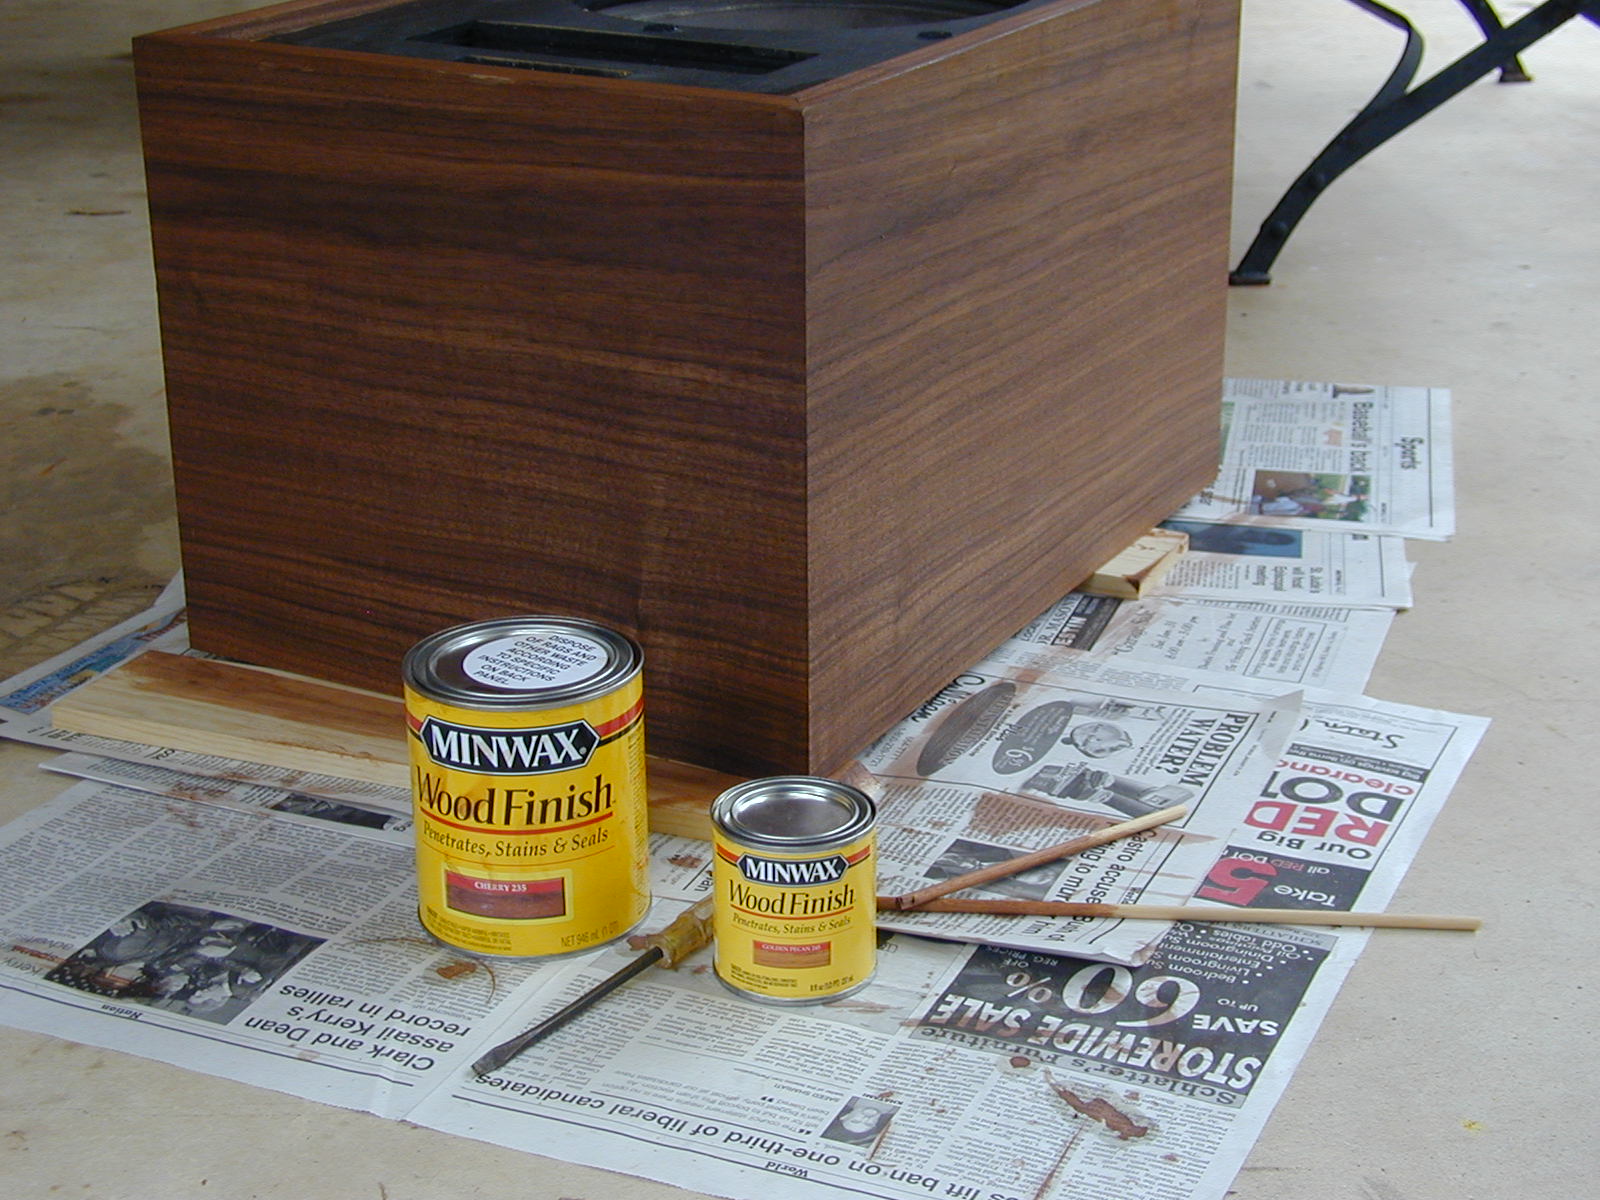
Good ol reliable Minwax.

-
Cherry stain applied to the walnut. I applied a pre stain wood conditioner first to allow the wood to take the stain evenly. Man, it brought the grain out in the walnut and i was considering leaving it natural, but the walnut is just a tad bit too grey for my taste. So, I went with the cherry. I tried several other colors but they all left a greenish tint to the finish so I used a color with a little red. I think the cherry was a good choice.
-
Yes, I have done woodwork before but have not tried to veneer. It really isn't all that difficult. I'm letting the stain dry right now. I'll post up a few pics shortly. Still trying to decide on the finish.
-
I purchased the veneer from Ebay, where else? There's a seller who has different varieties listed all the time. This was some walnut 16X24 that was a perfect fit. Its not backed. Being wide like that you have to be carefull from spitting. After applying the glue I layed the piece down on a flat surface and held it in place. What type of finish did you use on yours. I have some Cornwalls That I was trying to match the color to, but I've decided on using a cherry stain instead. Not sure whether to go with an oil finish or lacquer for the final. Any suggestions would be appreciated.
-
New clothes for the kids! I'll start the finishing tomorrow. More pics to follow. This project was not difficult at all.
-
Veneer applied to the top and front edges. Mitering the corners takes some time to do right. Mark your 45's with a pencil as a guide so that they match up with the corner edges.
-
One side down, seven more to go.
-
Sanded, filled and ready for some new clothes!
-
The basic tools; exacto knife, titebond, sponge, hand plane, brush, a metal straightedge and a block for sanding. I used the sponge to spread the glue around. It was also useful for cleaning up excess glue. Everything was hand sanded from 150 to 400 grit. Smooooth.
-
waiting on the glue to dry. When pressing the veneer to the surface, be carefull that you don't let the veneer slide. I screwed up one piece of the base because I wasn't paying attention while i was pressing the veneer with the iron and once it sets it sets! i had to scrape that piece off and start over.
-
grain matching the sides to the top
-
ready to stain and finish.
-
walnut veneer applied to the speaker. I followed the zebrawood thread. I was able to find veneer sheets that did not have to be spliced. I think it produces better results. More pics to follow
-
"newbie" w/Cornwalls & Heresys
klipschaholik replied to klipschaholik's topic in Technical/Restorations
Here they are! Ready for staining and finishing. I'm going to start a new thread in the updating forum. Cya
-
"newbie" w/Cornwalls & Heresys
klipschaholik replied to klipschaholik's topic in Technical/Restorations
thanks for the info.I'm going to post some pics in the updating older speakers section. Probably a better place for this material. Stay tuned! -
I have a pair of Cornwalls, CWL, ser.(8517789,90)purchased used about 5 years ago, and i've just bought a pair of Heresys, HBR, ser.(135X548,49)on Ebay. Can someone give me the build dates on these speakers? I'm veneering the Heresys to match my Cornwalls with walnut veneer. I followed the thread on the zebrawood heresy project. These guys are really starting to look good. The original birch was looking pretty bad. I'll try to post some pics on my project. I'd like to match the heresy's color and finish to my cornwalls and could use some help on the stain and finish if someone knows what to recommend. thanks, ps great site.