


longdrive03
-
Posts
816 -
Joined
-
Last visited
Content Type
Forums
Events
Gallery
Posts posted by longdrive03
-
-
Thanks MJ. Appreciate the compliment. Here is a link to the mojotone website. I really like this material. Third time I've used it on projects. Not cheap though. I think the guy may require buying 3 yards?? Not sure a guy I build speakers for bought directly from him and gave me what was left.
-
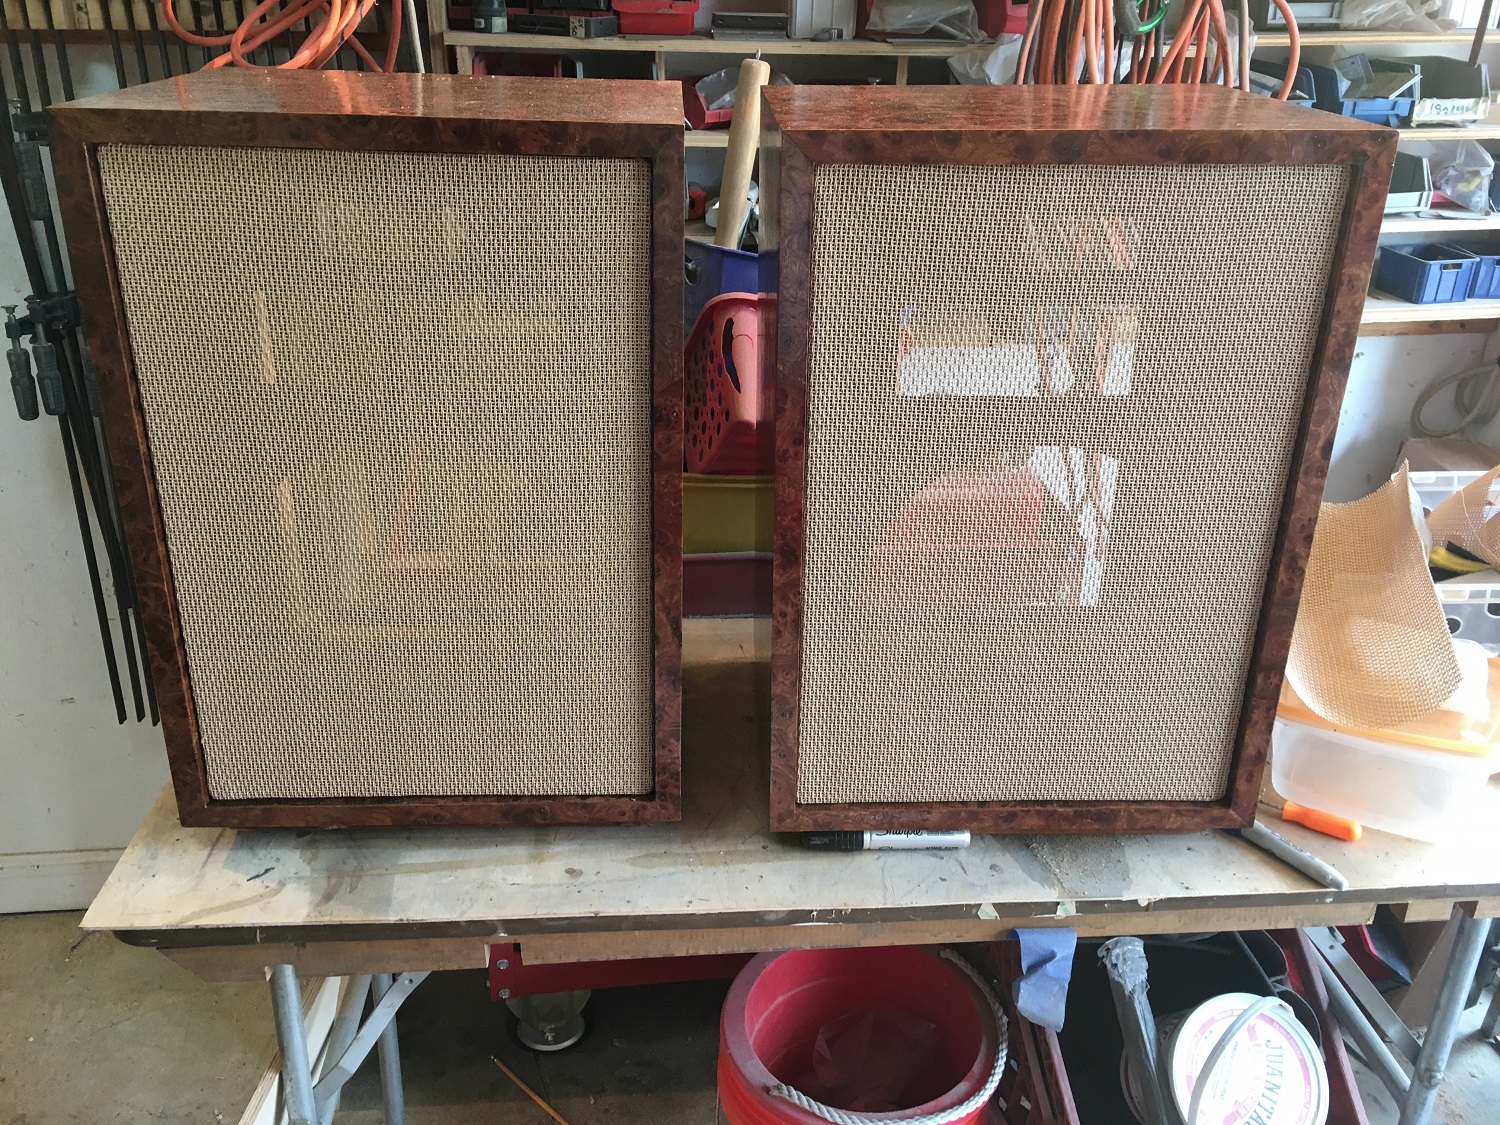
Thanks mojomic!! Got them finished with slanted risers installed. A local friend is buying them. Pics show new grill frame installed and slanted riser.

-
Dave, great work. Those look fantastic. Any idea what you would be charging once you get them to the point that you’re pleased?
-
Actually need K-77 with square magnet.
-
I plan on asking $750 plus actual shipping or free pickup or Klipsch express. I will probably recap the crossovers with Dayton or Sonicap caps unless someone might want to change to really expensive caps. I plan on using brown cane grill material on new grill frame like I used on my 1” Baltic birch ply LaScala build that is posted here You don’t see many Heresys in CEB. I may add front to back braces but some purists might not approve. K-22E woofers , K-55 miss, K-77 teeeters and type E crossovers. Also plan to build slanted risers. Comes with heresy badges
-
Yes I plan on selling these when they’re finished.
-
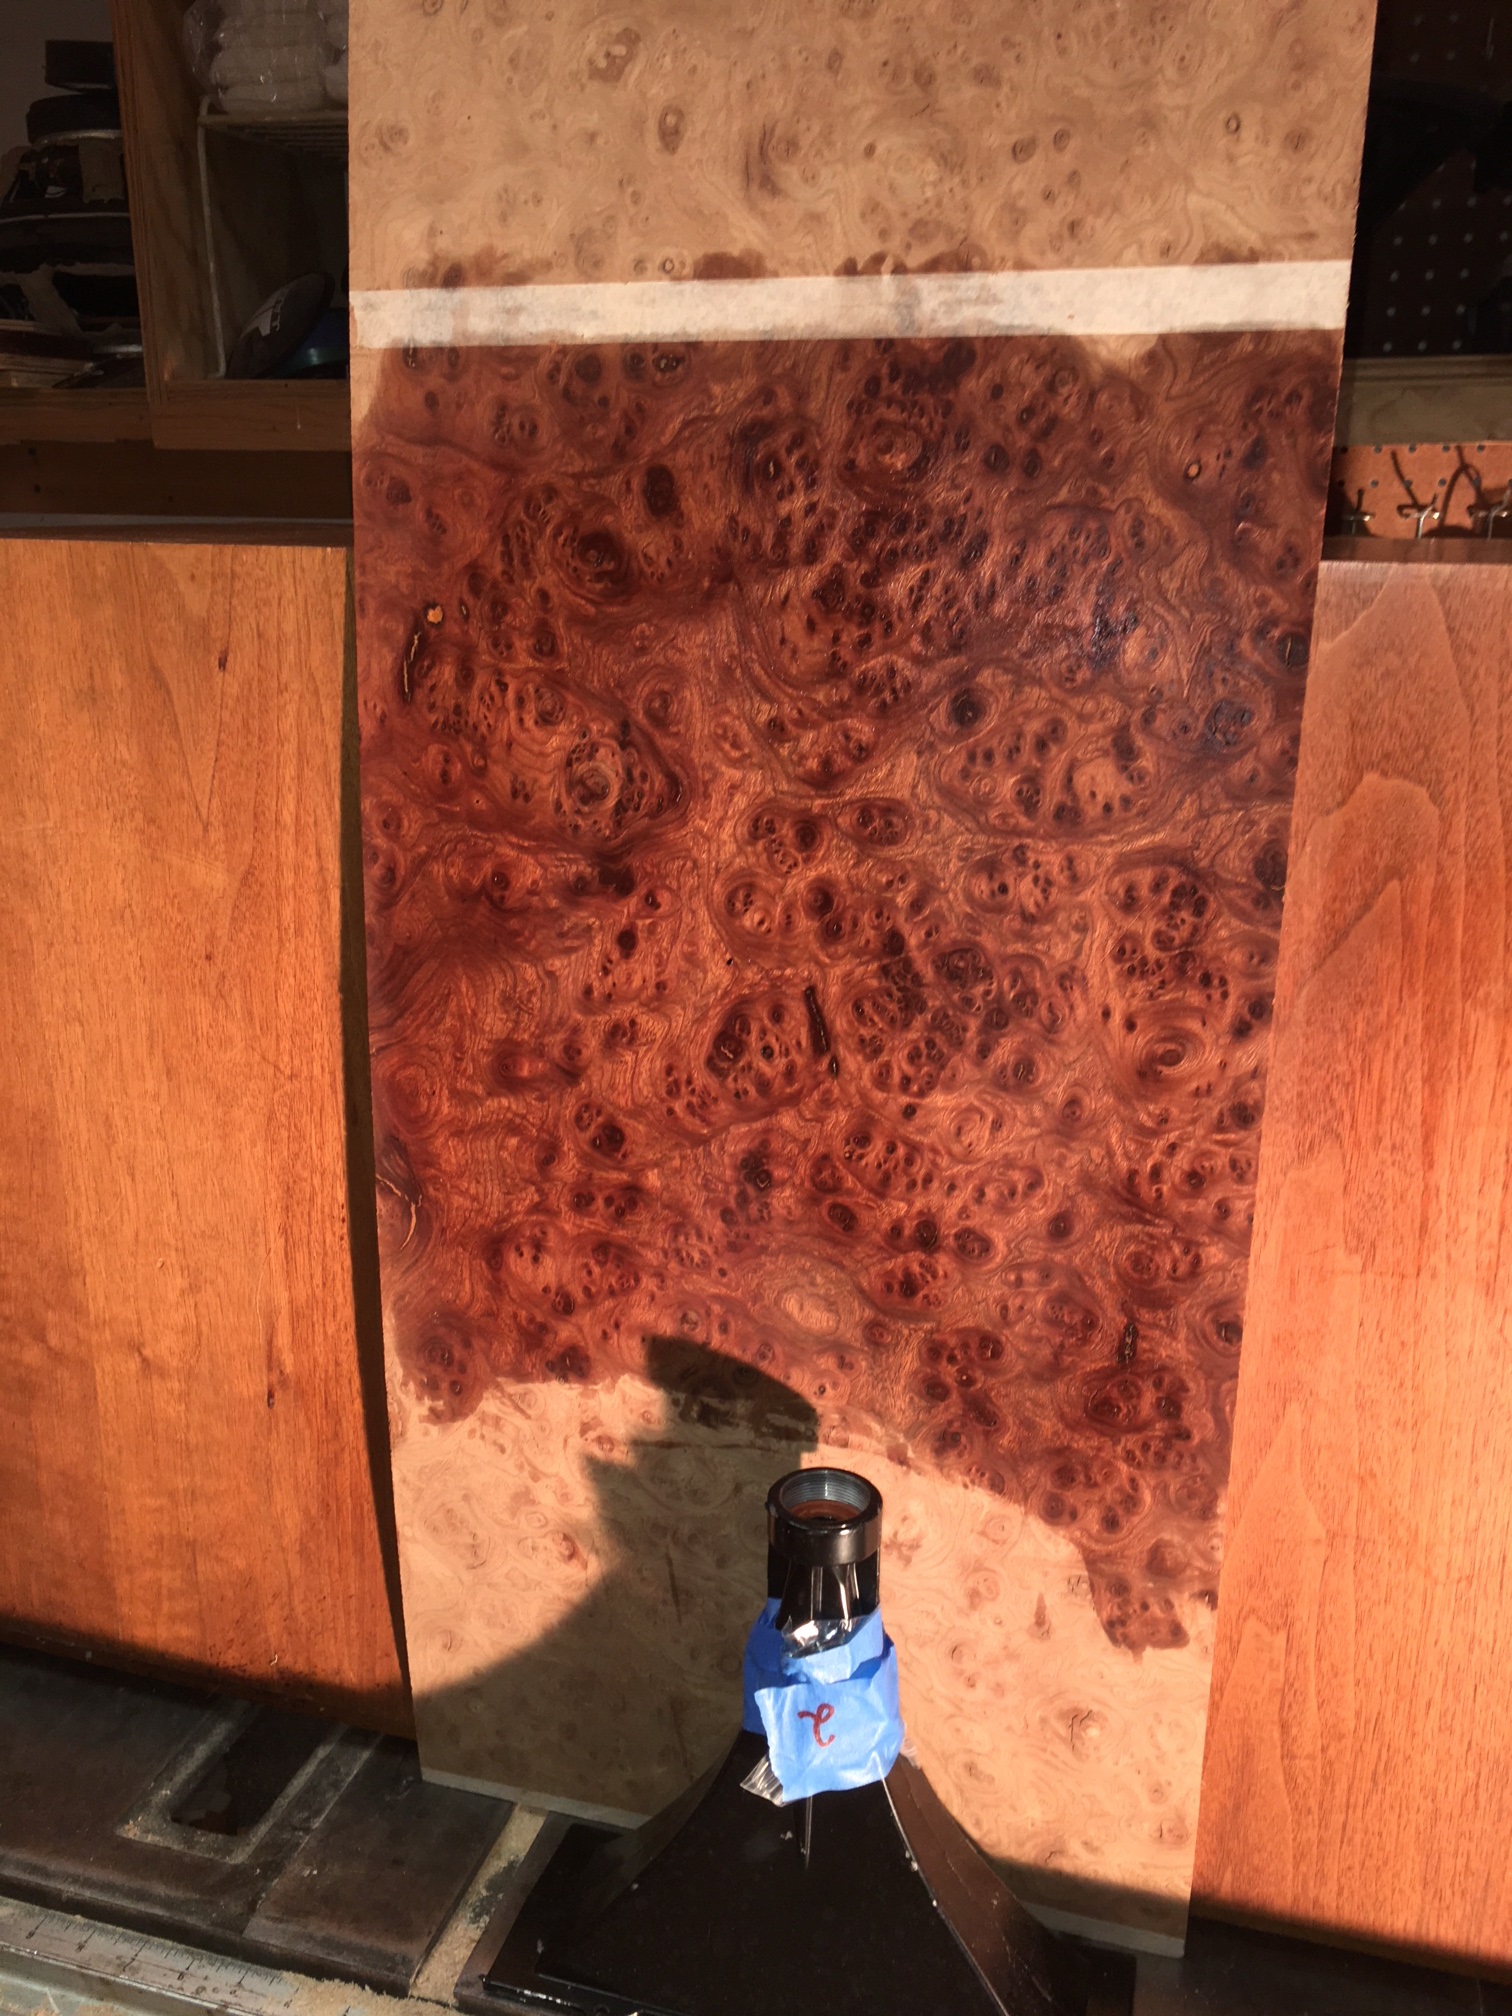
Schu, thanks for the compliment. I take all the credit for making the wood look like that!!
It runs about $14-$15 a square foot! Ain't cheap for sure. walnut and cherry run $4-$5 SF.
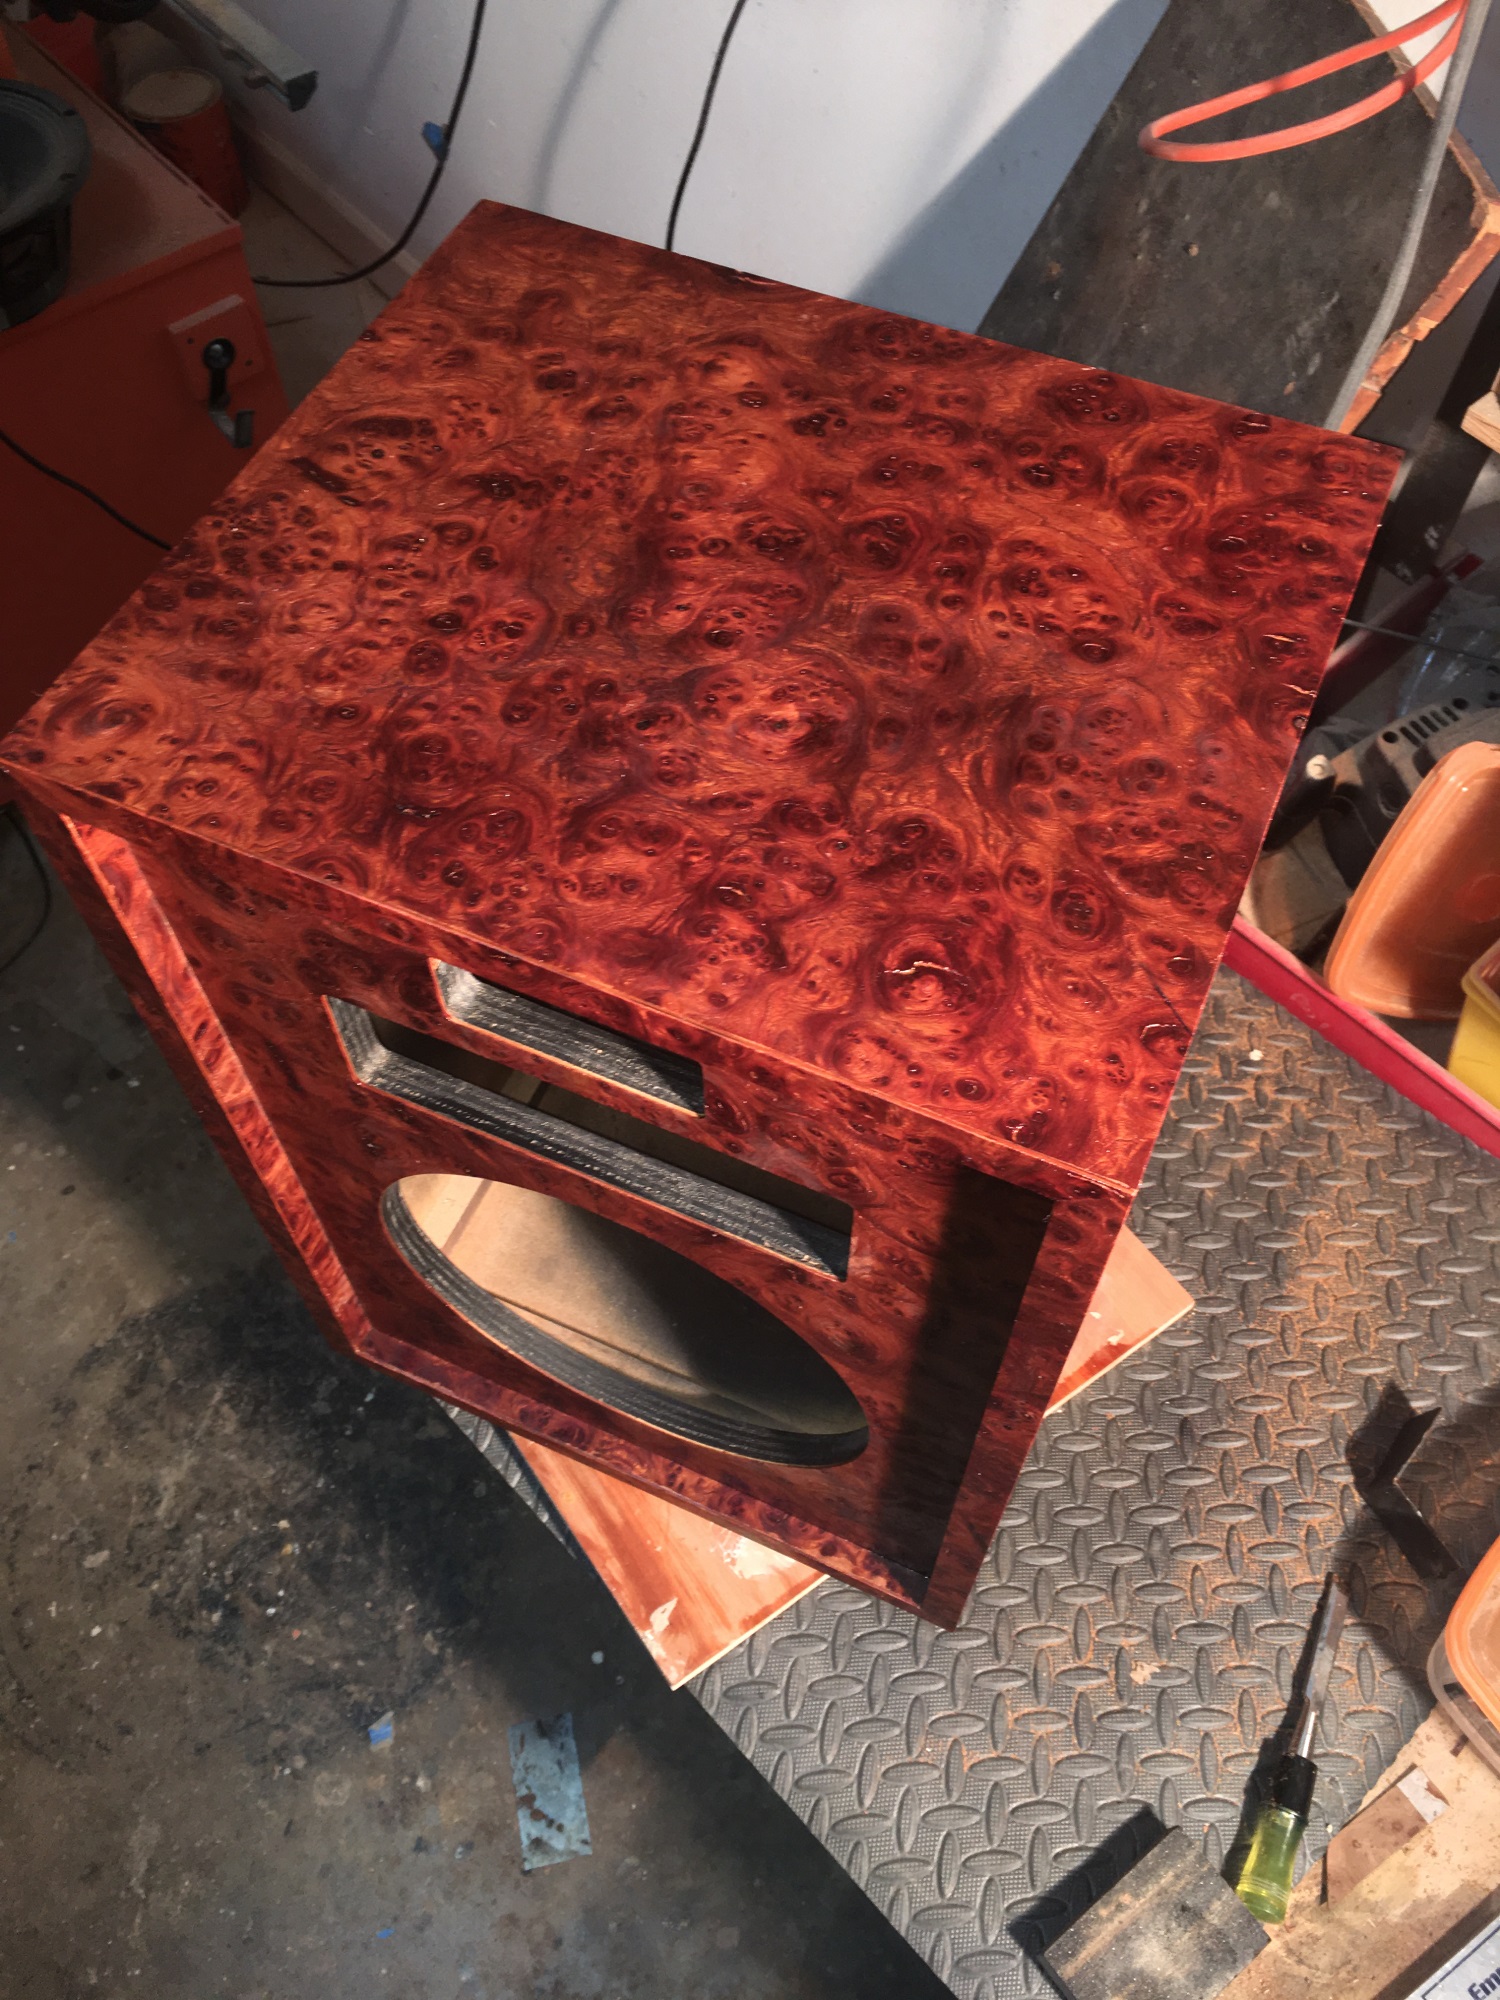
Update. Got two coats of poly on last night. This veneer really absorbs the poly. I have decided to fill the gaps/cracks which God put in this veneer. No offense God!!!!
Attached two pics.
-
 2
2
-
-
For a reasonable price if possible??? Thanks.
-
For a reasonable price if possible??? Thanks.
-
Thanks PZ.
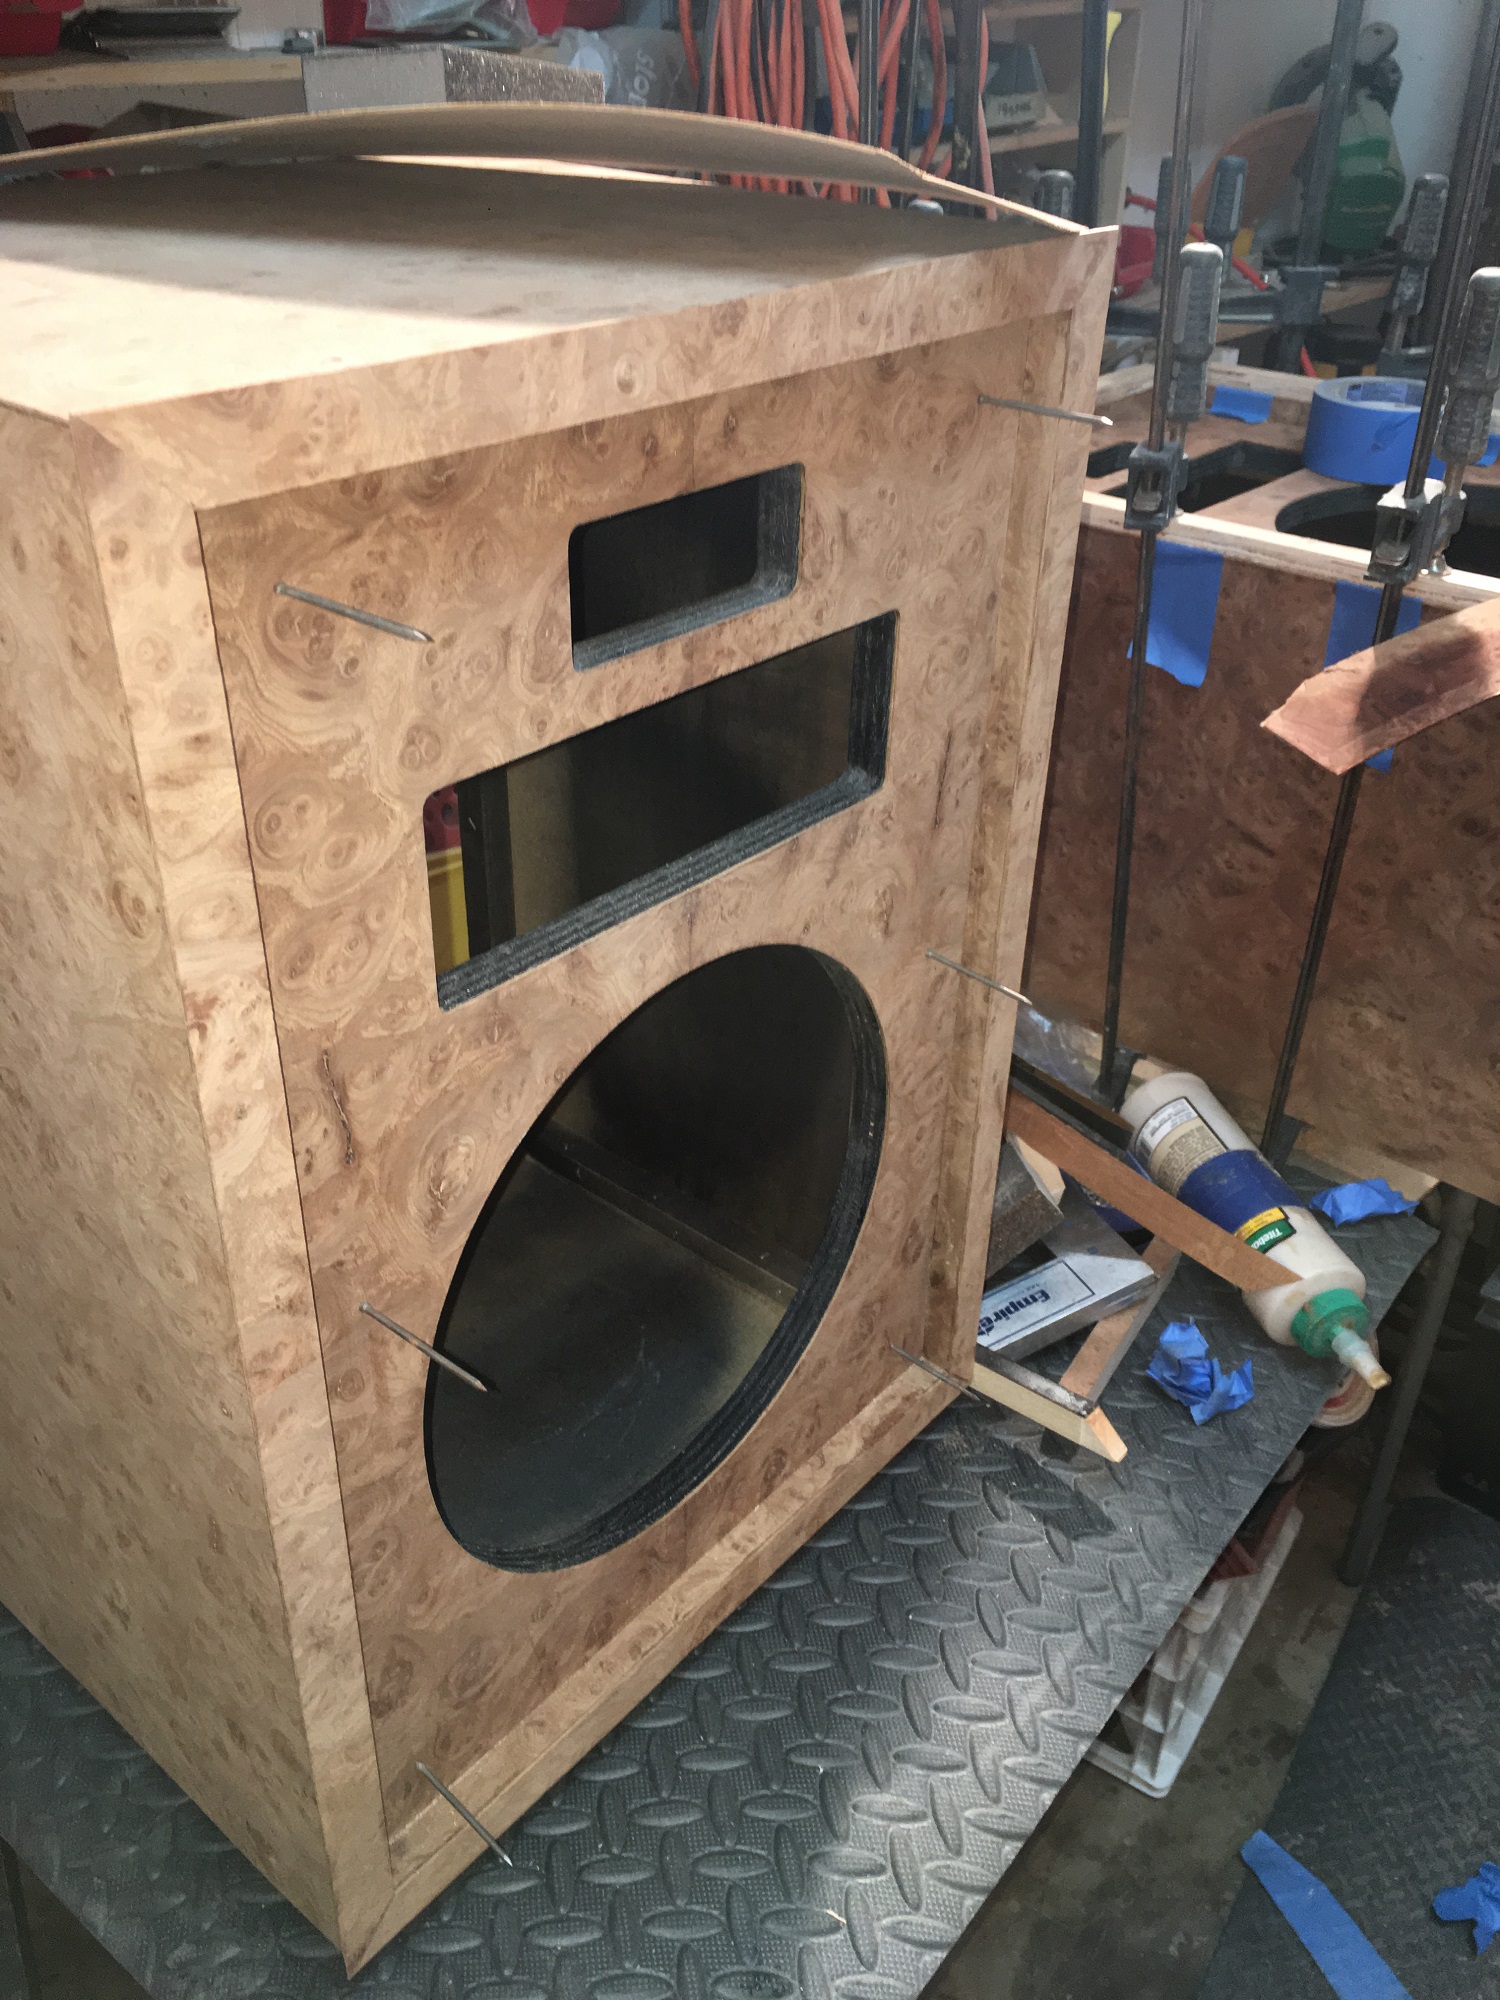
Update. Everything veneer but still need to flush trim the front trim. Will do that tonight and start applying wipe on poly. This type veneer has some voids by nature so can't decide if I should fill them in or leave it natural. Right now I'm thinking natural.
Any opinions????
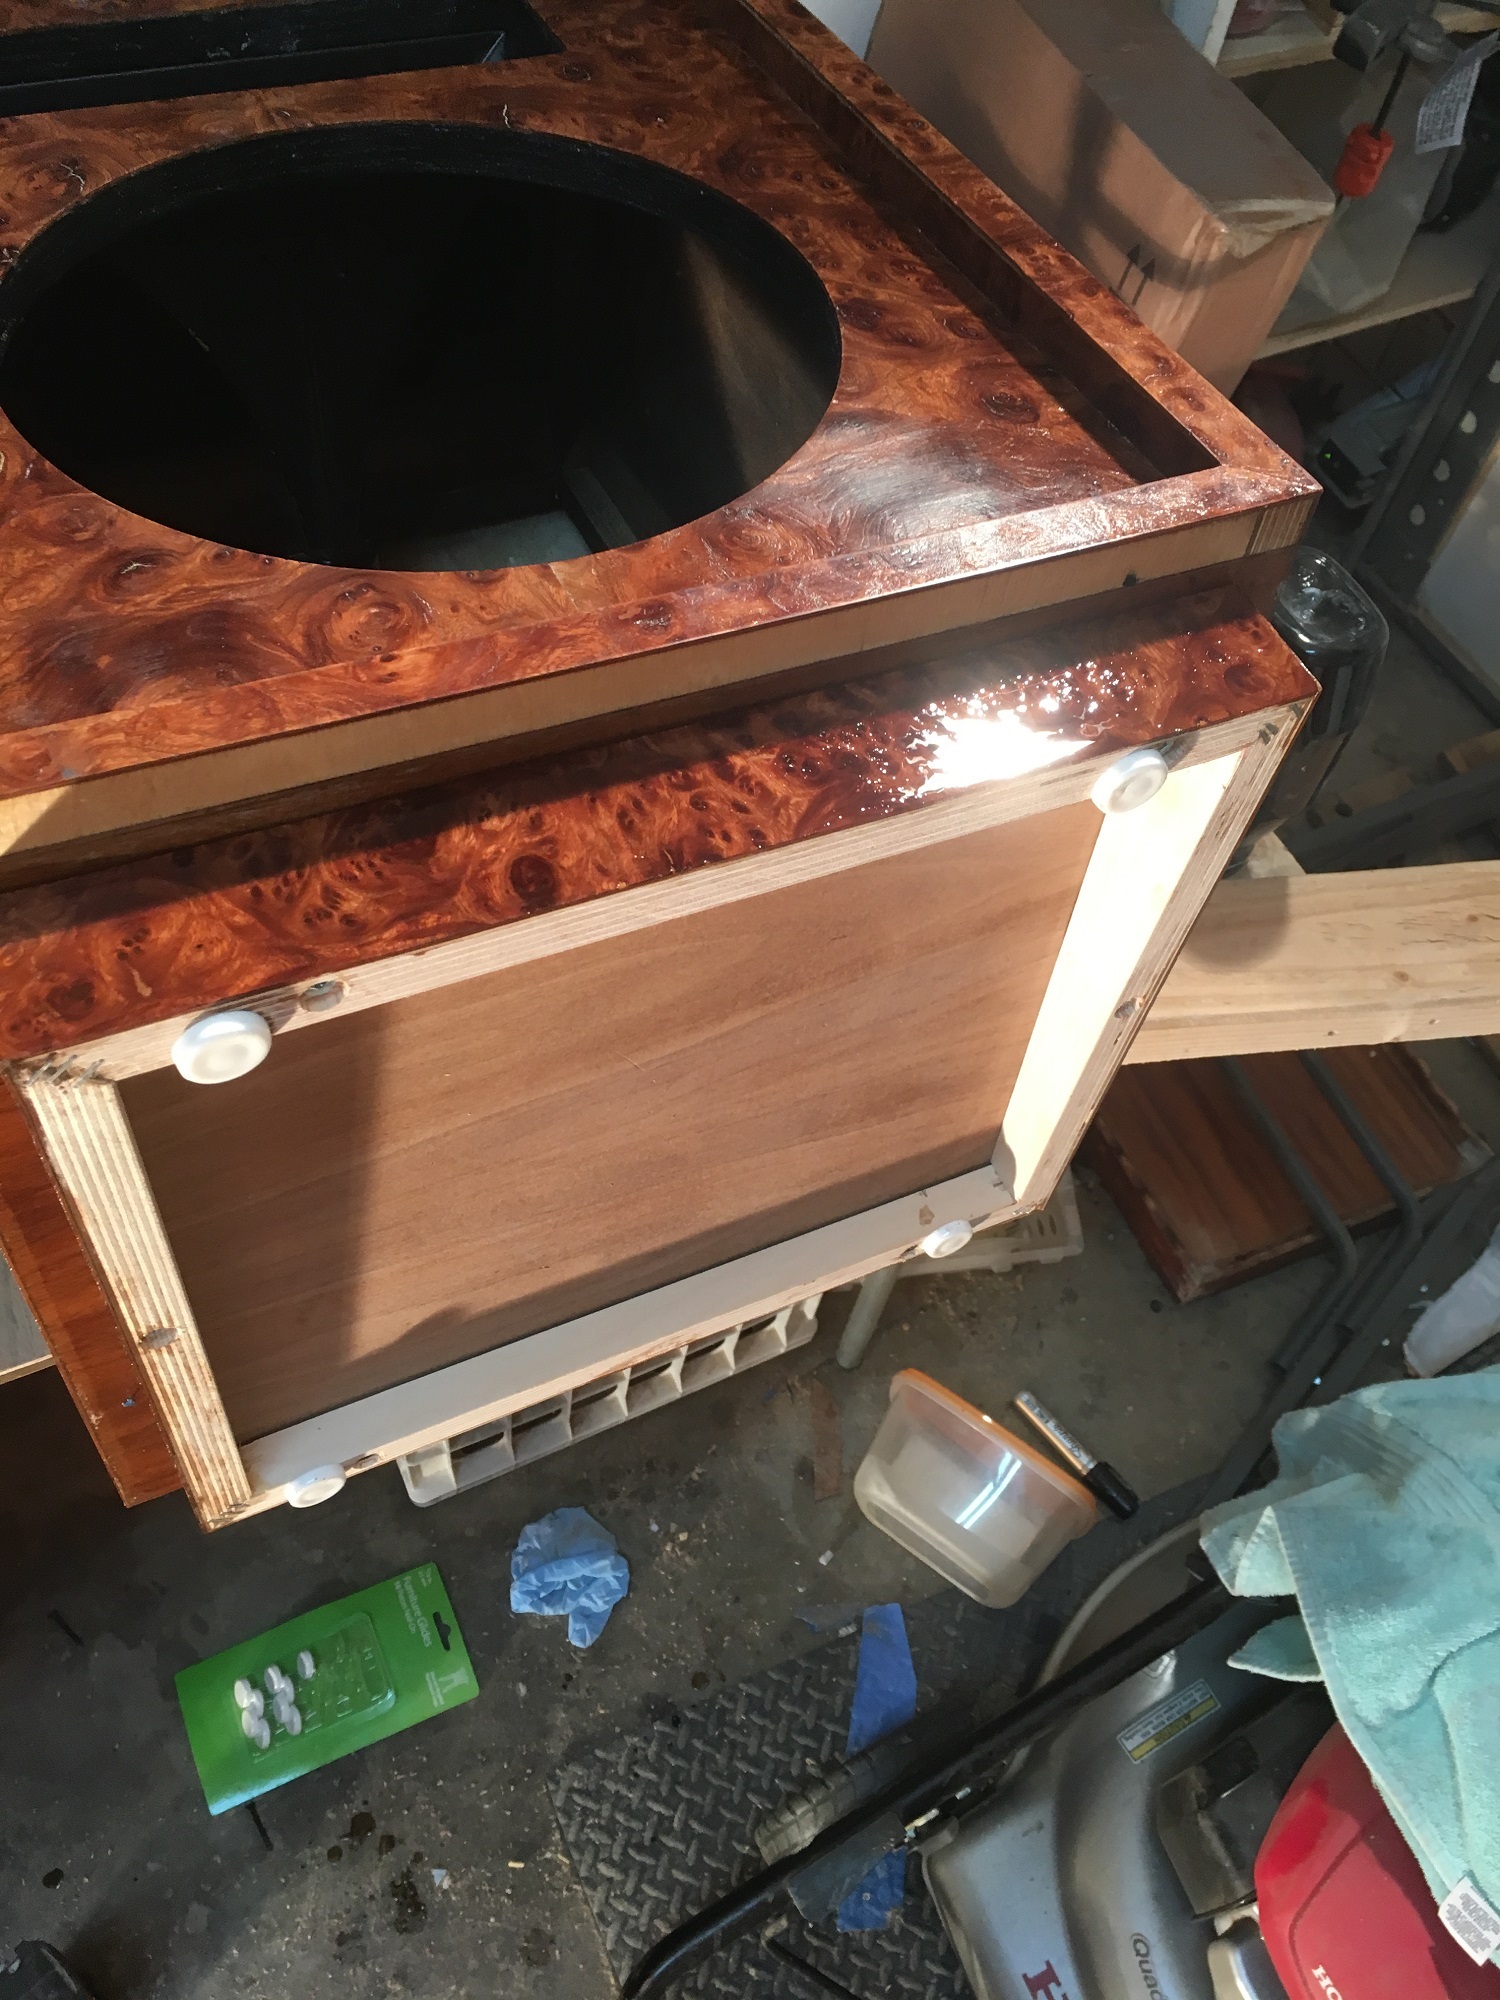
Pics show finish nails held in place by the hidden neo magnets.
-
Check out this link on the Western Electric speaker cabinets I build for a friend and you can see the mojotone.com brown cane type grill he bought and I applied. Looks great. About $26 linear yard.
-
1
-
-
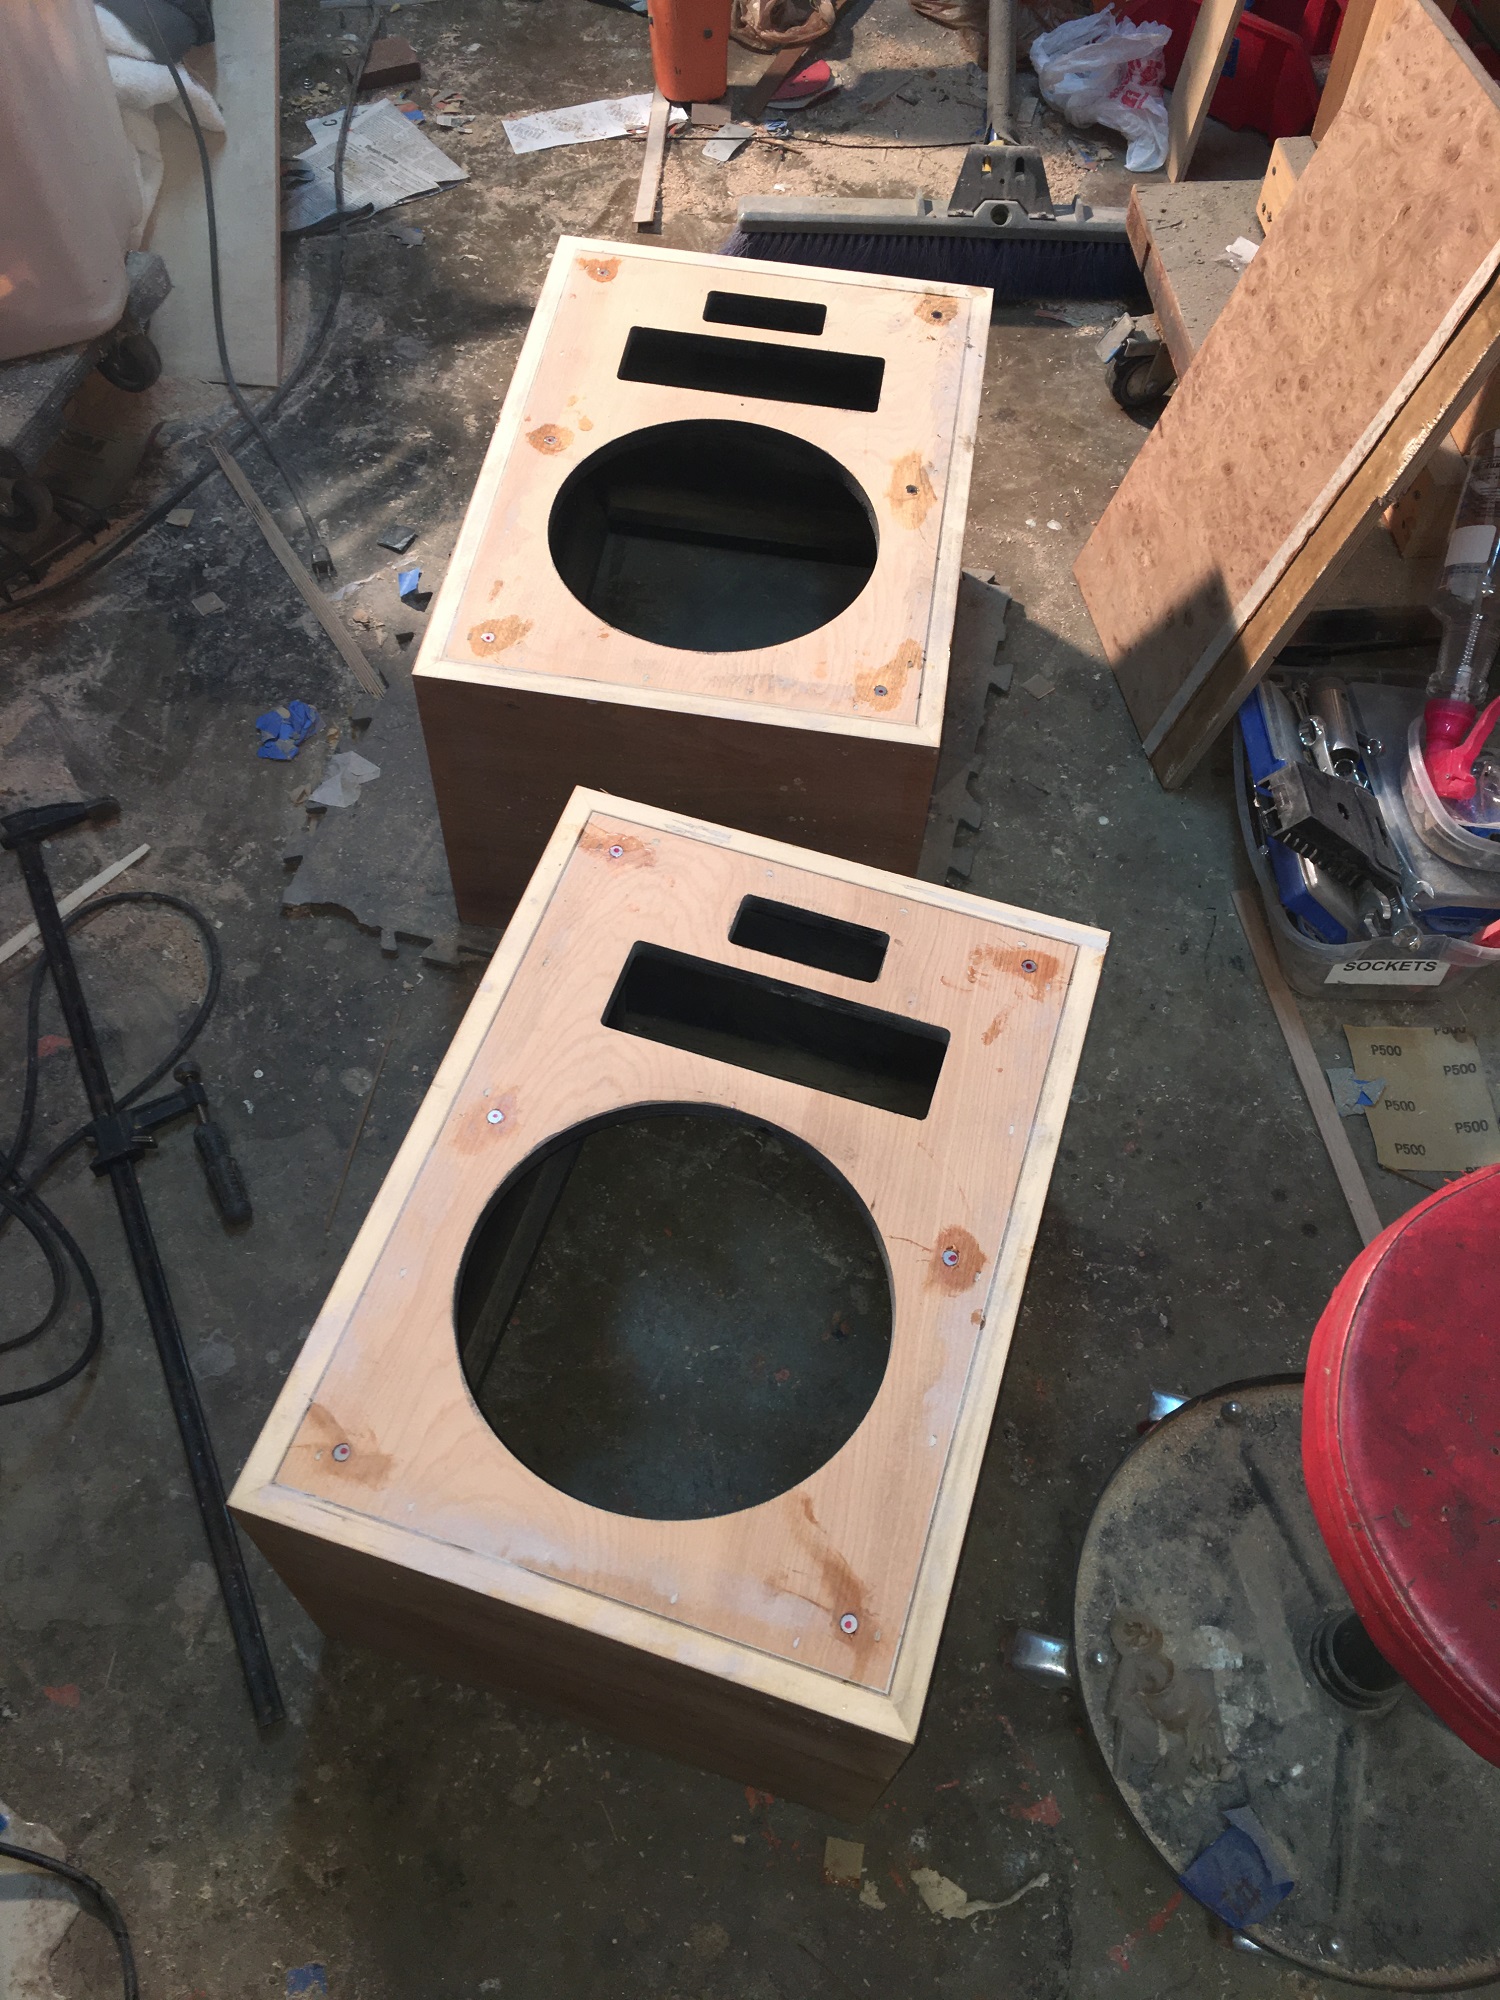
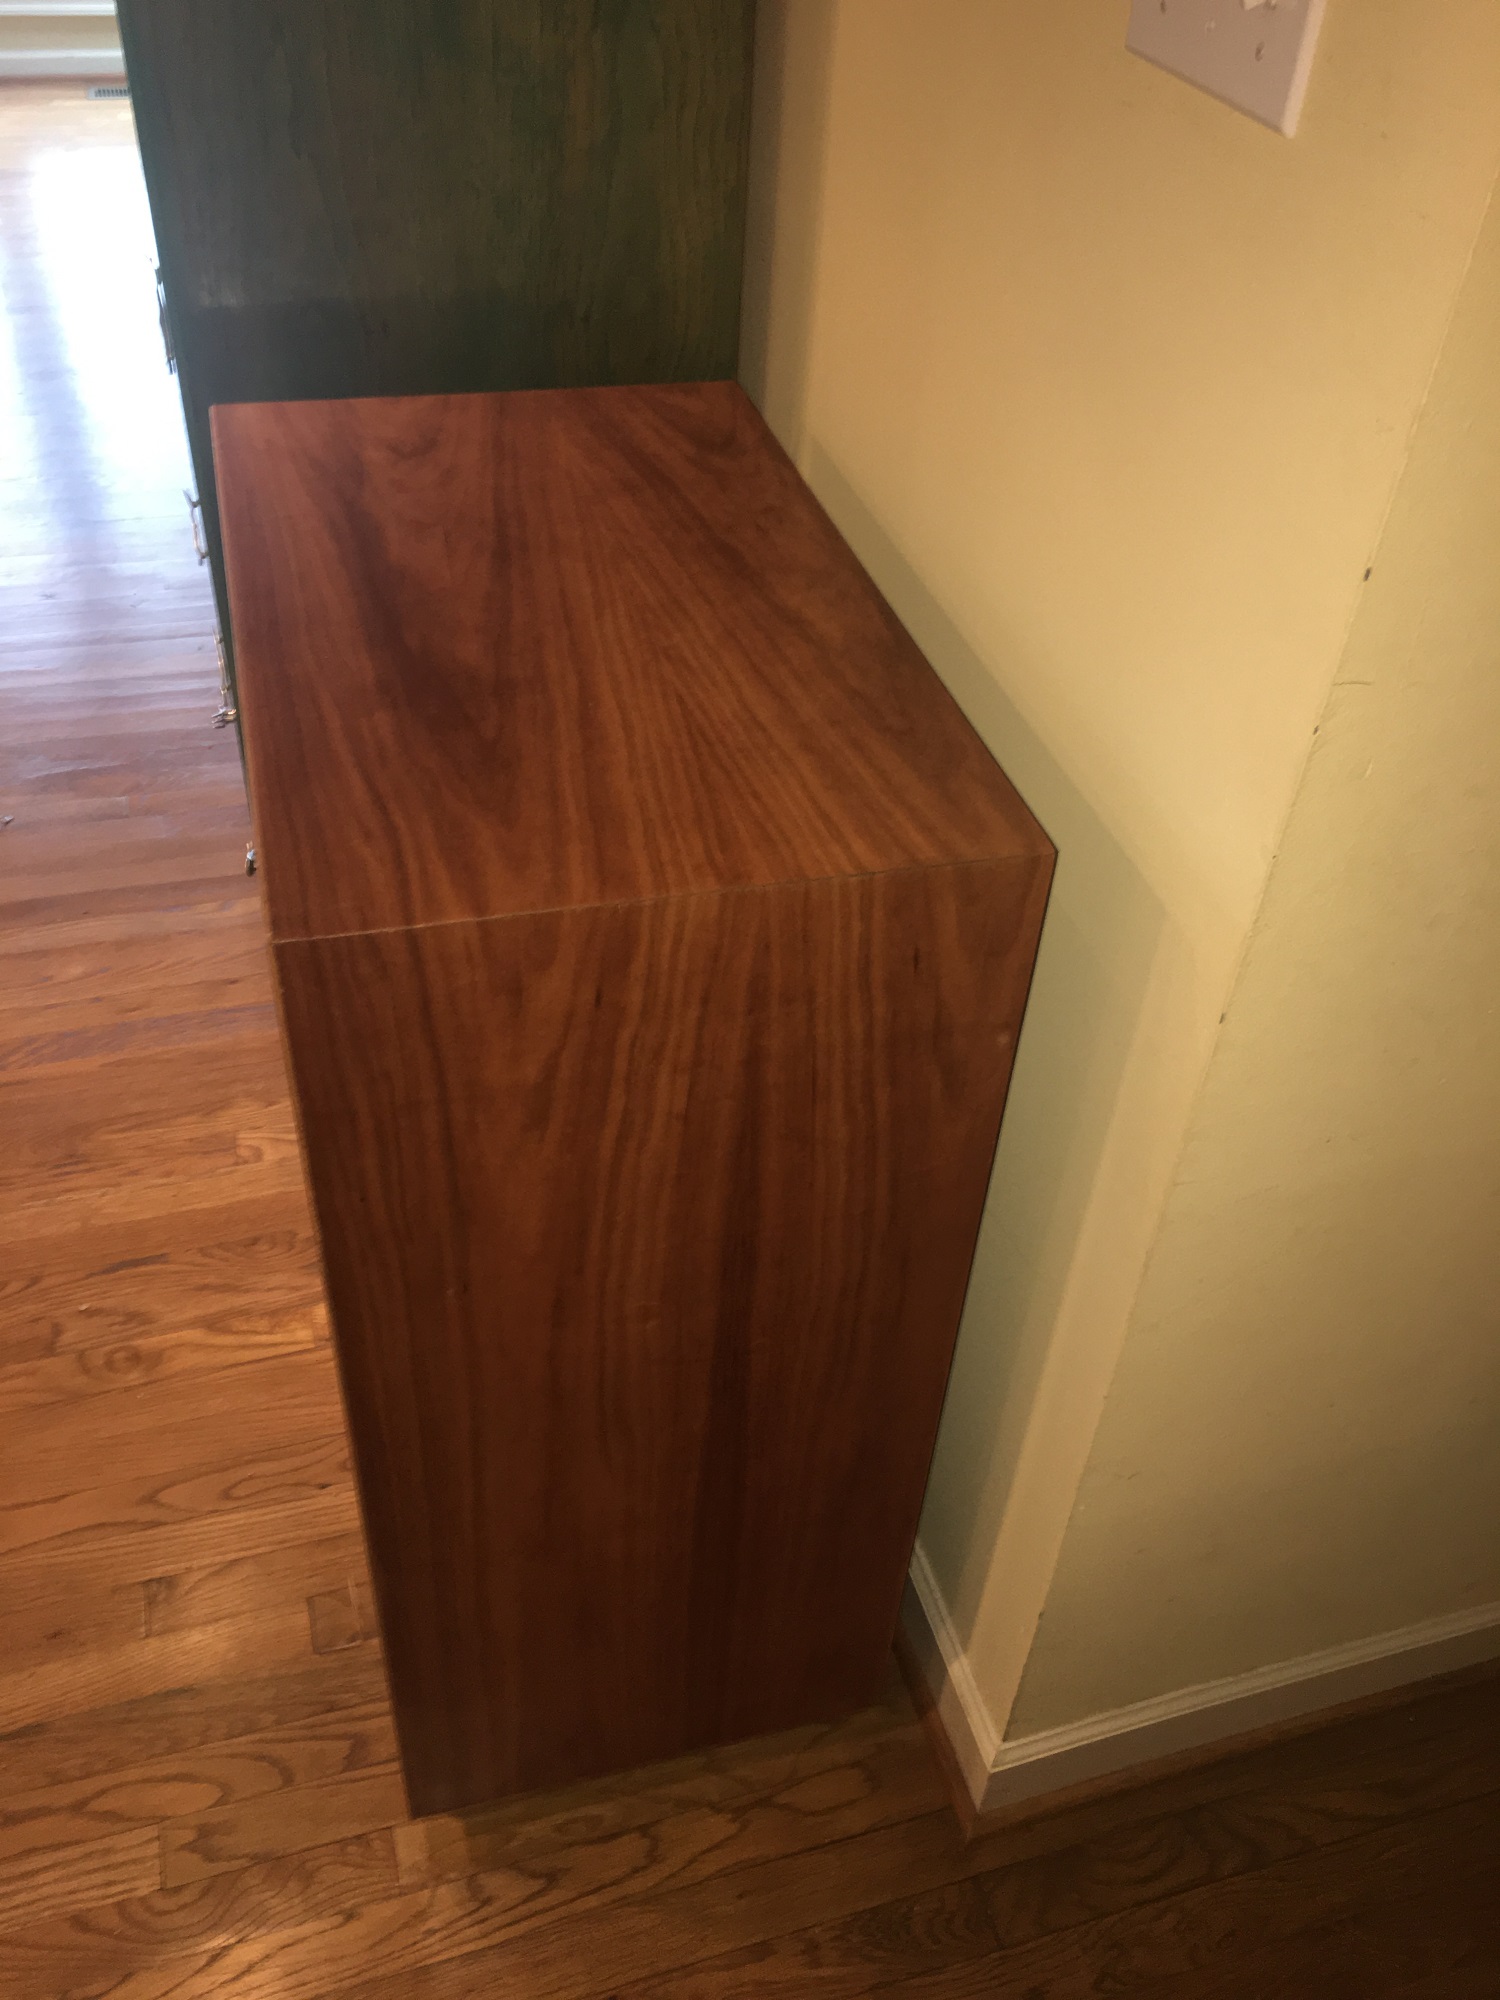
Next project in the chute is a walnut cabinet Heresy redo. Cabinets were nicked up and water spots so doing new veneer. Pics show where I cut off the front edges of the sides, top and bottom so the motorboard is flat. Sanded paint offer and installed neo magnets using epoxy. I will cover the front with CEB and then attach new front edges and veneer the tops and sides to overlap the front edges. New 1/4" masonite grill frames with magnets epoxied in. Will post as I proceed. Here's a pic of the CEB with some alcohol spritzed on it.
-
3
-
-
Correction I just saw a reference in a Klipsch thread stating klipsch used #40 Valspar black paint? search for "Cornwall black grill paint"
-
 1
1
-
-
Yo TFR1! Thanks for the compliment. I tried to use Rustoleum Satin Black spray can pain but HD didn't carry satin. I actually used Krylon Satin spray paint and it worked fine. I read somewhere that Klipsch used Red Devil Satin black but I don't think it is made (at least under that name) anymore.
-
1
-
-
I redid a set of C's for a friend which had same situation with one of the dustcaps being vented. I've read (I think) somewhere that Klipsch used whatever might be on the shelf even if from different manufacturers since all of the woofers met spec in the C cabinet.
-
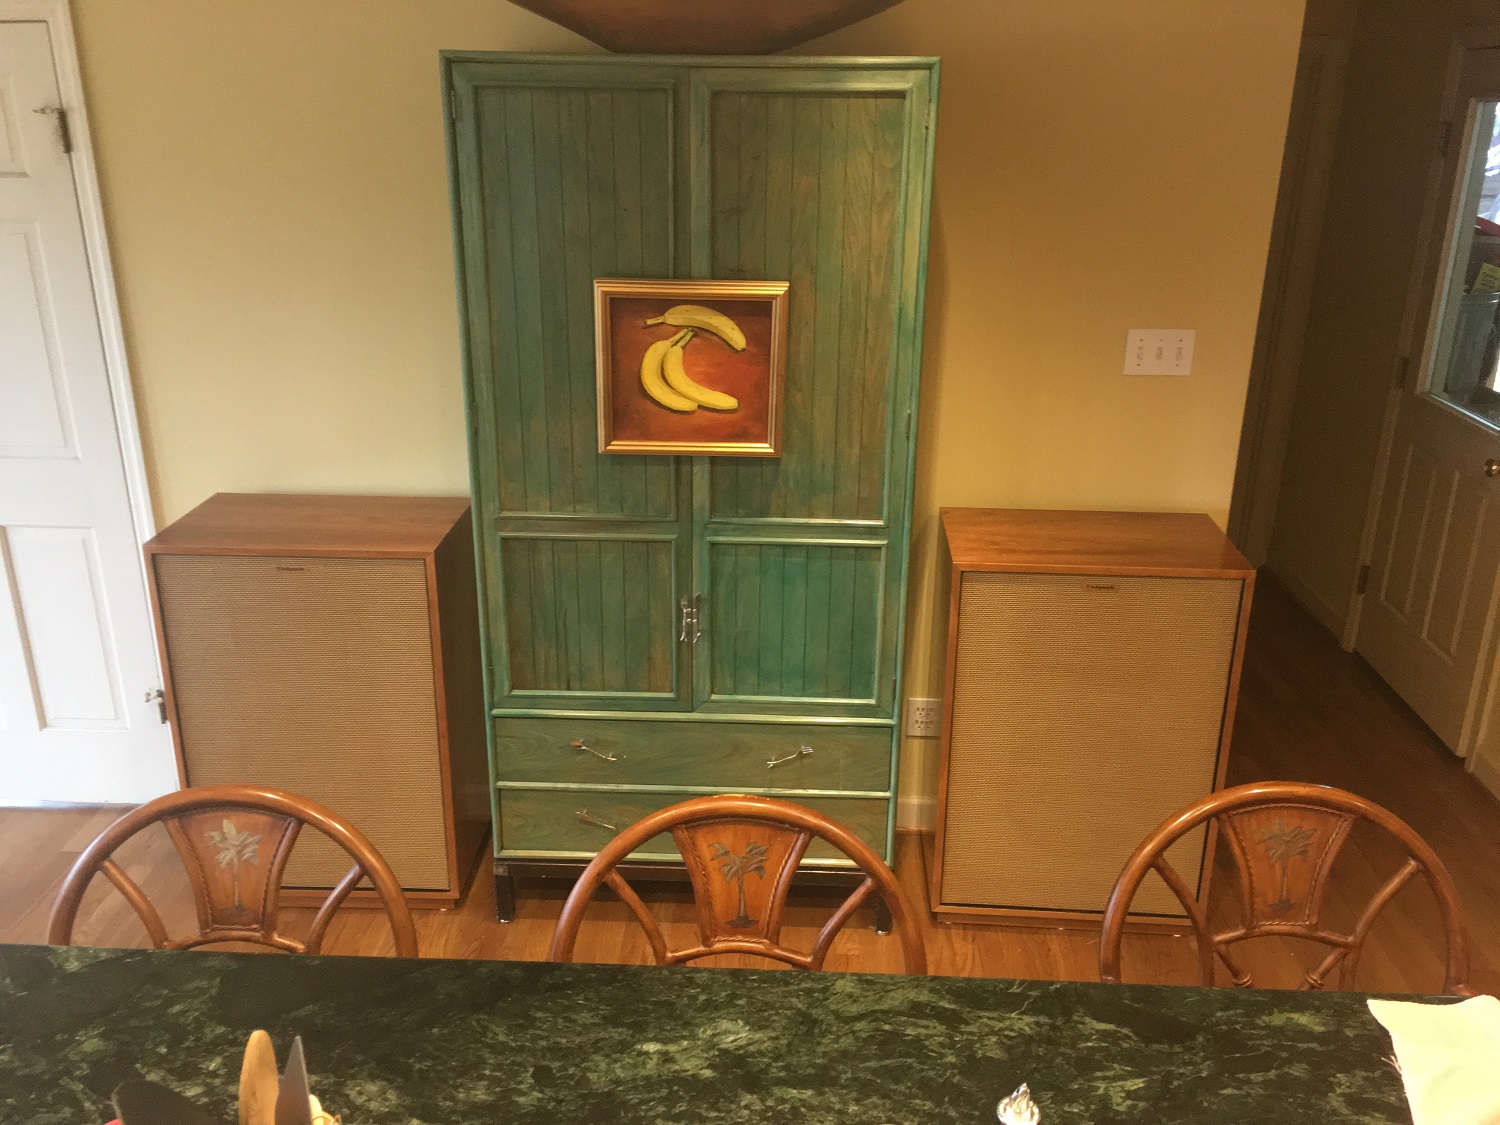
Thanks for the compliments guys! Project complete and delivered yesterday. Here are pics in friends kitchen at his house. He is removing some Klipsch Cornwalls from the kitchen and they might be for sale.
-
3
-
-
Thanks Randy, appreciate the compliment.
Taking these to my friends house on Saturday to replace the pair in his kitchen. I will wet sand these and then steel wool/wax them to a smooth finish
-
1
-
-
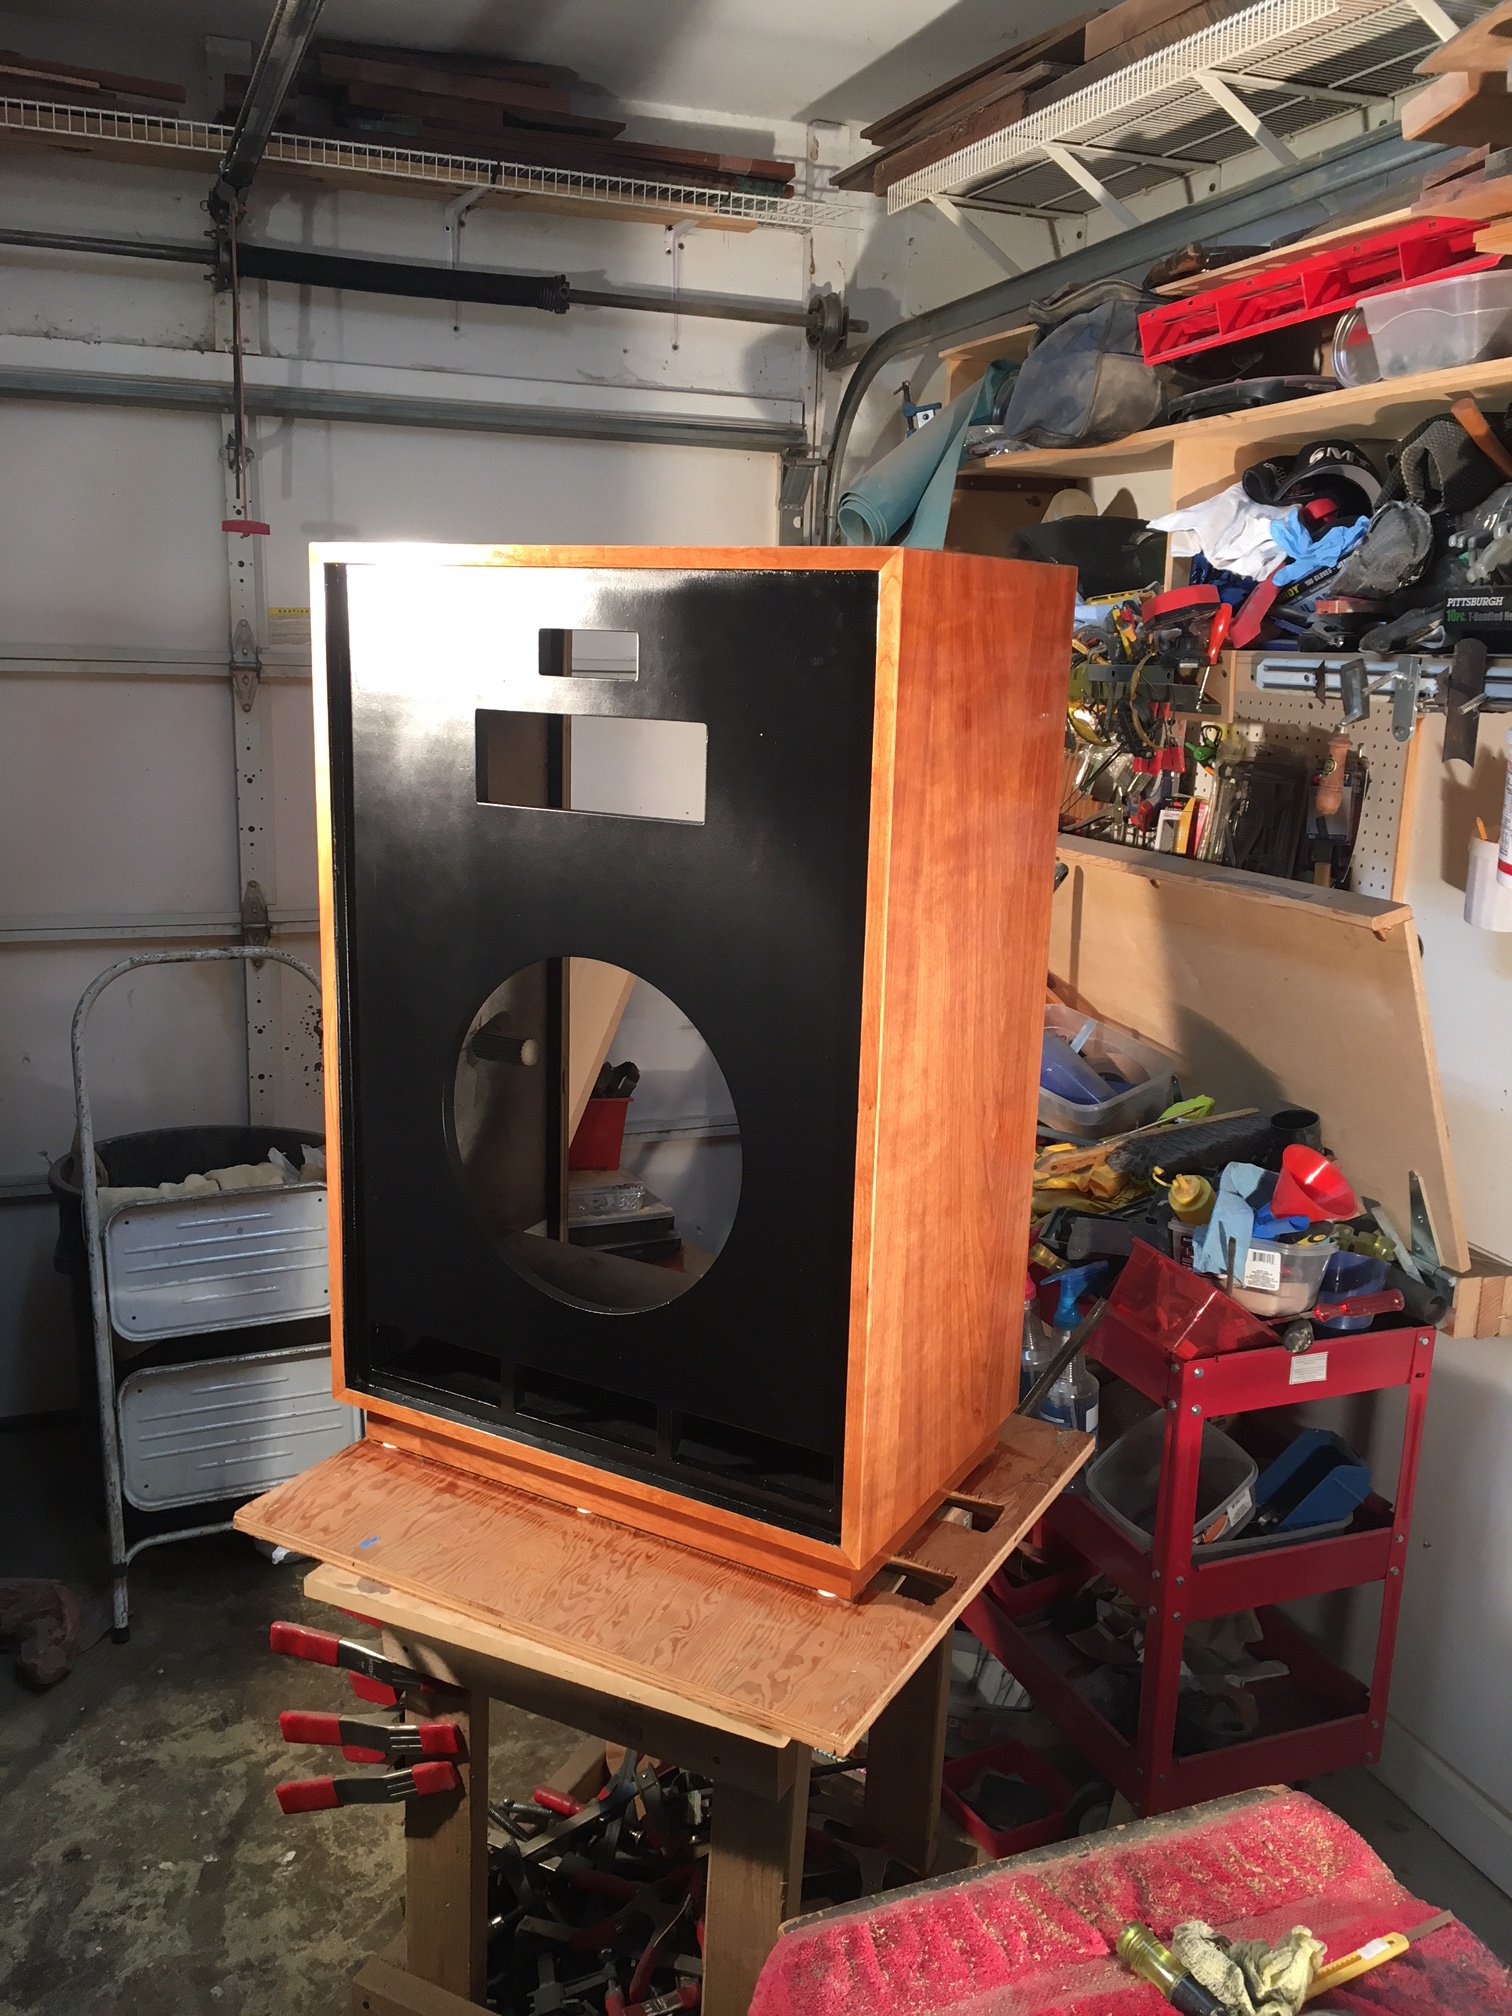
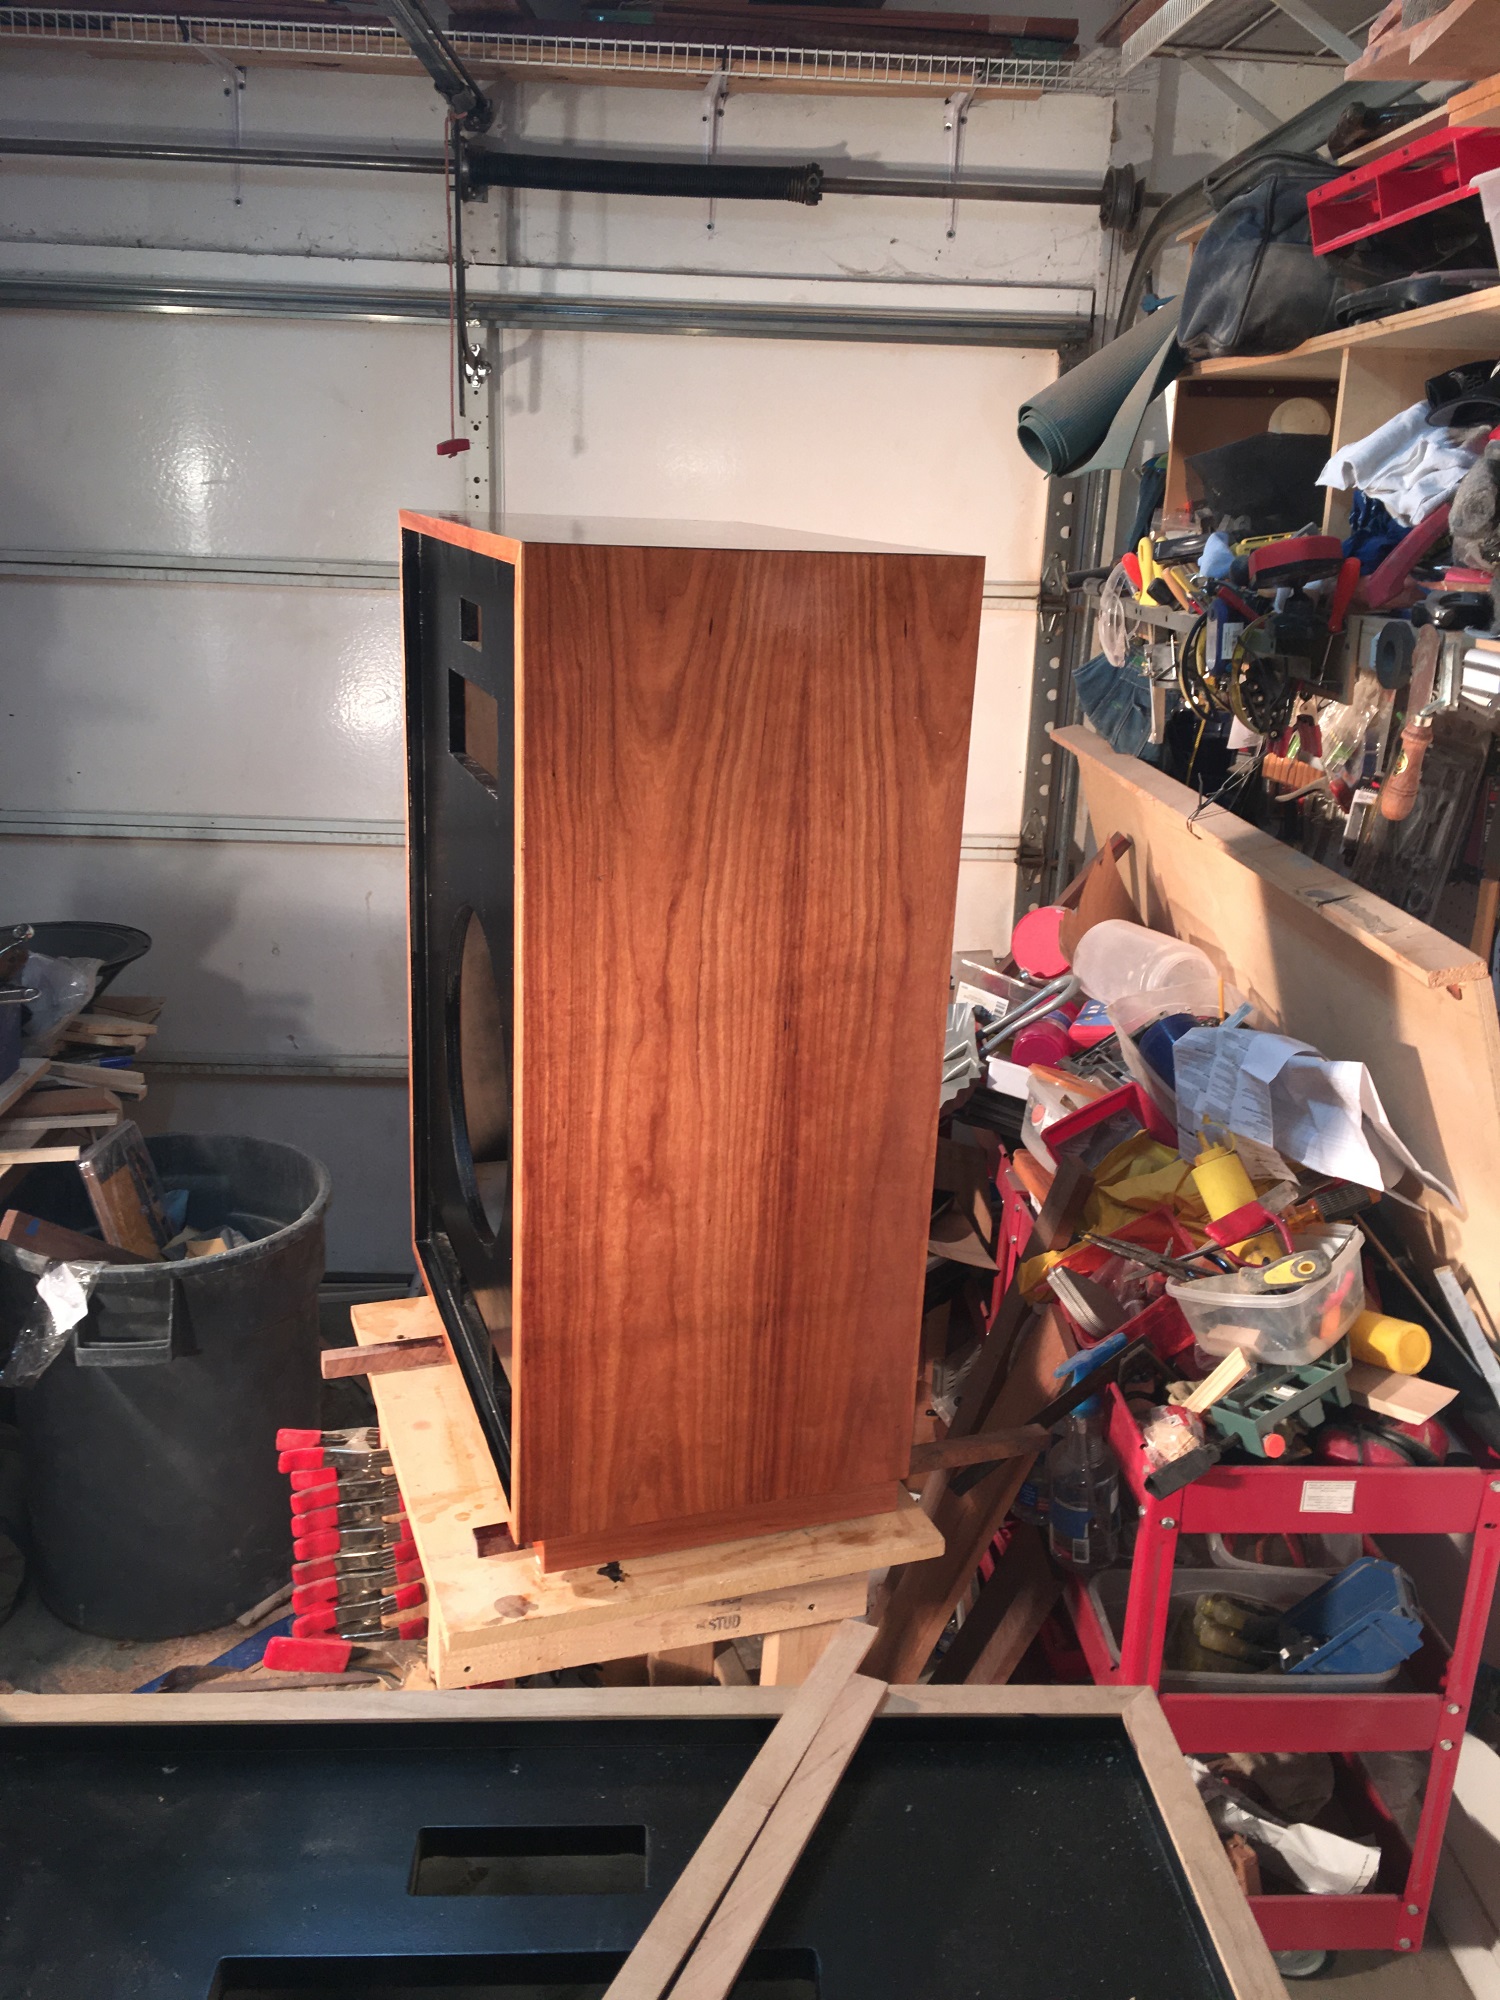
Update. 4 coats of wipe on poly in bad light. Starting to look like a speaker. Thanks for the compliments.
-
3
-
-
Update. All the wood parts are attached except solid cherry trim on front. About ready to sand and finish. These things will be heavier than the real Cornwalls which are 98 lbs each since the 3/4" baltic birch ply is heavier. Still have to install the factory brown cane grills which still have the velcro patches attached to the grill.
Can't post any more pics because of 2MB max size
-
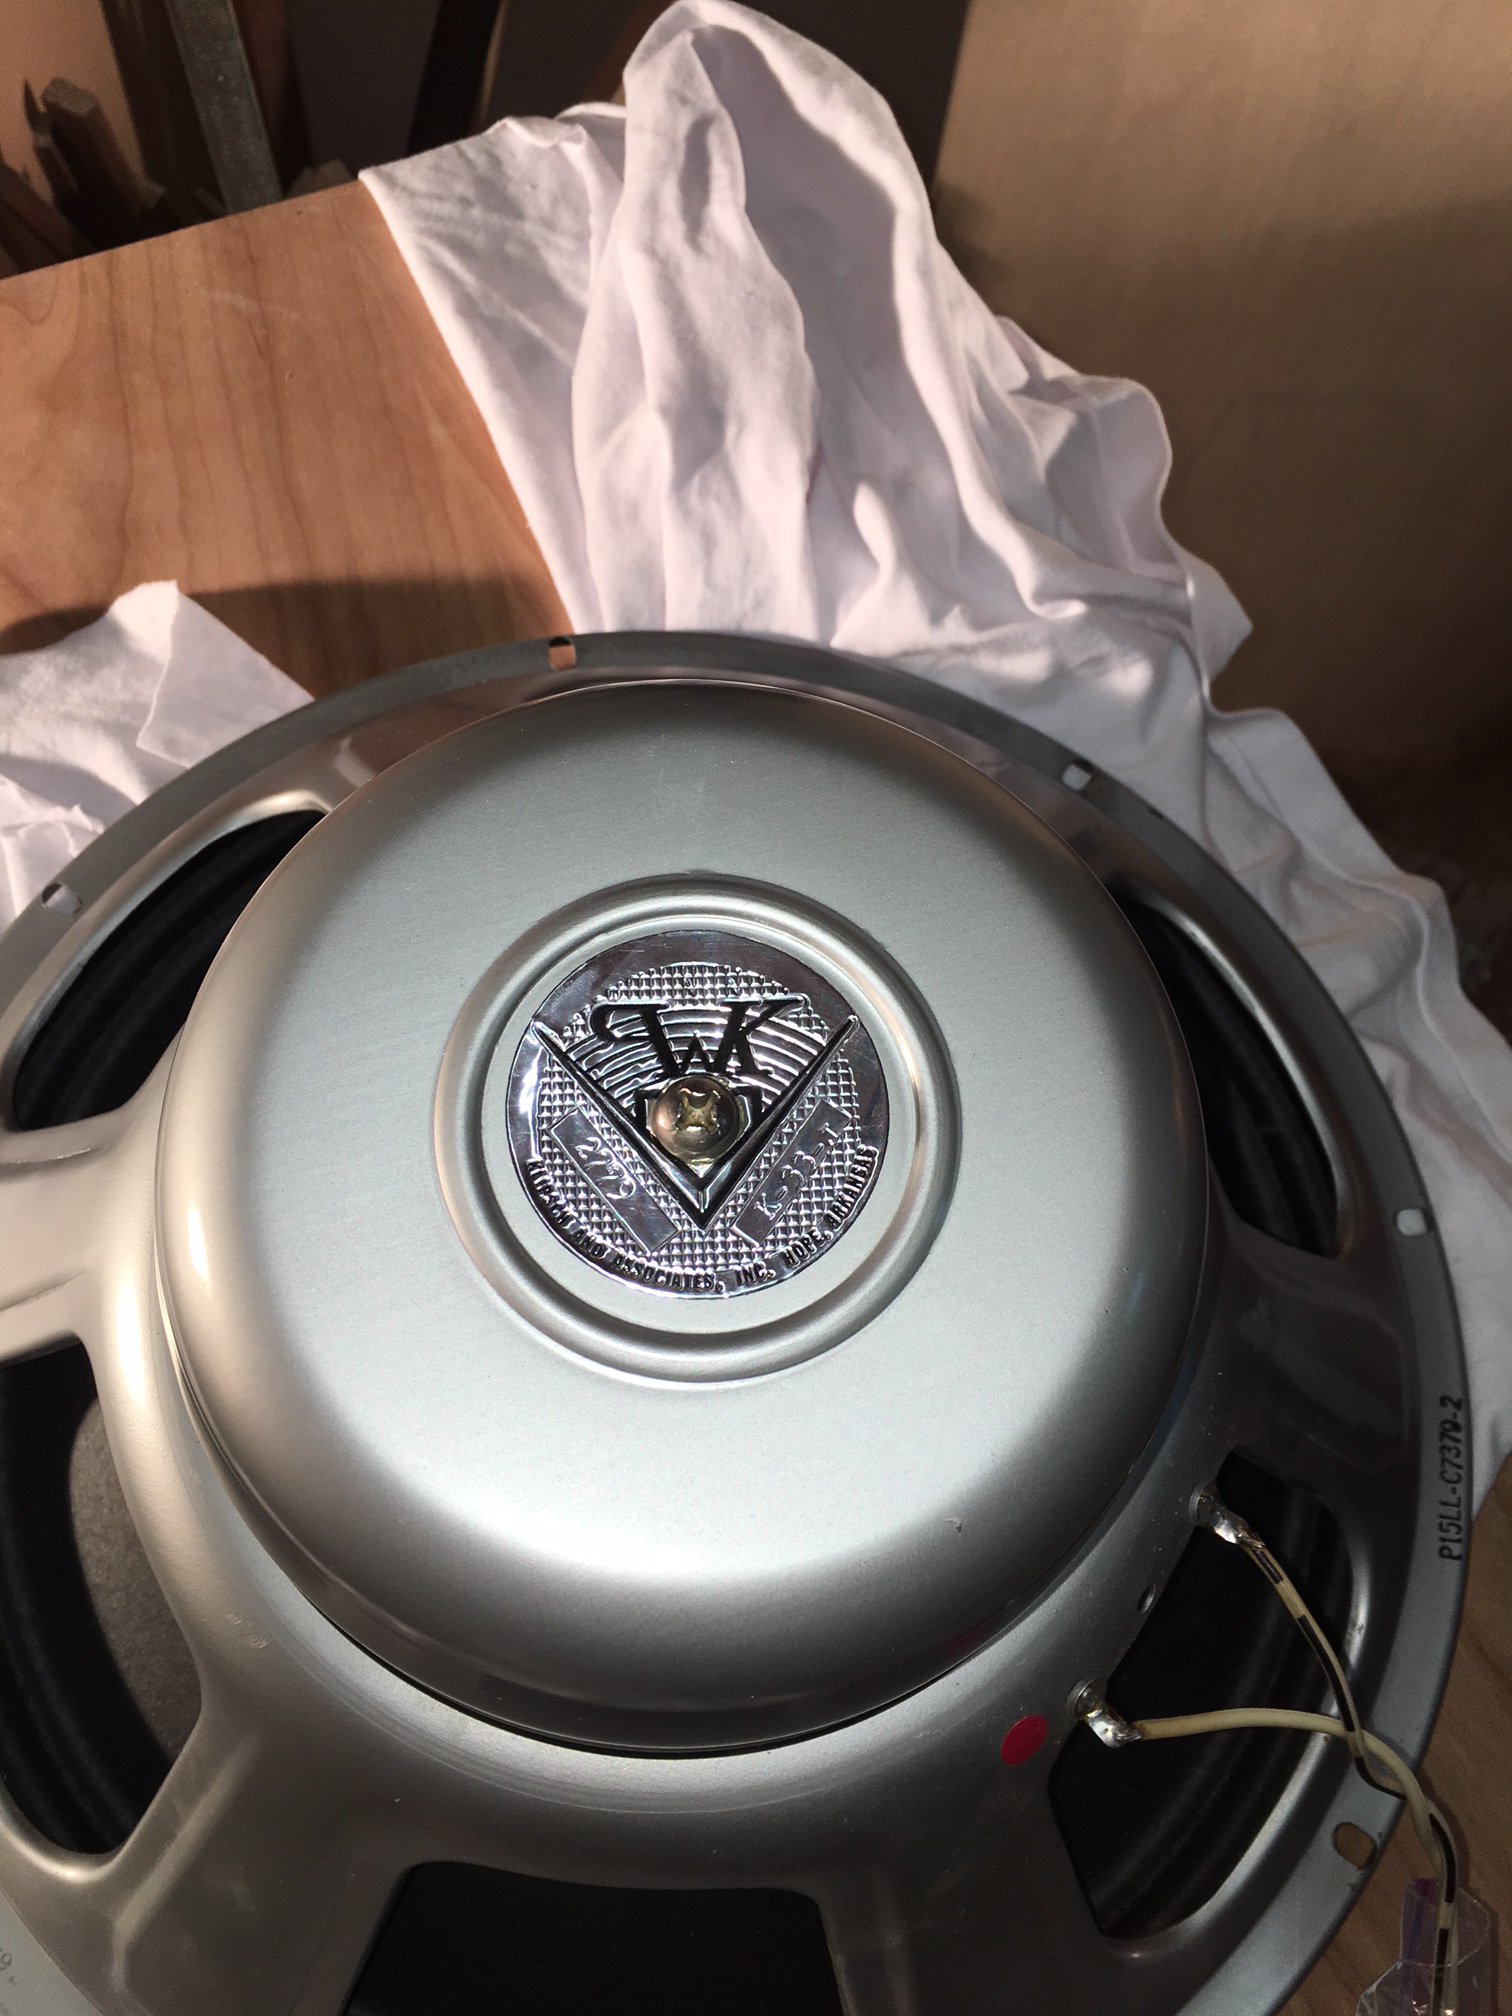
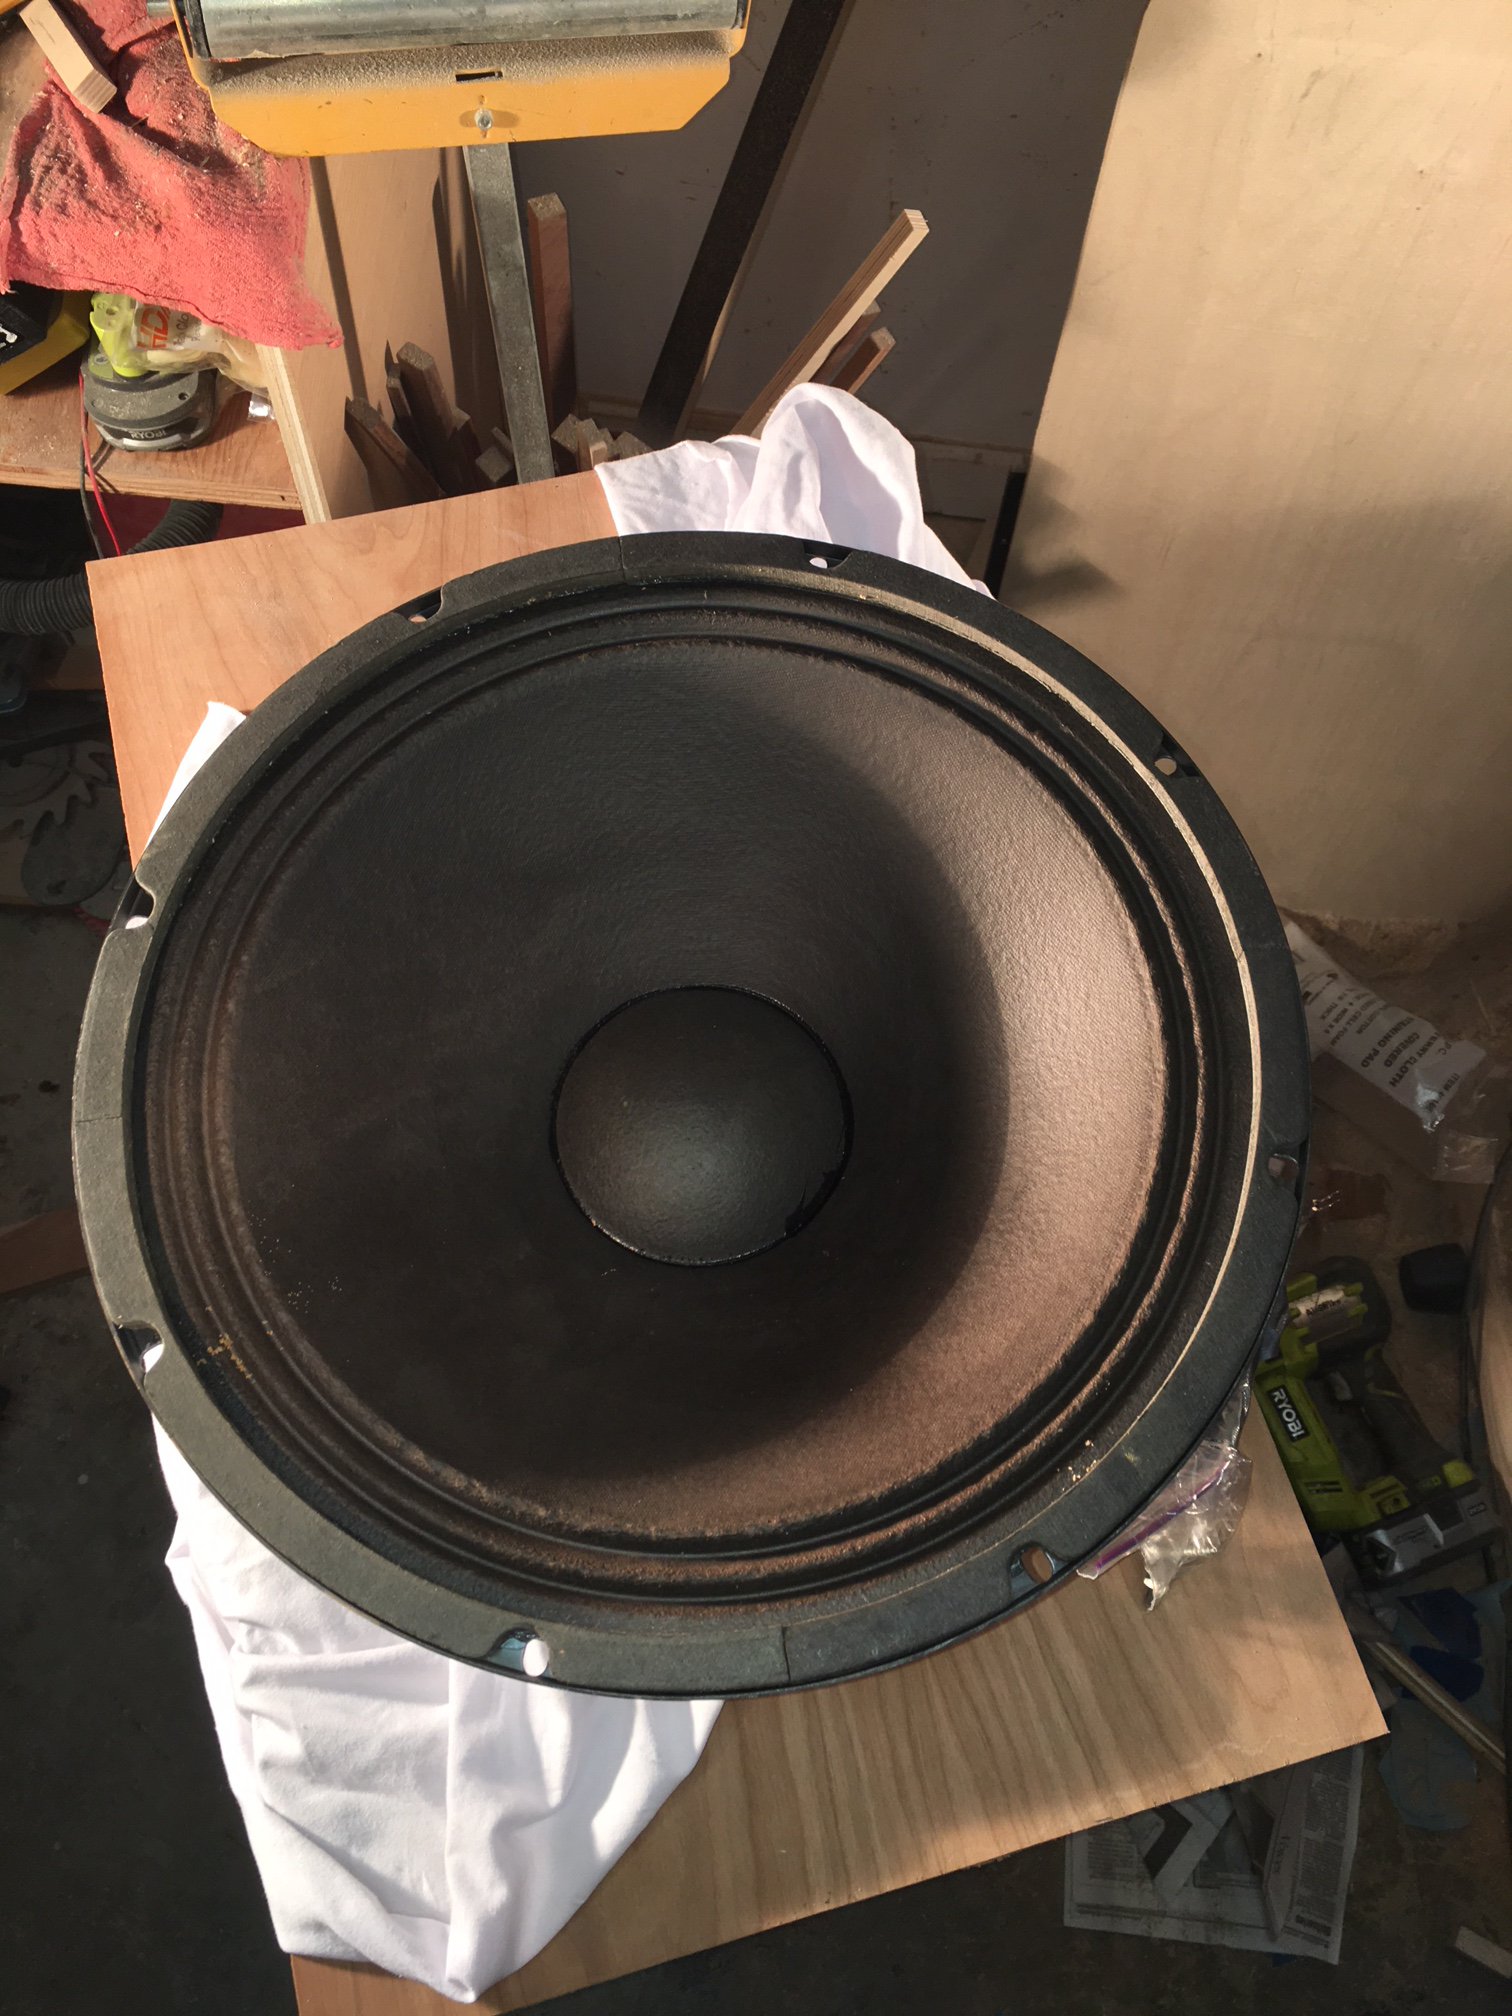
First time I've seen one of these. I'm guessing the "J" means Jensen???
Sharp looking back. I notice the accordion surround is different than the K-33 Eminence woofer. Assuming this was used early one in Klipschdom when different suppliers made the K-33 woofer. Anyone know the "untold story". Putting these in new Cornwall cabinets for a friend.
-
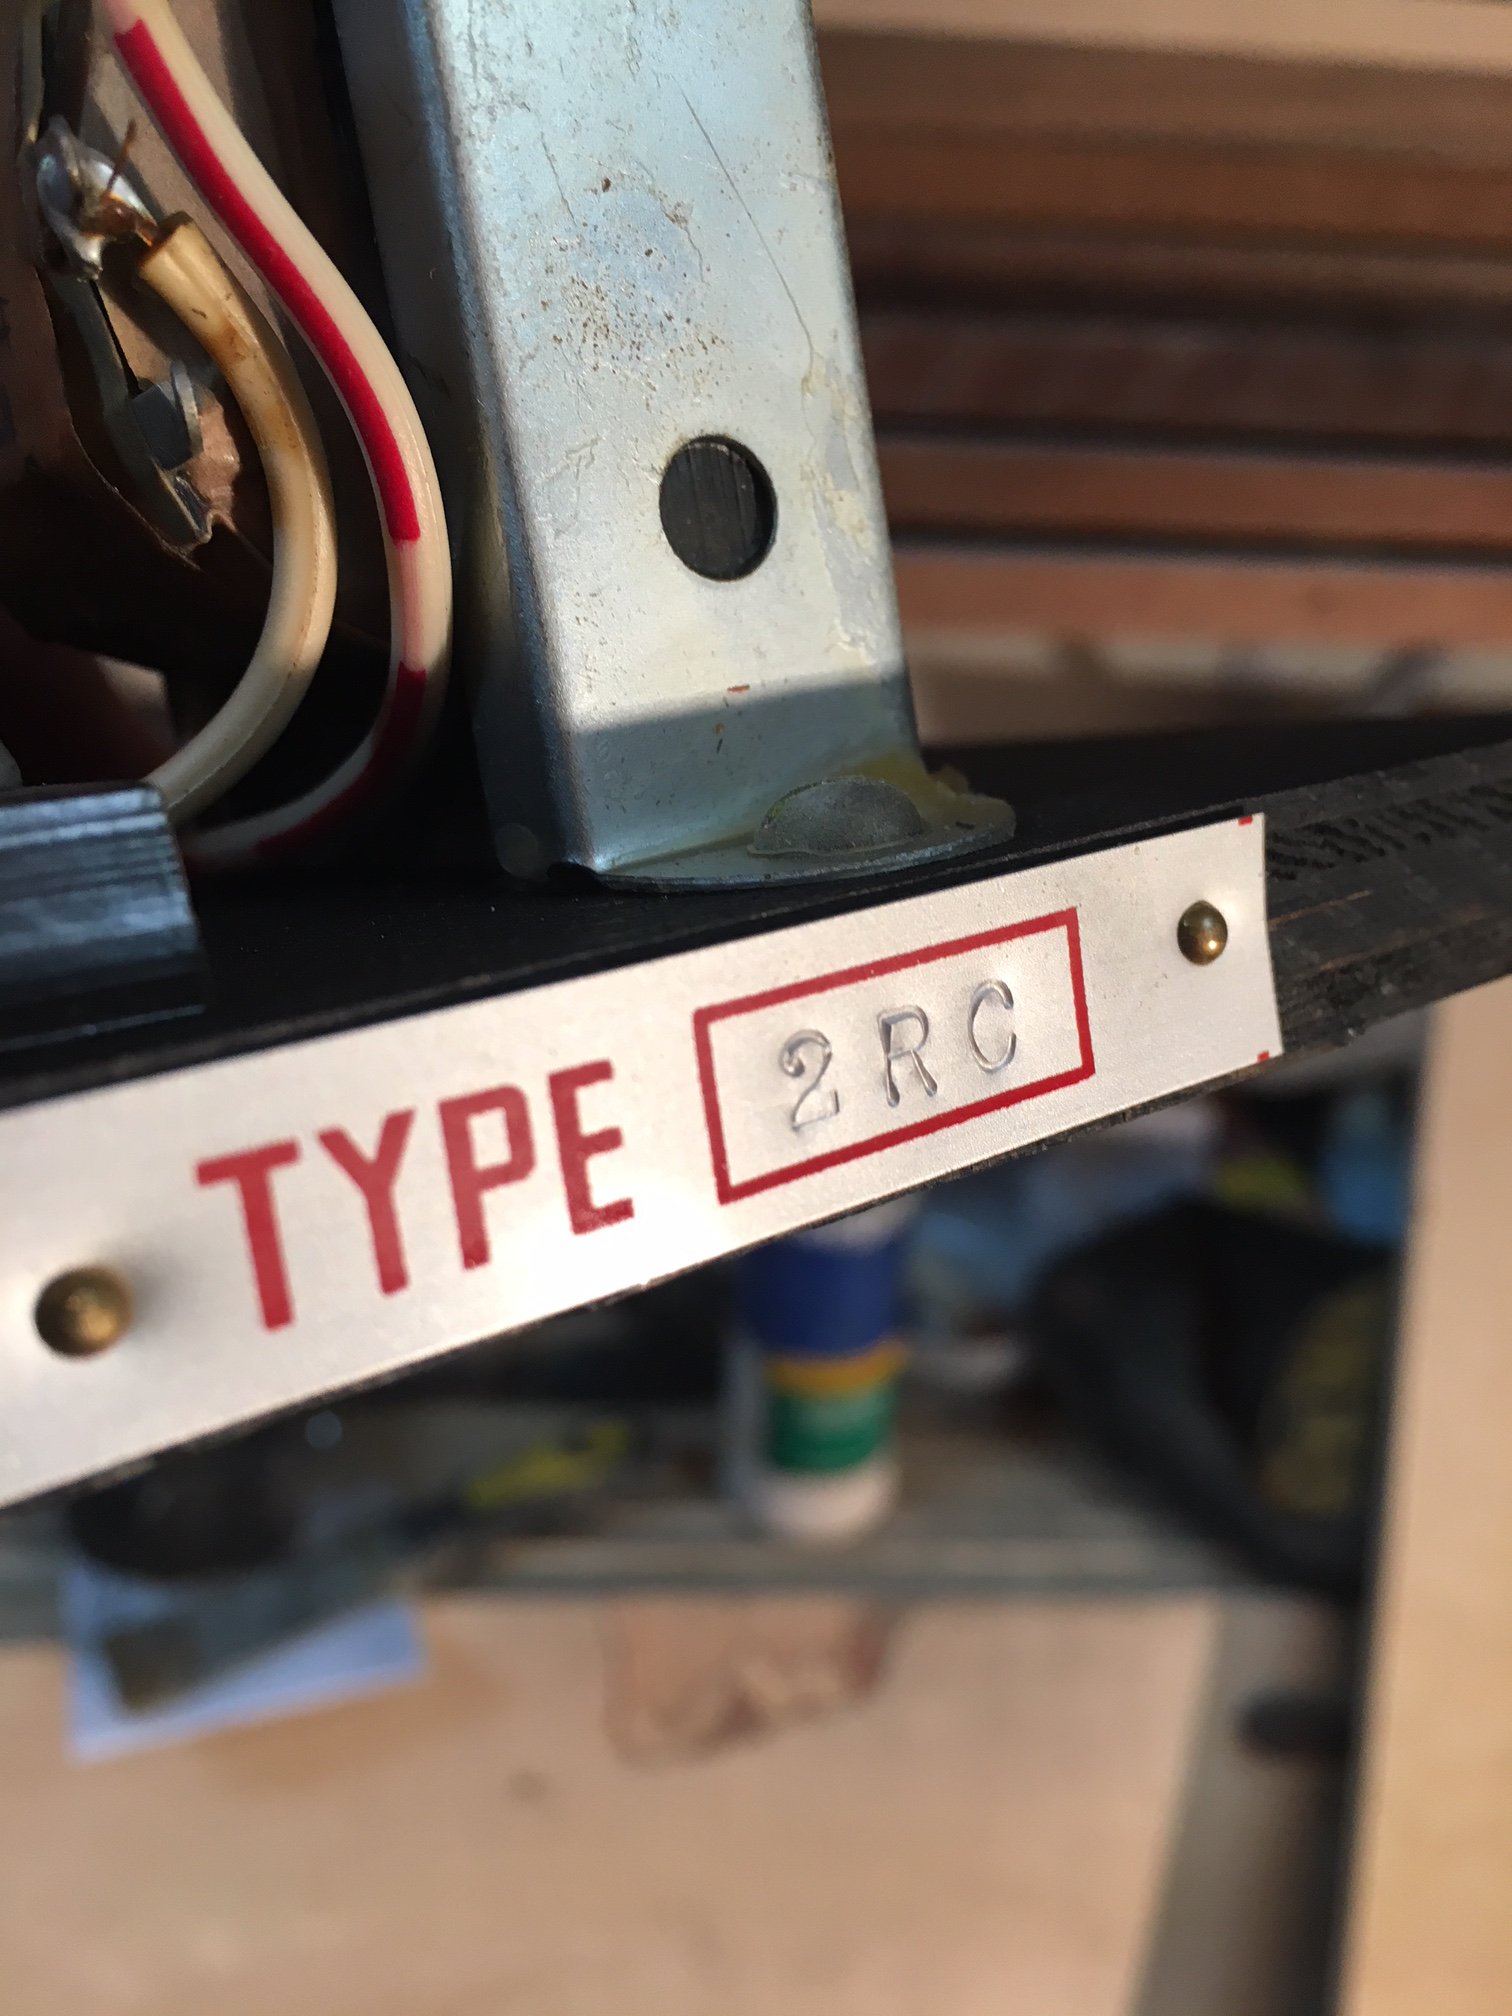
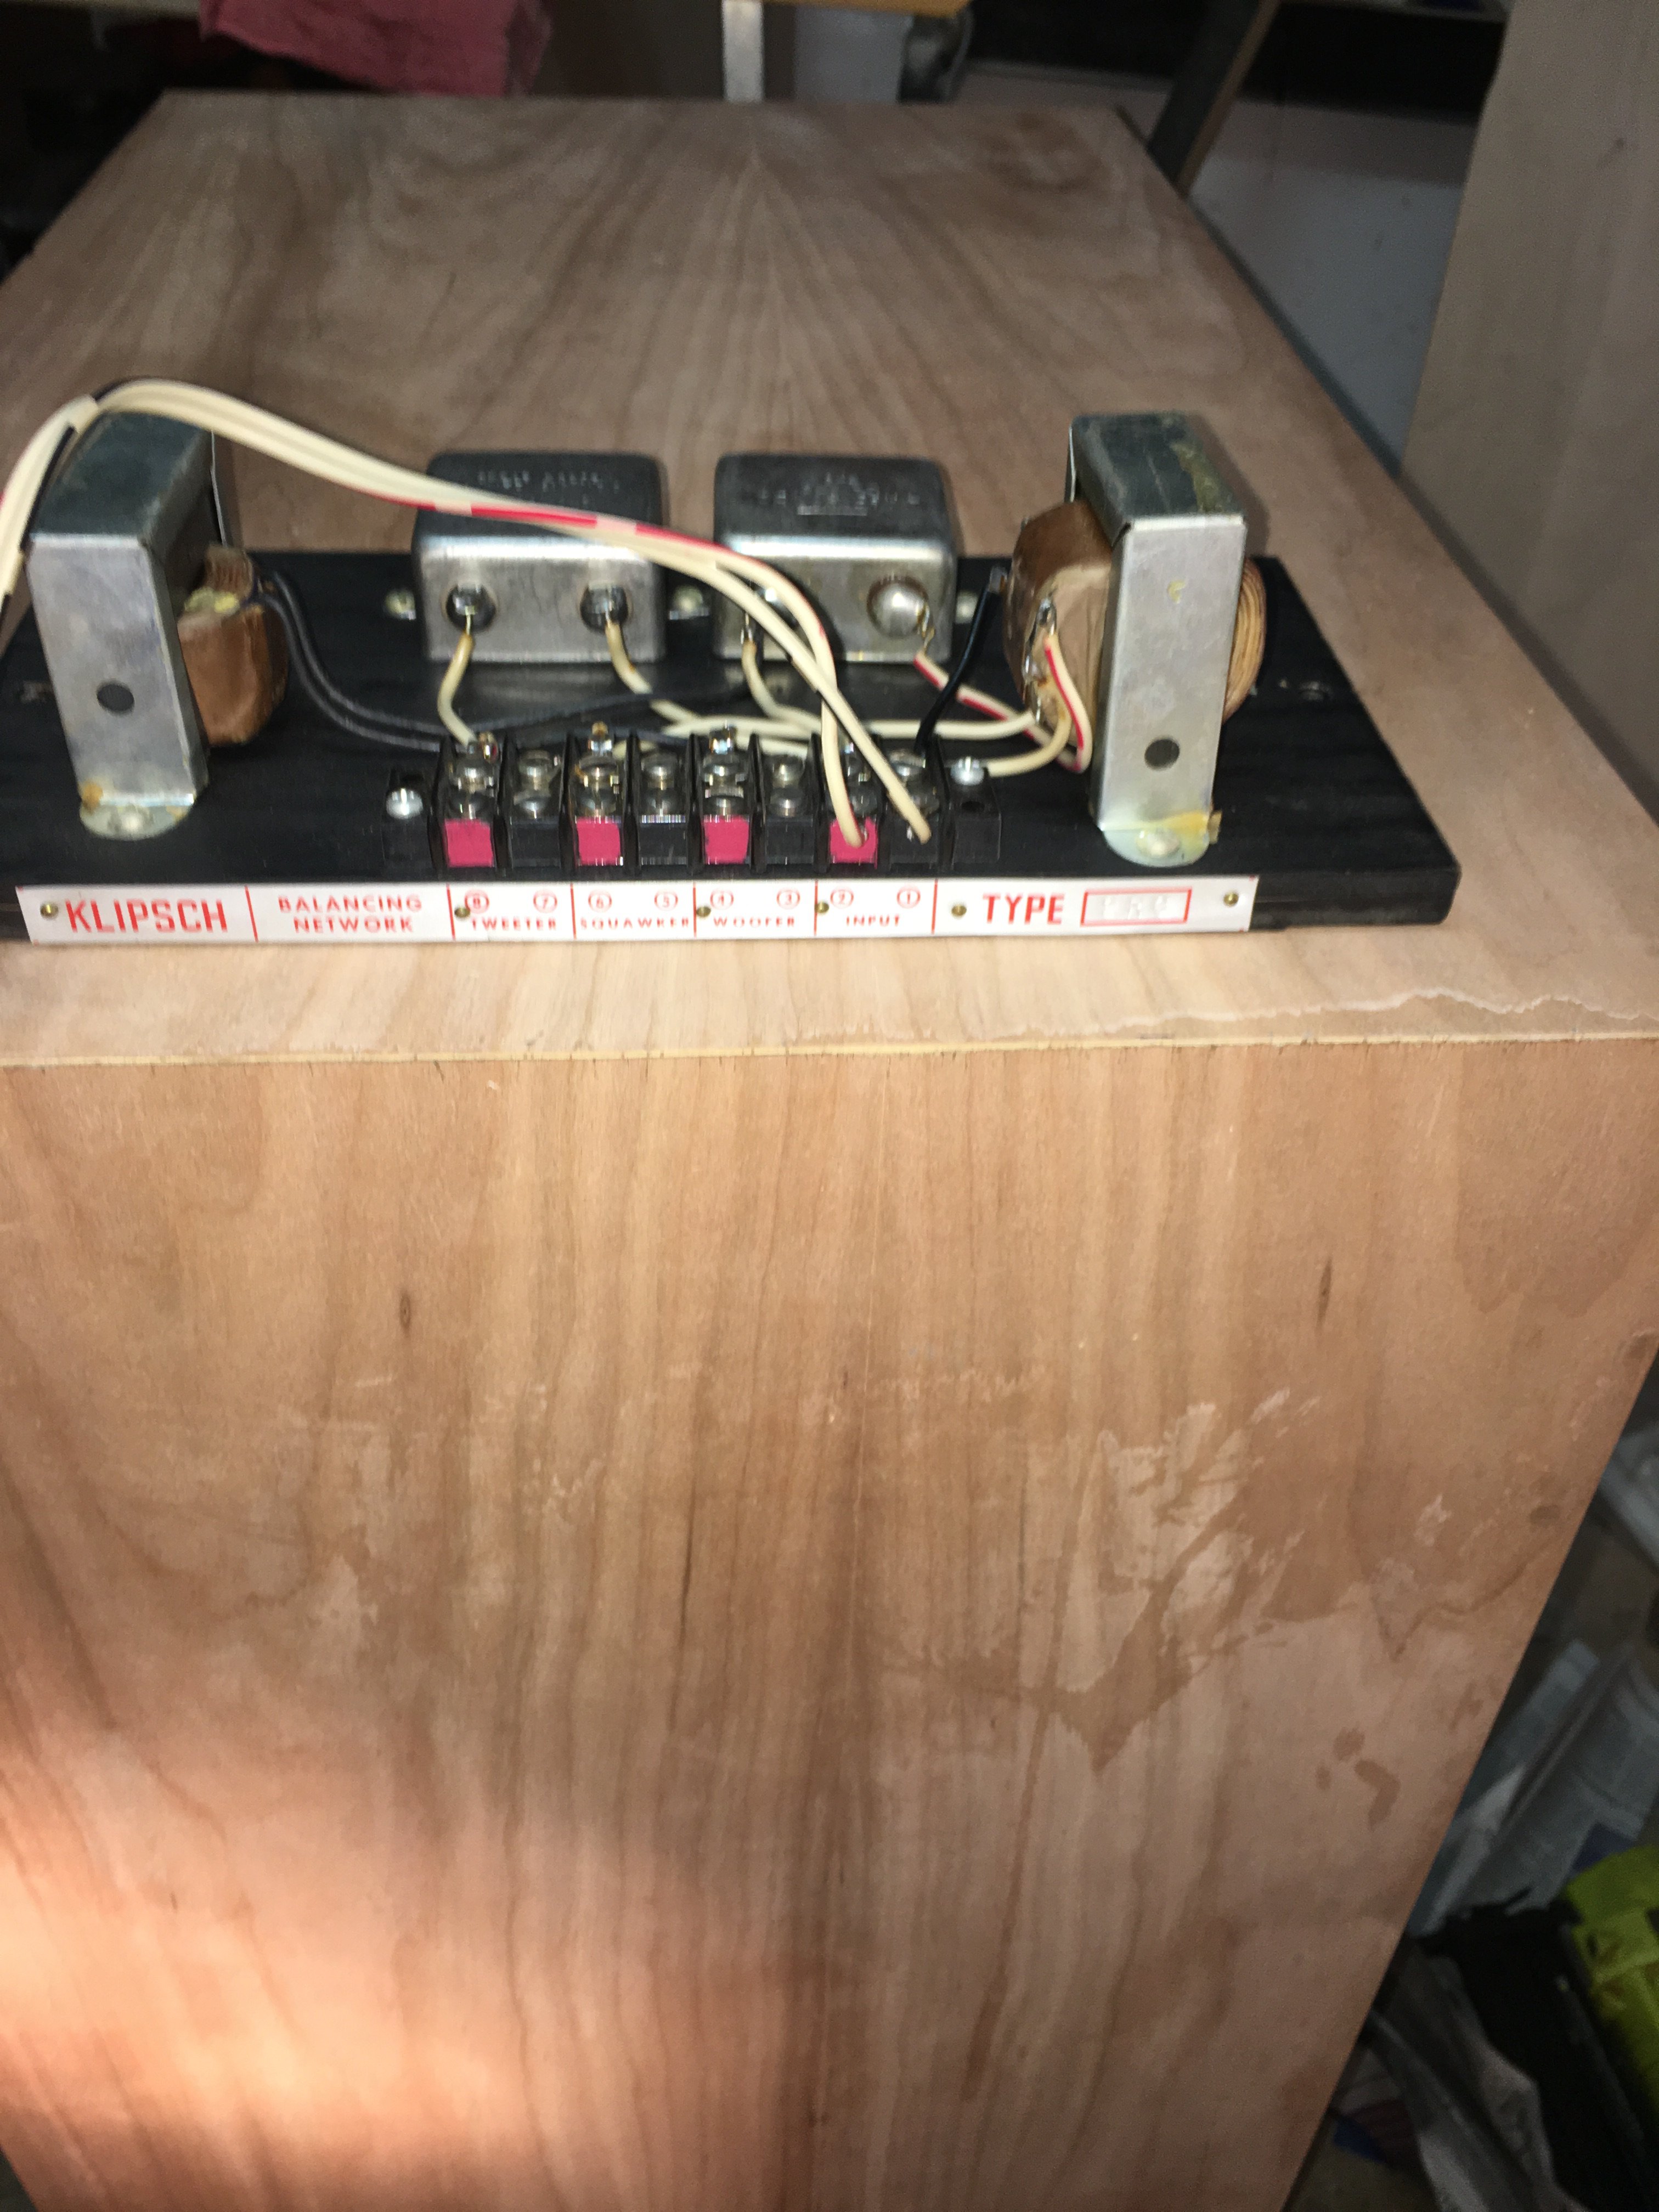
Come on Guys surely someone has heard of this crossover? Haven't seen it in the crossover files here. Has a 2 and 4 uf cap. Here's a better pic showing number.
-
I don’t recall seeing this crossover network. Does anybody know what it goes to. A friend of mine has a pair of them and thought they went to Cornwall’s.I don’t recall seeing this crossover network. Does anybody know what it goes to. A friend of mine has a pair of them and thought they went to Cornwall’s.
-
JJPTKD here are a few pics of the veneer process (I'm not very good at documenting). I used the Heatlock glued and a 4" glue roller and applied the glue to the veneer then the substrate (speaker). You want to make sure you cover the entire are especially the outer edges to keep them from pulling apart. Takes about an 60 - 90 minutes for glue to dry depending on humidity/temp to point that it isn't sticky. You only have about 6 hours max to iron the veneer on after applying glue. I suggest you read the tutorial at Joe Woodworkers who sells the glue. If you buy it when it's cold be sure to pay the extra cold protection to keep it from freezing.
Obviously you have to cut the veneer and layout the sequence before applying glue. I use blue tape to sequentially number the pieces that will meet. Make sure you cut a little larger size on the veneer to allow you to flush trim.
I would use some dowels under the veneer as you veneer and take them out as you proceed. Sometimes if the glue isn't dry enough it can stick and it is hard to position without pulling some glue off veneer.
Use a standard clothes iron and an old tee shirt and after positioning the veneer place the iron on the tee shirt which covers the veneer to keep from burning. I bought some tee shirt material by the yard from Wal-Mart for bigger projects. Don't have to worry about irregular shape of cut up tee shirt. Be sure to keep moving the iron to avoid burns. You may hear crackling as you iron and when the crackling stops you should be in good shape.
As you're veneering tap all around the piece and if you hear a "not solid" sound reheat that area. I generally start in the center and move outward.
If your veneer isn't flat you may need some veneer softener (JW has it) to spray on the veneer to flatten it.
I always have some boards that I can put on the veneer immediately after I finish with the heat and then I clamp the edges and put weight on the center for a couple of hours.
.
If you're doing a wrap around veneer or partial wrap around I start on one side and make sure the grain on the top is aligned. I will apply both sides first then flush trim then do the top which overlaps the sides. Make sure the joints that overlap the sides have plenty of glue at the edge.
After you're satisfied that the joints are good then use a flush trim bit on the top piece which overlaps the sides. If you have any small gaps between the veneer/substrate you can use a razor knife ($1 for 3 from Dollar Tree - my favorite store which tells you how cheap I am) to push glue in the gap and reclamp or you can use filler to match the veneer.
This certainly isn't a recognized treatise on how to do this - others my do it differently. I probably left something out but there are some video on line that cover this as well
Here are some pics showing the wet glue on a side piece and the glue bottle and 4" roller and small (Dollar Tree ) black tray that I use.
BTW, I always ask the DT employees how much items and they look at me funny. Good luck.
-
1
-
-
Thanks Rich. I was lucky to purchase a large volume/selection of different veneers from an employee of a company that furbishes/refurbishes private aircraft. The veneer has to be flame retardant. The stuff doesn't burn. It is a thicker wood backed veneer that is made by Booth veneer and I am told it is very select veneer and very expensive. Works great and the wood backing helps keep the veneer flat. I was told that the company that does the refurbishing has extremely high standards and is willing to pay extremely high prices for the veneer. I understand the cost of veneer for a standard private jet ranges from $30K to $75K just for the veneer not installation.
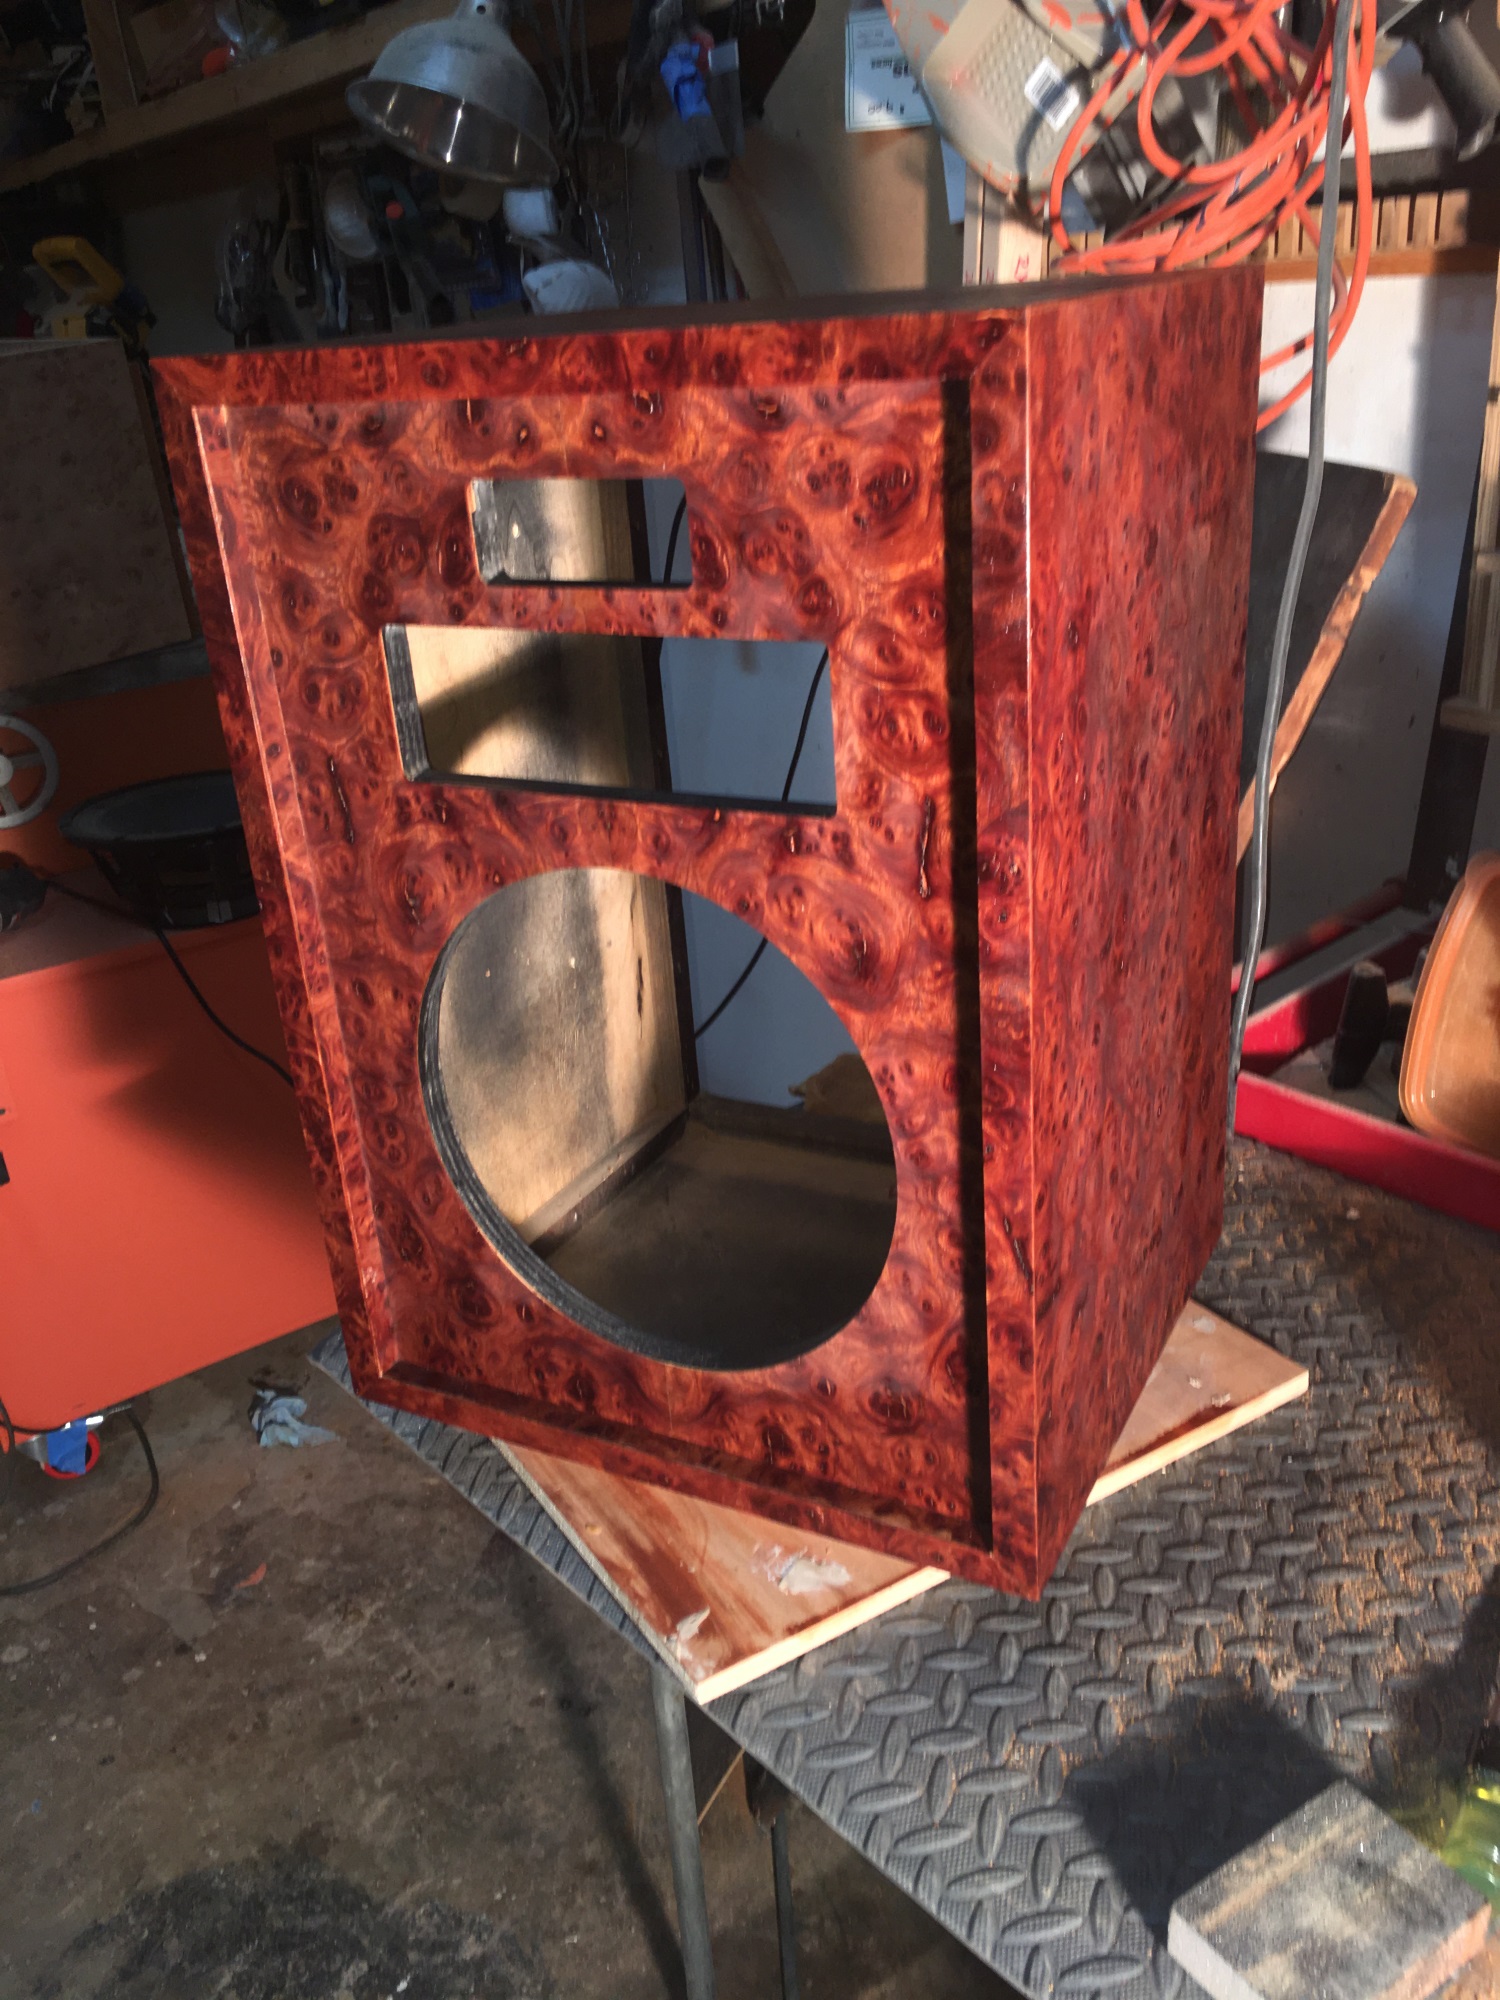


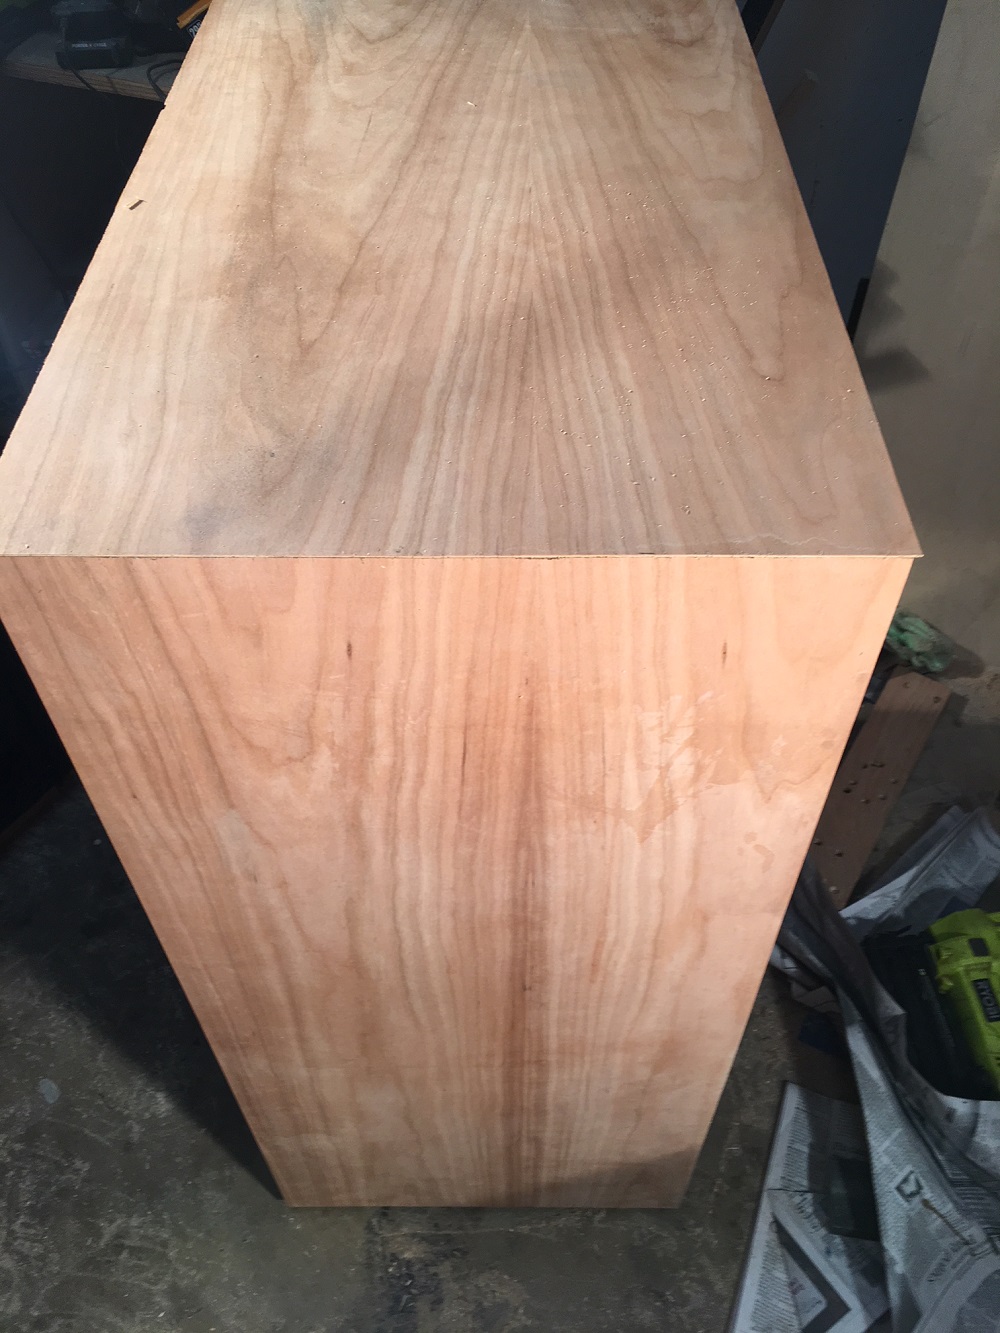


HERESY REDO WITH CARPATHIAN ELM BURL VENEER
in Technical/Restorations
Posted
Would help if I attached the link?? DUH!!!
http://www.mojotone.com/Cabinets_x/Grillcloth_x/British-Style-Small-Weave-Cane-Grill-Cloth-32-W