muel
-
Posts
3070 -
Joined
-
Last visited
Content Type
Forums
Events
Gallery
Everything posted by muel
-
I can't wait any longer! I've got to hear these! Time to get the HIII components installed. I'll install with the silver screws for now and I can swap out for black as soon as I can prime and paint the heads. I kept checking the instructions to be sure I was getting the correct color wire to the correct speaker. It took me a little too long to figure out they have it configured like an upside down stop light (green for the tweeter, yellow for mid, and red for woofer).

-
That would be great to have a place like Rockler near by to visit! I bought my veneer and a few tools from http://www.joewoodworker.com/ I suggest that you read everything you can... there is a lot of info on Joe's site and he is very helpful if you have a question not covered in the FAQ pages. At some point you just have to go for it! I figured that the worst case was that I would have to just spray paint them and use them out in the garage. There are so many methods and opinions on how to veneer. Whatever you decide be sure that you don't confuse or try to combine 2 different methods. Be clear on what you are doing, take notes, and plan it out. Some mistakes are going to be made and we just live and learn through them. Help from Marshall and Joe was very valuable but I wish I had asked sooner! I've made the final application (for now) of Watco and will wait at least a few days before I start installing the H III components. Getting close! []
-
I would consider never taking anything again to the guy who offered you a $100 ! That's just me.
-
Excellent! [Y] Great details in your instructions... thanks! I found a stain marker that I got to match near perfect and even was able to draw in the darker grain lines continued on from the good veneer. It made it hard to see any problem until I applied more Watco and it wiped the marker right off. What was I thinking? I didn't give the stain marker any time to dry. To do this right I will need to follow your instructions. It is hard to be patient since I am excited to get the Heresy III components installed! I got these cabinets last October and the H III parts back in December. At least I have some Heresy Is to keep me company in the shop while I work on these.
-
Pretty much what others have said. I just use toothpicks and wood glue... I dip them in wood glue and just break off however many I need in the hole.
-
hmm... I predict comments from JB that will have something to do with brass monkeys. Thanks for the pictures! If you haven't seen the pictures and youtube video of the Volti Audio shop you are in for a treat!
-
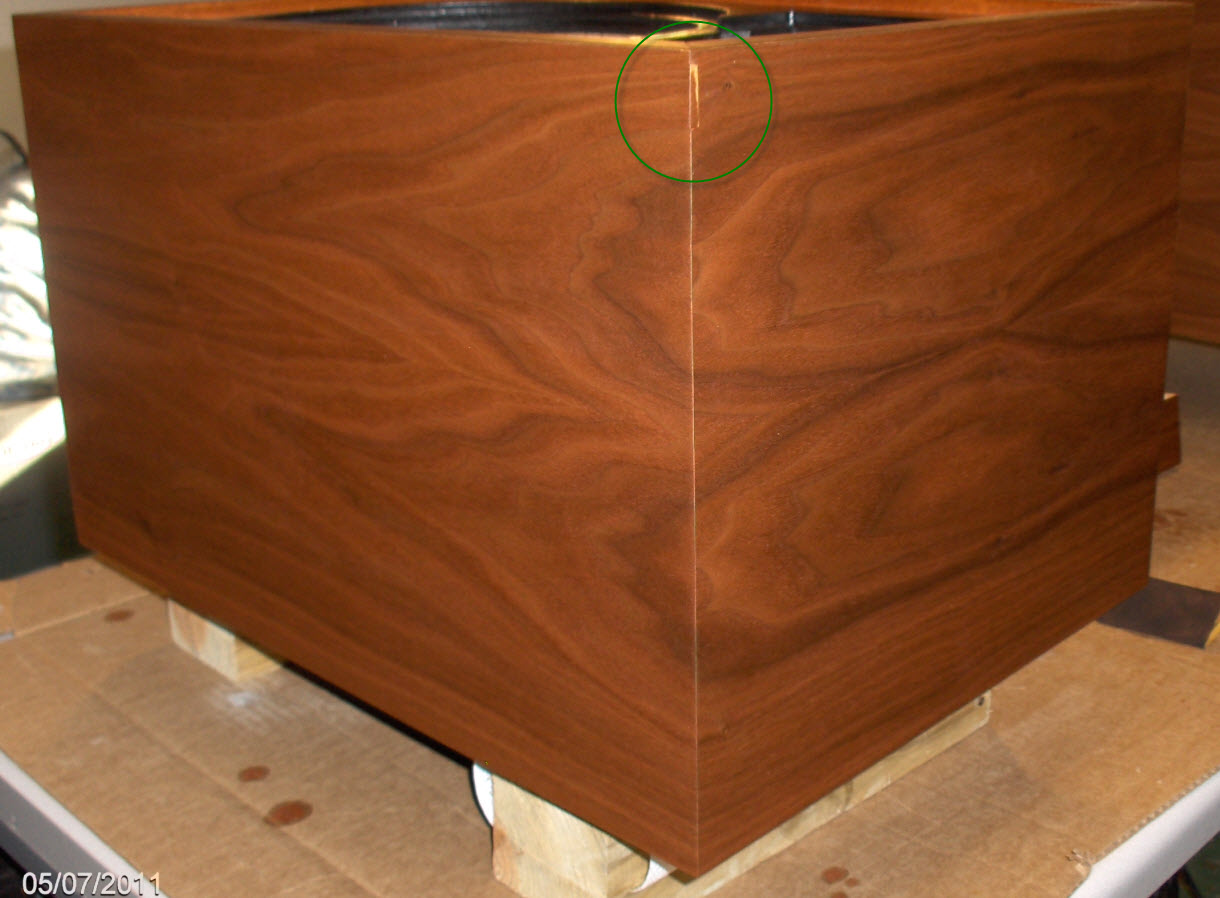
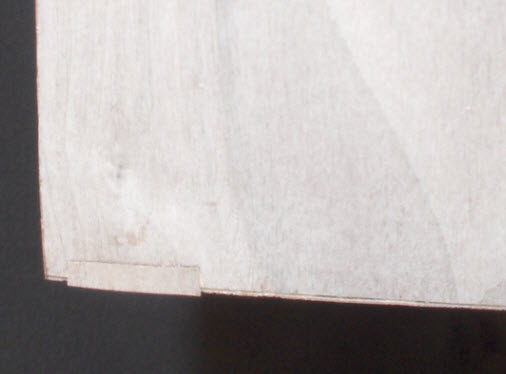
I thought that the patch was going to blend in nicely but it turns out that my sanding exposed part of the backing (or something) on the veneer patch and it isn't taking the color evenly. Help!
-
Risers are a nice match.
-
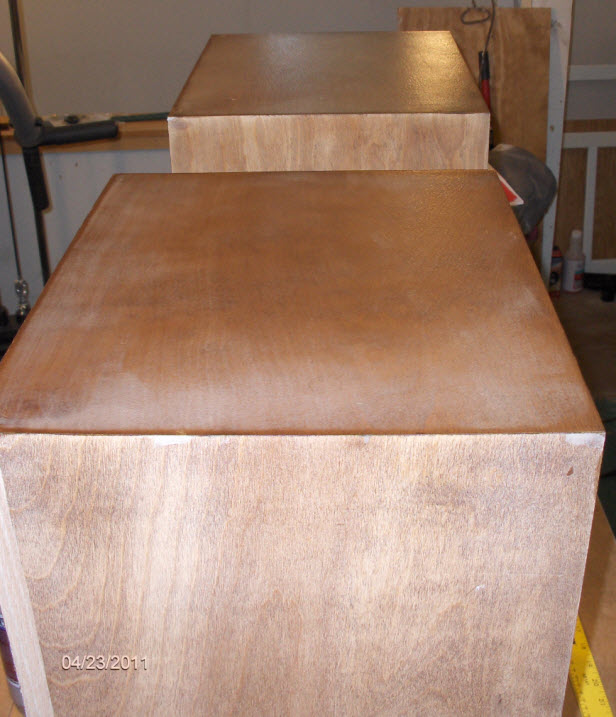
First coat of finish... I found that I could almost match Marshall's stain suggestions (70/30 of minwax gunstock/special walnut) by just using Watco Danish Oil (2 parts natural with 1 part cherry). The result was not quite as even color but there was an iridescent quality that I really liked with just the Watco on my samples. I would suggest experimenting (I spent 2 weeks) before deciding. By the way, I wet sanded the Watco with 400 grit paper. It made my samples silky smooth!
-
Yep, thanks to Marshall on the patch method and his stain advice! Sanding done... 220, 320, and finally 400.
-
Is that the light or dark walnut oil?
-
Thanks for the suggestions! I don't own a router yet so I was going the $10 route with the Band-it edger. I have about 5 samples going with different approaches with the Watco so I will see how those turn out. I'm willing to take this slow and experiment until I find what I like. My samples look as dark but more brown than what I see in Marshall's "$200 cornwall saga" post... I am thinking that stain before the Watco might make it too dark in the end. Will Watco Danish Oil darken over time like the BLO finish will? Any advice on how to handle that patch that is sure to still be visible even when sanded flush?
-
Wow! That is a work of art! [Y]
-
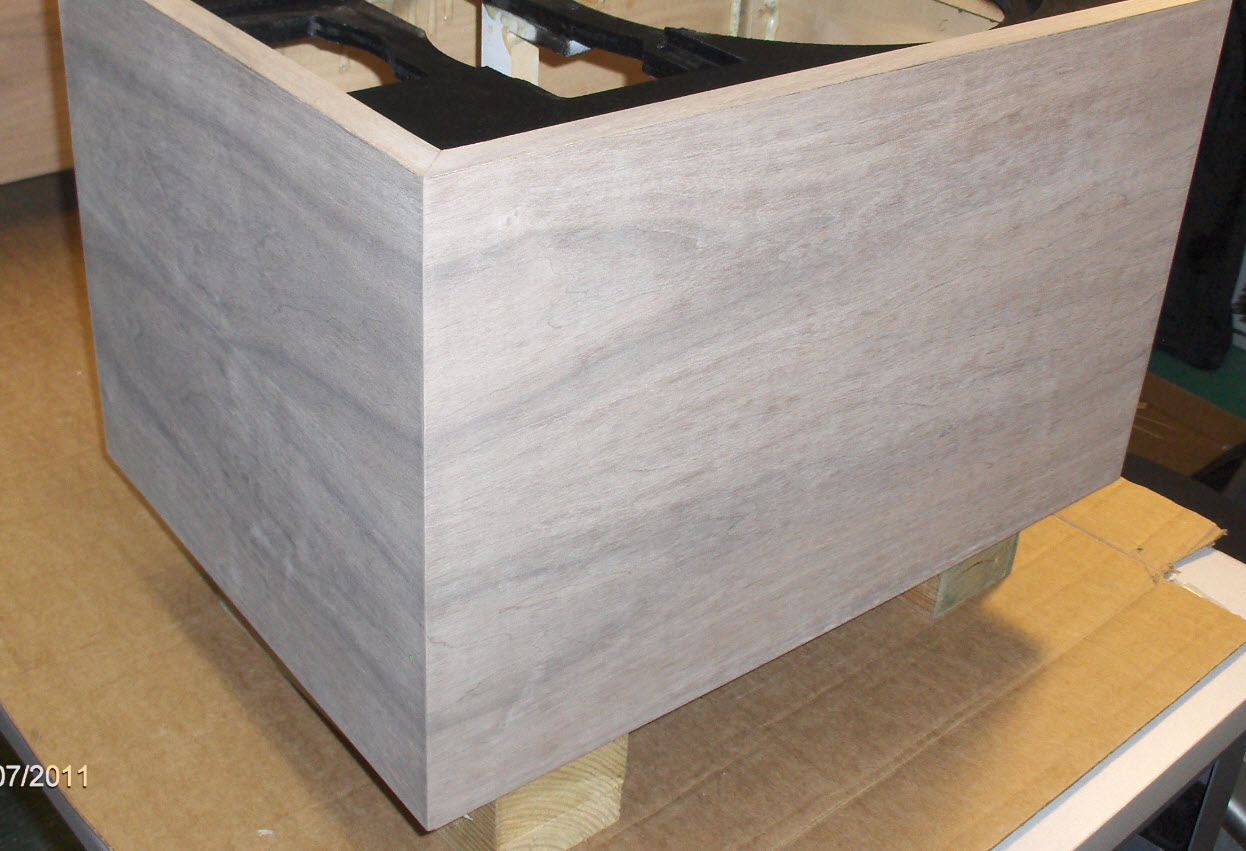
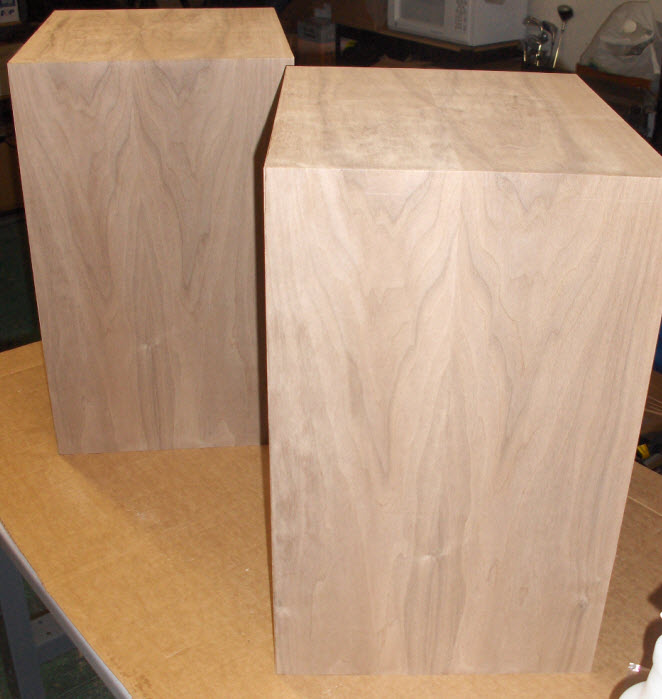
This is as far as I've gotten to date... Ready for a final sanding and finish. I'm testing Watco Danish oil on some scraps of walnut veneer. The black walnut veneer is really gray before applying the Watco natural (clear)... once applied it is brown... a little too brown. I'm also testing Watco cherry on some scrap... not sure about this... maybe too red. My favorite sample so far has 2 coats of Watco natural followed by 1 coat of cherry. I'm going to give it more coats of natural and see how it looks. any thoughts on finish?
-
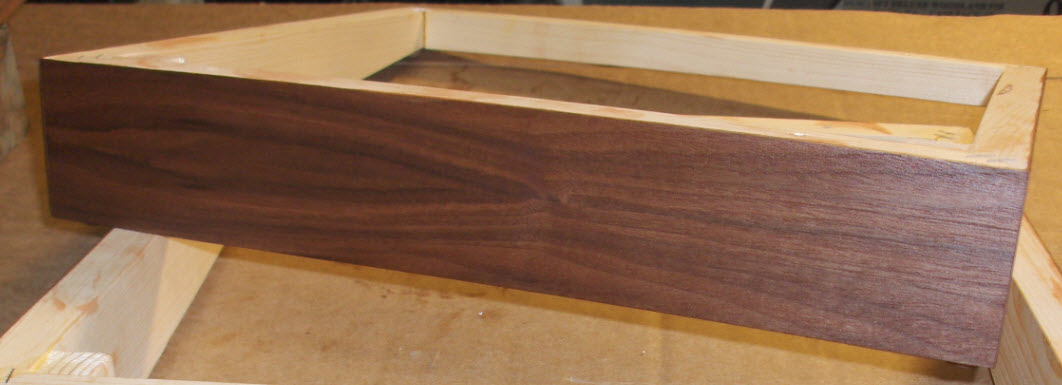
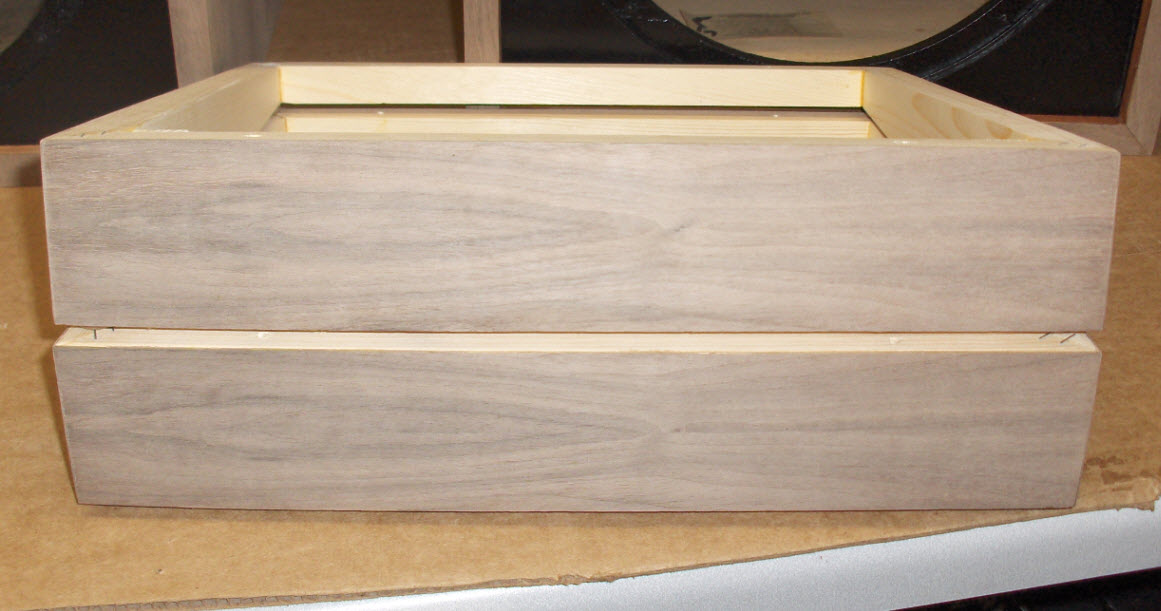
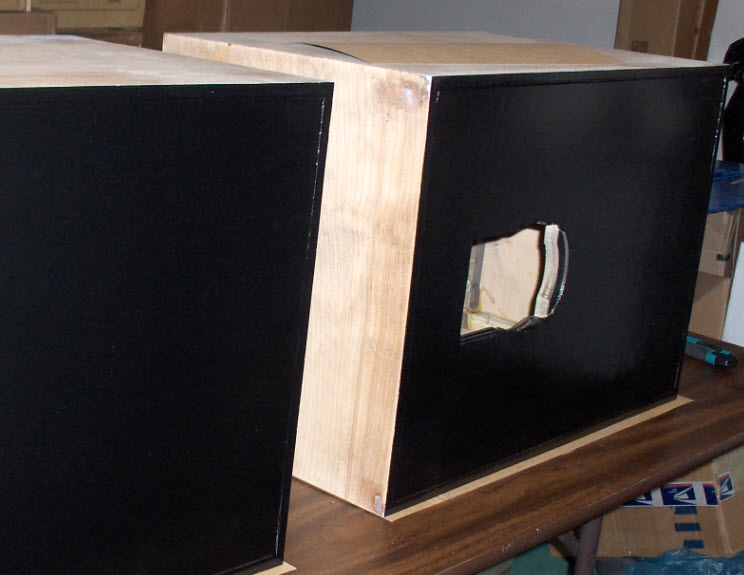
Veneer on the new risers.
-
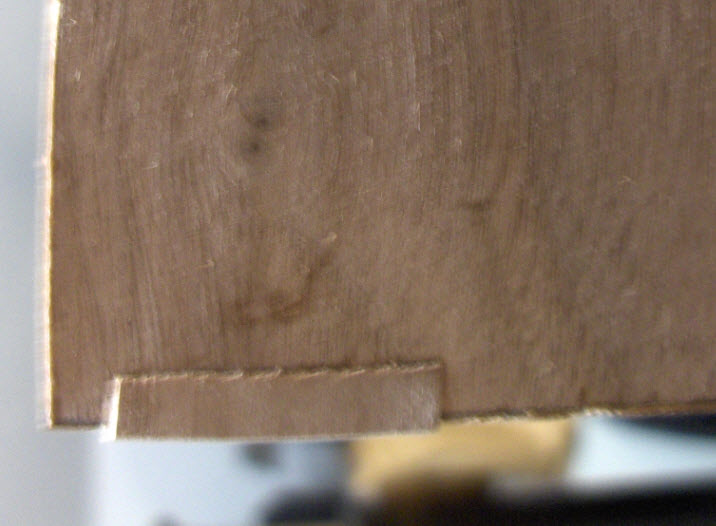
Looks like the patch is going to sand out OK. I'm still going to see this repair and I'd like to try it again with another patch but I am afraid I will make it worse. There is a tiny low spot so I'm thinking I will match a little fill to the final finish and not add until I have applied some Watco Danish Oil.
-
A little more Heatlock glue and a small piece of walnut veneer... We will see how that does.
-
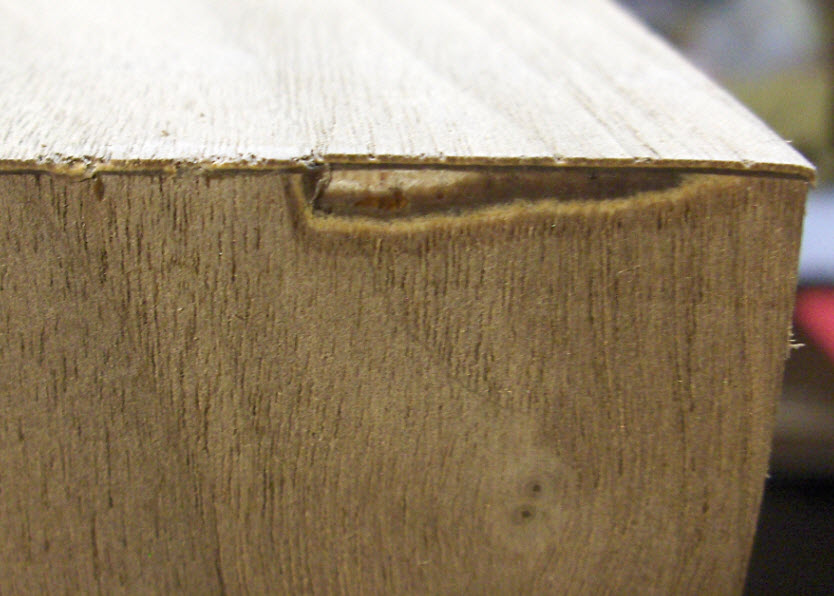
That Band-It edge trimmer works nicely when you keep a sharp blade in there and don't get in a hurry. I was getting tired and got in a rush to finish up for the night. Wow, that looks bad!
-
DOH! How did I do THAT!!!
-
Looking good so far!
-
Heatlock on the tops
-
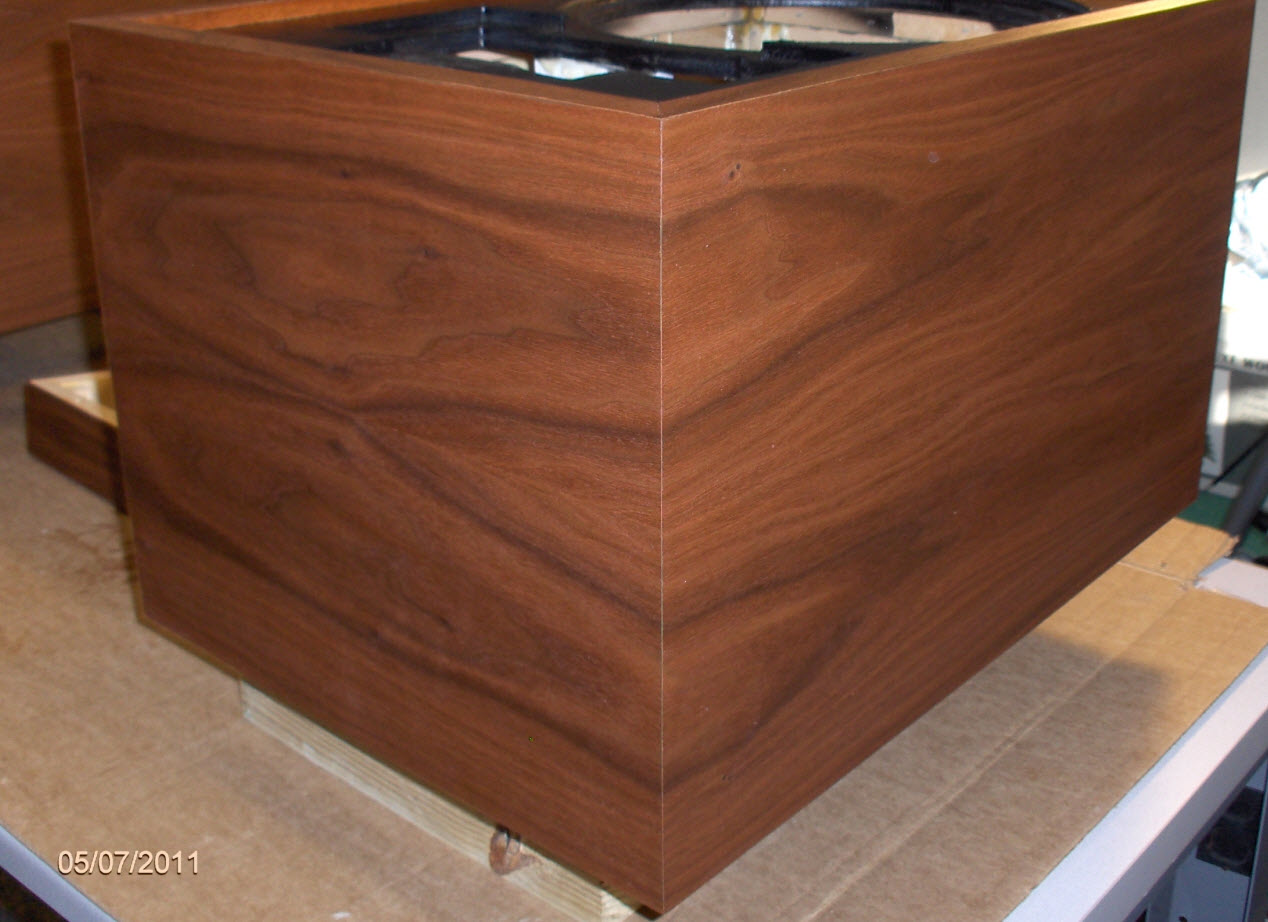
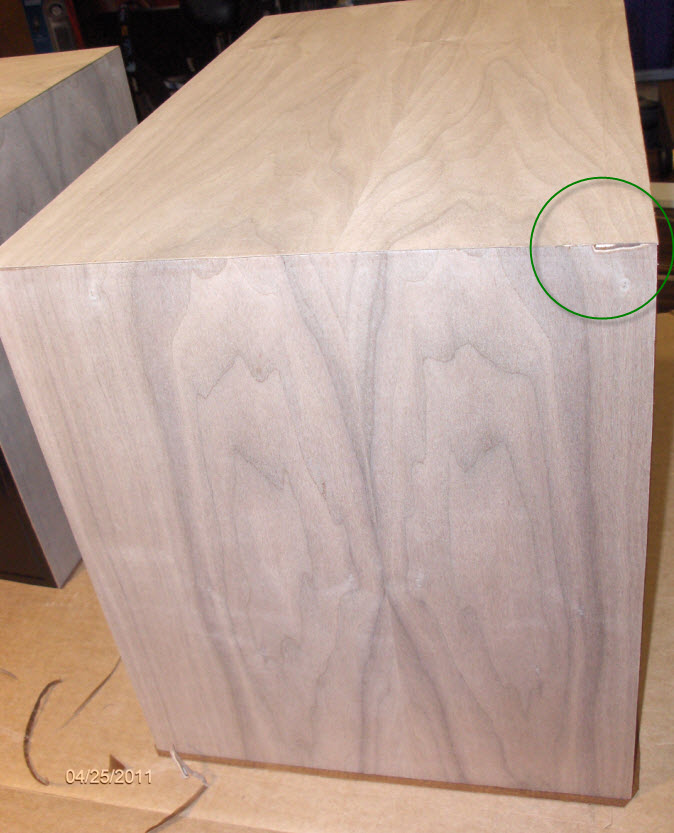
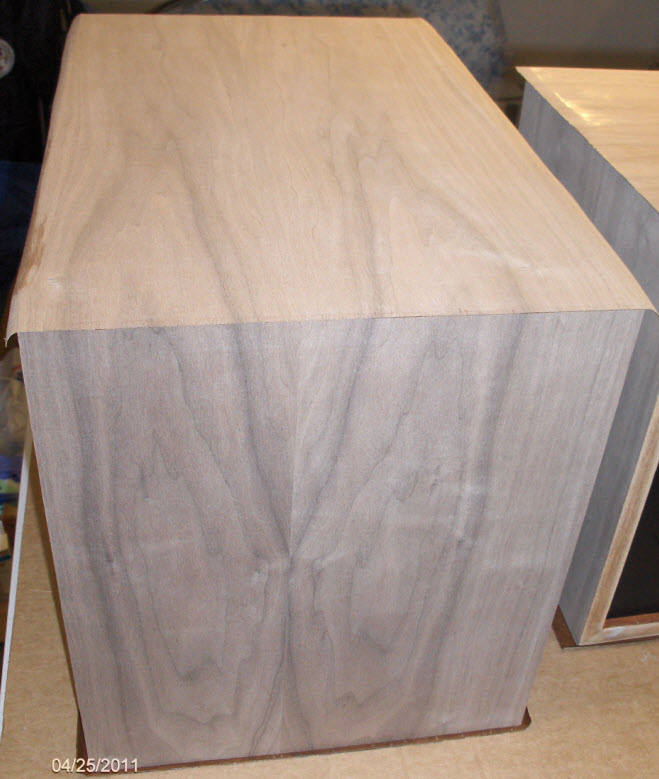
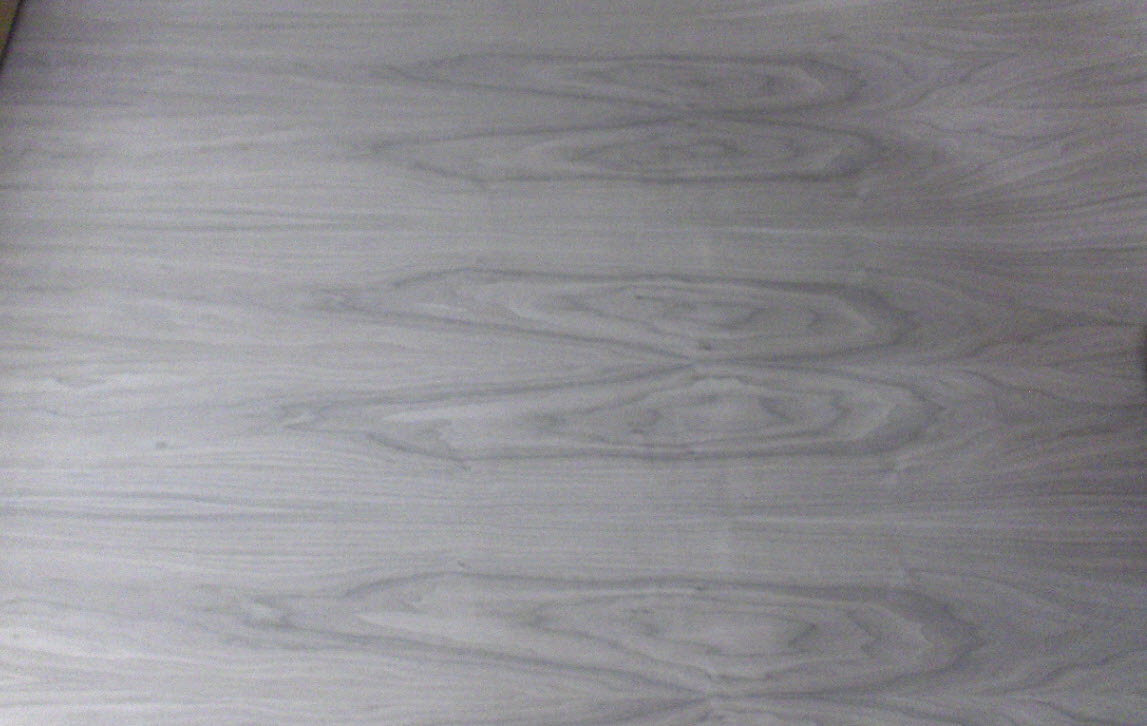
I really like the pattern on this black walnut veneer!
-
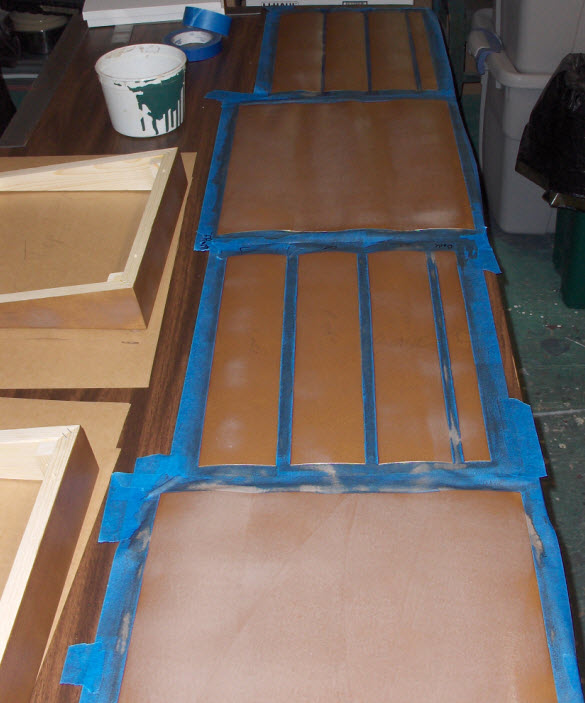
Using HeatLock... roll a coat on the back of the veneer (BACK of the veneer... not front! I almost did the front of one) and a coat on the cabinet. See that I have some risers from Crites that I am going to veneer as well.
-
I painted the back and motorboard before doing the veneer work. I know that I will overspray some and I don't want to get it on the new veneer. I used that Rust Oleum Universal stuff in the fancy can... I tested on cardboard and it was fine at first but then started sputtering and when I looked at my hand I saw that it was dripping like crazy from the trigger. What a mess! I got that cleaned up and finished with 4 coats of Deft Semi Gloss Spray finish.
-
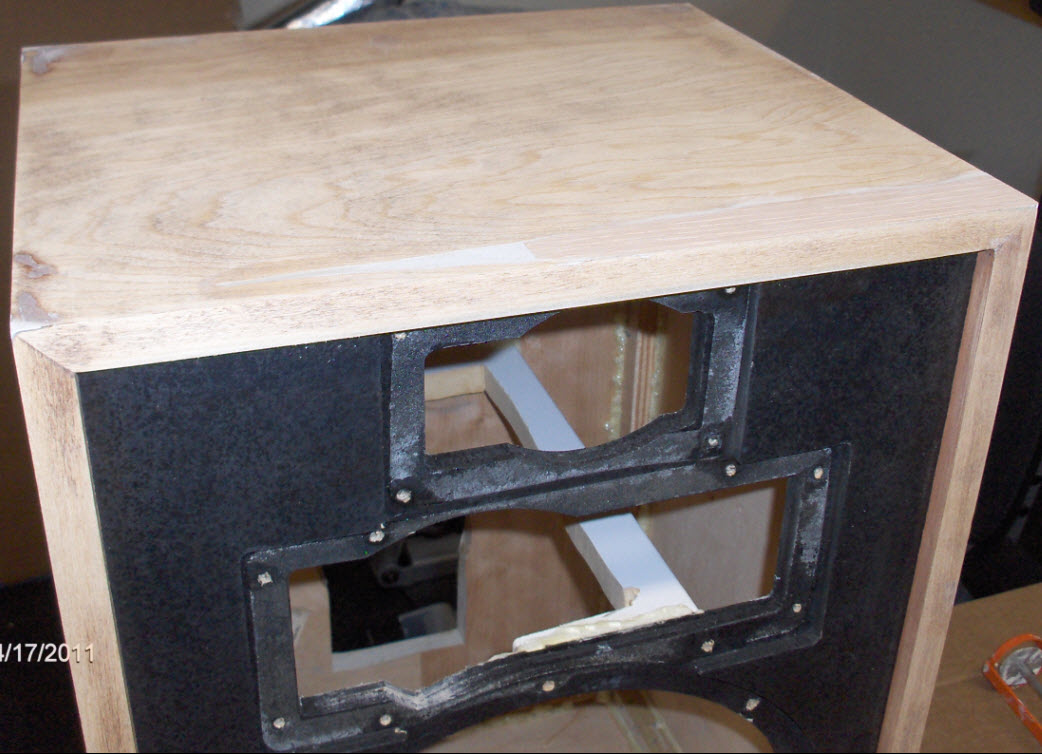
I got a little aggressive with the 80 grit and went through the veneer on top. I had to replace more veneer but it came out nice and flush with the help of the Bondo for wood epoxy. Note my addition of a little bracing in the cabinet above the woofer. If you look real close you will see my gorilla glue debacle on the inside bracing. I had never used it before and didn't realize it would expand and foam up like that. It sticks pretty good, though. It is a bear to cut out the excess. I just wanted to fill in the little cracks and spaces between the bracing and sides. Perhaps I should have just used a little yellow wood glue.