

AndreG.
-
Posts
2063 -
Joined
-
Last visited
-
Days Won
8
Content Type
Forums
Events
Gallery
Posts posted by AndreG.
-
-
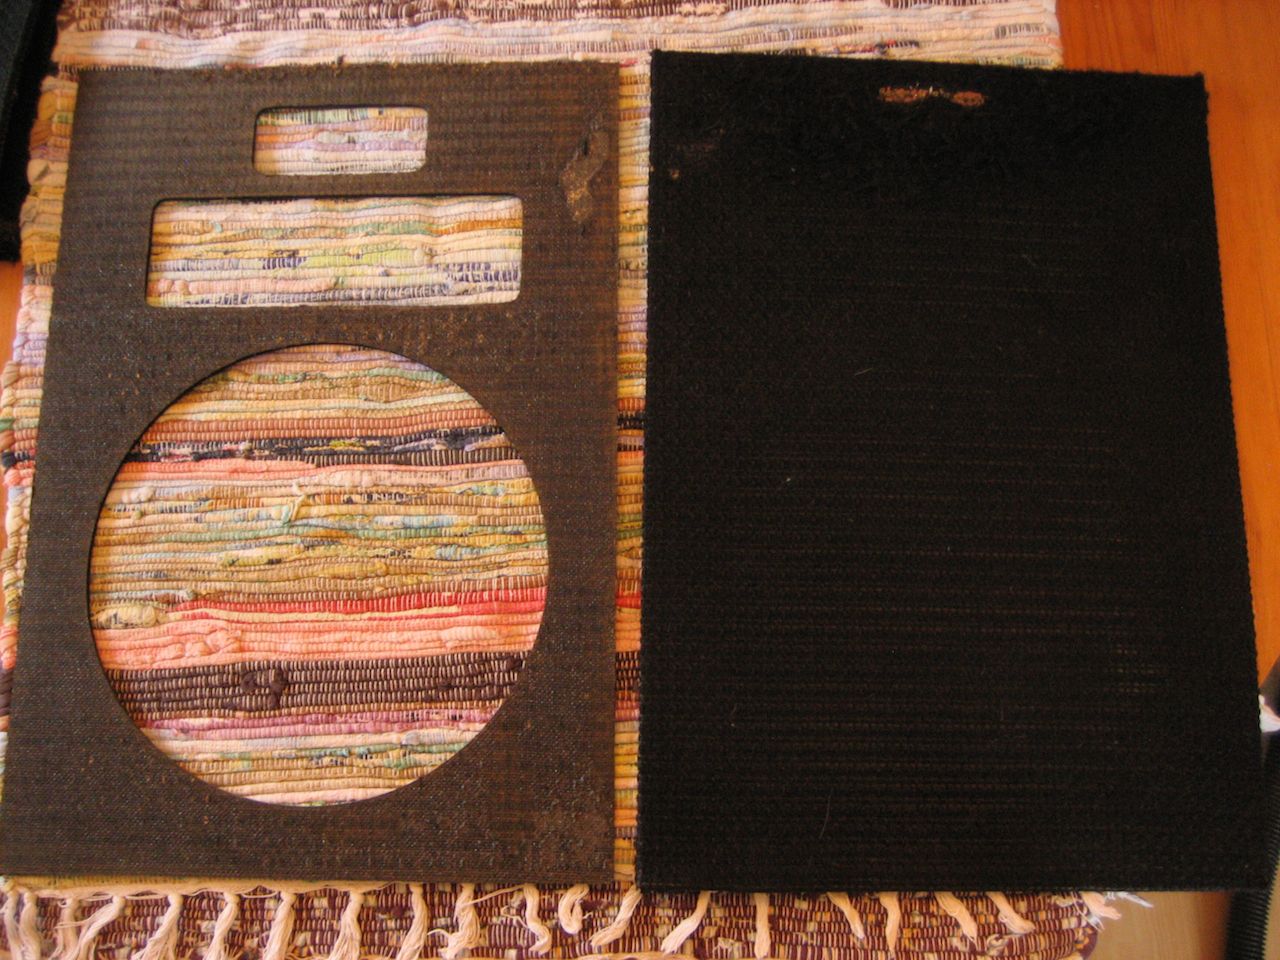
I removed the old fabric, i have the new from Crites. I'm thinking to spray the adhesive on the old and then fix the new fabric to it. I also plan to use some black spray-paint to get it dark again.
-
 1
1
-
-
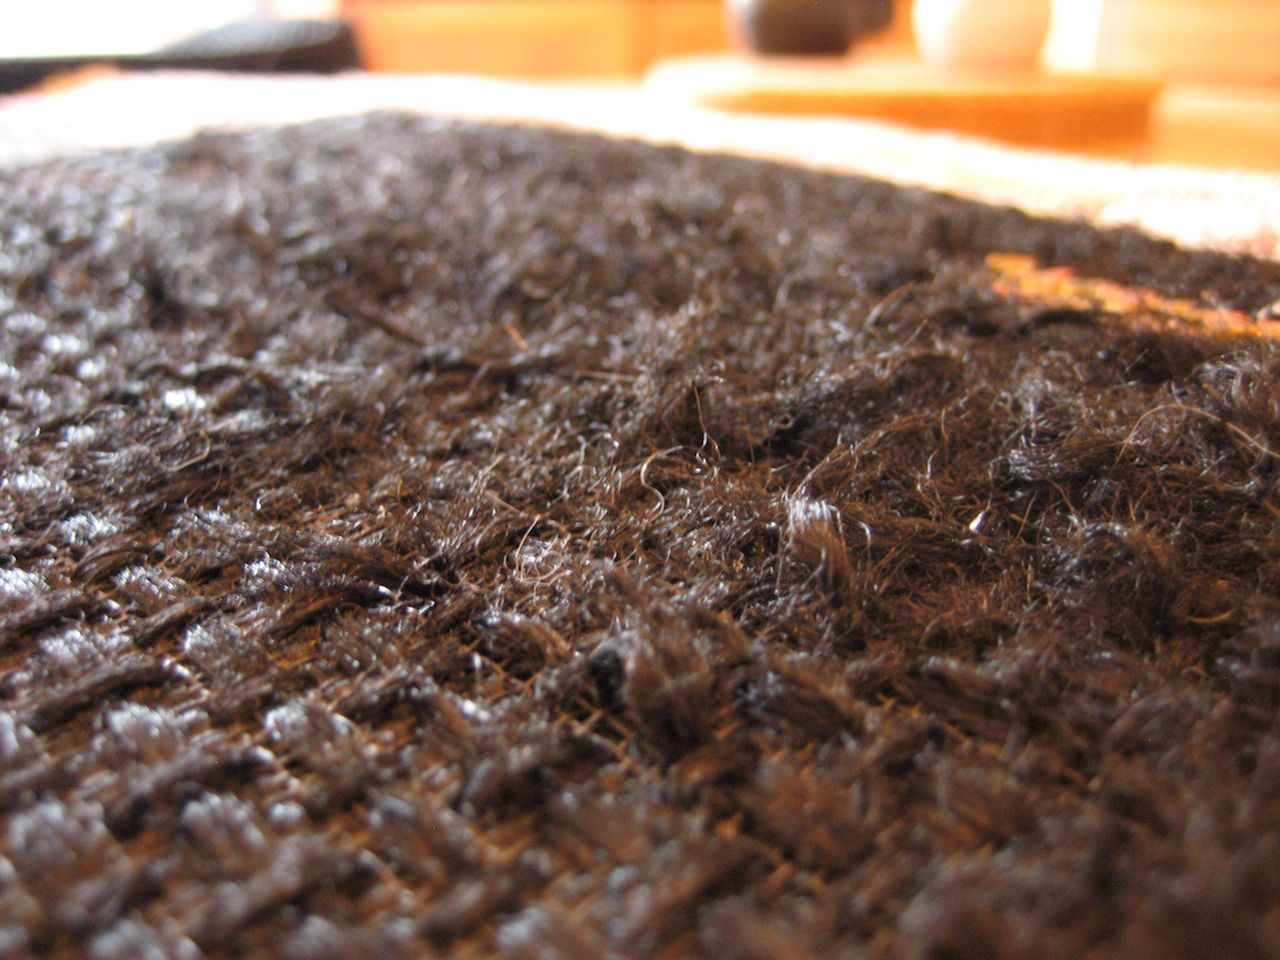
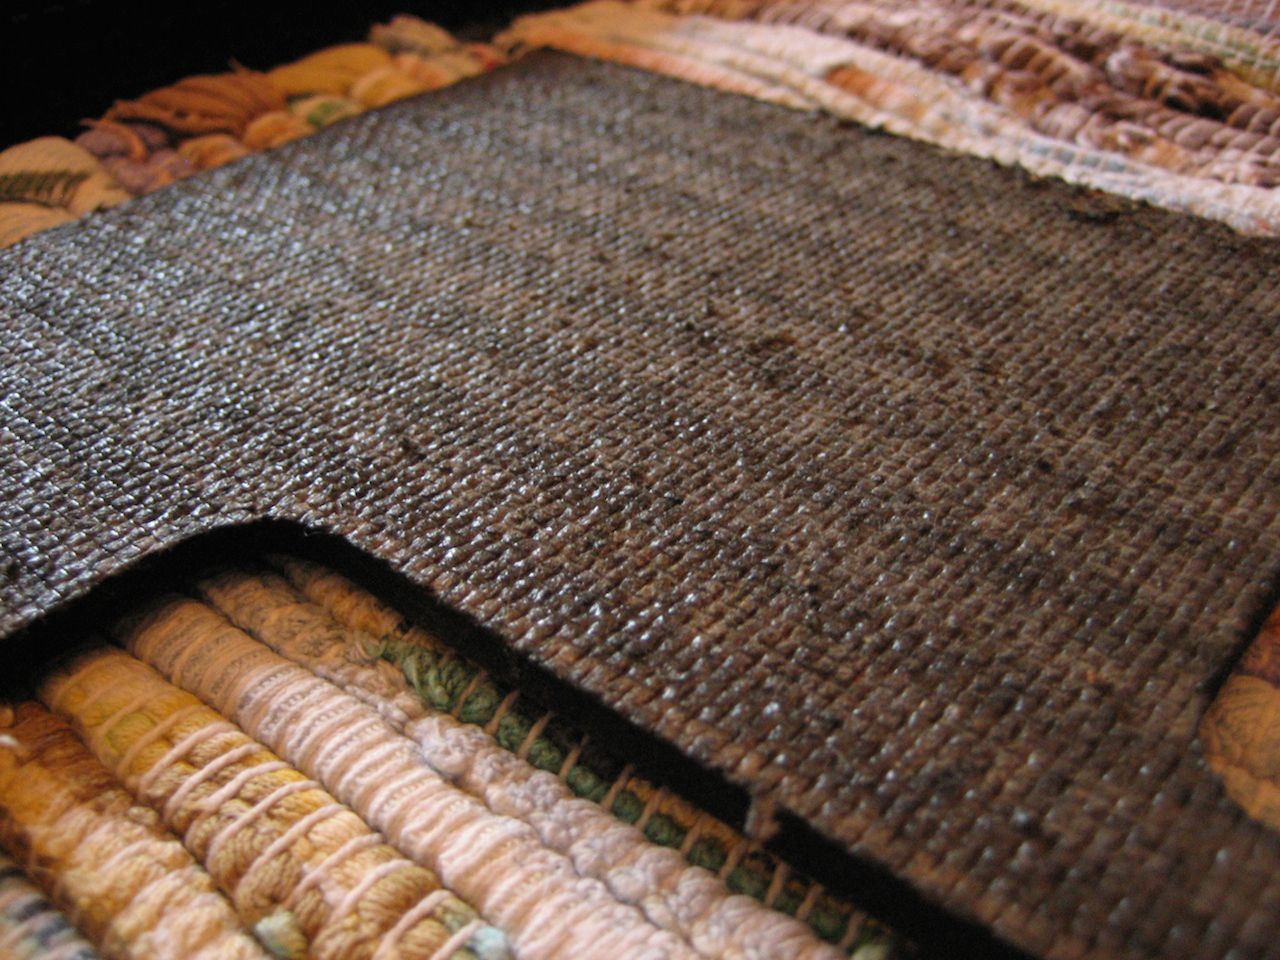
A bit of work done today, fixed the putty on the back-panels and worked on the grilles.

This is what the fabric can look like, once cats have had their way...
What to do with the remains of the old glue? Leave it, as base for the new glue, sand it of (might be tough to do...). Who has done this before, input welcome, thanks!
-
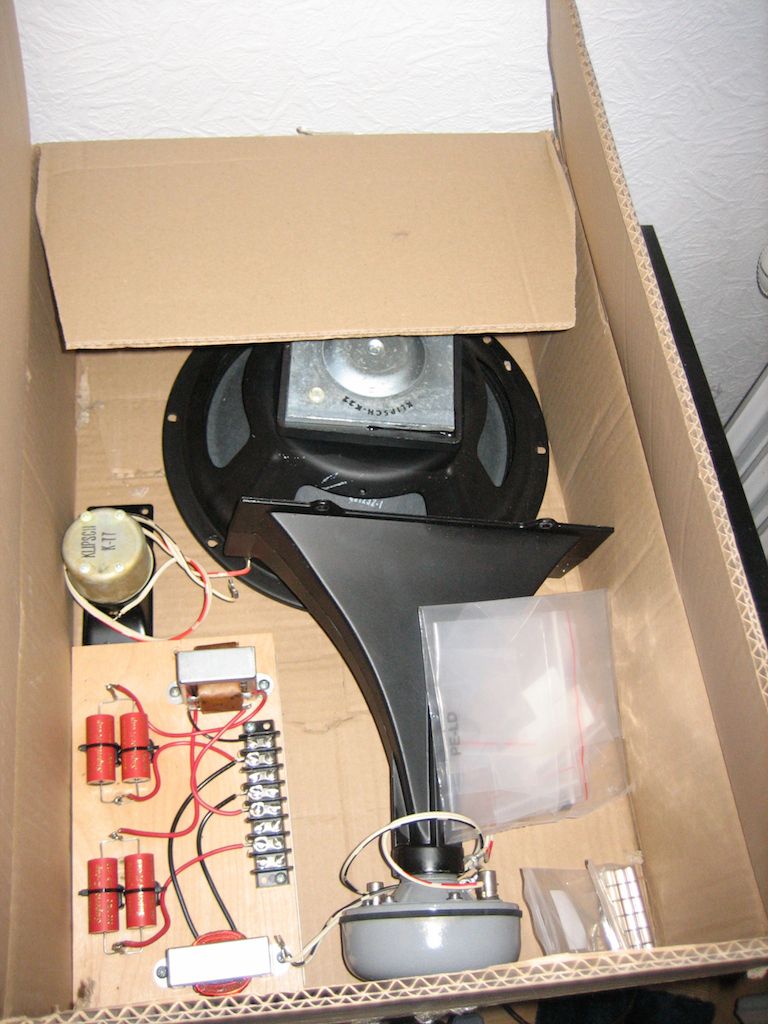
That is the system on the 1218.
-
3
-
 1
1
-
-
1 minute ago, MicroMara said:
André ..welcome to the TT world with an exciting vintage Dual TT, any idea which Pick Up is installed ? Looks like a Shure Cartridge M 75 or V 15 Series ? And Joe Jackson...love him, got a lot of records from him you´ll see 😁
Yup, M75 and this one's a Dual 1214, the 1218 is still in pieces and being cleaned. I bought this LP a few others from a fellow member on the Dual Forum, doubles and stuff he didn' t listen to anymore.
-
3
-
 1
1
-
-
My Vinyl Premiere! All provisional still and on the "B" Machine, but it was plug and play, TT being 40+ years old!
-
4
-
3
-
-
Do Your students know about their teacher being a "Cool Teach" listening to his vinyl while doing corrections at home?
Thanks for sharing Your impressions!
Seems like I into hoarding TTs now.... Got a second Dual today, it was here in Berlin and for 45€ i just couldn't say no. Bummer the DIN/ Cinch adapter I need is taking so long to arrive, so no spinning for me yet.
-
6
-
2
-
-
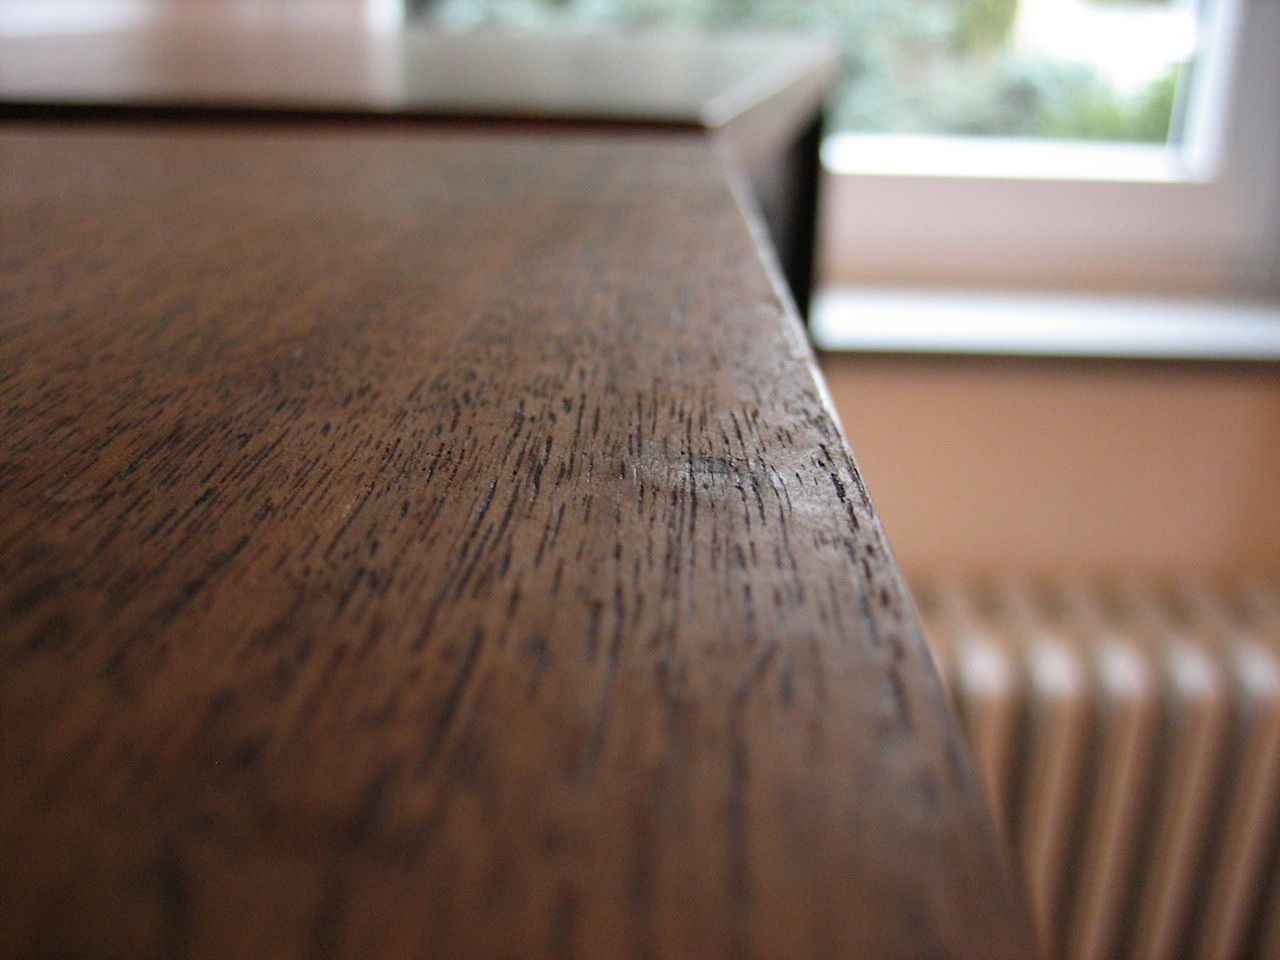
The following will be an old hat to our carpenter friends, but it´s a new one to an amateur like me.
Here´s my results from today's try-out:
This is the dent, right in the middle on the front edge...
This is what it looked like after. You soak the spot with a few dabs of water and then use a hot-iron on the dent. As i understand it, the water, which entered the wood, evaporates with enough power to force the dented wood outward, lessening the dent. I had to repeat the procedure a few times.
Maybe I´ll give another try tomorrow and then sand out the rest. I´m positive, this will take care of that.
Here´s the link to the video (German only):
-
4
-
1
-
-
On 12/13/2021 at 11:22 AM, AndreG. said:
how to lessen dents in veneer and if that works
It worked!! More later!
-
2
-
-
9 minutes ago, MicroMara said:
anytime I see and listen to him ..getting goosebump.....so great
My D.T. collection keeps steadily growing.
-
2
-
-
@MeloManiac I found the service manual.
https://freeservicemanuals.info/en/servicemanuals/viewmanual/Technics/SLDL1/SLDL1K/
Maybe You have use for it.
-
2
-
3
-
-
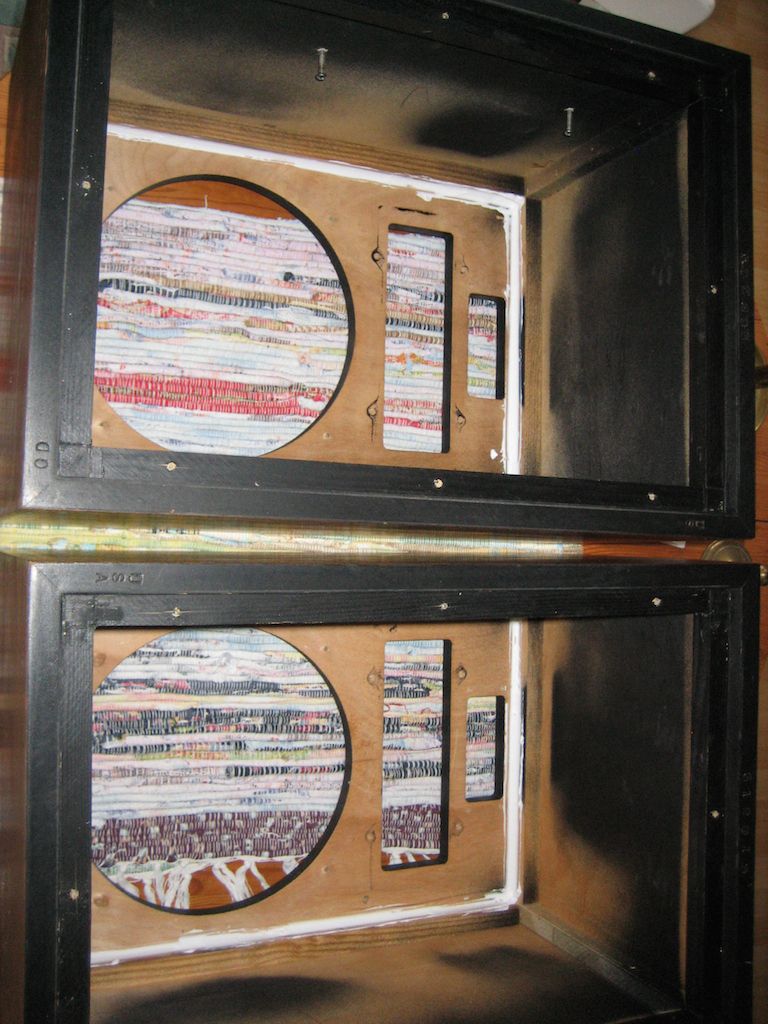
Progress:
Caulk insides of the Motor Boards, still needs some cleaning.
Putty on the magnets. One spot where putty is still a bit too thick, rest done. I didn´t make life easier for myself by applying it too thick in the first place, this stuff is tough! Lesson learned...
On the back panels i have to put it on here and there a second time, haven´t mastered the technique of applying it in one go without cavities...
Need more sanding paper. Next: Sanding of the naked grill-boards. Sanding of the veneer and trying to get rid of some small dents. I found video that shows how to lessen dents in veneer and if that works i´ll post the link.
-
3
-
-
I'm not that big of a fan of the CGIs, but i must admit hearing Peter Cullen again gave me some goosebumps.
-
1
-
-
5 hours ago, wuzzzer said:
The original Transformers. I think everyone should experience horn subwoofers at least once. 🤯
"Original"? The animated Movie? Or the first of the CGI ones?
-
58 minutes ago, Marvel said:
Well, you can say that, but linear tracking turntables have their following.
You're definitely right Marvel, I wasn't talking about linear trackers in general (Technics anyone? ) 😀
-
Not worth the hassle, IMO. Get a decent new one, or, if You're into fixing up something, like me, get a good vintage TT of choice and get that going yourself. Much more rewarding than this thing...
-
1
-
-
One other thing concerning glue... How best to fix/ glue the Klipsch badges back onto the fabric? When i look at the one still attached to its grill, it look like some pressure has been applied, but what glue?
-
Still trying to find the right 3m spray-cement... I want to use it to fix my new fabric to the grilles. Which one would be best suited, any tips?
-
23 minutes ago, Marvel said:
Looks about the size of the '56 Ford Prefect I drove while in high school. What a fun car that was.
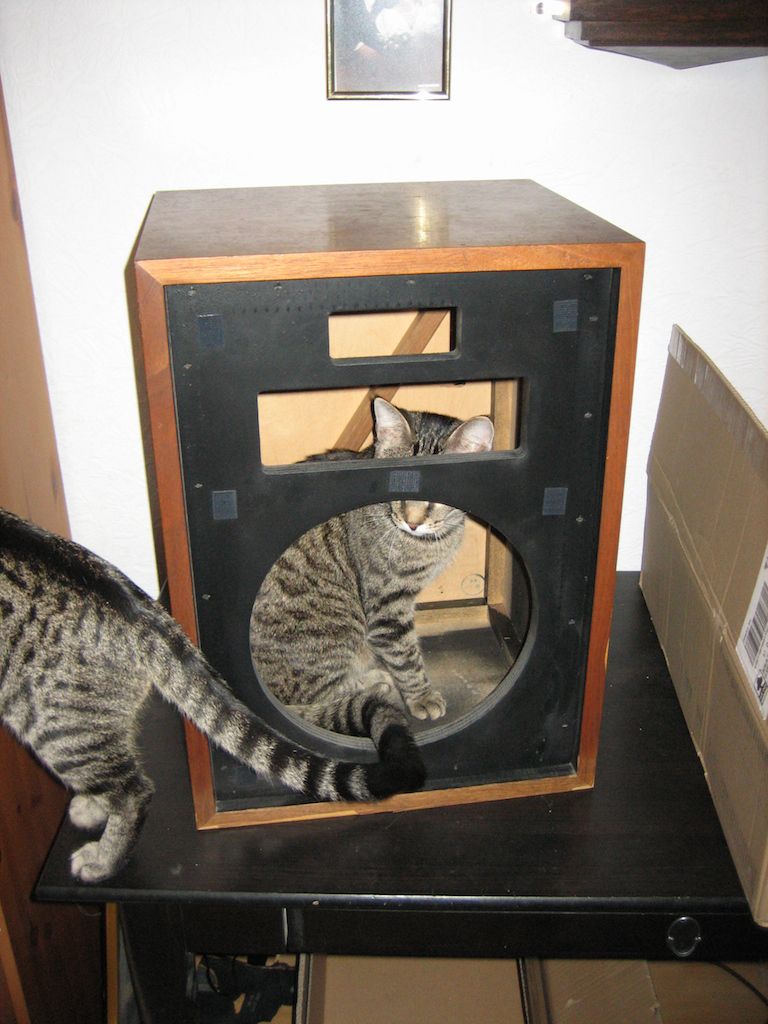
About Tabby Cats...
They do look similar . 😀 Although I guess the Ford was a four stroke, right?
-
2
-
-
4 minutes ago, MicroMara said:
That´s a great Job you´re doing André ....looking forward to see more
This week and the next i´m off from work, so i finally can get some things done and my Heresys were number one!
While i´m waiting for the K77s to be re-magnetized, i con work on my "new/ old" Dual and get that running again.
7 minutes ago, billybob said:Nice looking Tabbys. Looks like they are helping.
Nice job...☕
Ha, well as long as they´re not trying to chew up any cables... They already totaled one extension cord. I didn´t notice until it went "puff" when i plugged it in...
-
 2
2
-
-
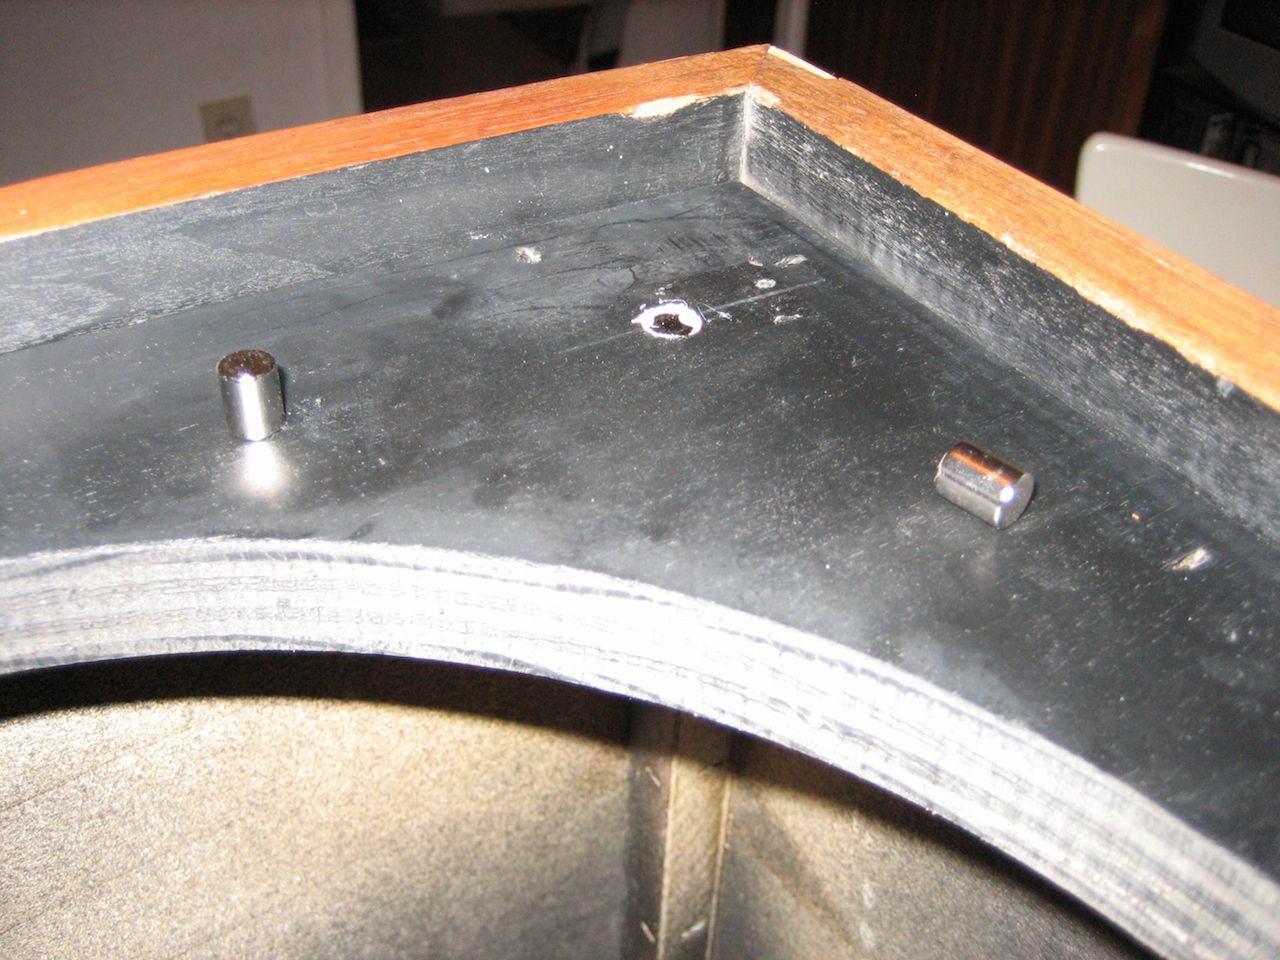
Today i got rid of the velcro on the cabinets, replaced them with magnets. Secured them with a drop of cement, but that´snot really needed since it´s a snug fit.
Tomorrow i will putty the magnets over, as well as the staples on the motor- board and the screws for the bracing on the back-panel.
And speaking of the motor-board, this will be the time for caulking all the seams on the inside.
-
4
-
-
Most interesting for my cats...
-
2
-
3
-
-
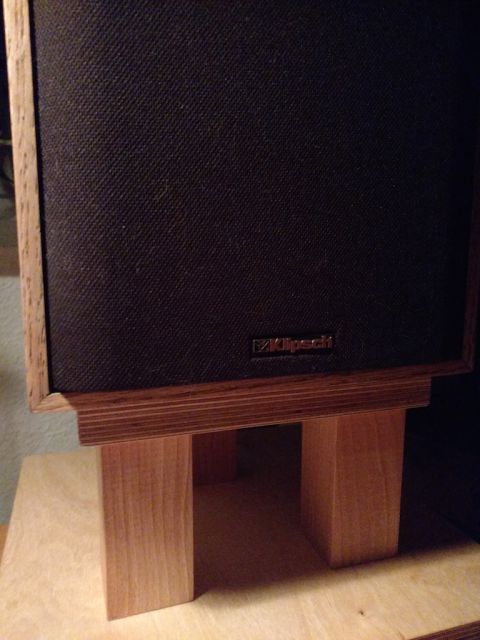
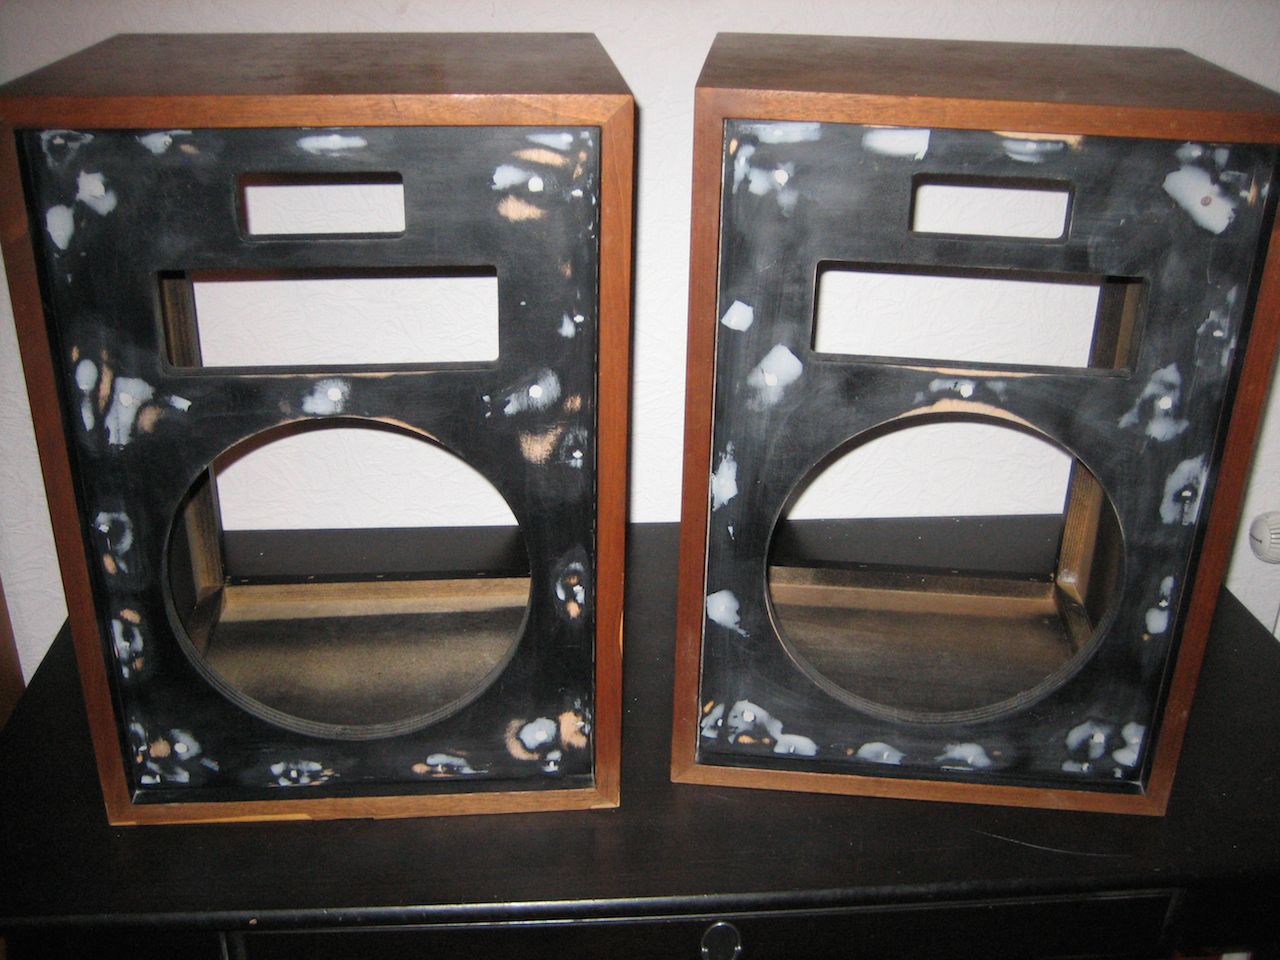
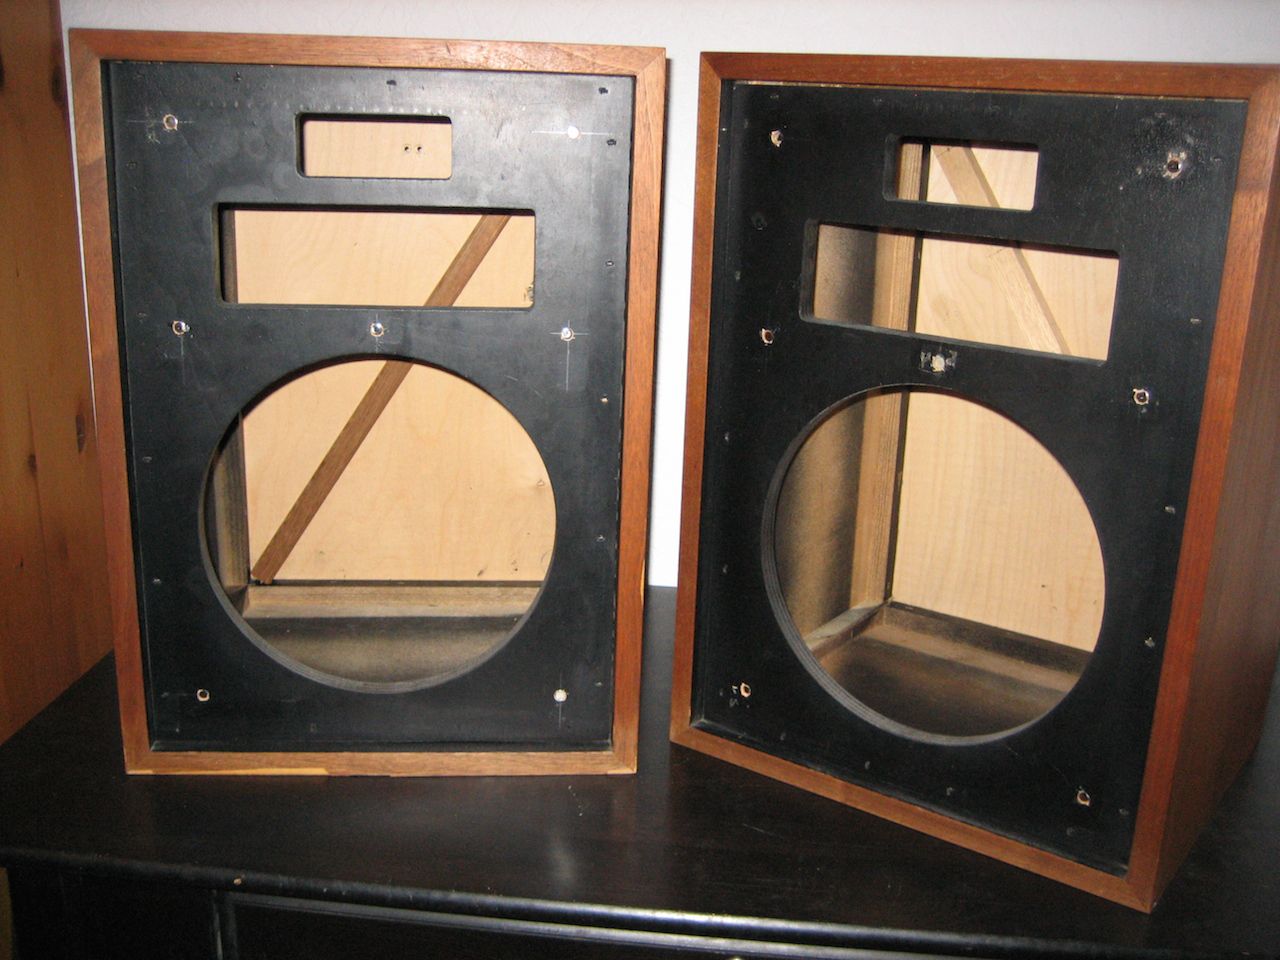
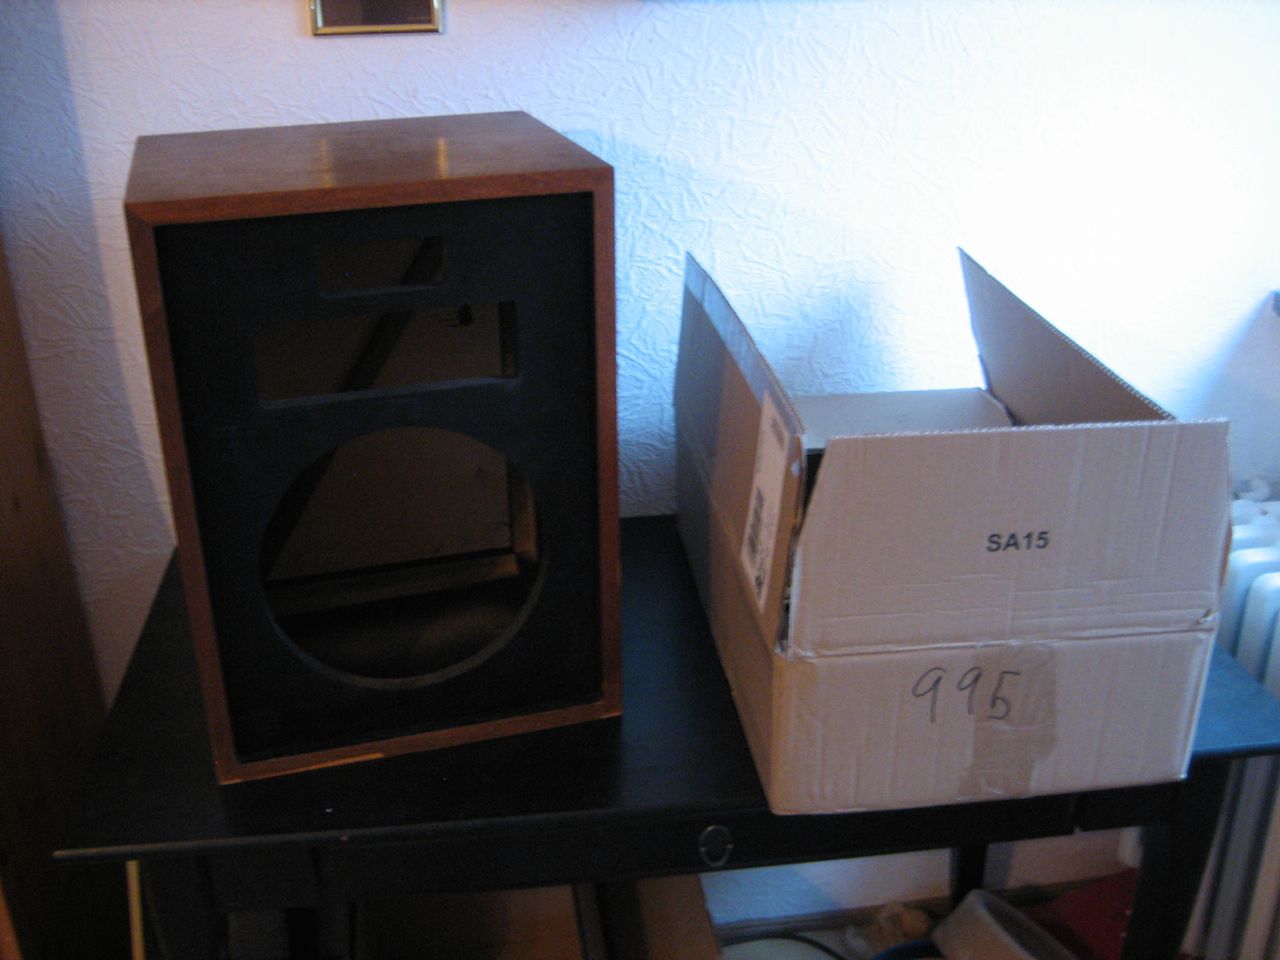
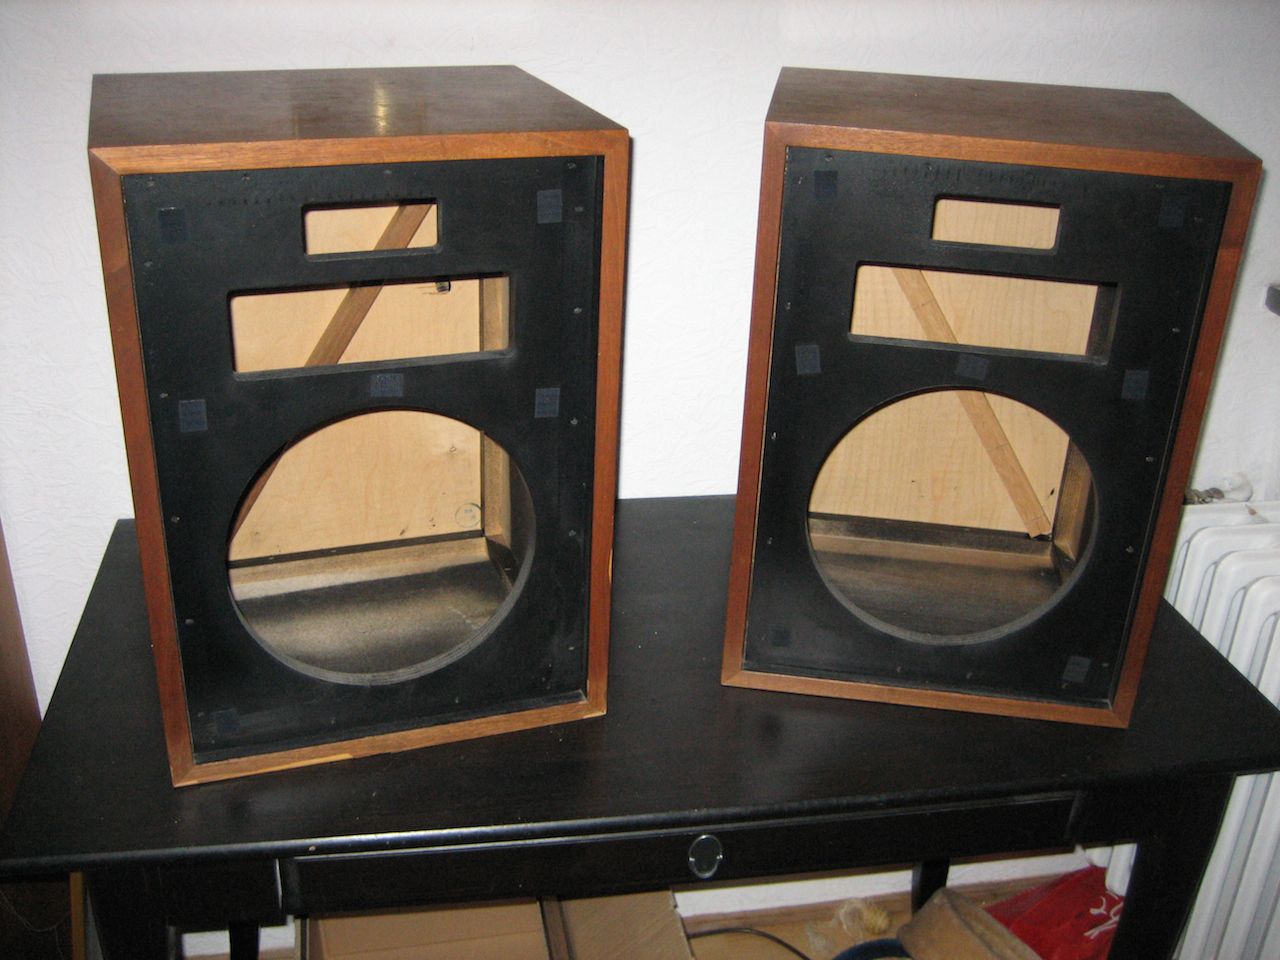
Finally started this project:
Now there are two gutless Heresy cabinets. This is also a good time to have the K77 magnets re-magnetized. Sitting there on the that black table, one really notices how worn the stain is...
Next will be marking and drilling holes for the magnets that will hold the grilles later.
I´ve looked up 3m spray glue that i want to use cement the new fabric to the grilles. I´m not sure which variety to choose, can somebody what 3m # would be the right on please?
-
2
-
-
Used to be on eBay, but now i only found them on this site:
https://www.qvendor.top/index.php?main_page=product_info&products_id=180225
-
1
-
-
Good luck with Your sale!!
-
1
-
1
-


Vinyl - Record Spinning
in Lounge
Posted
I' m confused, George, You sold the Micro Seiki again? 🙃 Did I miss something?