Micklipsch
-
Posts
292 -
Joined
-
Last visited

.thumb.JPG.e865cb9742a8f1a873e5b238842d7c3f.JPG)


Micklipsch's Achievements
Forum Veteran (4/9)
329
Reputation
-
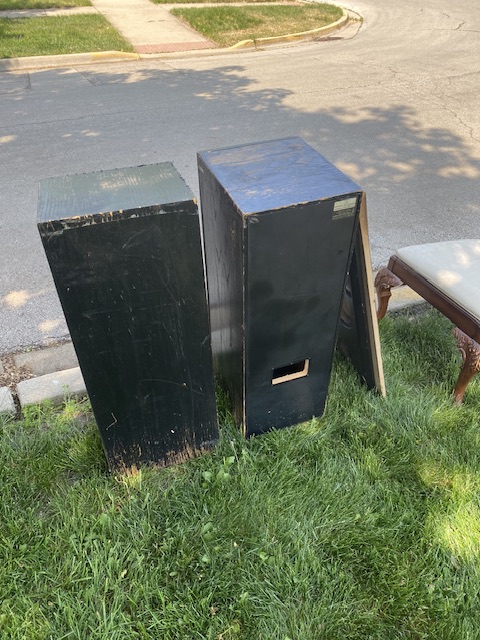
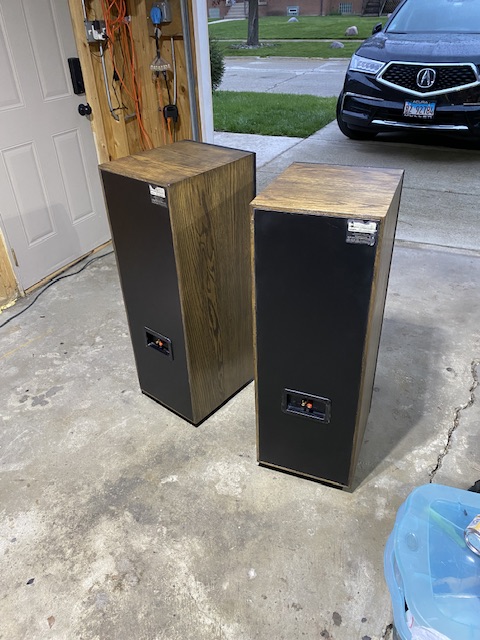
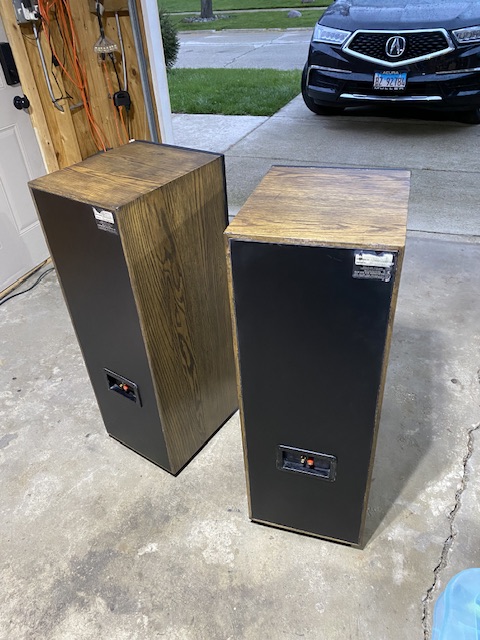
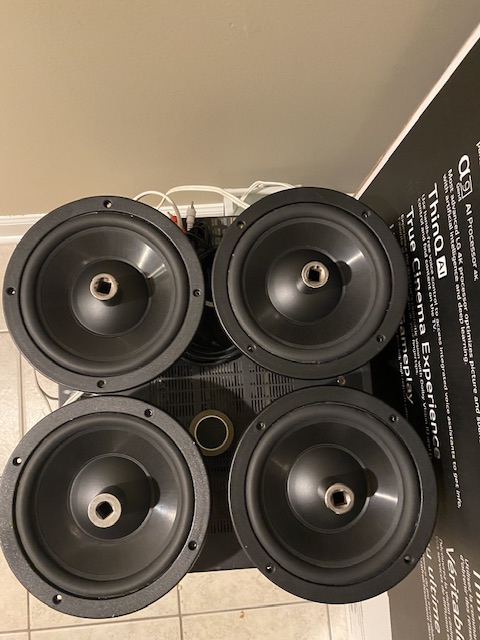
Free to a forum member everything included. If no takers, I’ll probably keep the insulation, grommets, feet, and port tubes.
-
20 minutes west of Chicago if you want them.

-
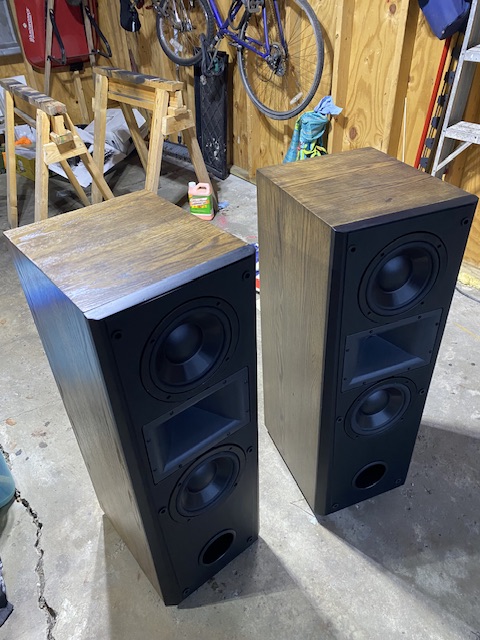
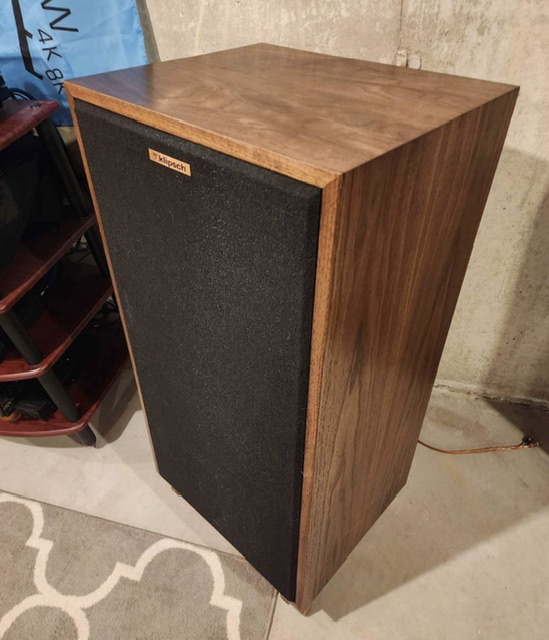
They definitely sound great. I made a point to audition them before I dipped a brush into that stripper! Thanks man
-
Appreciate it, brotha
-
Thanks, guys! Means a lot, really
-
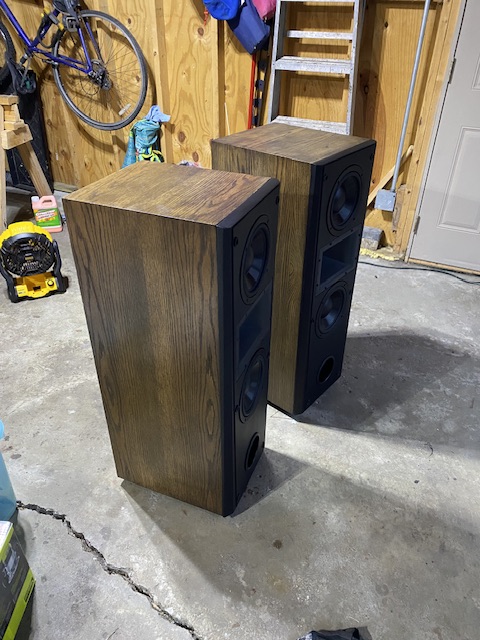
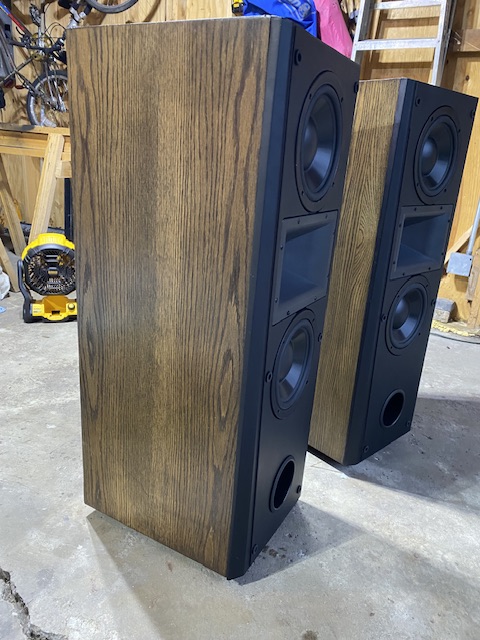
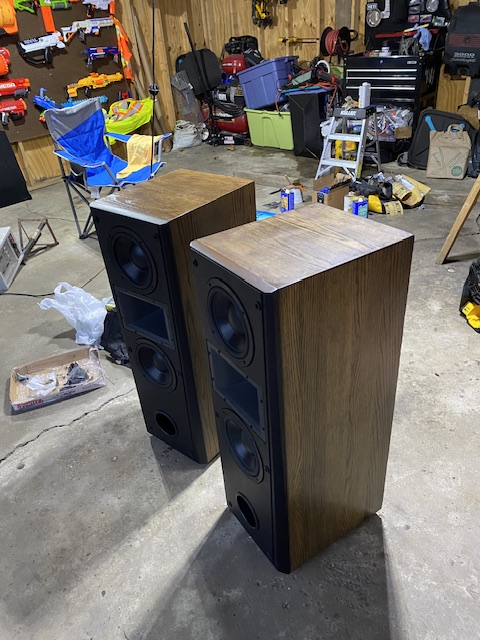
Anyhoo, this job’s in the books. I’ll talk about my shortfalls in the next post and what I’d do different next time. Hopefully this all helps folks wanting to attempt a restore. Thanks for lookin’
-
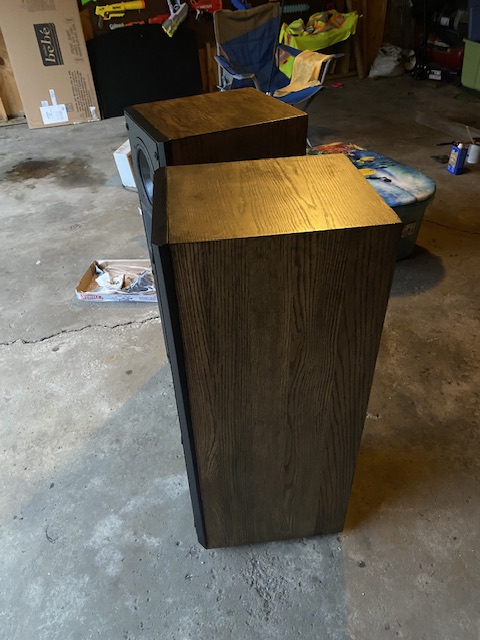
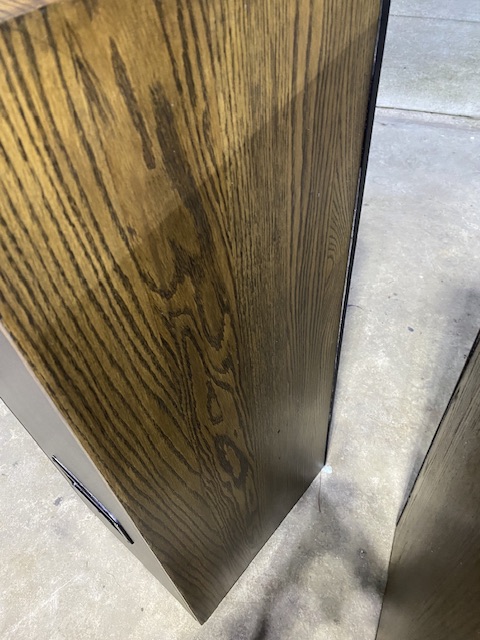
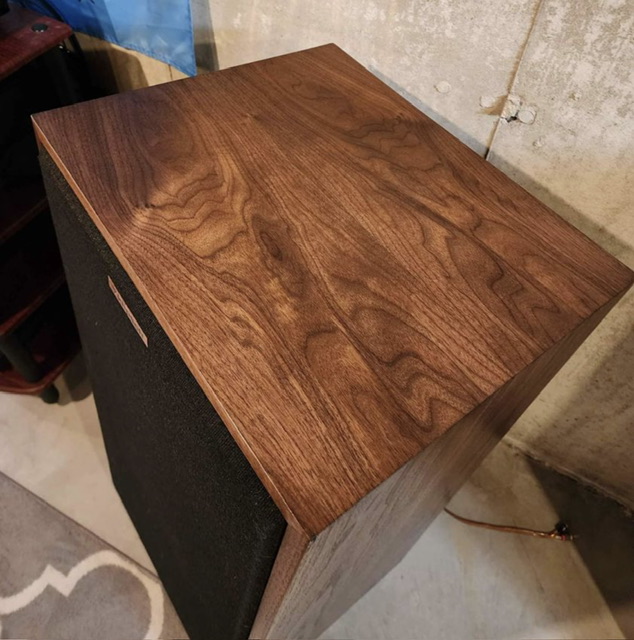
I hear ya. I was prepared to just redo the black but wanted to see how I’d do naturalizing the wood. I’m like you where oak isn’t my first choice—I’ve always been keen to walnut. You also probably have ash underneath yours which looks fantastic with some light stain and/ or a lacquer like this guy did to his Chorus, given the cabs aren’t all tore up. I may do my CF4s up like that someday. I actually wanted to attempt a redo this go around and learn some stuff. The tops of one of these would’ve been a perfect candidate for a new veneer. I’d like to try my hand at veneering should another one of these opportunities come along.
-
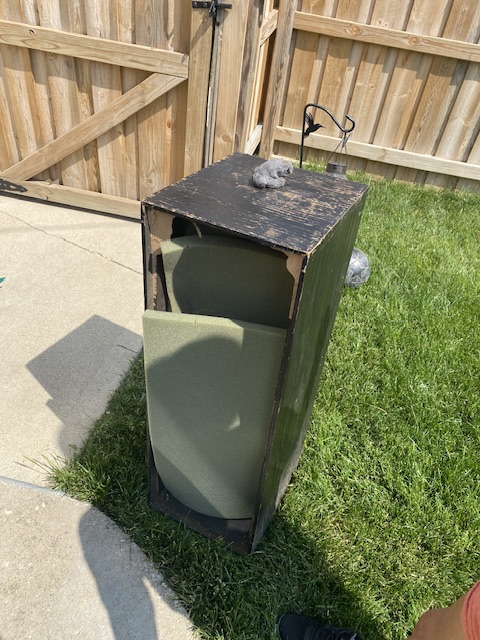
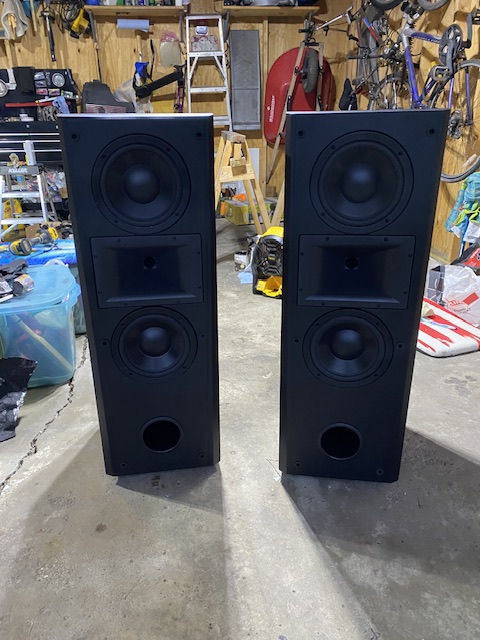
I’m dealing with a similar issue with one of mine and honestly it’s not a straightforward issue to deal with. Klipsch both sprayed the motor board with a black resin or they covered the entire motorboard in that one piece mould that you have. Unless the issue is relegated to one flat area you could possibly cut out and make repairs using a vinyl stick on of similar material but otherwise it looks like you may just have to pull that whole mould off and refinish the motorboard in any desire that you like. I thought about pulling the moulds off and having them and the horn shroud finished in piano black but that’s bucket list stuff at the moment.
-
Haha, thank you! I’m but an eager learner. I’m happy to answer any questions regarding the restore. Cheers 🍻
-
Hmm. The scratch remover is coconut oil based and 0% VOC. Maybe the polish? I couldn’t find a straight answer but when I looked that up, oleic acid pops up which is derived from oils.
-
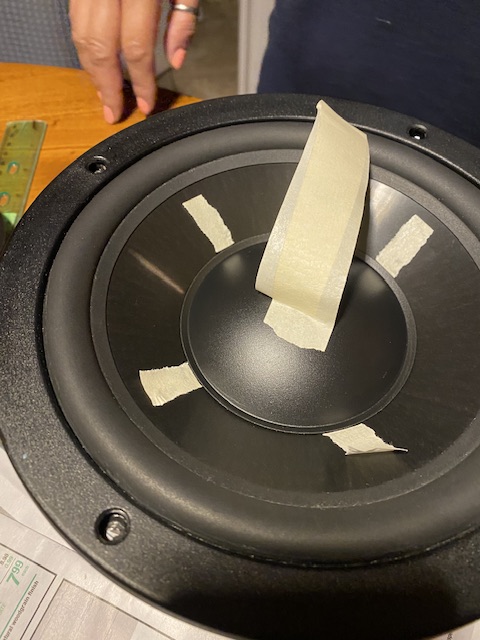
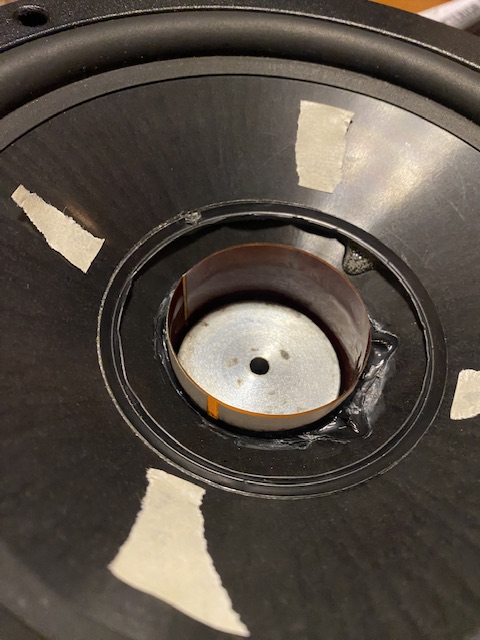
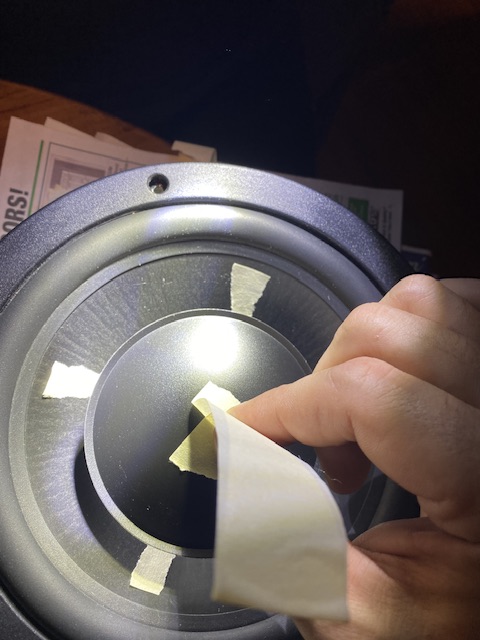
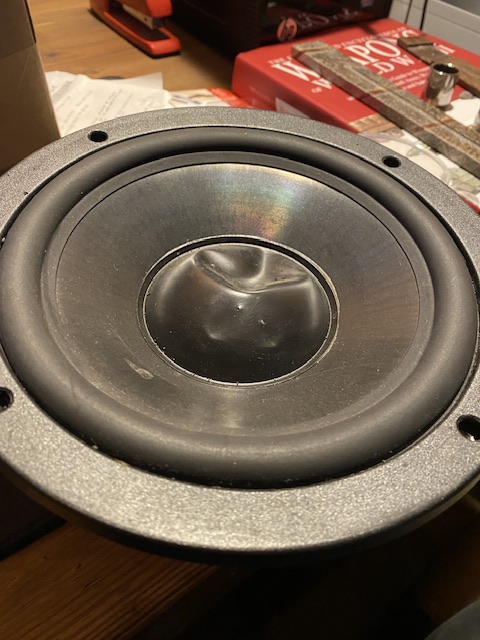
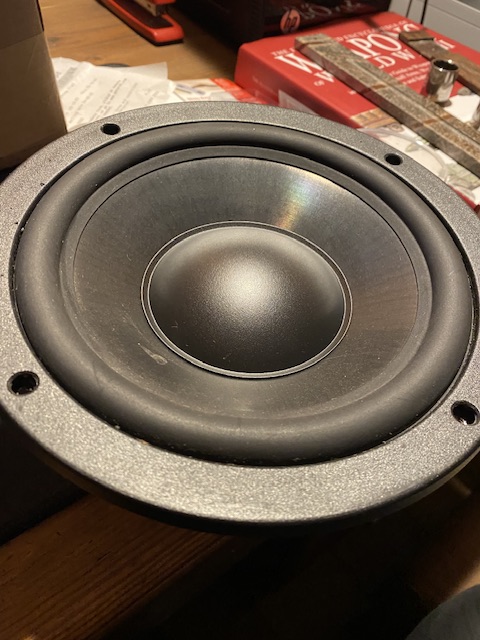
Started by finding a central measuring point from cone surround to the new cap's perimeter. Centered it was 1". Then marked where the cap perimeter would sit with masking tape using that measurement. Next, took a long cut of masking tape, folded it, sticking it together, leave for the last inch or so to form a grip point for the cap's center for lowering it into place. Came out pretty well I'd say!
-
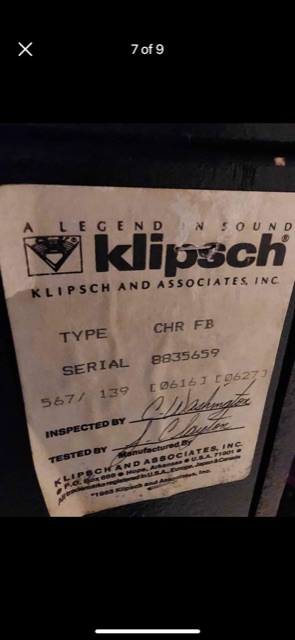
The original factory finish?
-
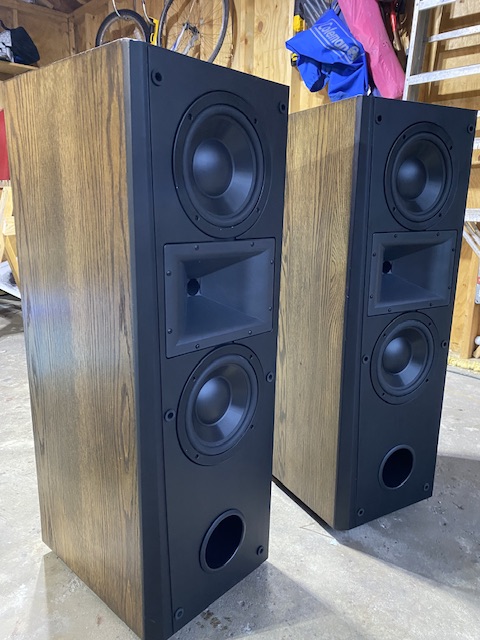
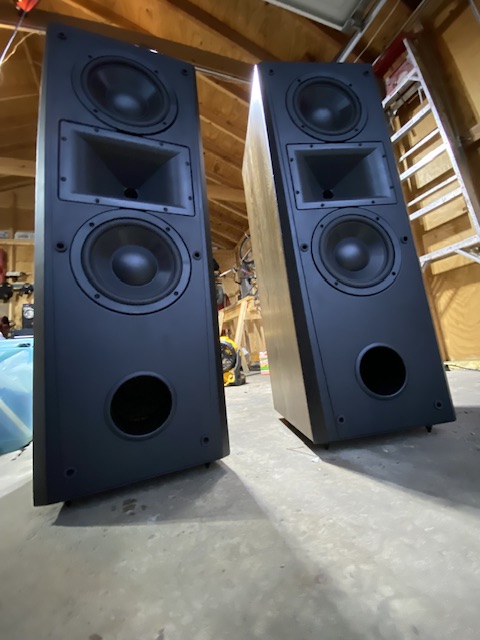
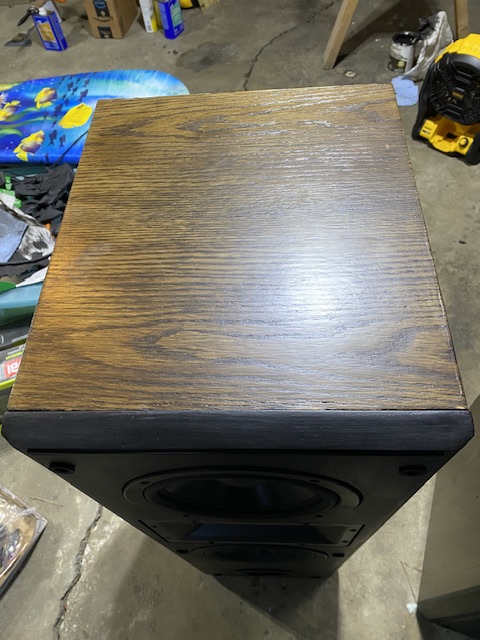
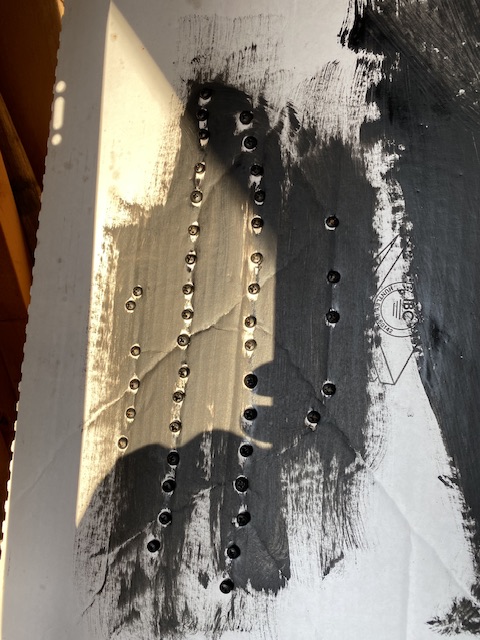
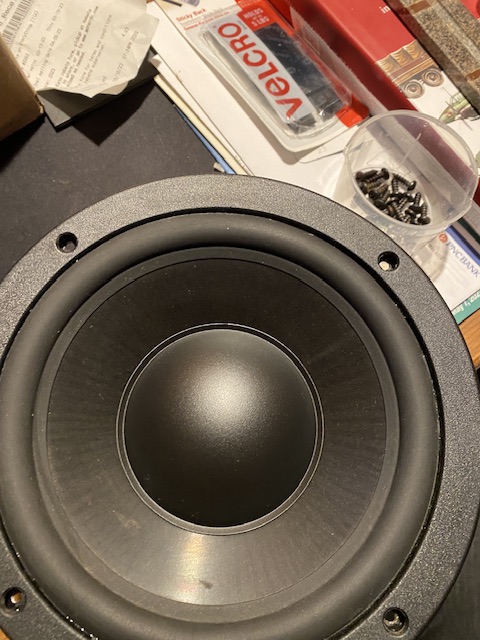
Nifty little trick especially since these are going to always be open faced since the grilles were MIA. Don't need to be seeing that little corrosion on those screw heads.
-
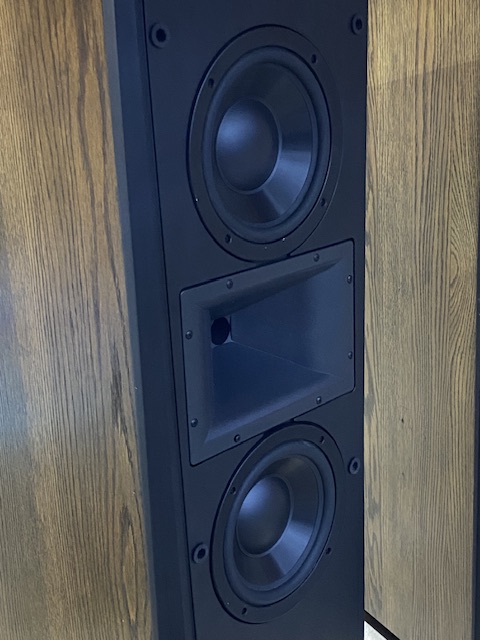
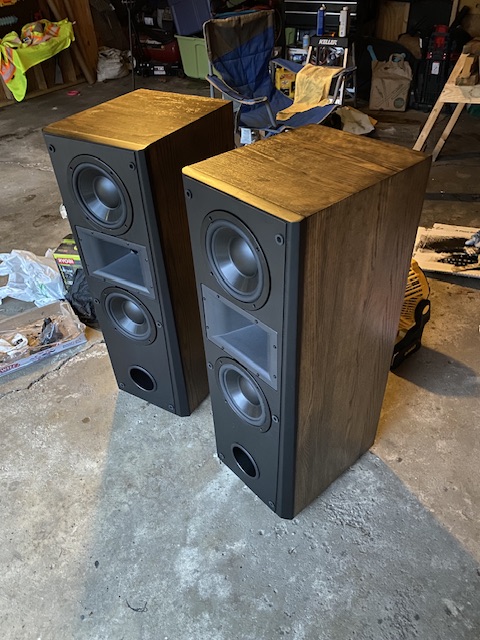
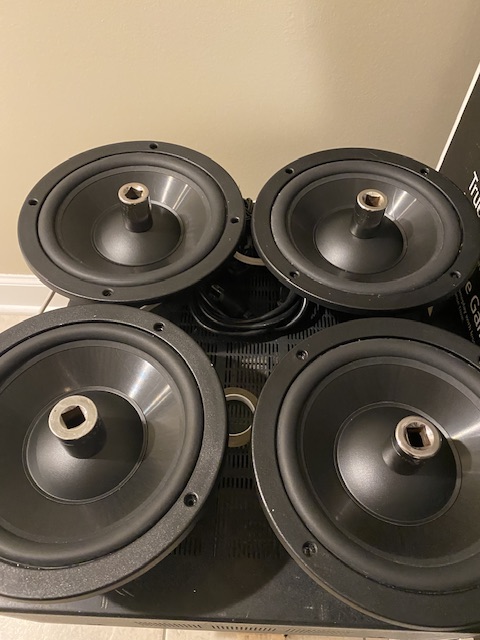
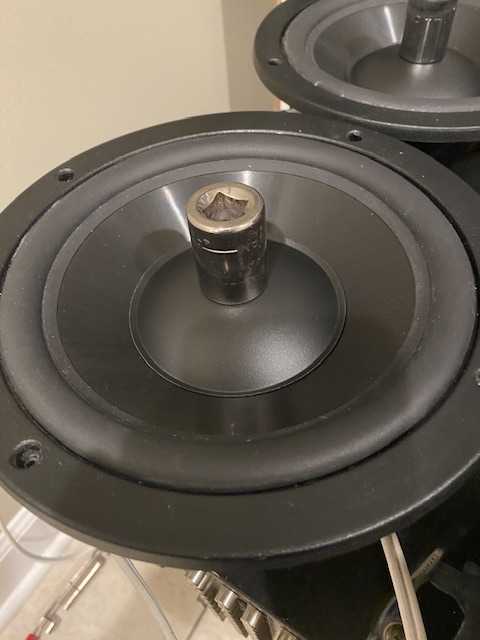
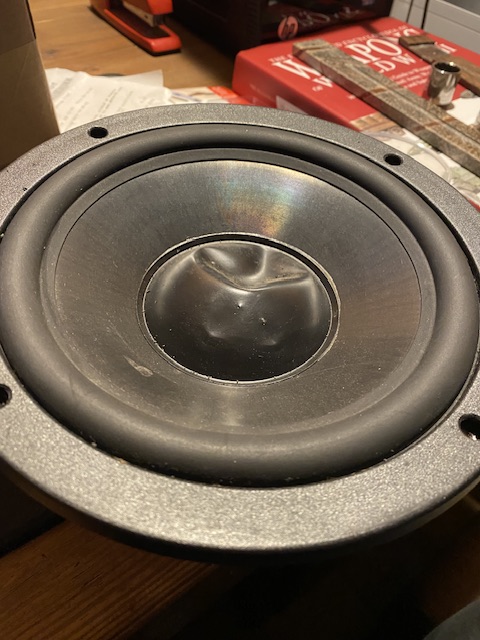
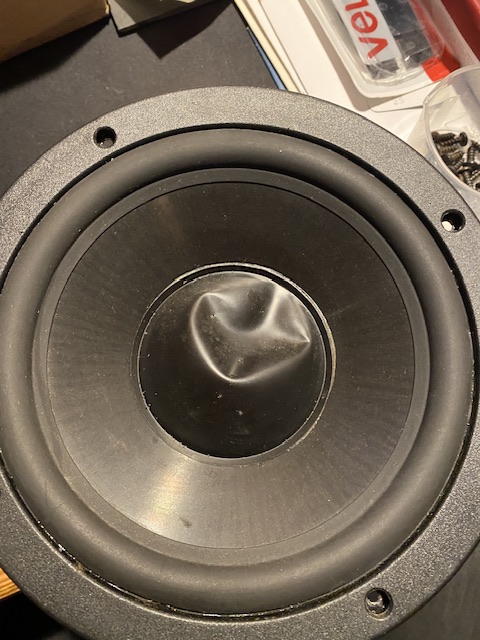
Caps are in. I was worried about the .29” looking obscenely large on the cone but it’s not bad, I’m actually happy with it. If we’re splitting hairs, the OEMs are smooth and therefore glossier, these are very finely textured giving them a more satin appearance. Cones still need a wiping, but we’re at the end here. Just need to button everything back up.
-
Thanks Randy. I got a trade secret kit finally. Had to have it mailed via Home Depot. I used the process on some oiled walnut KG2 (squared) and they came out spectacular. I’ll probably make a separate post on that and become a TS advocate like yourself