


Micklipsch
-
Posts
292 -
Joined
-
Last visited
Content Type
Forums
Events
Gallery
Posts posted by Micklipsch
-
-
On 4/14/2023 at 4:33 PM, OO1 said:
Would you use the trade secret first, then finish with an oil wipe down, in the case of an oiled walnut finish?
-
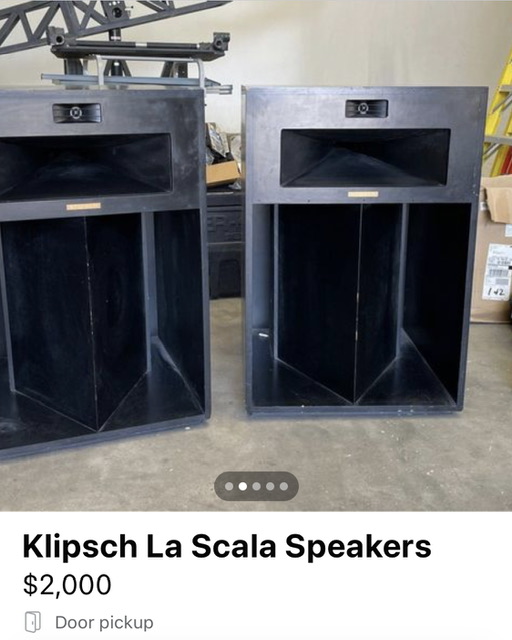
Decent deal? Or about market value?
-
-
 1
1
-
-
On 4/6/2023 at 12:53 PM, jvs1670 said:
This thing was visually trashed but it sounded just fine, just a little work and some Duratex made it presentable again. I'm looking for a Klipsch copper badge for the front, anyone looking to sell a single badge?

Nice work! You probably know but you could snag a number of aftermarket replica or quasi-replica badges from eBay that'd probably be more than acceptable given you ventured outside of a factory restore. I think this would look pretty cool, gold coming out of the all-black background. But they have pies and whatever else, too.
https://www.ebay.com/sch/i.html?_from=R40&_trksid=p2047675.m570.l1313&_nkw=klipsch+badges&_sacat=0
-
1
-
-
Seems more testing is in order. I'd like to see when Audioholics gets ahold of the RP-1600. But this seems pretty cool and promising, especially given the stark price differences. The Klipsch will probably go on sale at some point too, whereas the SVS stuff only goes up. lol
-
 1
1
-
-
Just now, Mikekid said:
Please send more pics when done Micklipsch👌
Absolutely. When the caps are on and I've got them placed in a 2 channel setup. Hoping by end of week whenever caps and adhesive arrives.
")
-
1
-
-
44 minutes ago, Mikekid said:
You did a great job on those Quartets! Great speakers 🤩. All of the helpful posts and images on this will be able to help others too. No doubt.👌 Great folks here in this outfit! Been here since June 1999🤝 ~Mike (Will I get a 25 year plaque when, or if I hit it?🎉🤣)
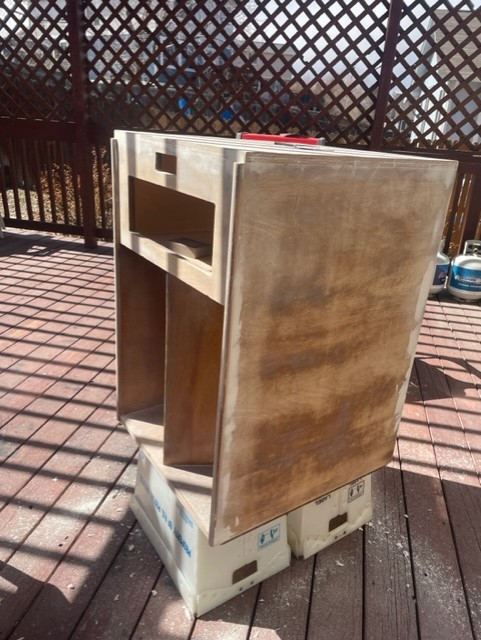
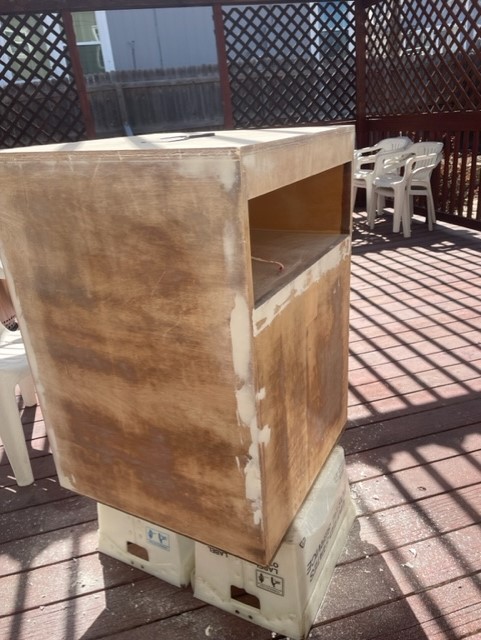
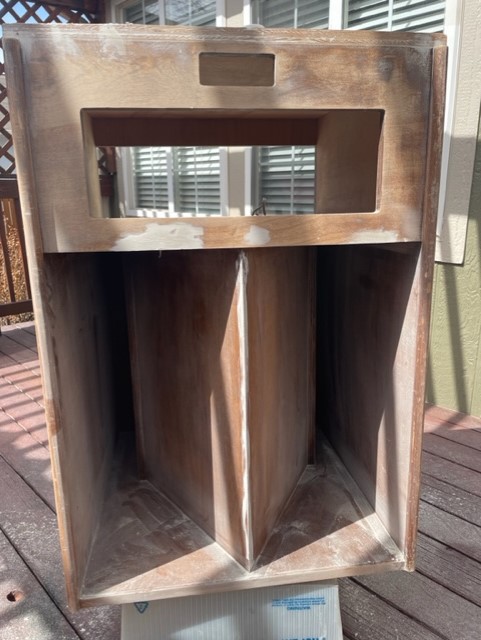
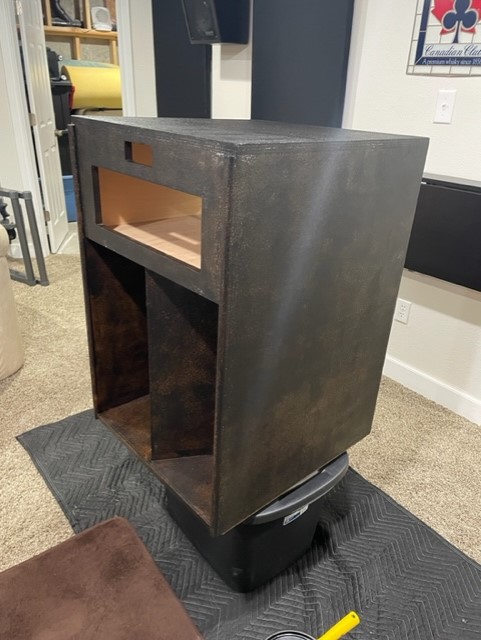
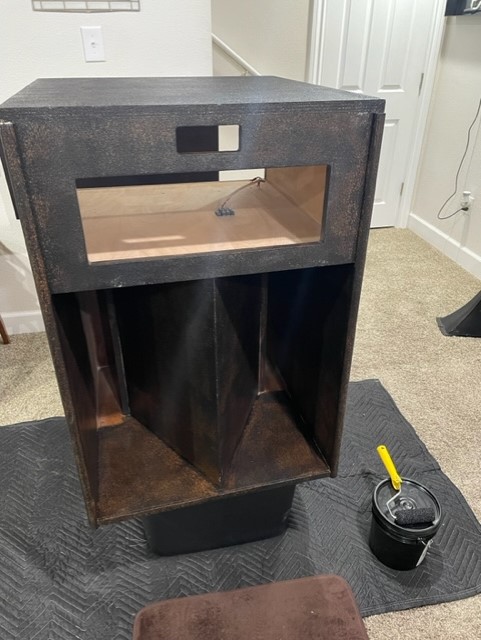
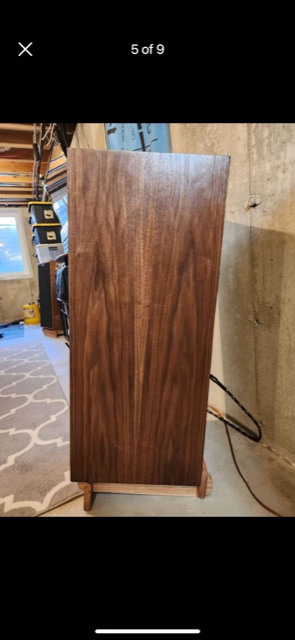
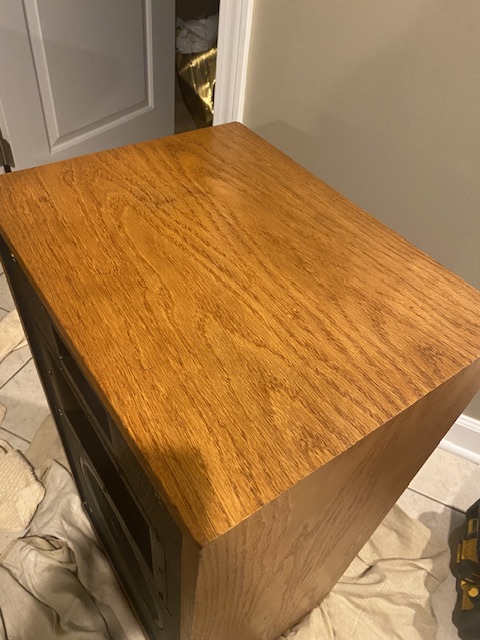
Thanks! Not much effort and they landed around 90% without thinning/ stripping/ sanding, which is great. I should've posted the grilles taking a shower. The grime running off them after probably decades of neglect is always satisfying.
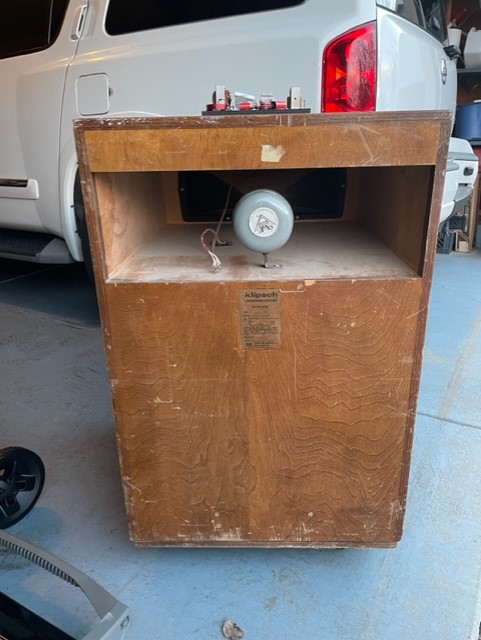
Just need to get the new radiator dust caps on, patch the one woofer--or replace whenever my WTB post hits--and I'll basically call it good.-
2
-
-
3 hours ago, Iteachstem said:
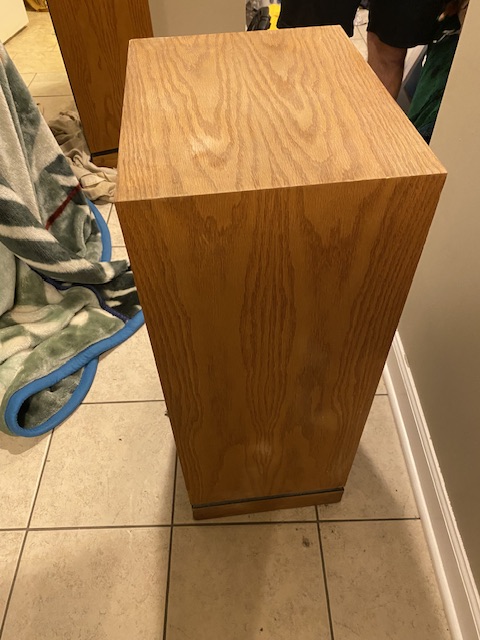
You have to really inspect what the veneer looks like before you think it will turn out beautiful. For example, when I bough this used pair of KG 4.2's, I new they needed a sanding as the veneer had some pretty deep scratches. Also, I knew with a pretty decent degree of certainty, that these would not be a great candidate for anything other than a paint job again because the veneers were so different. Most of the time speaker companies pair the the mismatched veneer speakers and those are the ones that end up being painted black, etc. However, it's such a great feeling when you remove the black and expose some beautiful wood... making you think why in the world would anyone ever paint it black?!?!
Yep. Like I have these two disused CF2 cabinets and they certainly look oak underneath the satin black. I read that Klipsch sends its rejects (in that case these were probably slated to be a light or medium oak) straight to black paint, or atleast used to. On the other hand, my satin black CF4s are ash.
Question--those KG 4.2s, is that exactly how they looked after stripping/ sanding? Nothing applied to give them those brown and blonde colors? -
Anyone had luck or have a line on getting this size? All the places I've checked either don't have the size in poly or they're lipless. Thanks!

-
17 minutes ago, CCG said:
Thank you for the kind posting. If you dont mind I added you in follow becase me and @MicroMara have been working on interesting speaker cabinet restoration and modifications since when I started December 2022. We both came up with a small non-popular klipsch speaker that got modified and it it really rocks. I'm almost done with the project besides the finish restoration and I will add a bottom box (not a plinth) but a sandbox semi-attached (screwed) that in theory will give ab excellent bass dynamics.
I am also in a hunt for another 8 inch tower speaker that is an excellent project for this sandbox. The goal is, getting your speaker set to its optimum performance. I have another tower speaker with a 6 inch single woofer that can easily drive a 550 sqft room. Without the proper sandbox, I would have not filled up that room. Thank you anyway. CCG
PS. This other speaker I'm currently looking for just came with ash black. I really like the butterscotch finish so I may need some advise on how to transform that color. But I'll wait first when I get that speaker. Thanks.
No prob. There’s restoration pros on the forum that you should definitely follow as well.
This guy took his ash wood, black factory painted Choruses, stripped it all off and refinished with a clear stain. They look absolutely stunning. I’m really tempted to do this to my satin black CF4s.
-
2
-
-
1 hour ago, CCG said:
Oh this is so cool and thank you for sharing. So do you think I'd be able to clean this first with the magic eraser (is that a mr. clean)?
then after that I will apply the two. I have the lemon beeswax. I'll just get the restore. . Thank you again
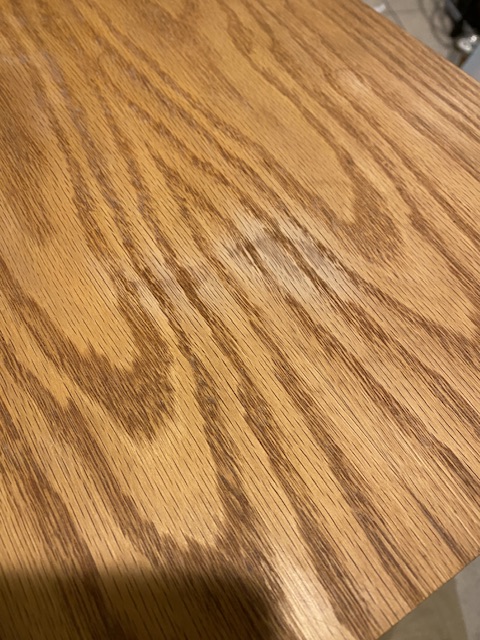
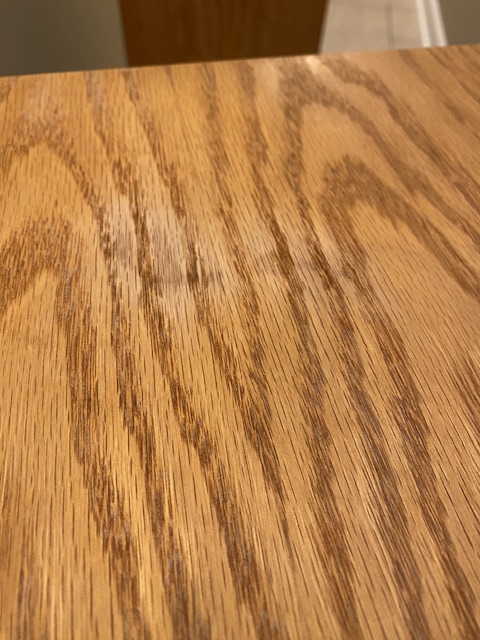
In my amatuer opinion and from what happened with mine, you're going to end up lightening those areas up with the magic eraser (yes it's Mr. Clean brand). Since the damage covers such a large surface area rather than a few small spots that could be covered with a quarter like mine, it might be best to just use the eraser with mineral spirits over the entire top until you get a uniform fade, then come with multiple applications of that same golden oak restor-a-finish until it's to your best liking, then seal with your beeswax, wiping on and buffing off with a cloth, likely doing multiple coats until there's excess remaining after a 20 minute dry time.
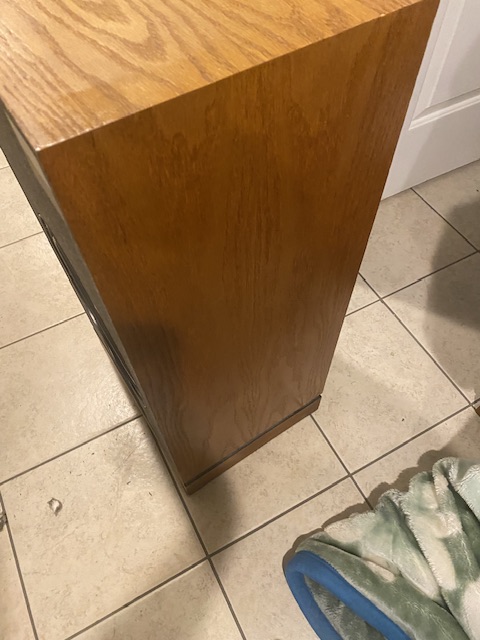
I was faced with the same dilemma of just stripping/ sanding off the tops then trying best to match with the sides but I'm not sure how that might have turned out, and at worst may have lead to stripping/ sanding the entire cab if the differences were stark. I feel what I did was a happy medium. If I were to strip or thin, then lightly sand in the future, I'd probably consider moving to an oiled finish as @Iteachstemsuggested.I have some disused CF2 cabs in black that I want to practice on, stripping, filling etc to get technique down. They seem to be oak underneath the satin black which leads me to believe they were factory rejects (I've read Klipsch would send rejected specimens straight to black paint), since I believe ash was otherwise used for satin black finishes.
-
Title says it all. Thanks
-
12 hours ago, CCG said:
Very nice. That's what i need to do on mine. Was wondering what pain and color did you use?
Thanks,
CCG
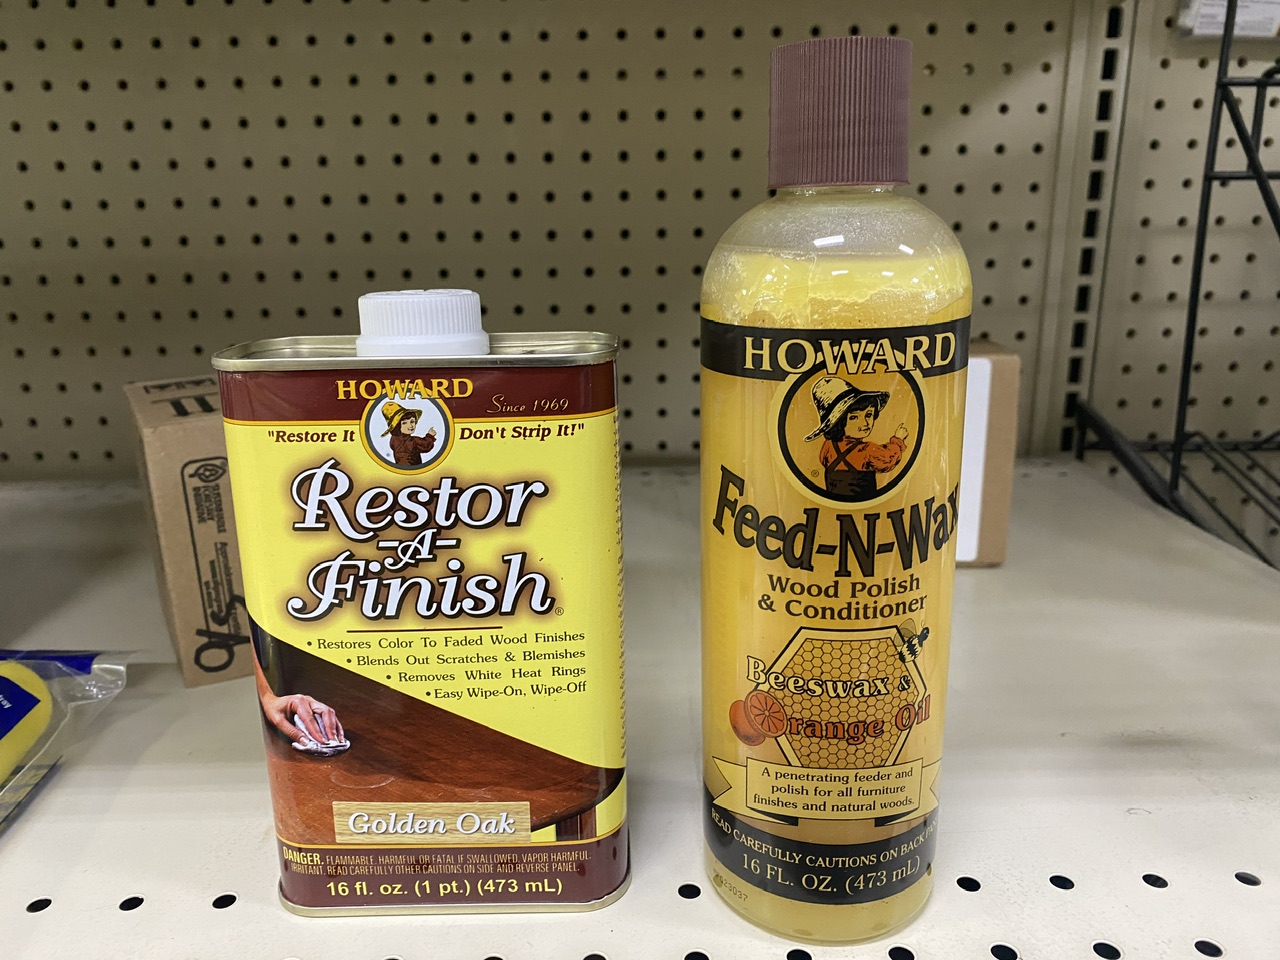
Hey, thanks. After a wipe down and spot treatment with a magic eraser, I used the two products pictured, restor-a, then beeswax. I also hit some of the heavier trouble areas with 0000 steel wool dipped in the restor-a.
I’ll probably order some trade secret since @OO1 vouches pretty hard for it to see what more it can do in my case, but, the results I already got are pretty satisfactory. It’s originally what I wanted to do: get them looking 90% or so without getting invasive with thinners, strippers, or sanding.
I’m still applying beeswax until I see excess sitting on the wood after 20 minute or so wait times. I’ll throw some pics up after that’s done. Other than that, I’m just replacing the two radiator dust caps and repairing the tear in the one woofer, which’ll due until I source another K-10-K, purely for aesthetics.
-
2
-
-
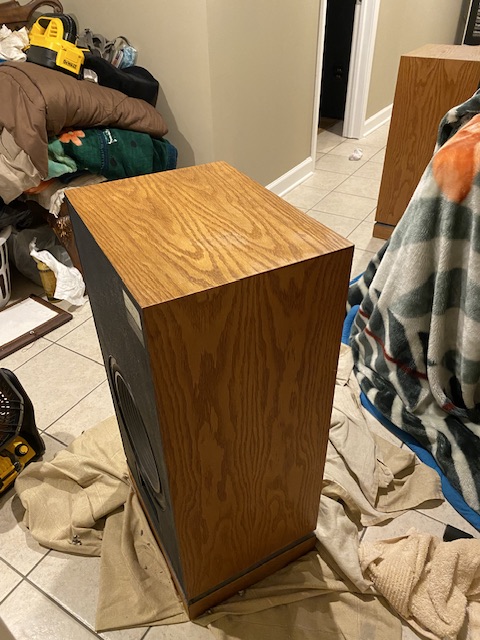
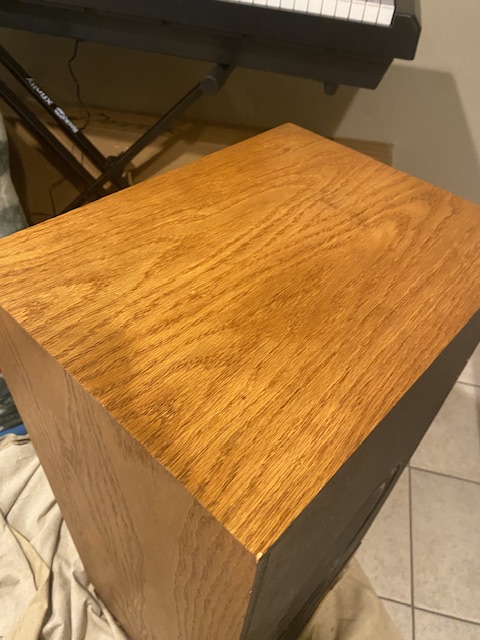
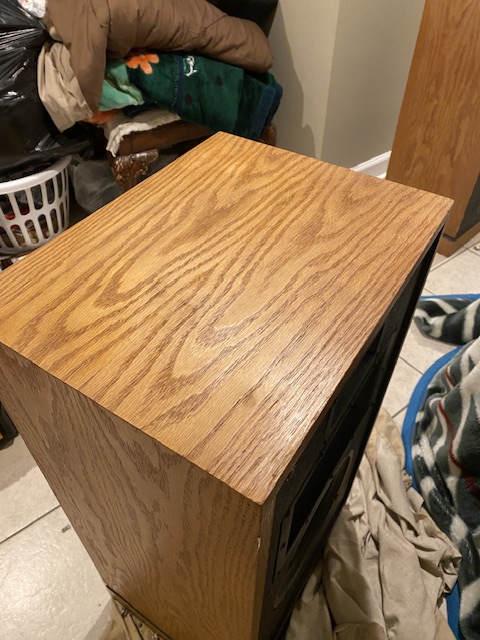
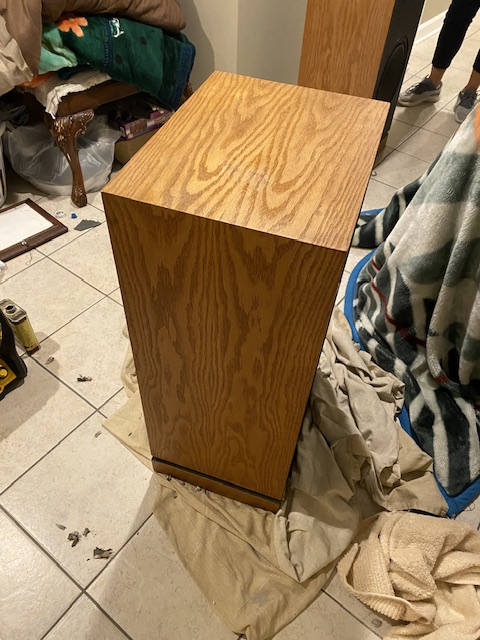
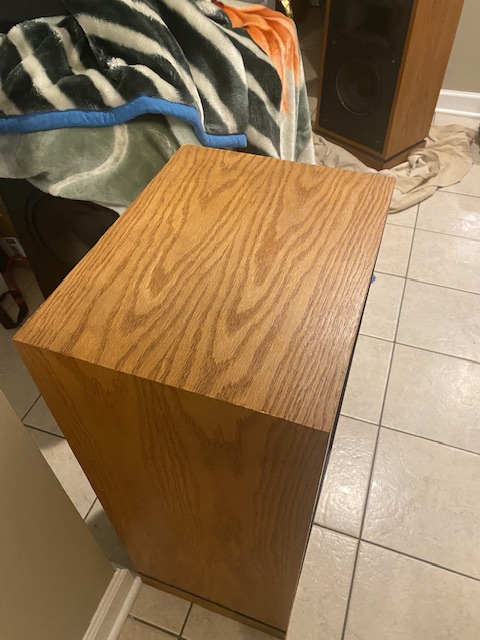
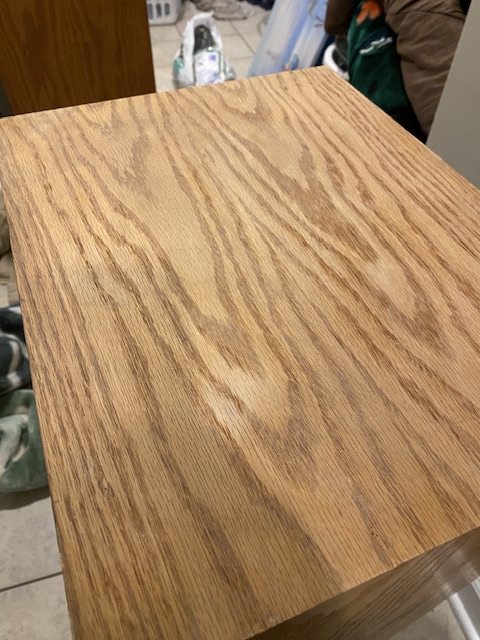
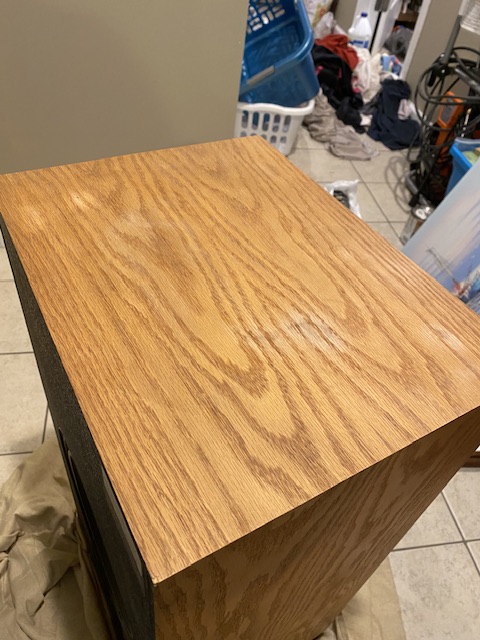
And these are with the wax buffed off the top. I plan to do another few coats of it and let it sit overnight as the oak just soaked it up.
-
3
-
-
-
-
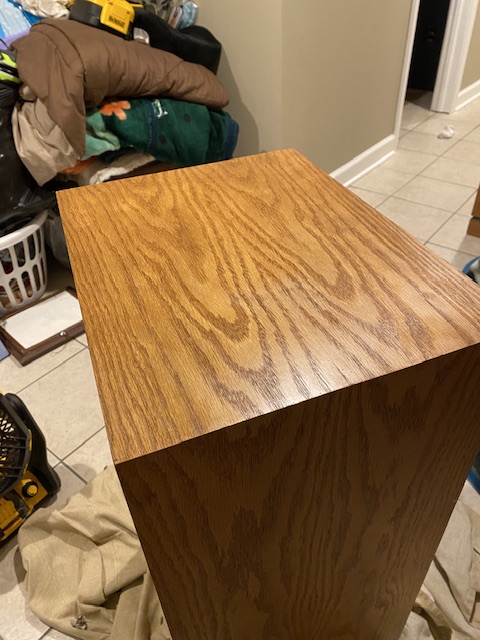
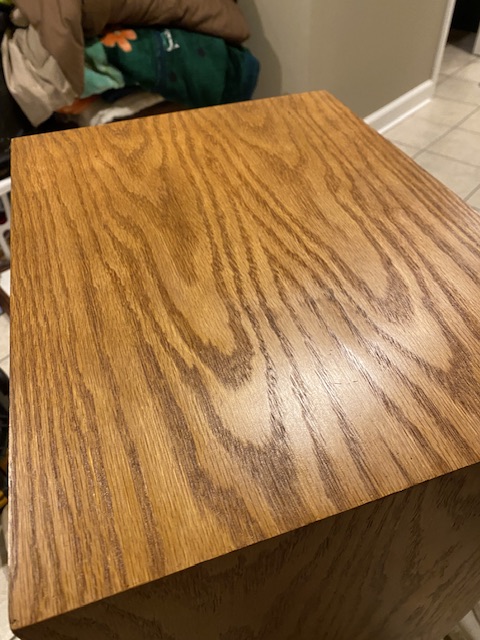
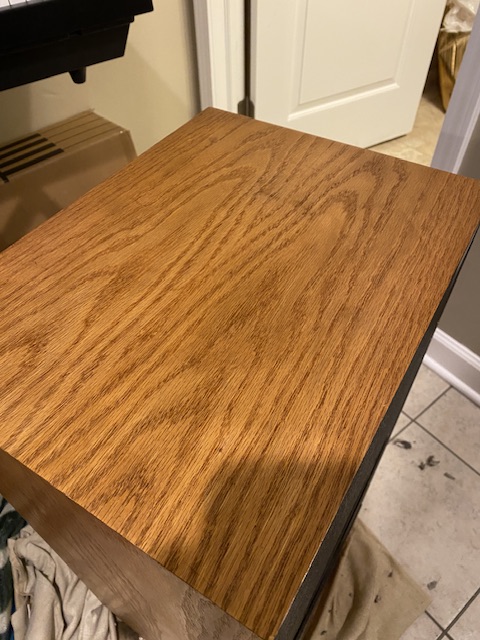
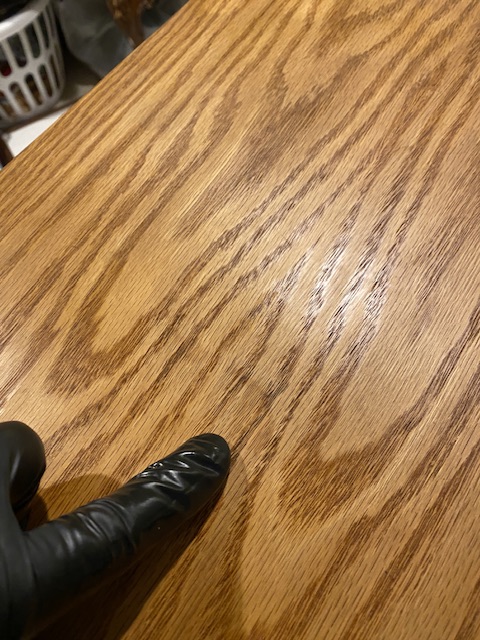
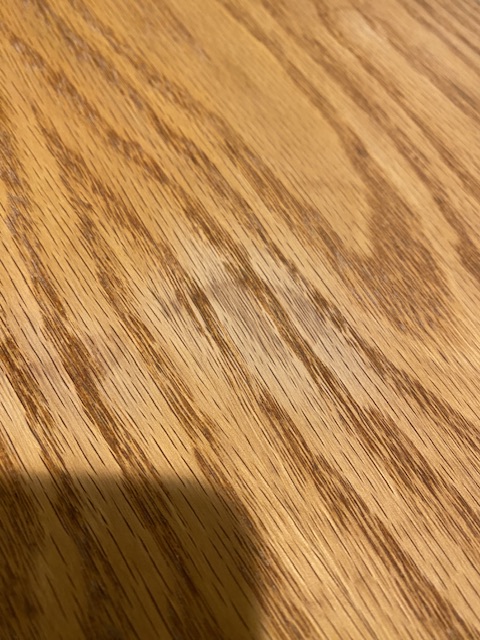
That magic eraser sure does work. I suspected though, it took a bit of the finish off with it. The finish is very sensitive so I figured it would happen, but I’d rather banish the stains than deal with evening out the color later. Some pics during, and after a mineral spirits and water wipe down, then, with restore a finish, and one of the tops with wax applied, but not buffed out yet
-
6 minutes ago, Iteachstem said:
I like Matte finishes...it looks more natural. Wood is not supposed to be shiny in my world.
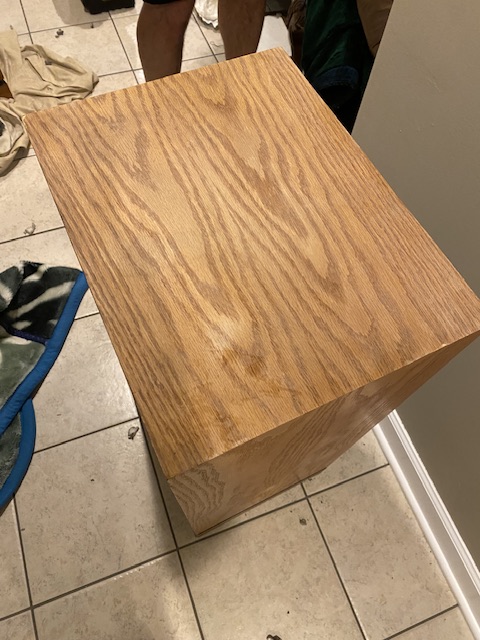
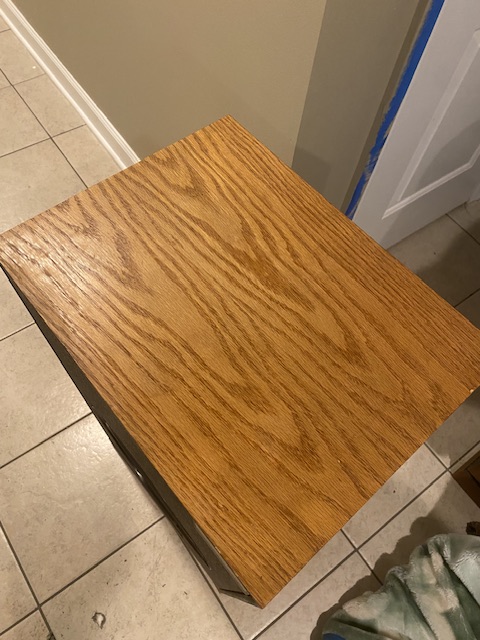
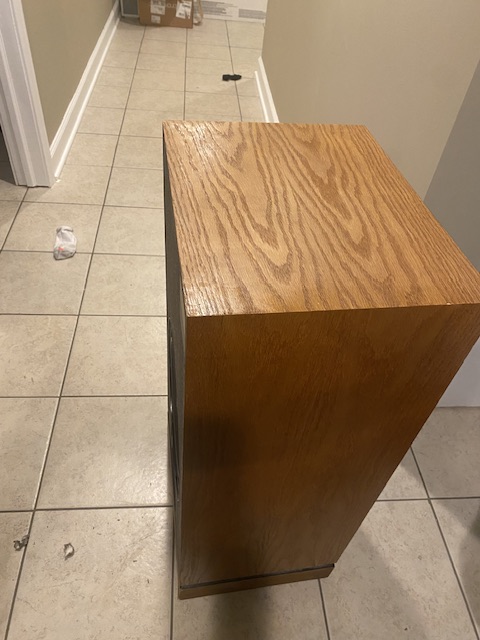
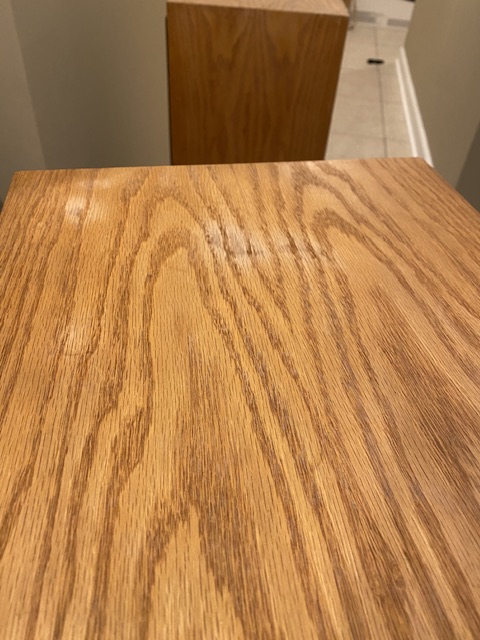
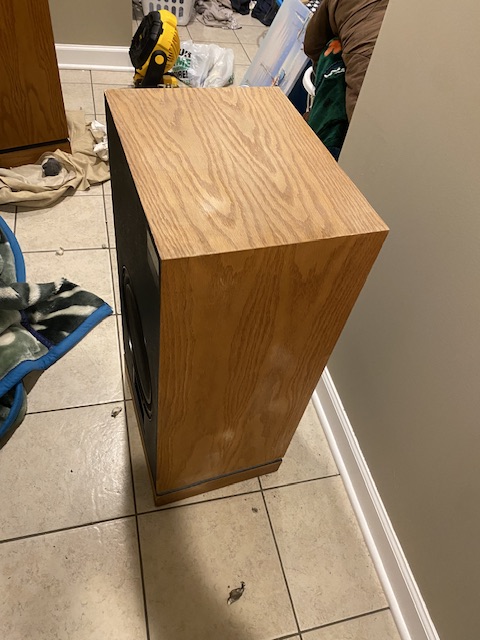
Is the rest of my statement accurate though regarding refinishing these? I’m trying to determine if these are indeed just a clear lacquer on raw oak.
-
Now, if I were pursuing a refinish of these, after using lacquer thinner, and possibly light sanding, I would just follow up with some of this and it would impart the same coloring of the oak that’s on it currently? And if so, satin or matte?
-
1
-
-
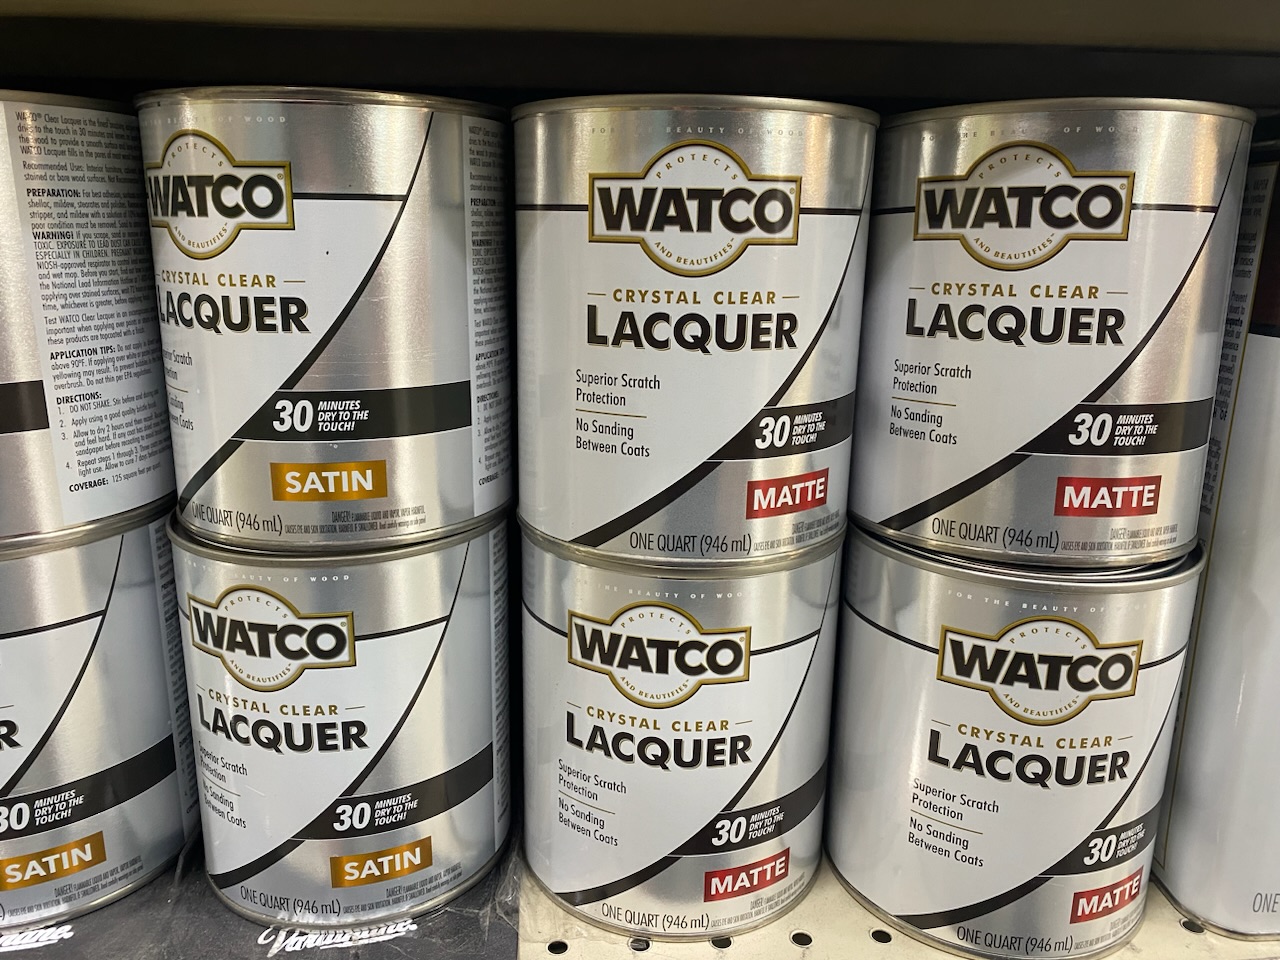
Going with this two-step process versus the Trade Secret as this is available today in store and I can get my American instant gratification on.
-
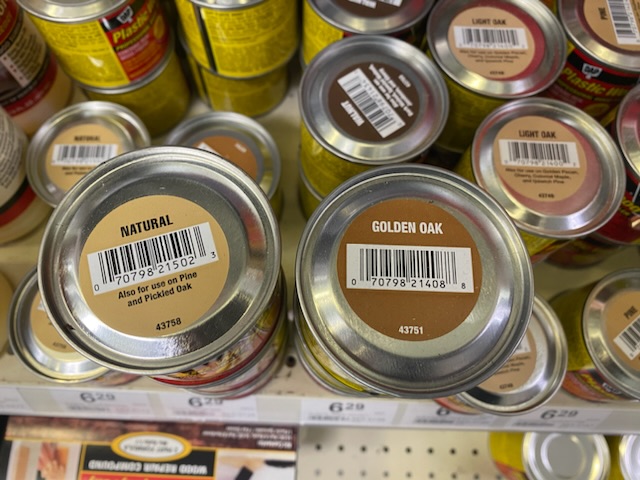
They also have these shades, but I just don’t know what’s gonna come close enough to Klipsch’s Clear Oak. And I take it it’s a little different than their light oak.
-
2 hours ago, OO1 said:
yes 50/50 MS and water , dont forget the 0000 wool , start with the wool , then do a final sanding
Gotcha. I’m leaning towards around 400 grit.
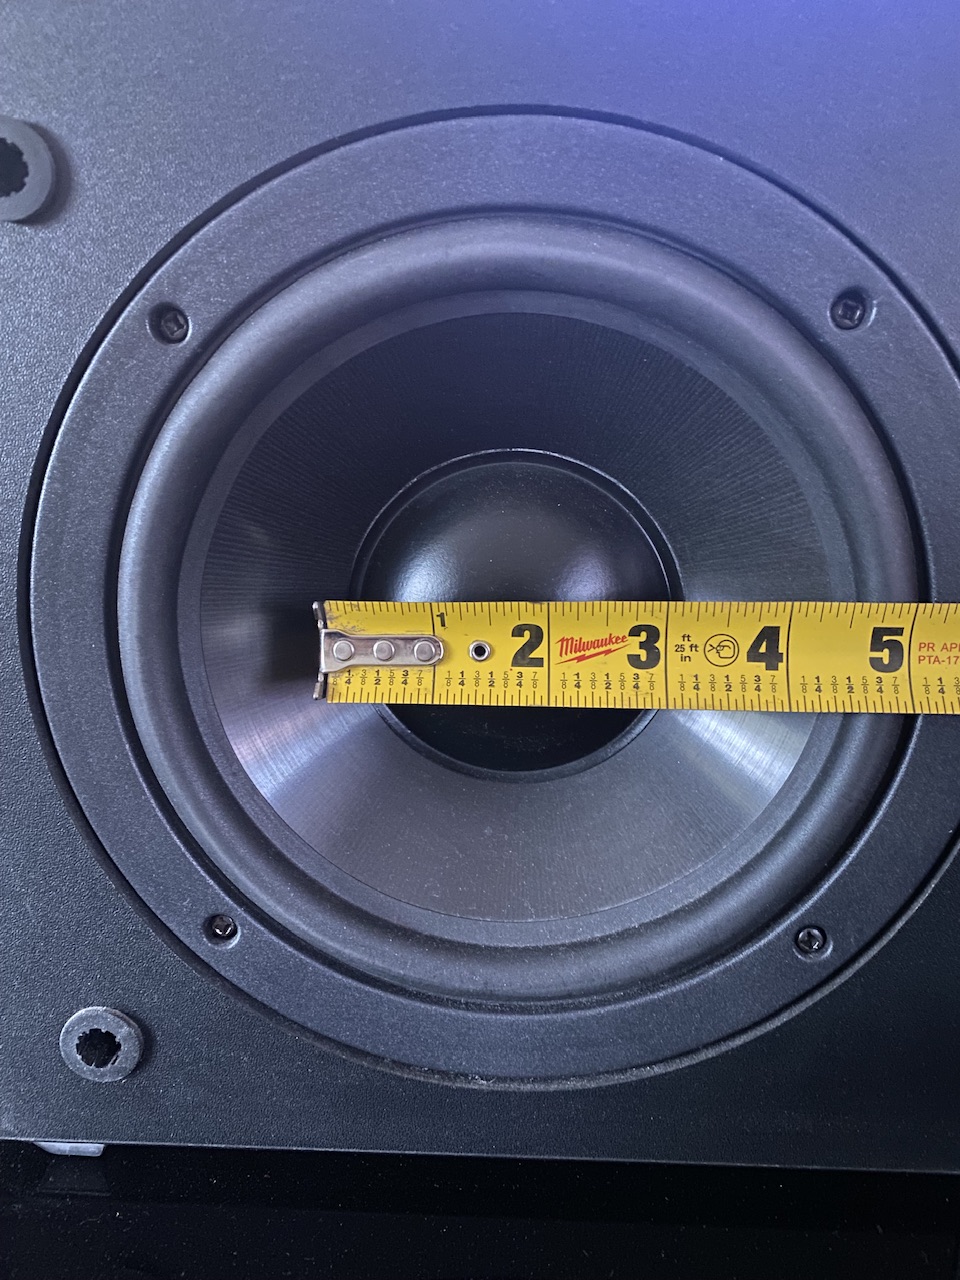
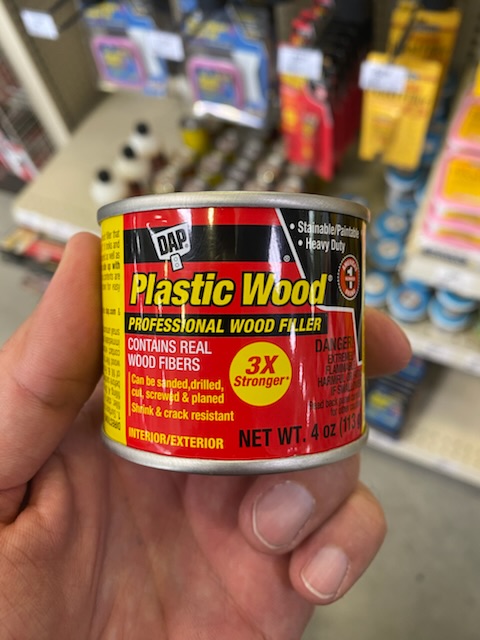
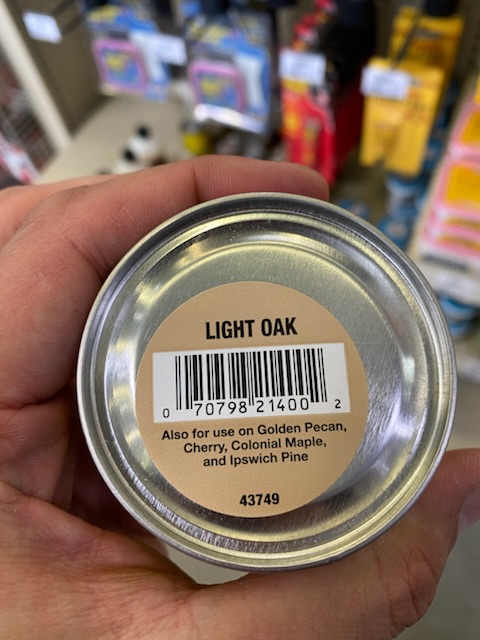
Using this to fill in the small chipped veneer part. I think the color should land close enough and it’s nice it has wood fibers in it. Saves me from having to saw cut a piece of wood to save the dust and mix with glue. Also saves on buying a coloring pencil.
-
On 4/12/2023 at 6:02 PM, OO1 said:
a mix of 50/50 mineral spirits and 0000 wool works very well on klipsch veneers .
you can avoid sanding or stripping with a Canadian product called TRADE SECRET , sold on Amazon , this product is easy to use wipe-on it will bring the speaker's finish back to life , the bottle is large , it's cheap , and it will last years .
https://www.tradesecret.ca/?page_id=789
For the heavy scratches you can use bondo , wood filler or saw dust mixed with glue + colored wax crayons to fill-in the areas lacking veneer , a coat of the Trade secret blends the finish evenly
For removing the red marks and pen ink , try a magic eraser all by itself , if it does not work , add a dab of diluted mineral spirits .
50/50 MS and water, correct?
On 4/13/2023 at 7:00 AM, Iteachstem said:My 2 cents: Sand them carefully. Sanding is the only way to get the water damage out on the top of the one speaker along with the several additional scratches.
I use a decent orbital sander with light pressure. You don't need to do much, and be careful when you get near the edges, as you don't want to burn through the veneer. Perhaps start with 220 paper and finish with something in the upper 300's or 400.
Then you can seal with whatever you like. I just did a Mahogany guitar and used teak oil and it looks beautiful.
I have to run out the door to get to work.... these kids won't teach themselves! More on this later.
Very nice looking work, per usual. An orbital is acceptable and will not create odd hazing vs something like a belt sander going parallel with the grain? If so, great because I have orbitals and don't feel like investing in belt types at this very moment.
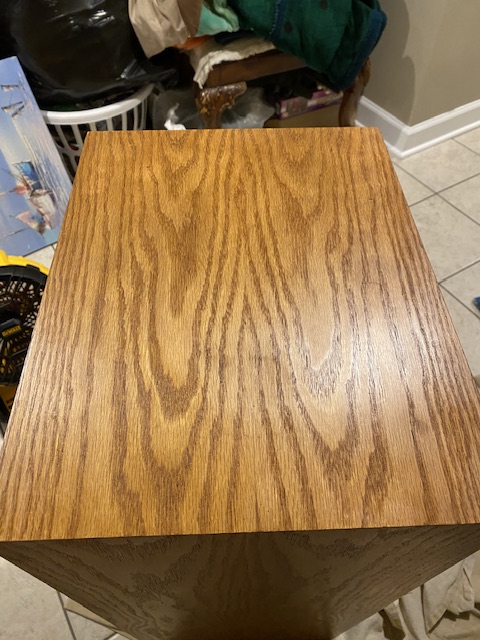
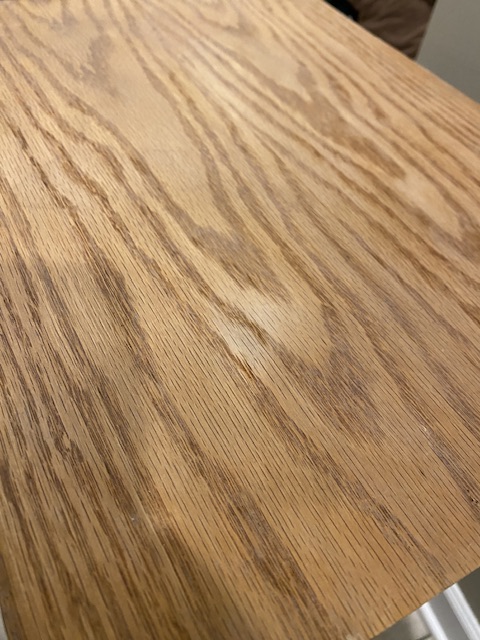
So with the clear oak from Klipsch, do you guys think it's just raw oak, untinted with a lacquer, or what do you guys think is on here exactly?
-
If I can manage to remove those red stains on the top of one of them with that olive oil and salt trick, perhaps I won't even need to refinish the tops?
-
2
-
Markedup.thumb.jpg.60703ca909997cd8bd96436fda1f2a6b.jpg)
.thumb.jpg.148e51cbf412af76b702bfb87daaa3b7.jpg)
.thumb.jpg.cb4e15cd41265f5278992fcc1d59330d.jpg)
.thumb.jpg.38bc88a2f144731d97136883dcd2b2db.jpg)


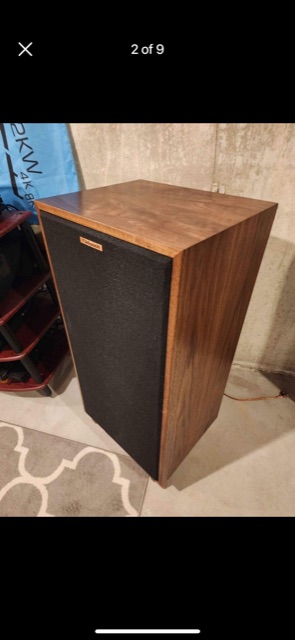
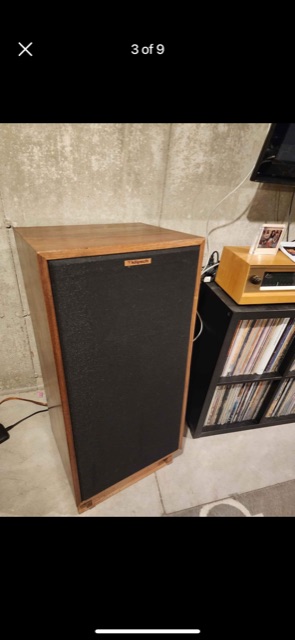
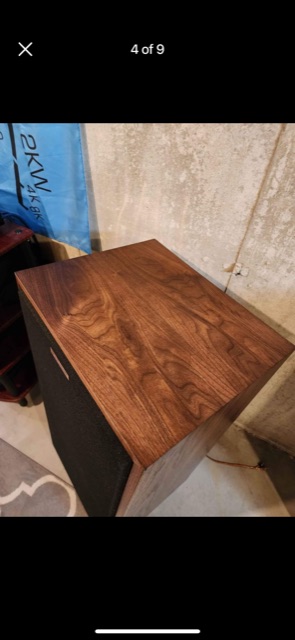

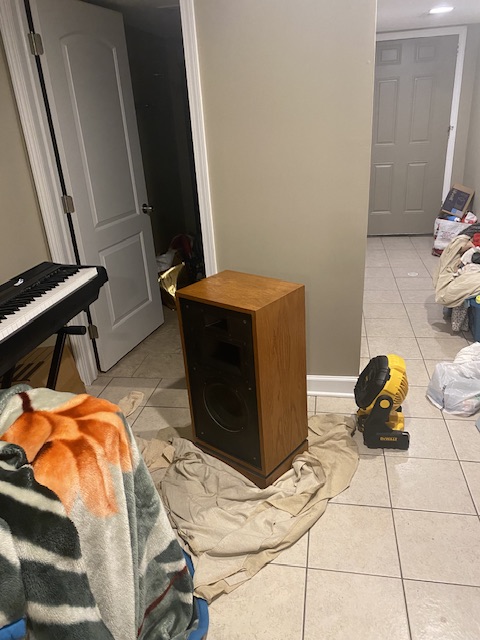
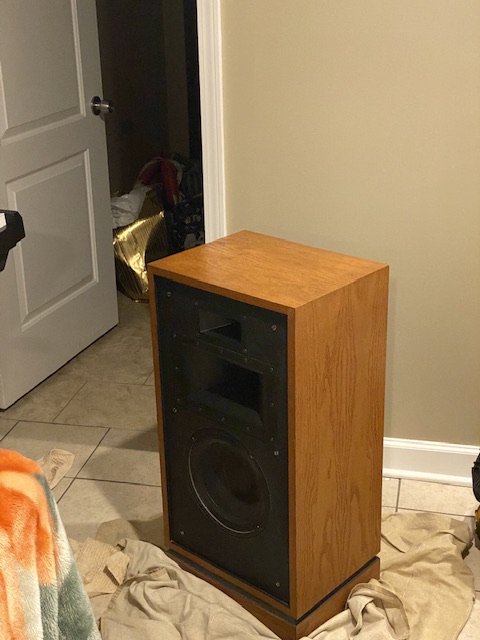
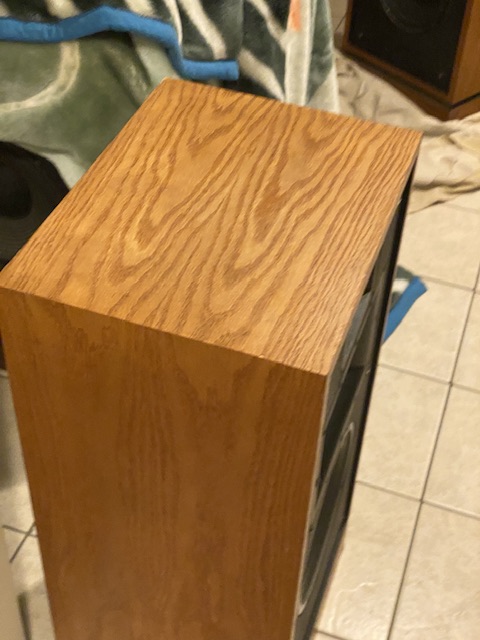
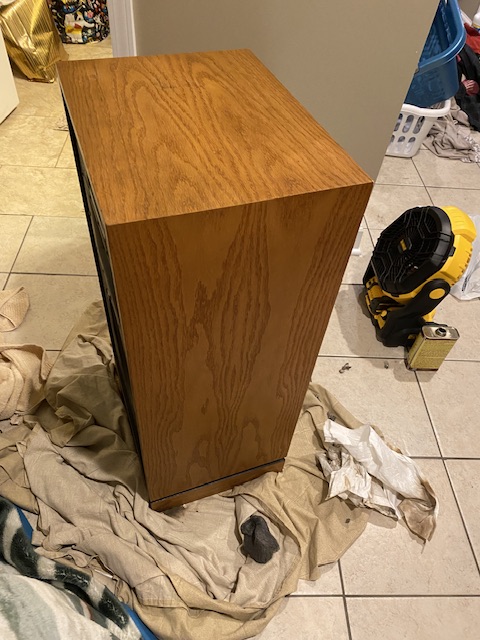

Quartet Clear Oak Restoration
in Technical/Restorations
Posted
Ok, cool. How about in the case of these Heresys that are in fine shape and just need maintenance? That trade secret spray, or something like Watco’s rejuvenating oil?