Deang
-
Posts
26080 -
Joined
-
Days Won
9
Content Type
Forums
Events
Gallery
Everything posted by Deang
-
It doesn’t need to be removed.
-
Definitely don’t go with the guy using words you don’t understand. I’m really spun up this week. A solid three days on the Klipsch pages on Facebook has me pretty much fried.
-
Pretty cool. Glad they're not mine, lol.
-
If three people tell you it sounds better and three people tell you it doesn't, how do you decide what to do?
-
How do you know it’s the network? Have heard it’s ridiculous trying to get anything out of those cabinets.
-
The Type E is for the Heresy. It is similar in design to what you have in your Cornwalls. Most everyone likes these simple networks. The kits are for people who have some basic tech and soldering experience. You should watch some videos and practice soldering wire together until you’re comfortable with your own work. The Type B2 superseded the Type B. The speakers image better and will take a bit more power before sounding strained. I usually move people to that network if I can. I stock the Klipsch OEM parts for this if you’re interested. I can also build you a new set for $425 shipped if you’d prefer to go that route. Dean
-
That’s the one
-
Gorilla Glue hot melt. Get the small gun and sticks. 20 gauge tin annealed stranded.
-
.

-
.
-
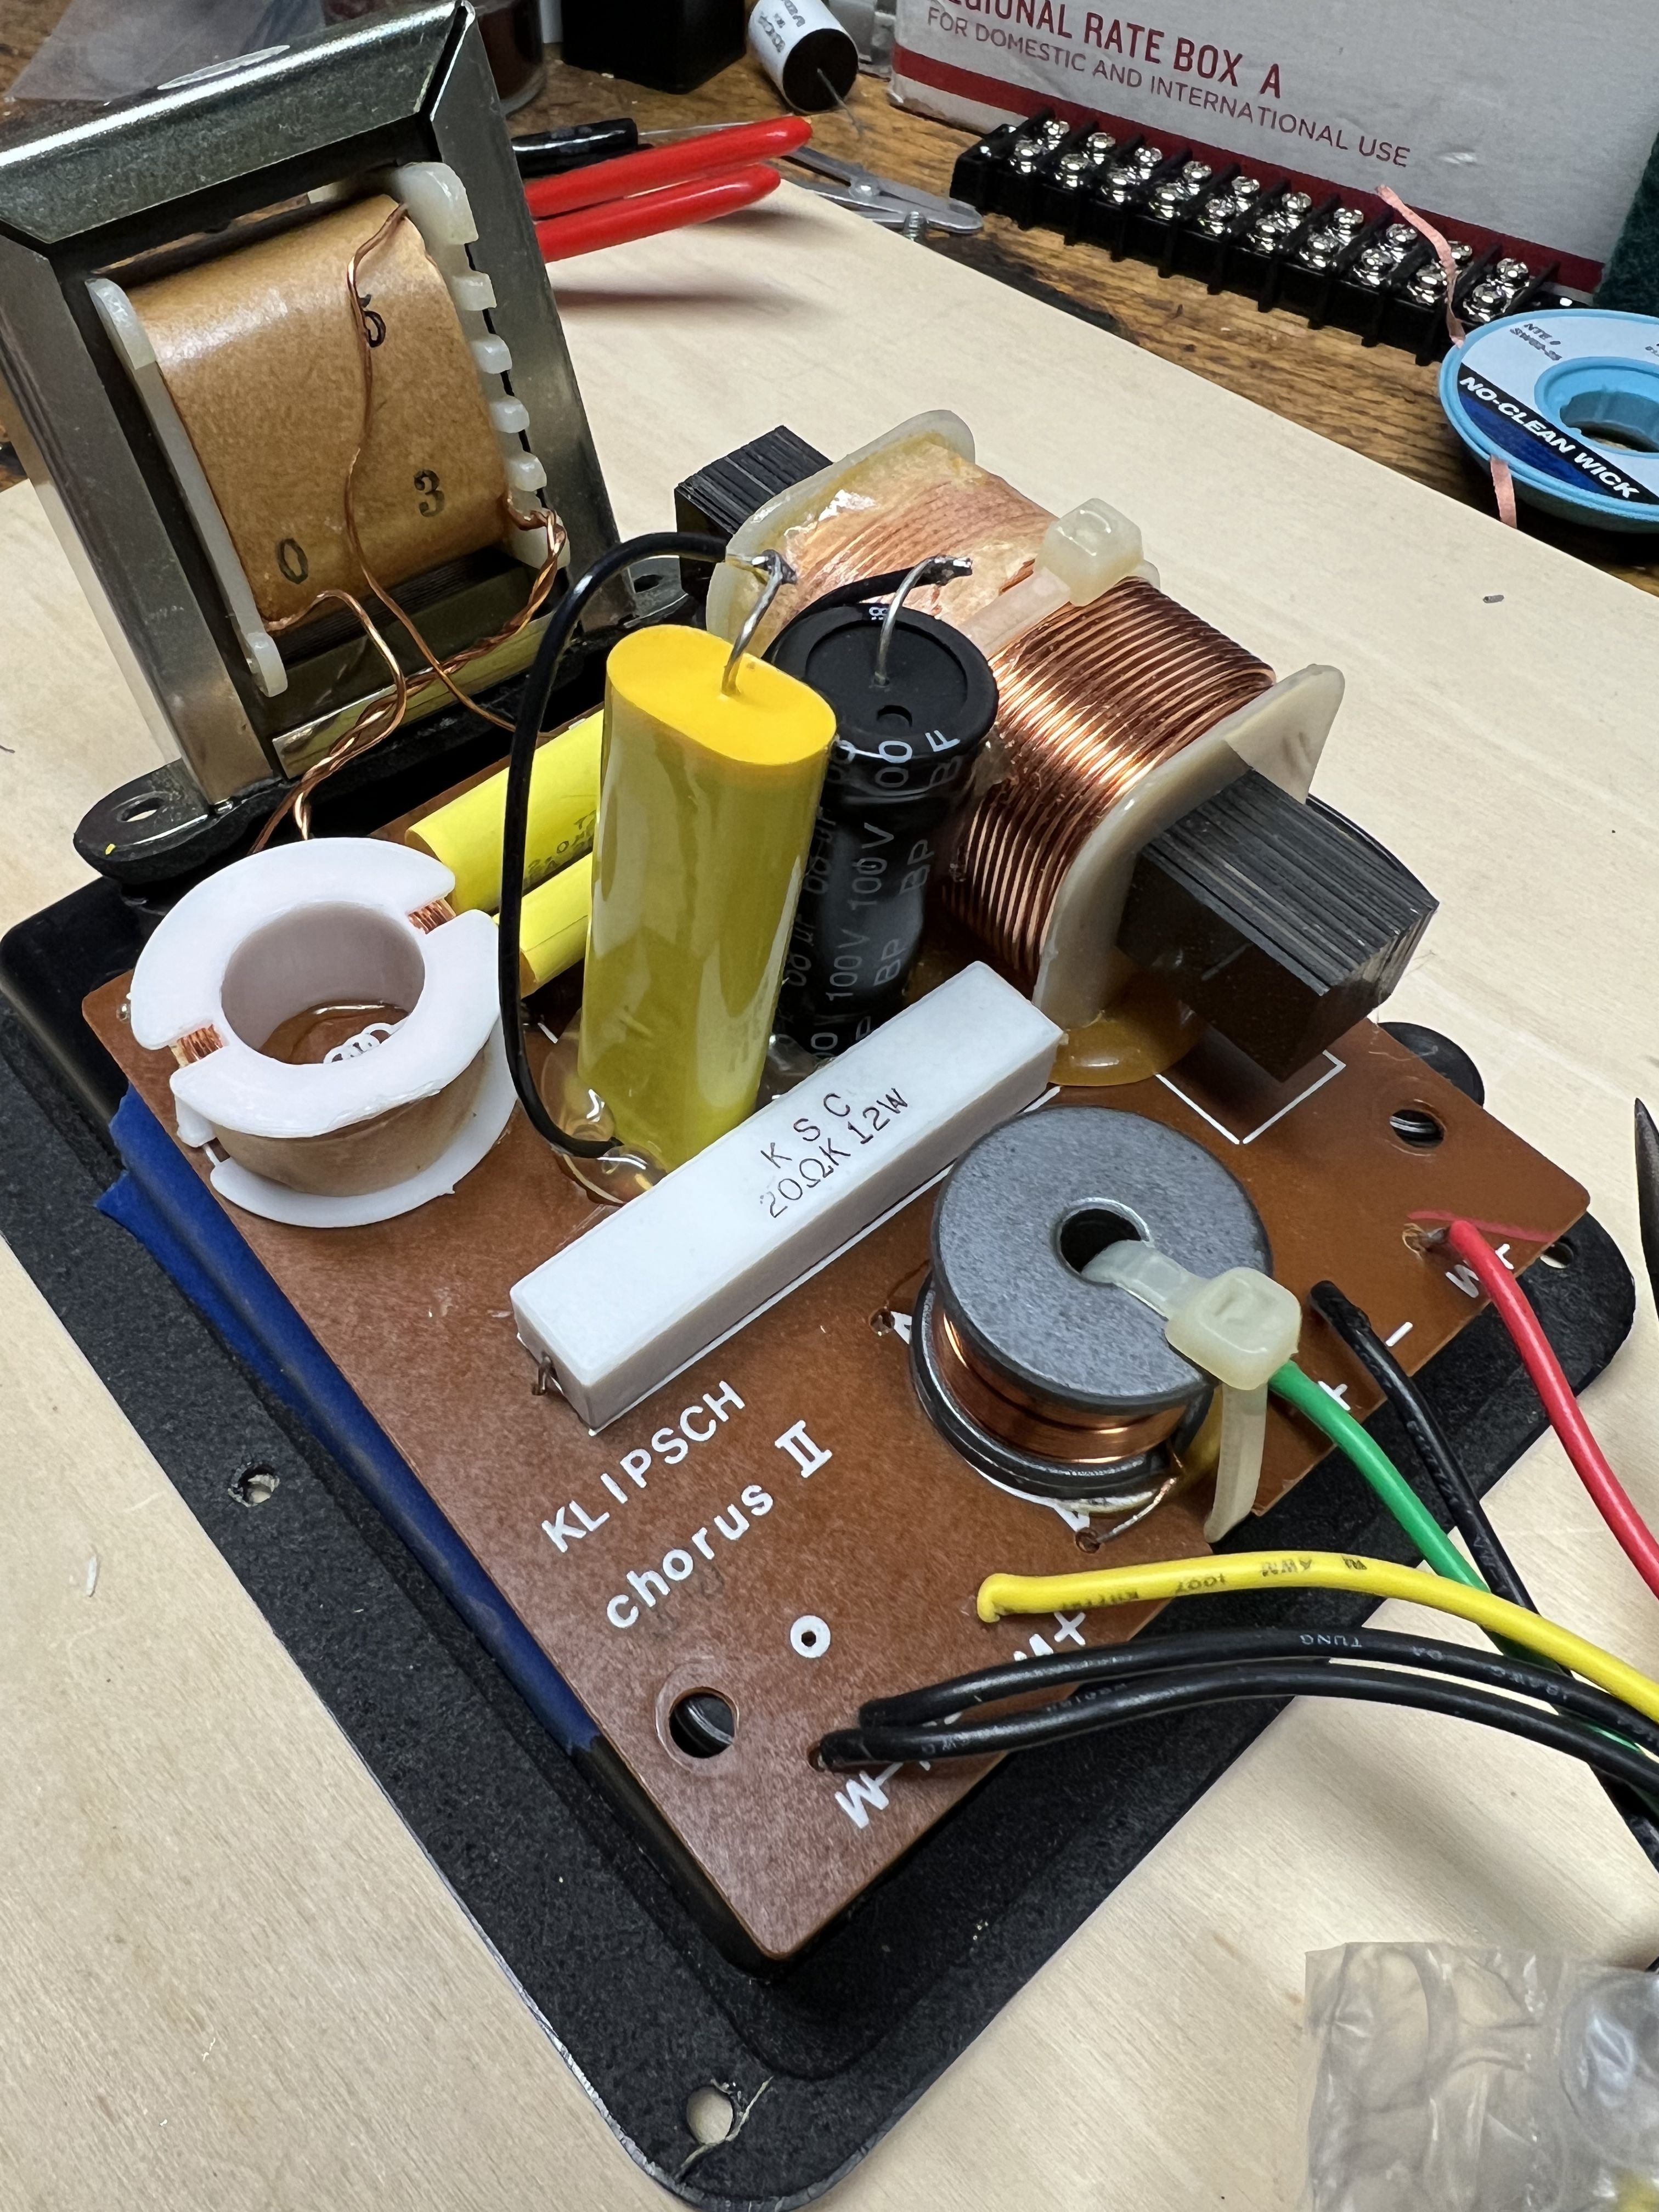
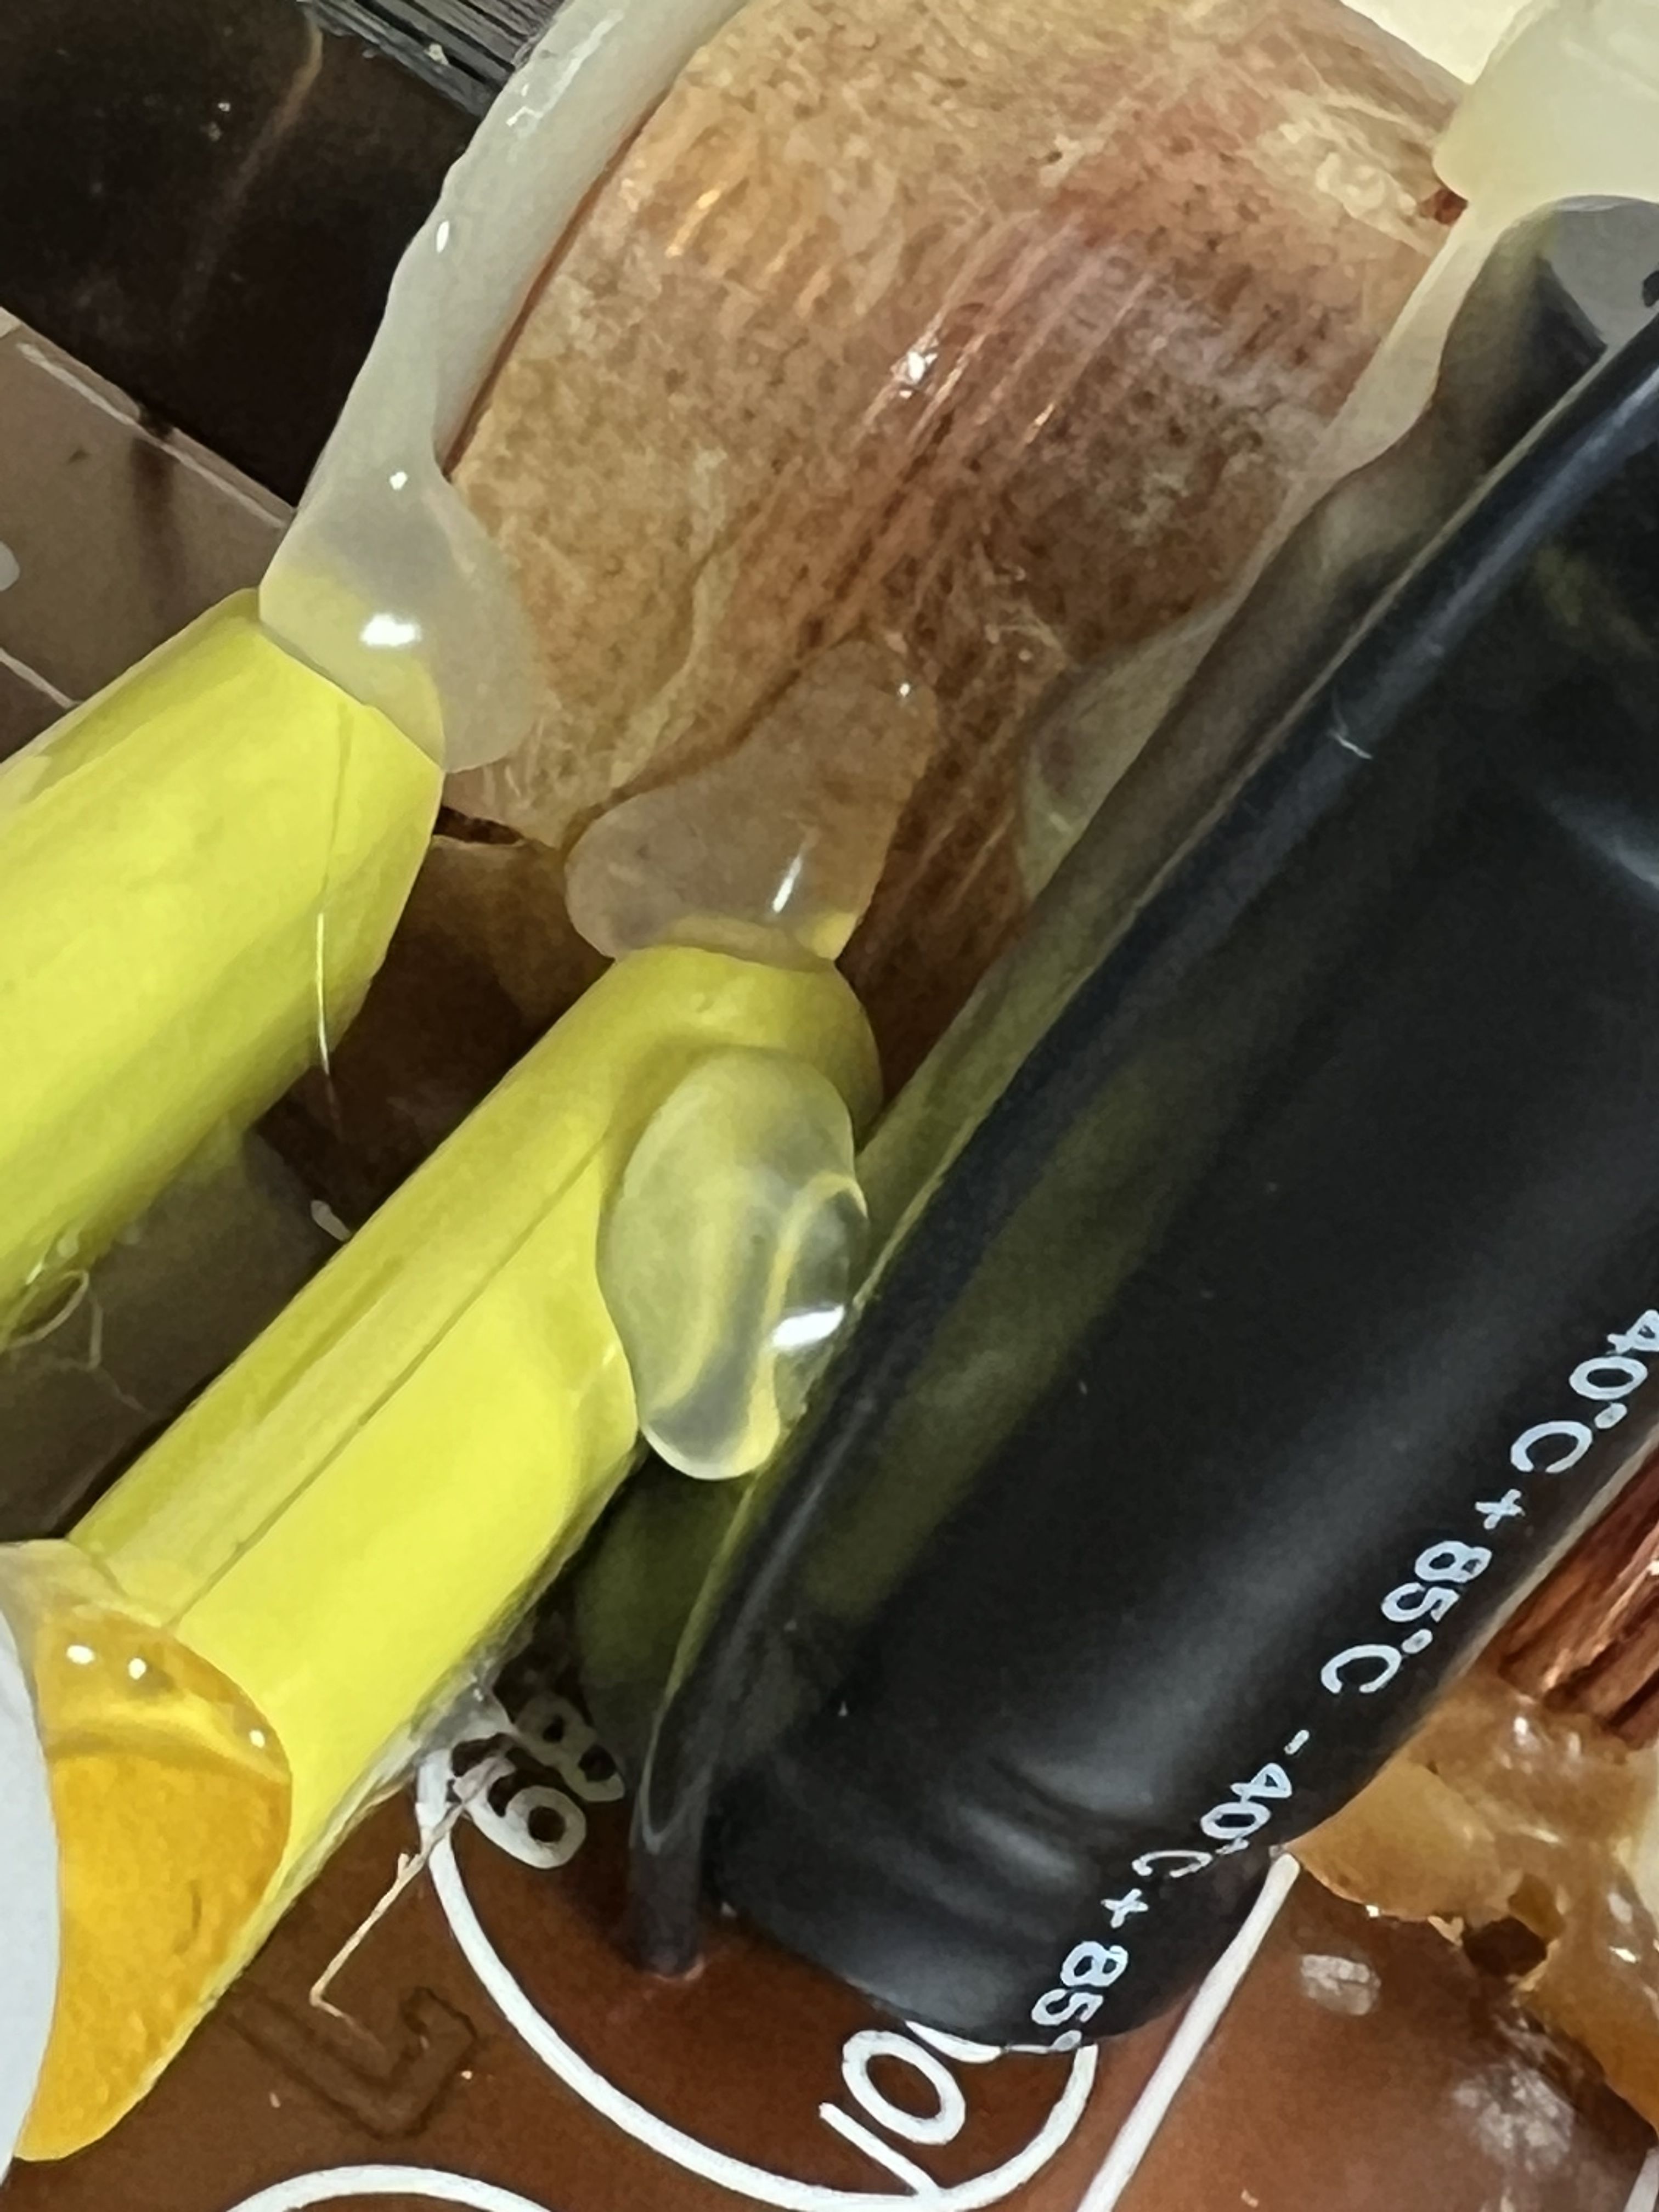
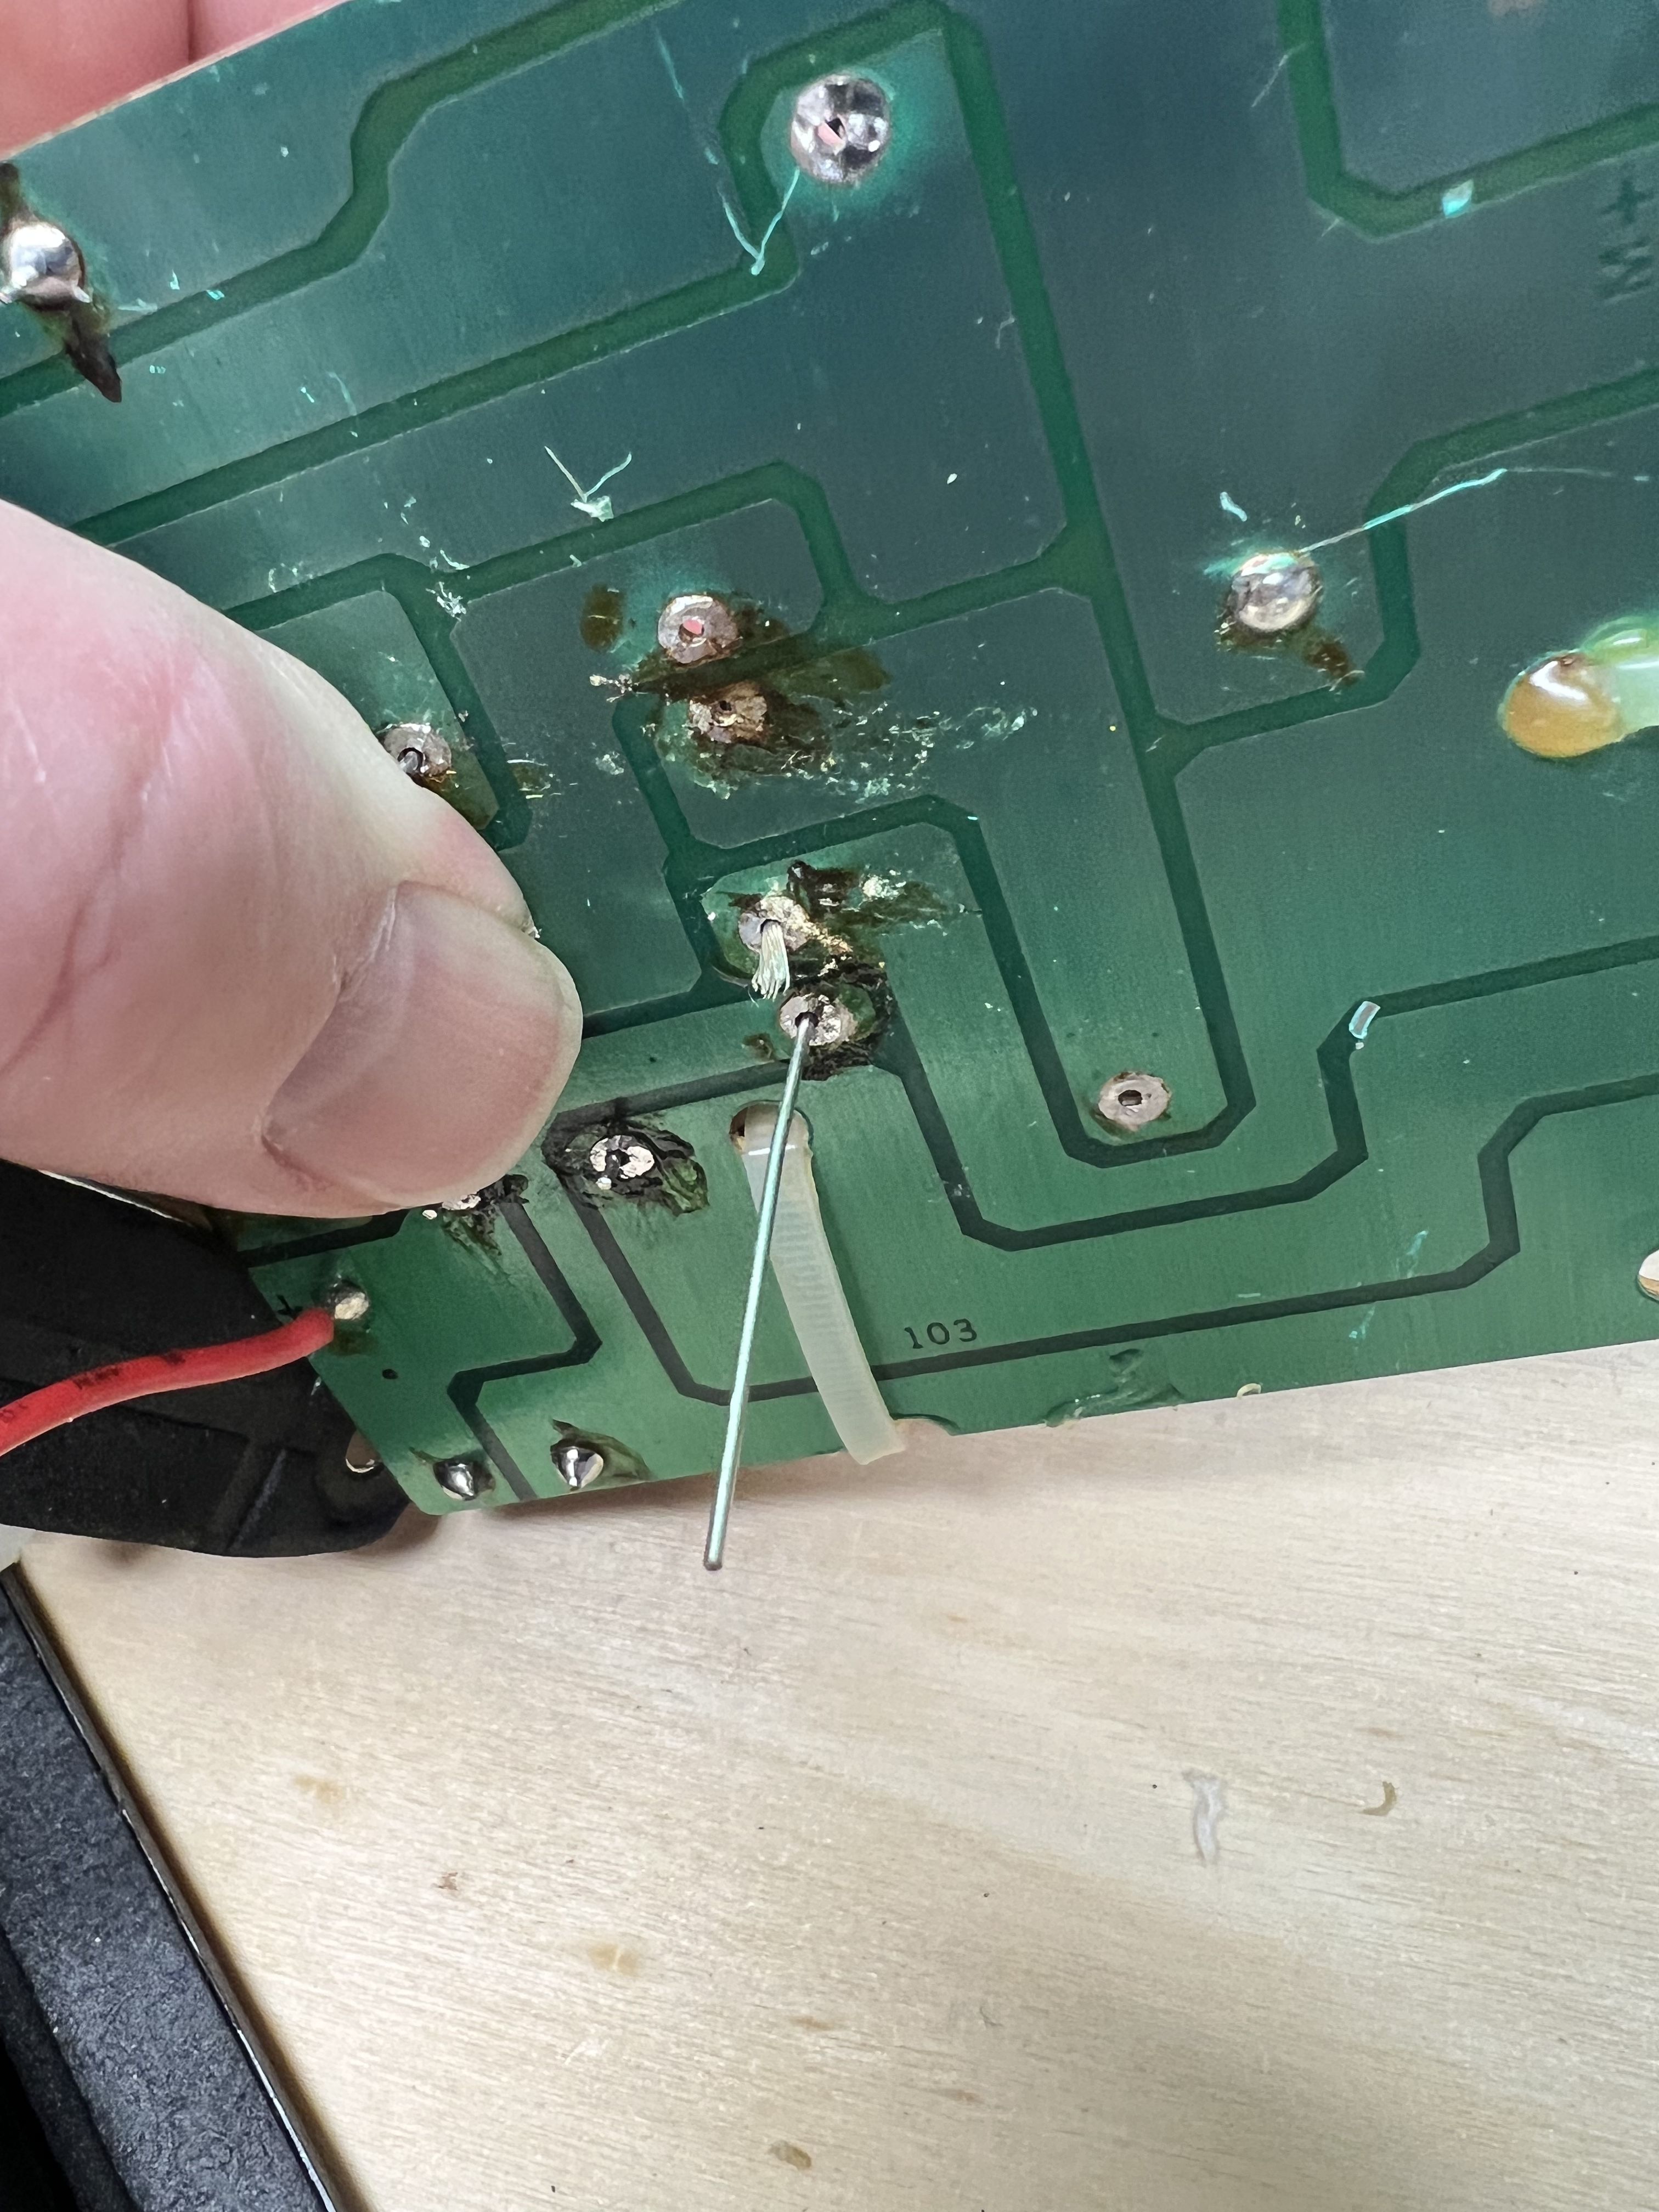
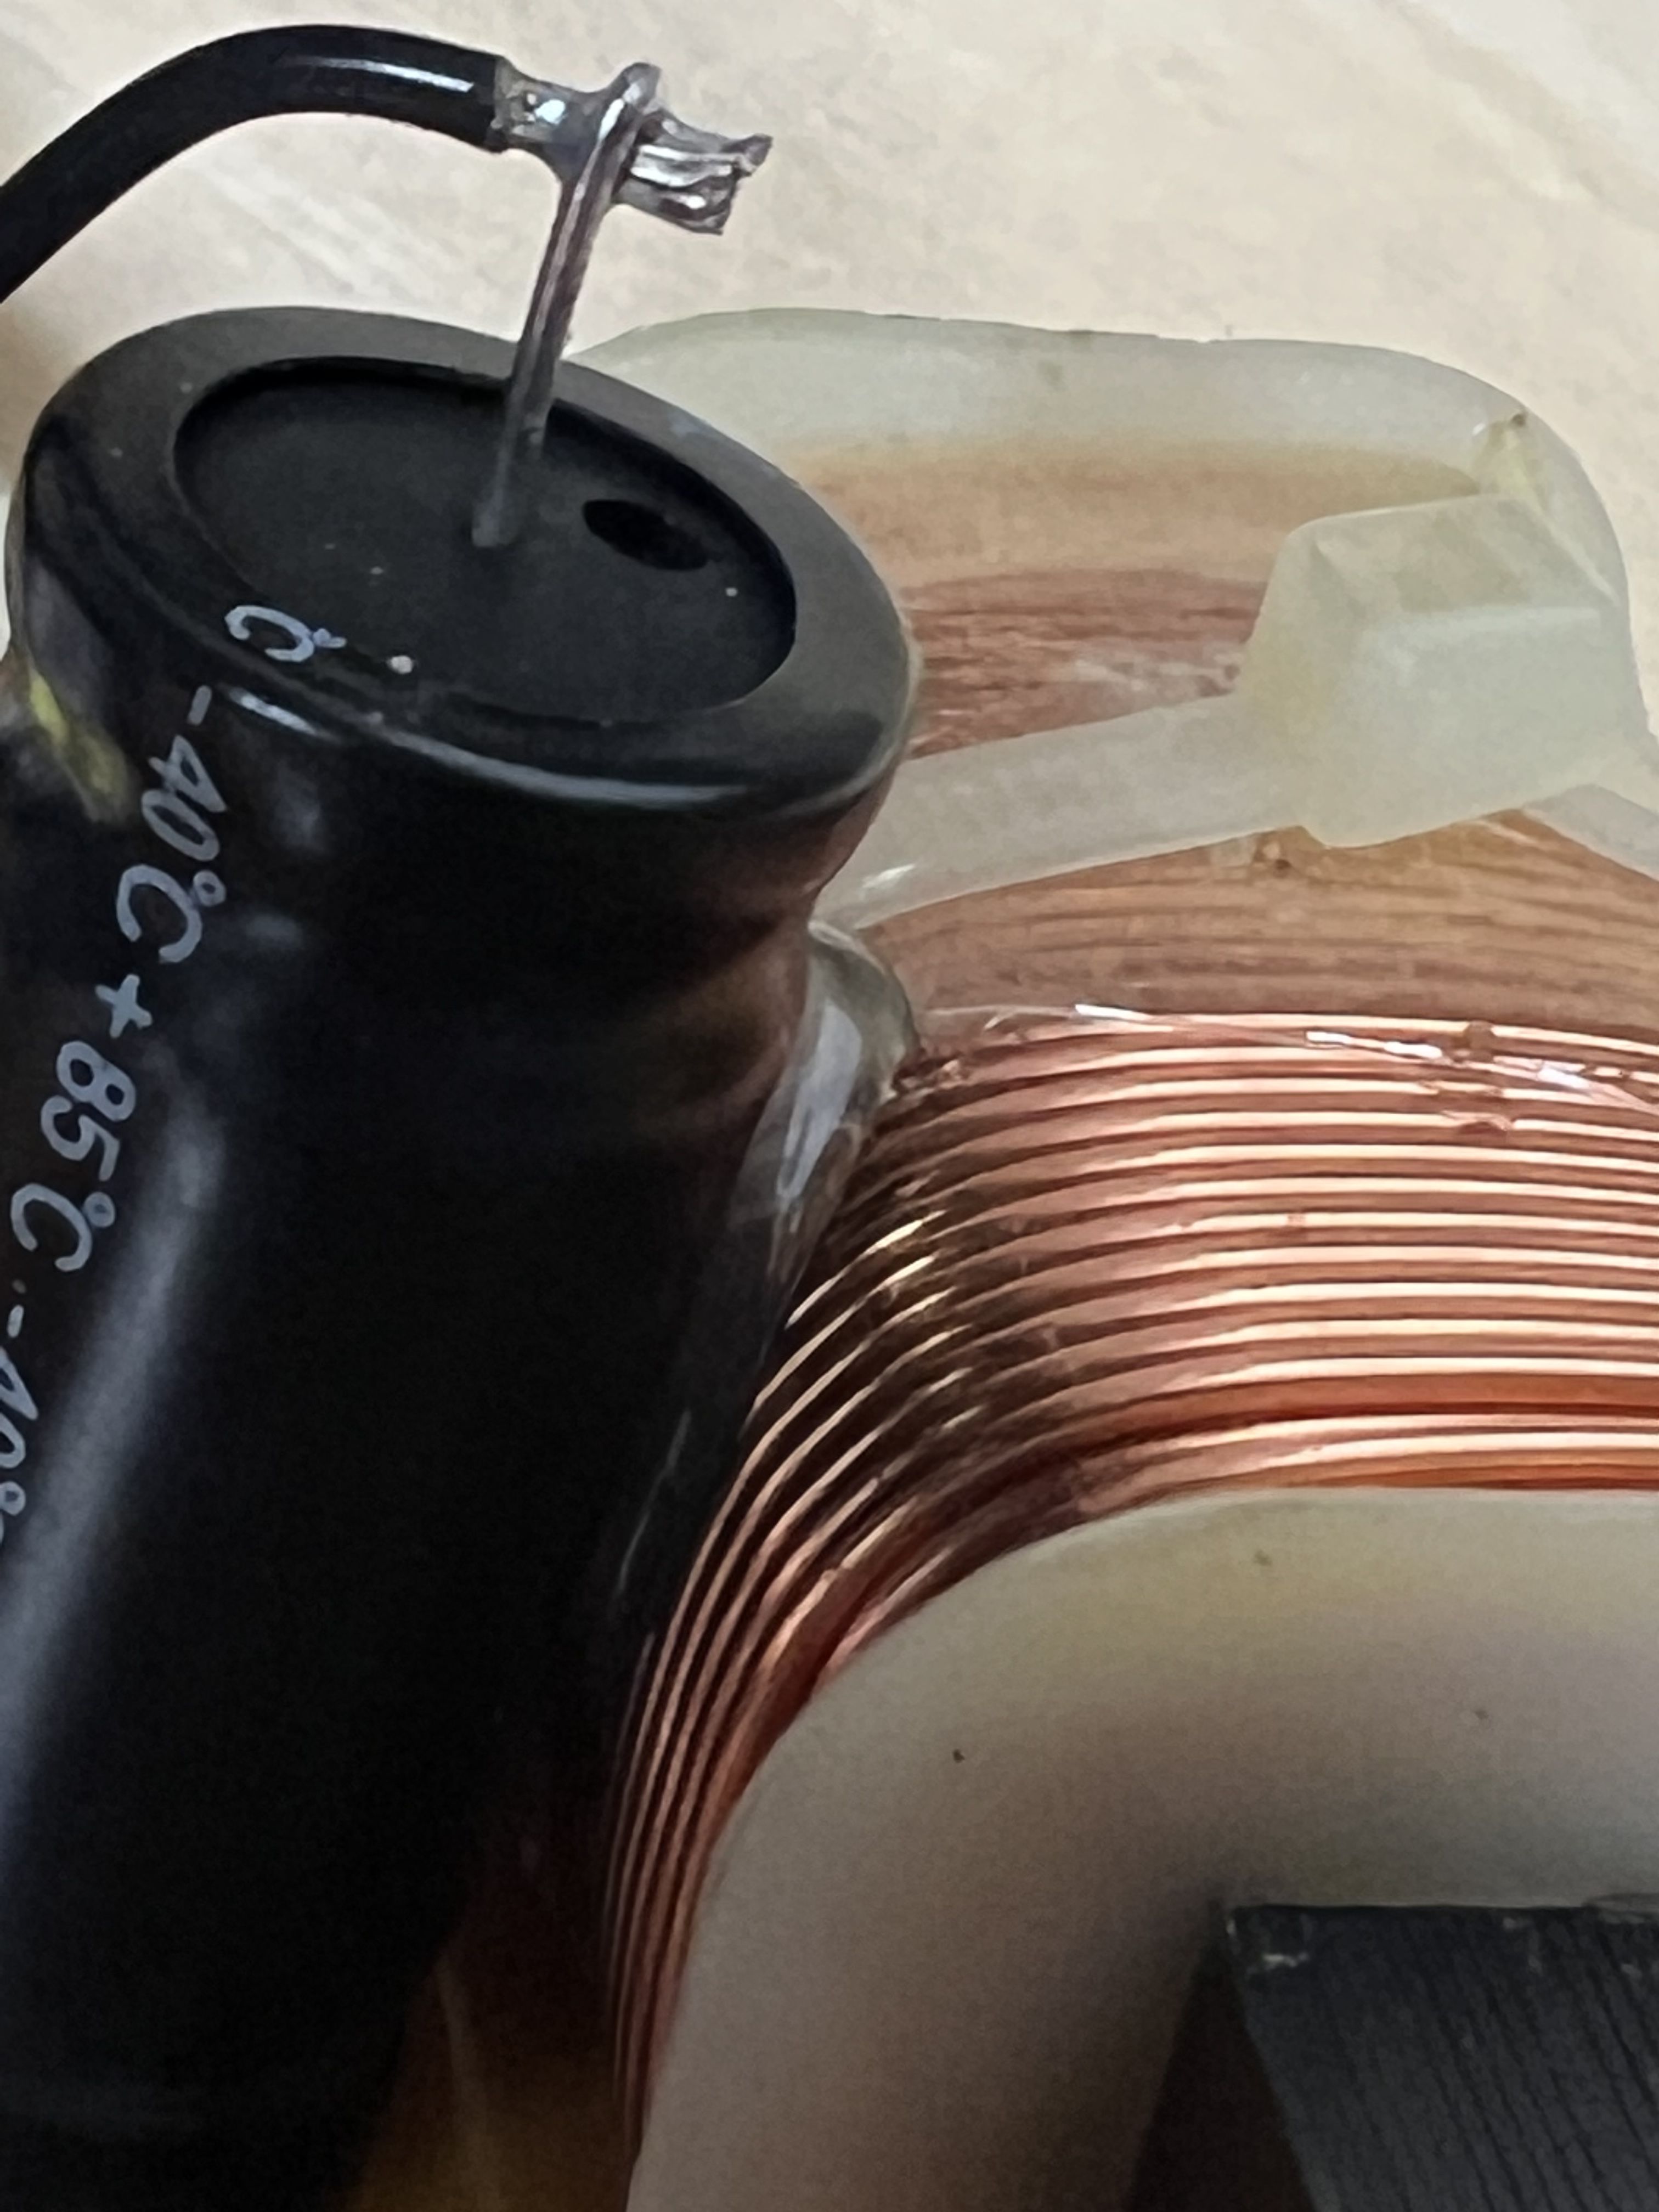
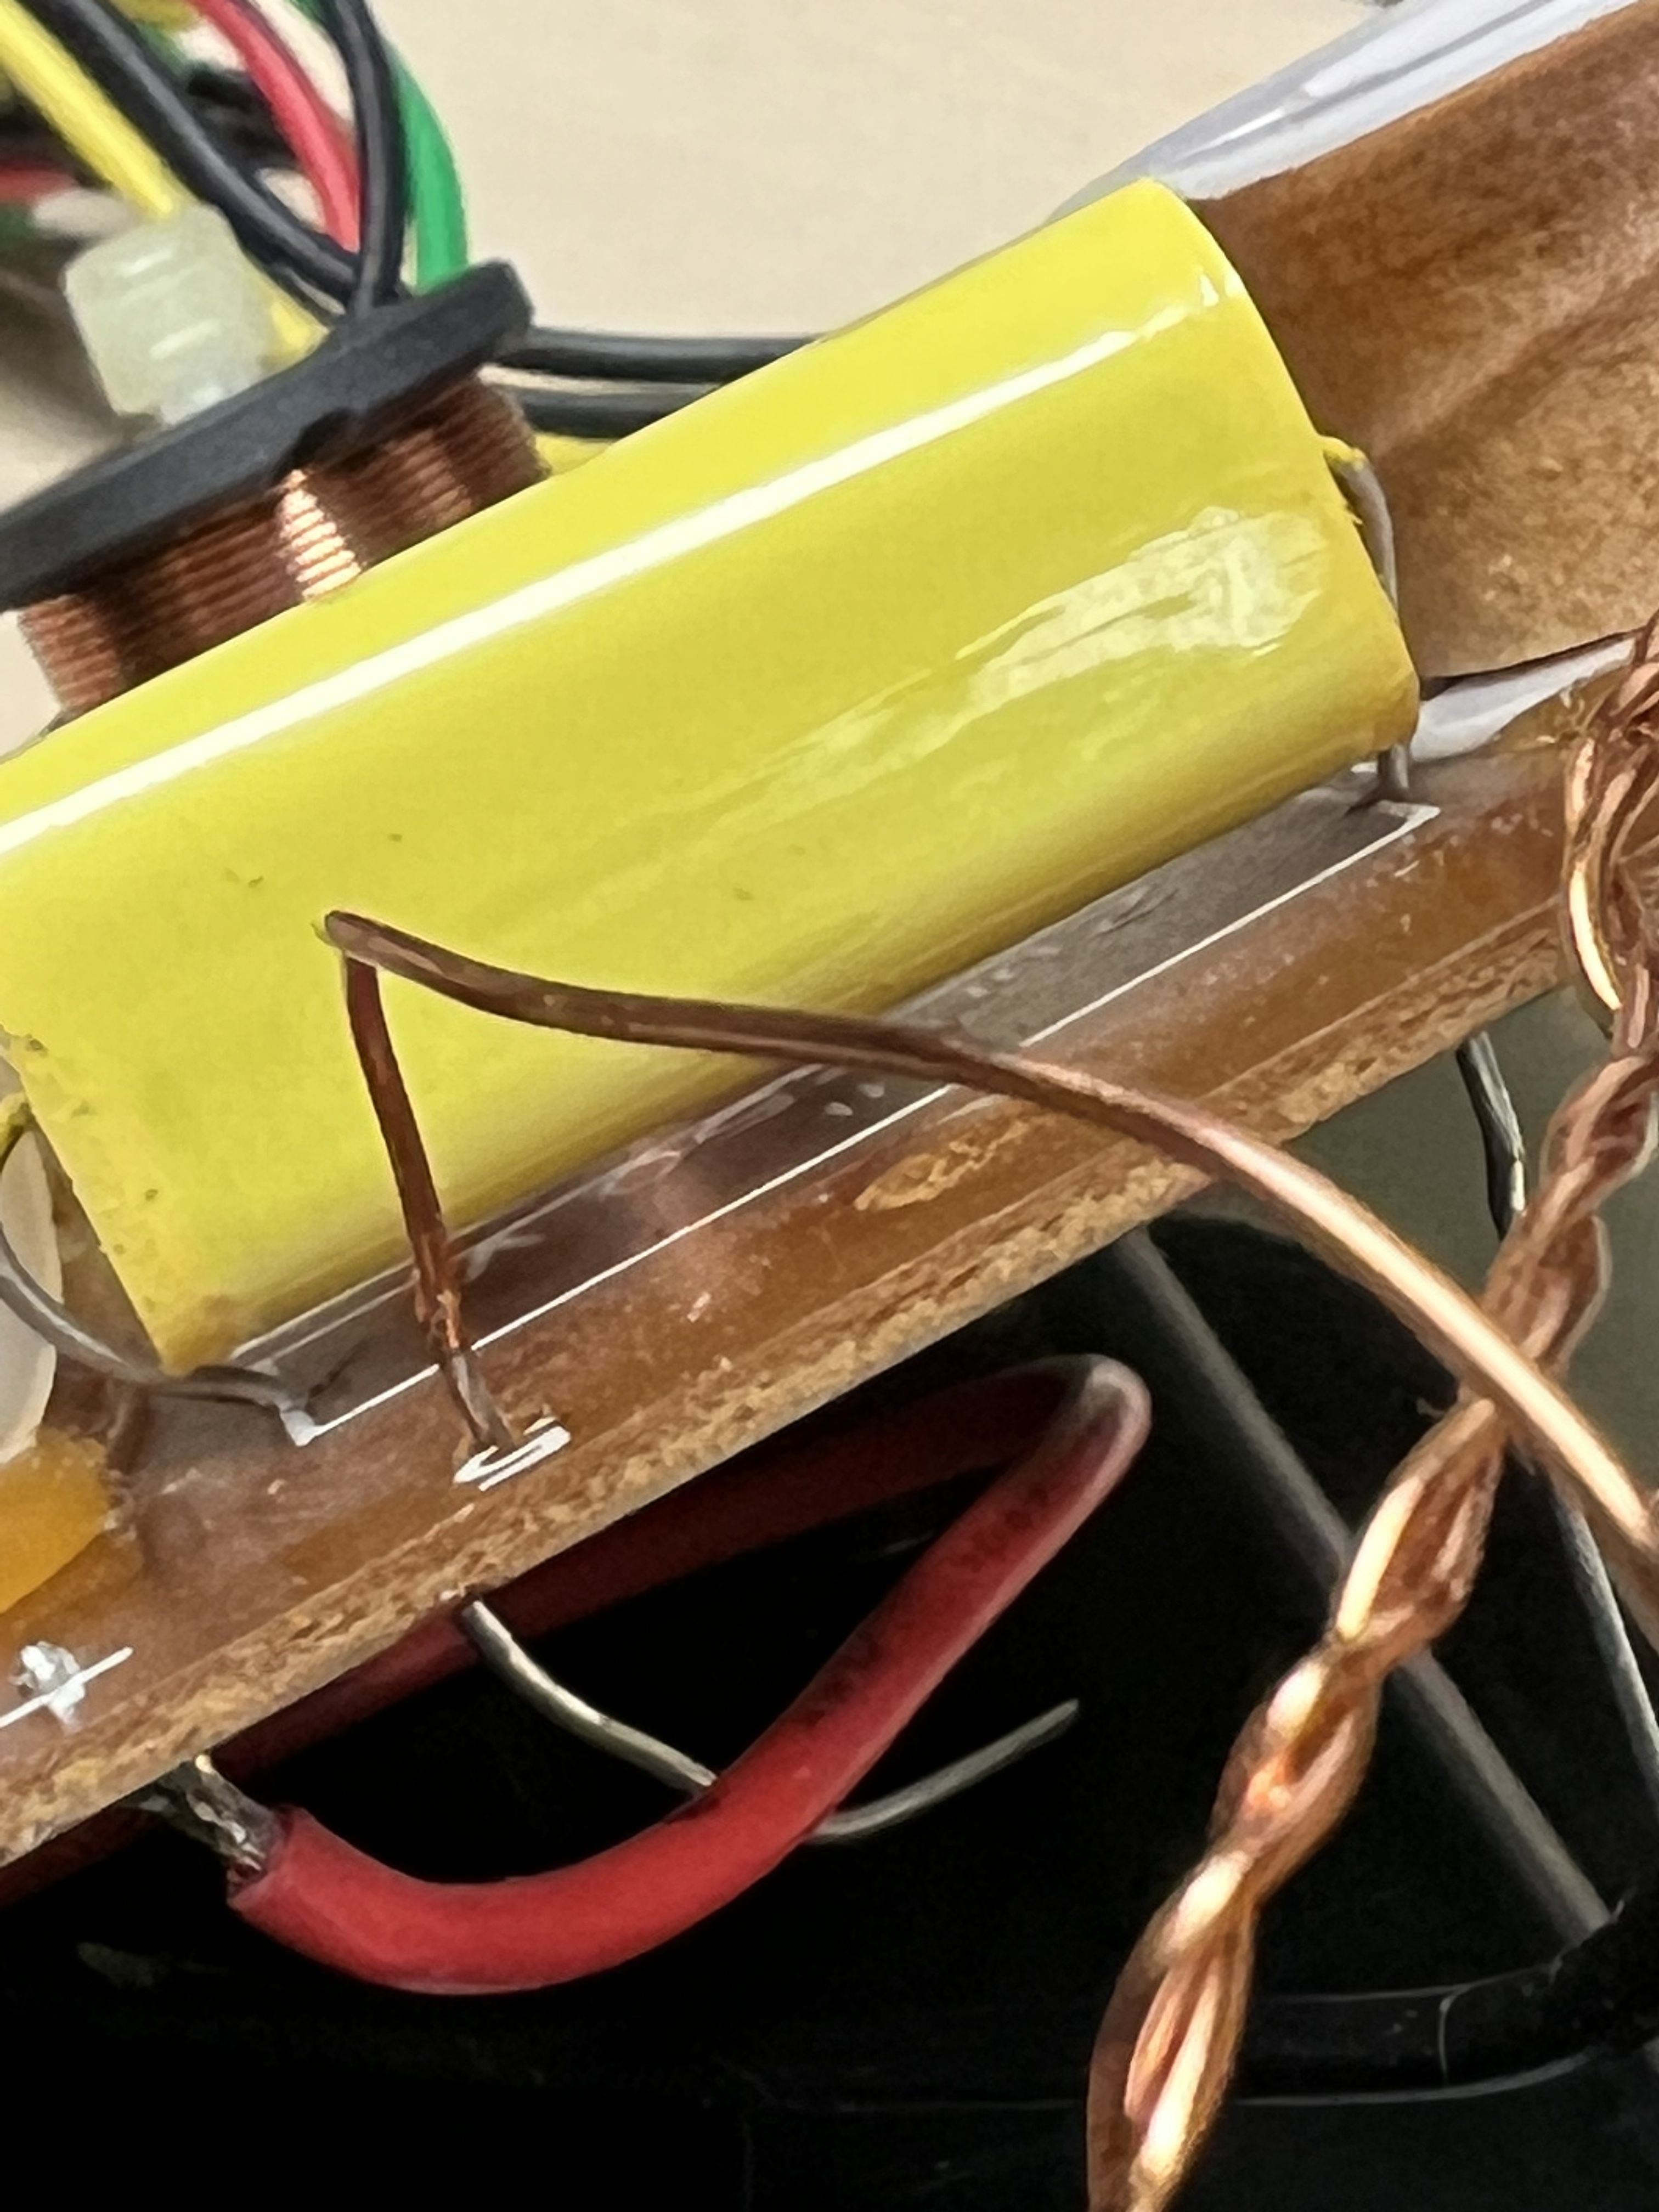
Vertical mounting is a bit of a double edged sword. If you squirt the hot melt under the cap and press down - when you solder, the glue melts and gets pulled through the hole. If you leave the cap somewhat lifted off the board, then it's not as secure - but the soldering looks better. After you solder, go back and squirt the hot melt under the cap. I started by gluing the electrolytic to the low pass coil to stabilize it while I soldered. Gorilla glue hot melt is the best I've ever used. I also use the small version of the gun and sticks for better control. I normally hit areas where parts are up against each other for reasons I can't remember.
-
.
-
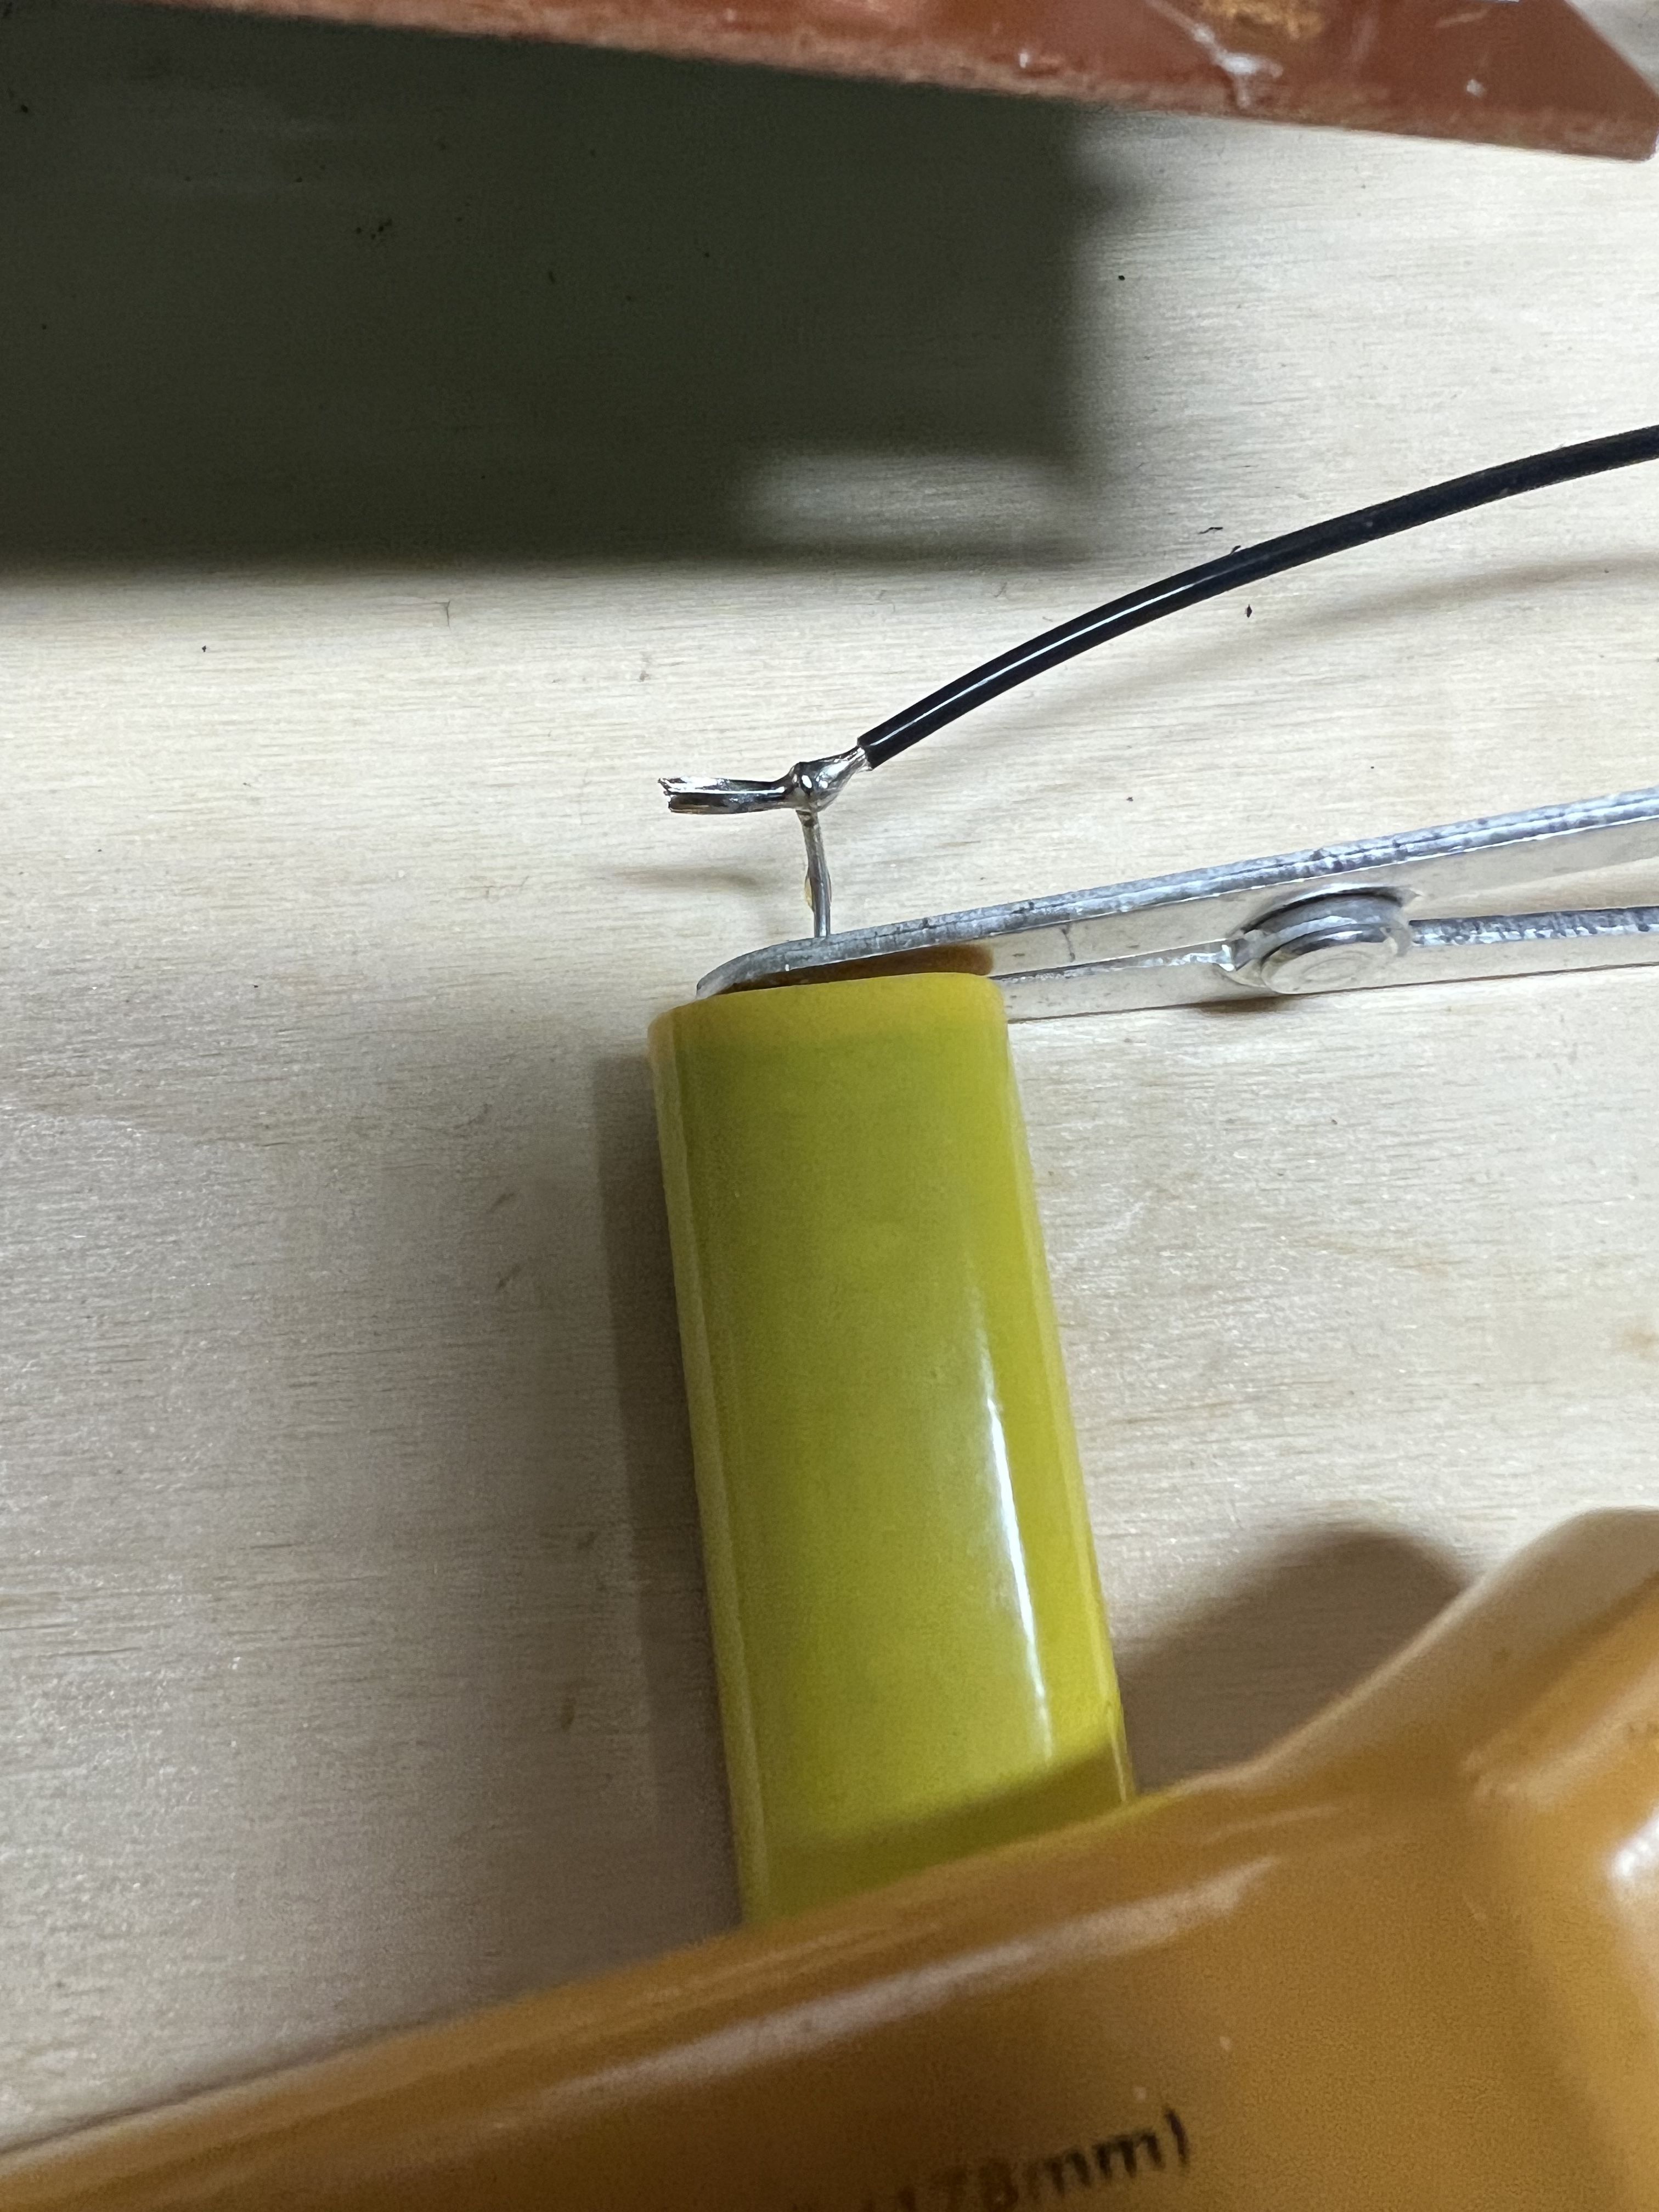
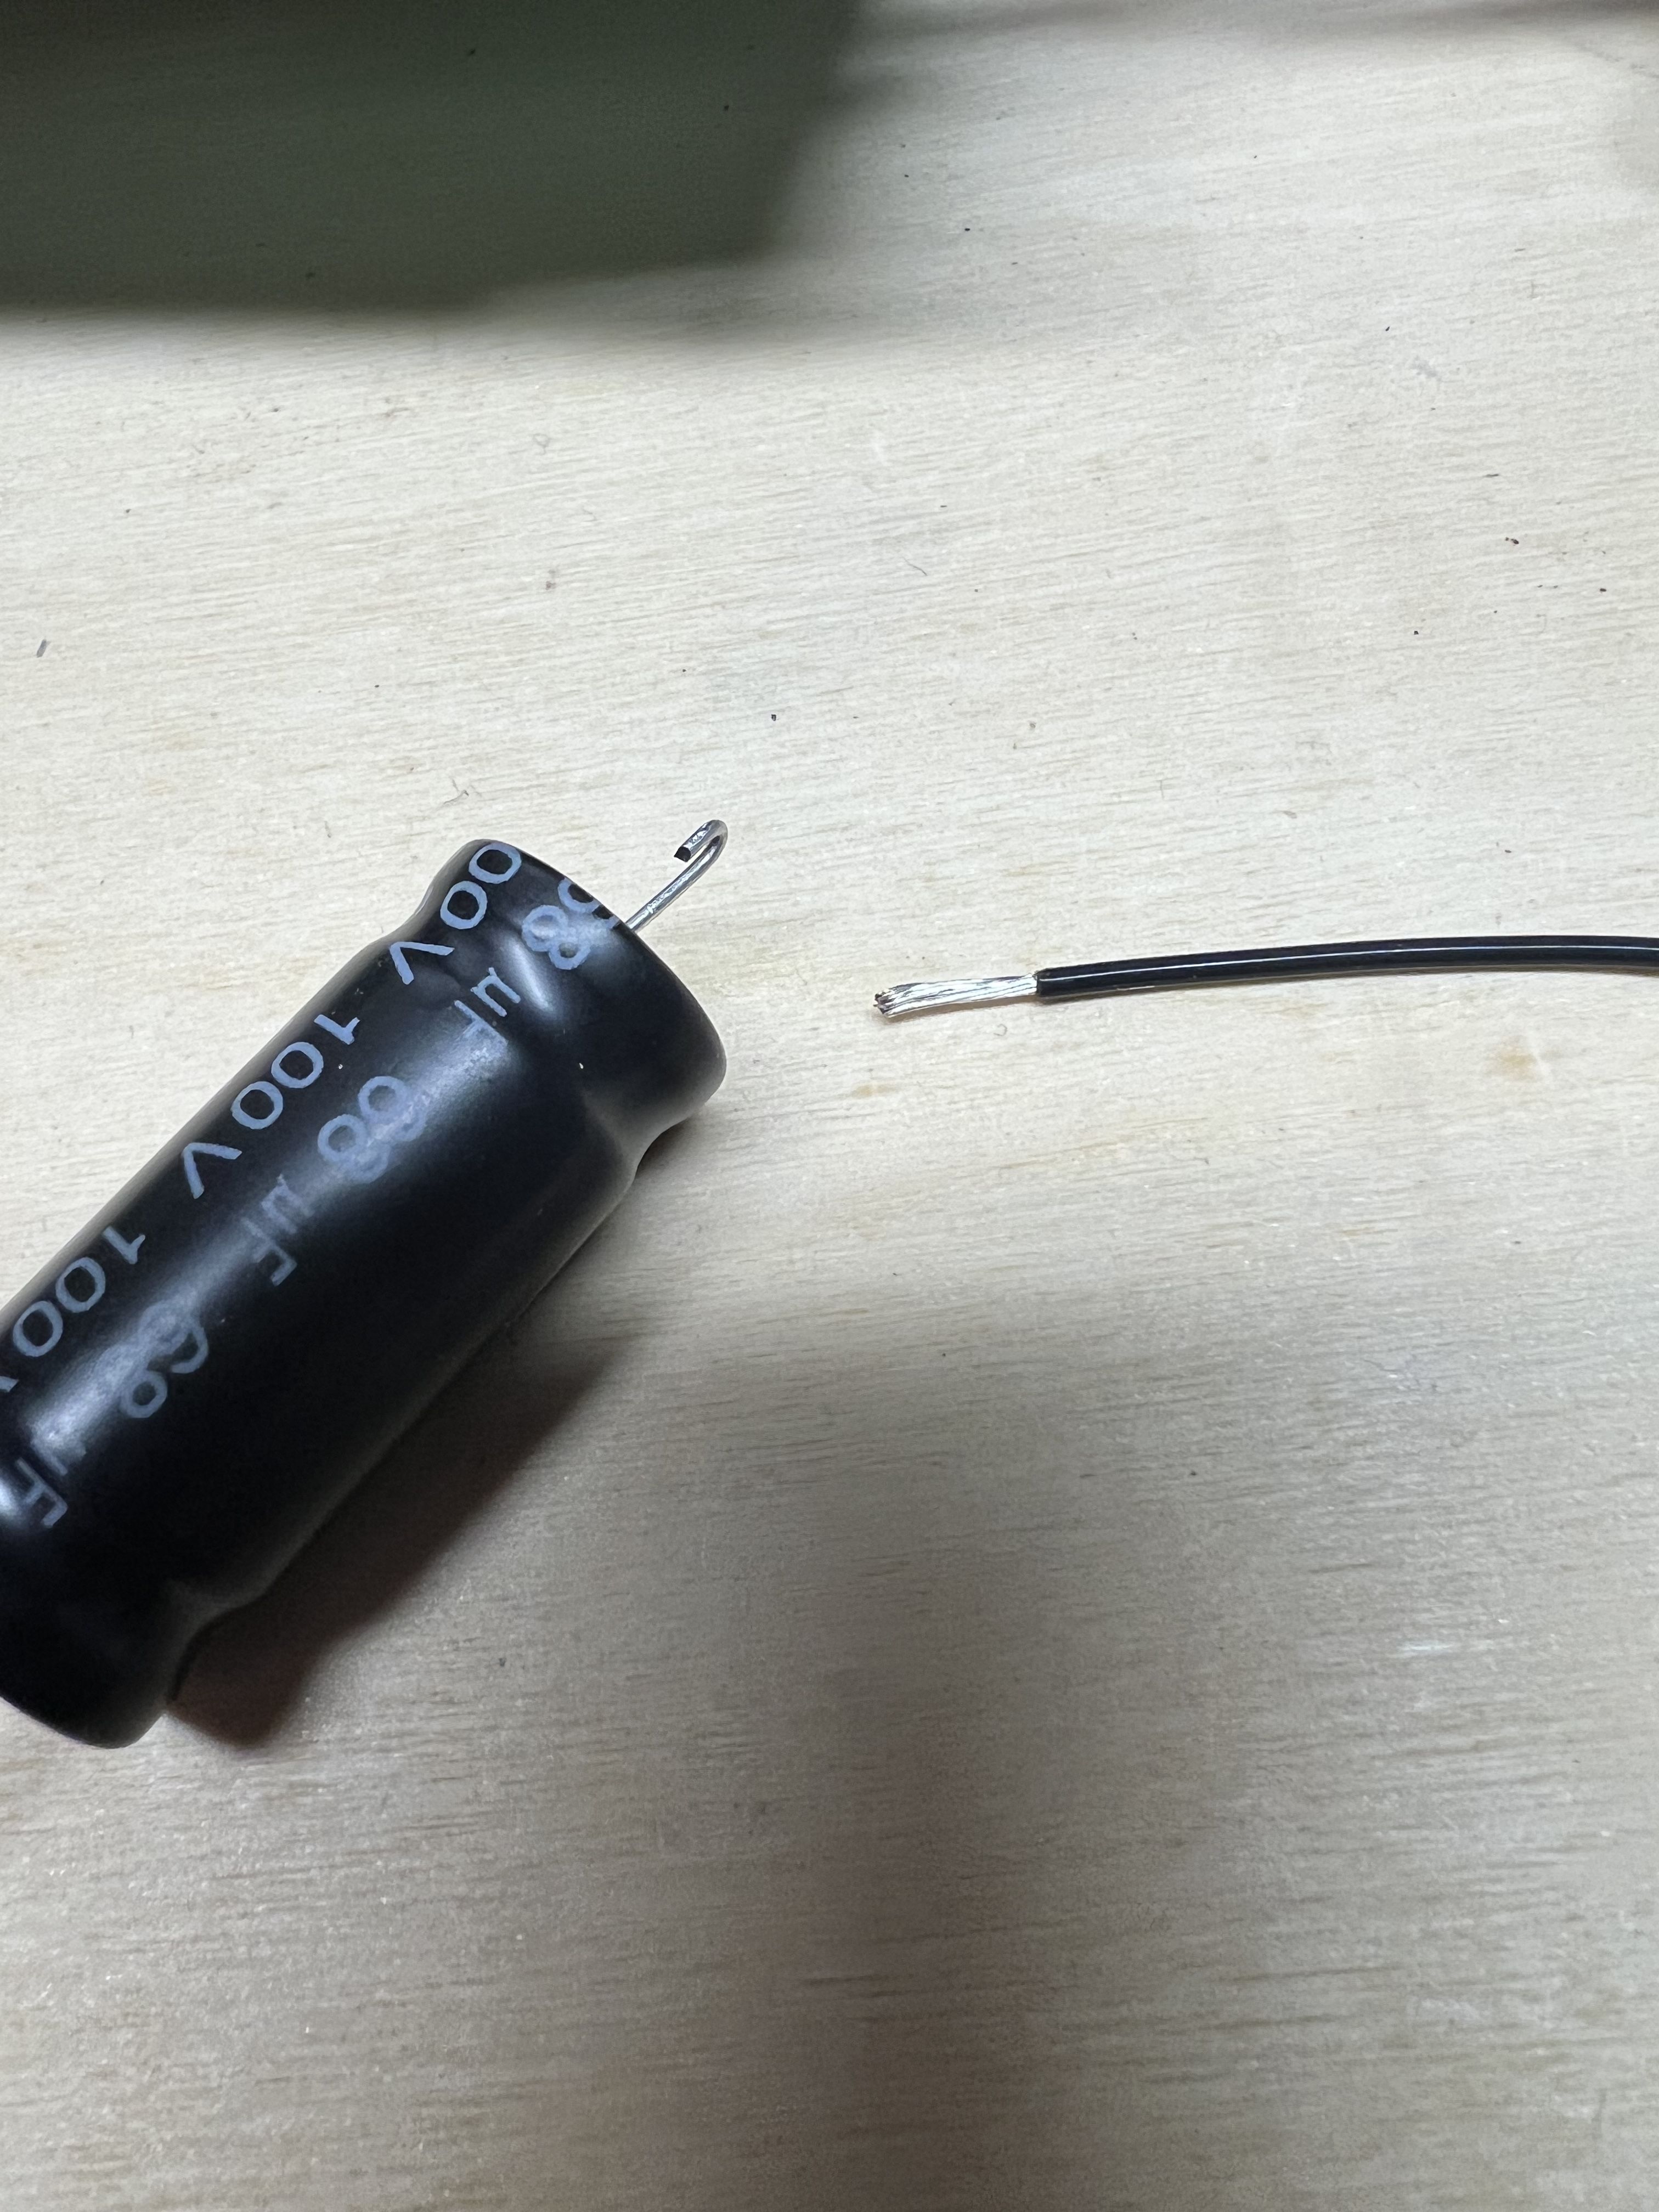
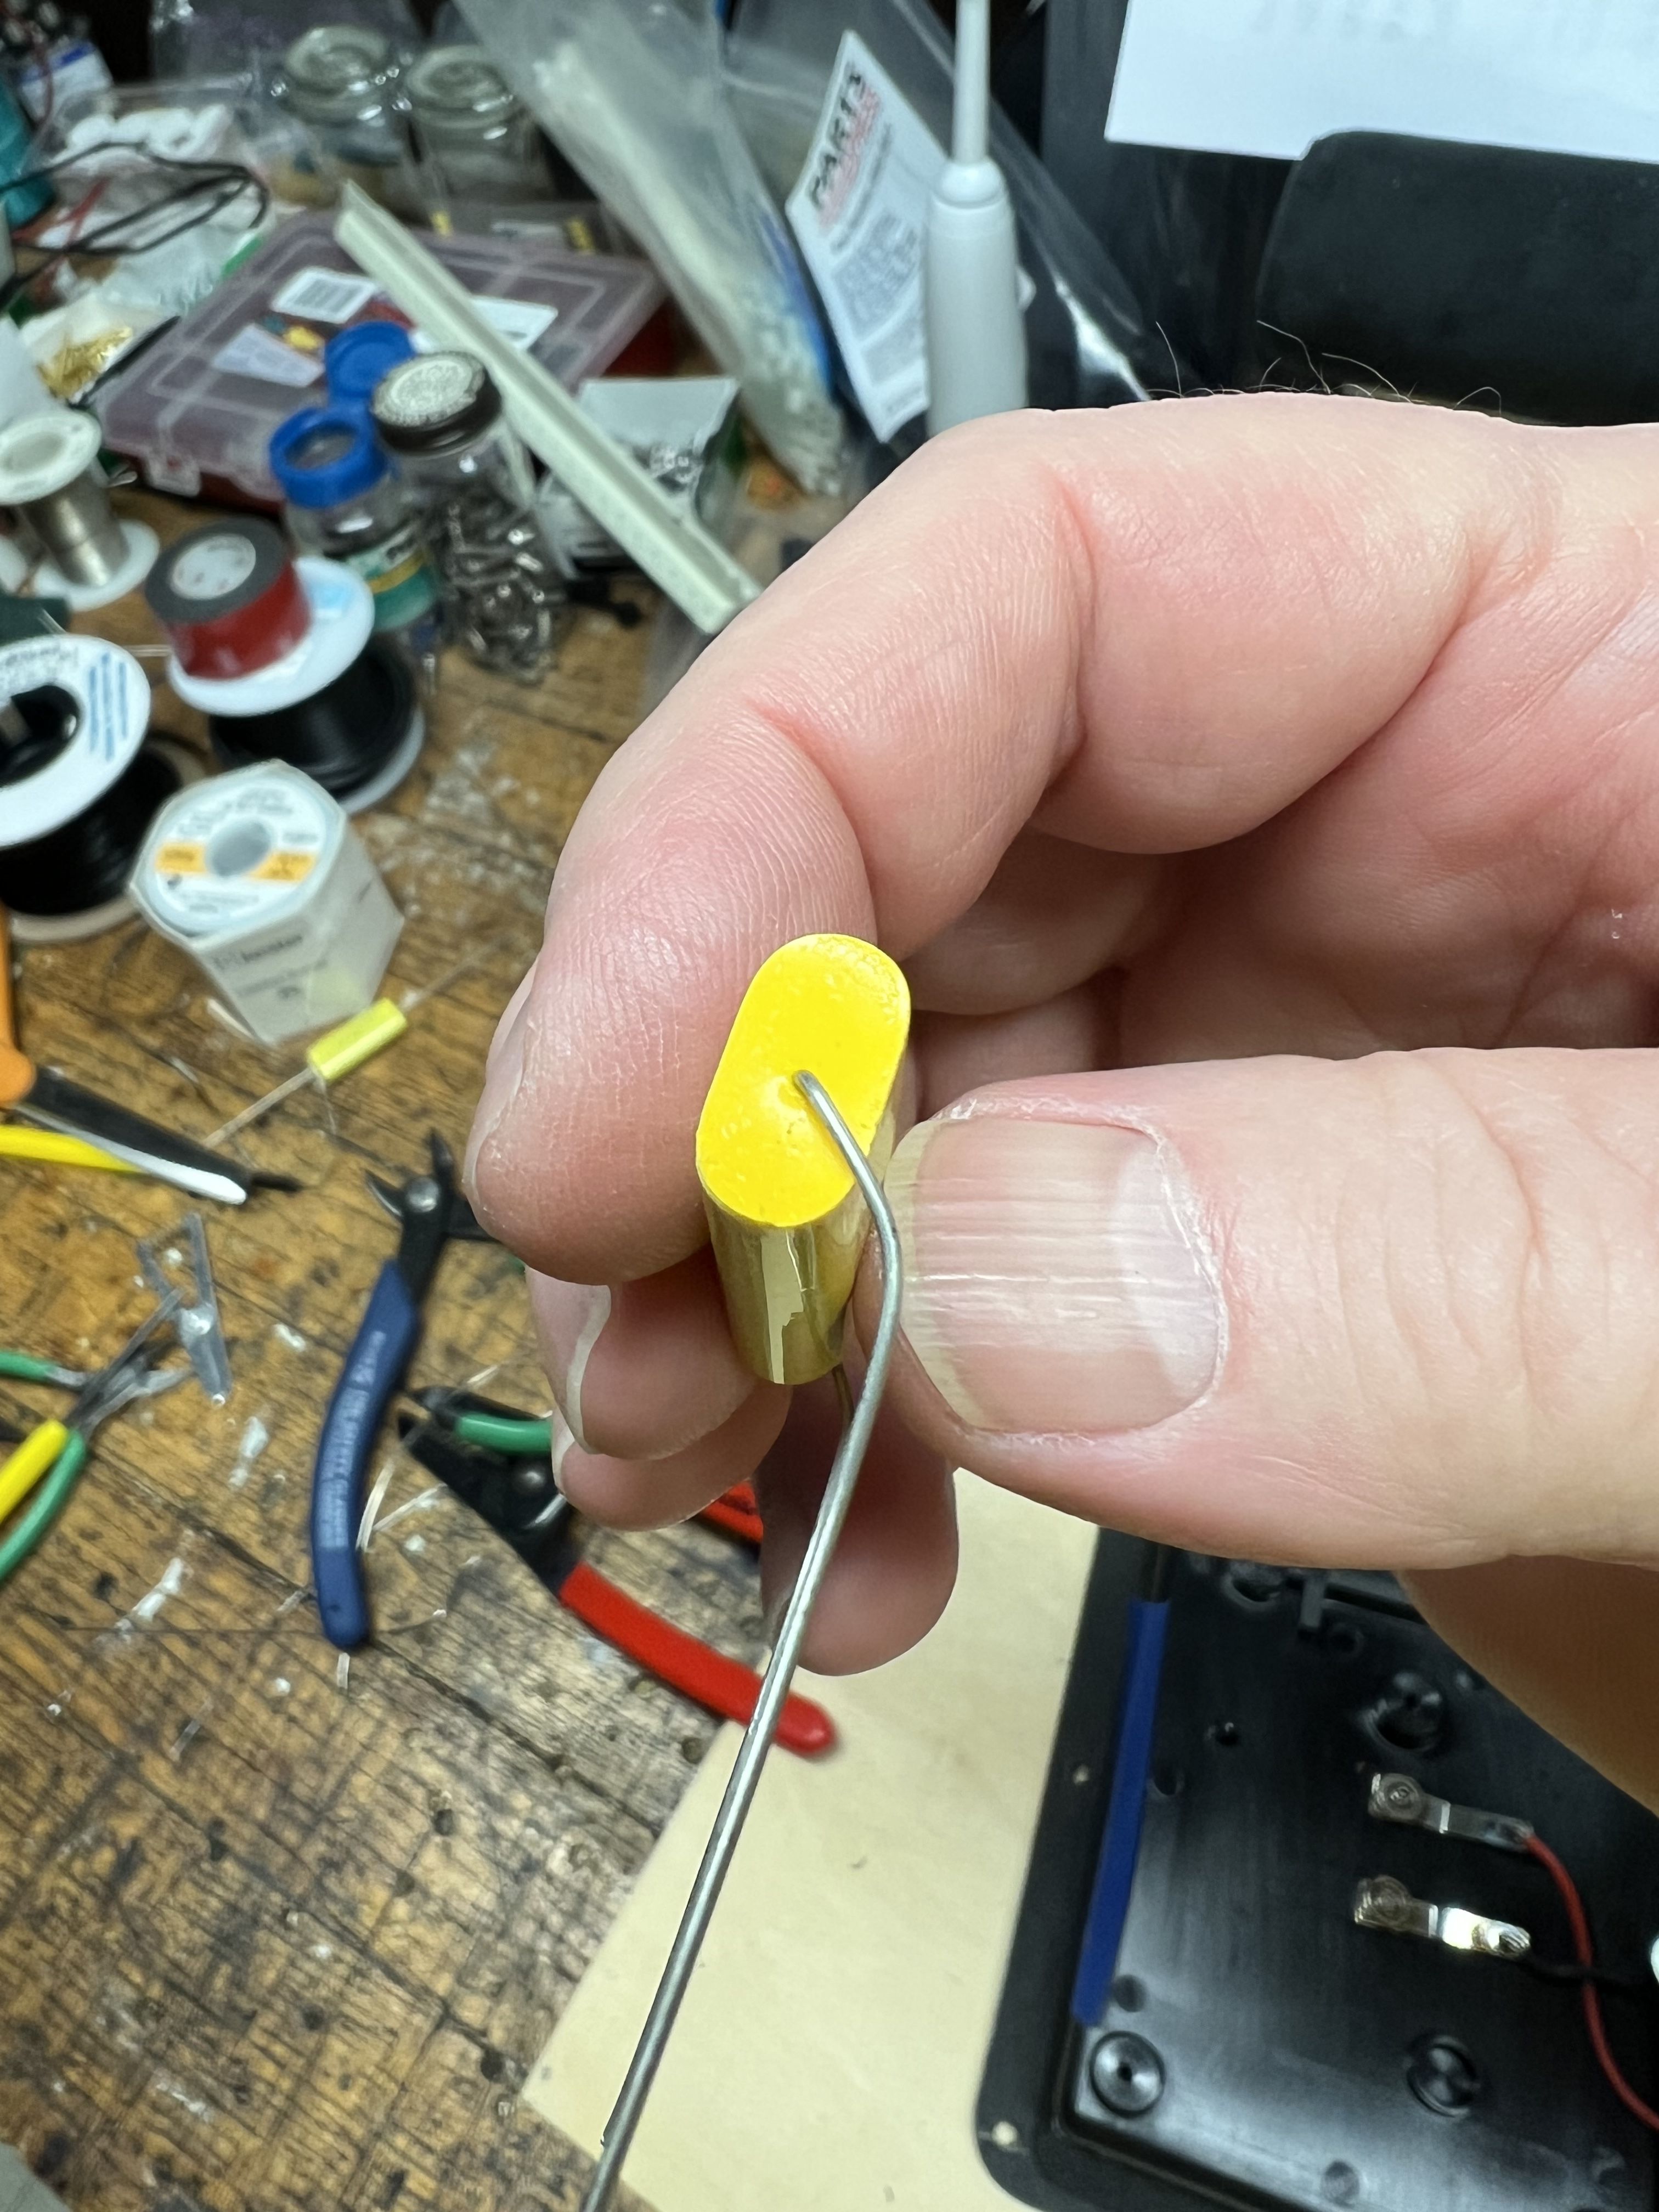
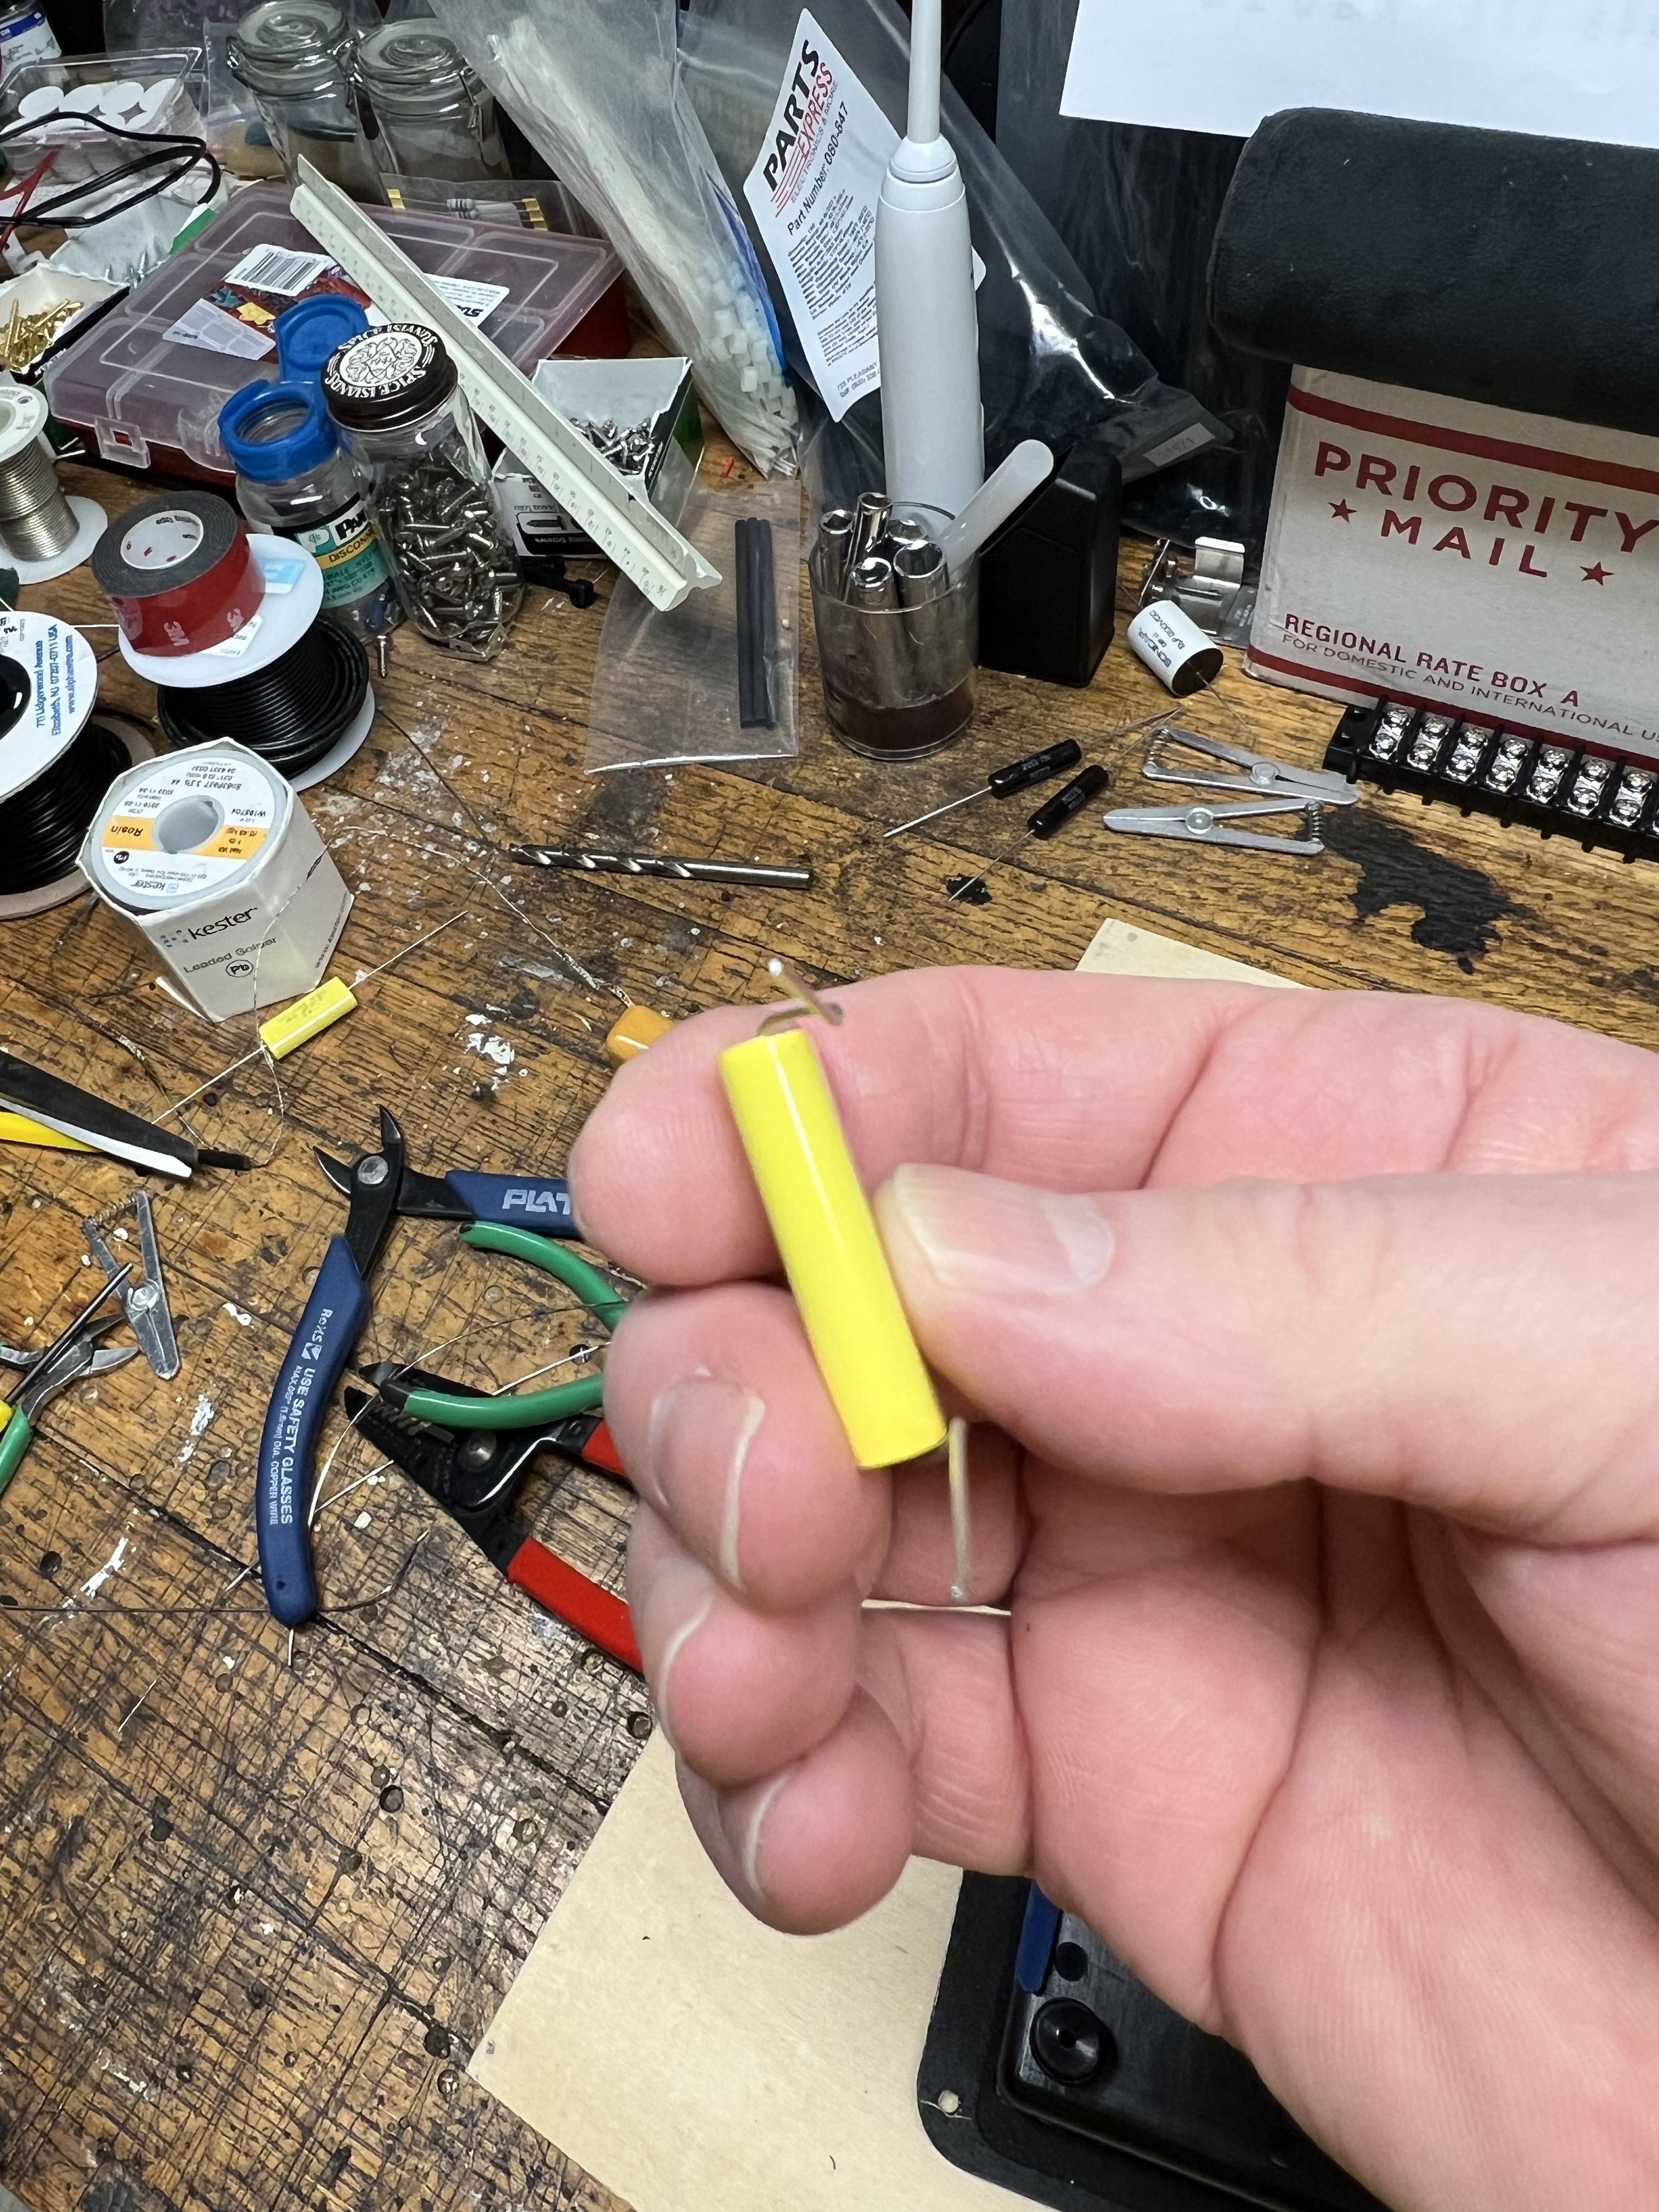
These are kind of self explanatory. I chose wire this time around instead of extending the lead with more lead material. I wanted to see if the flexibility of the wire would help with the vertical mounting. I'm still undecided.
-
.
-
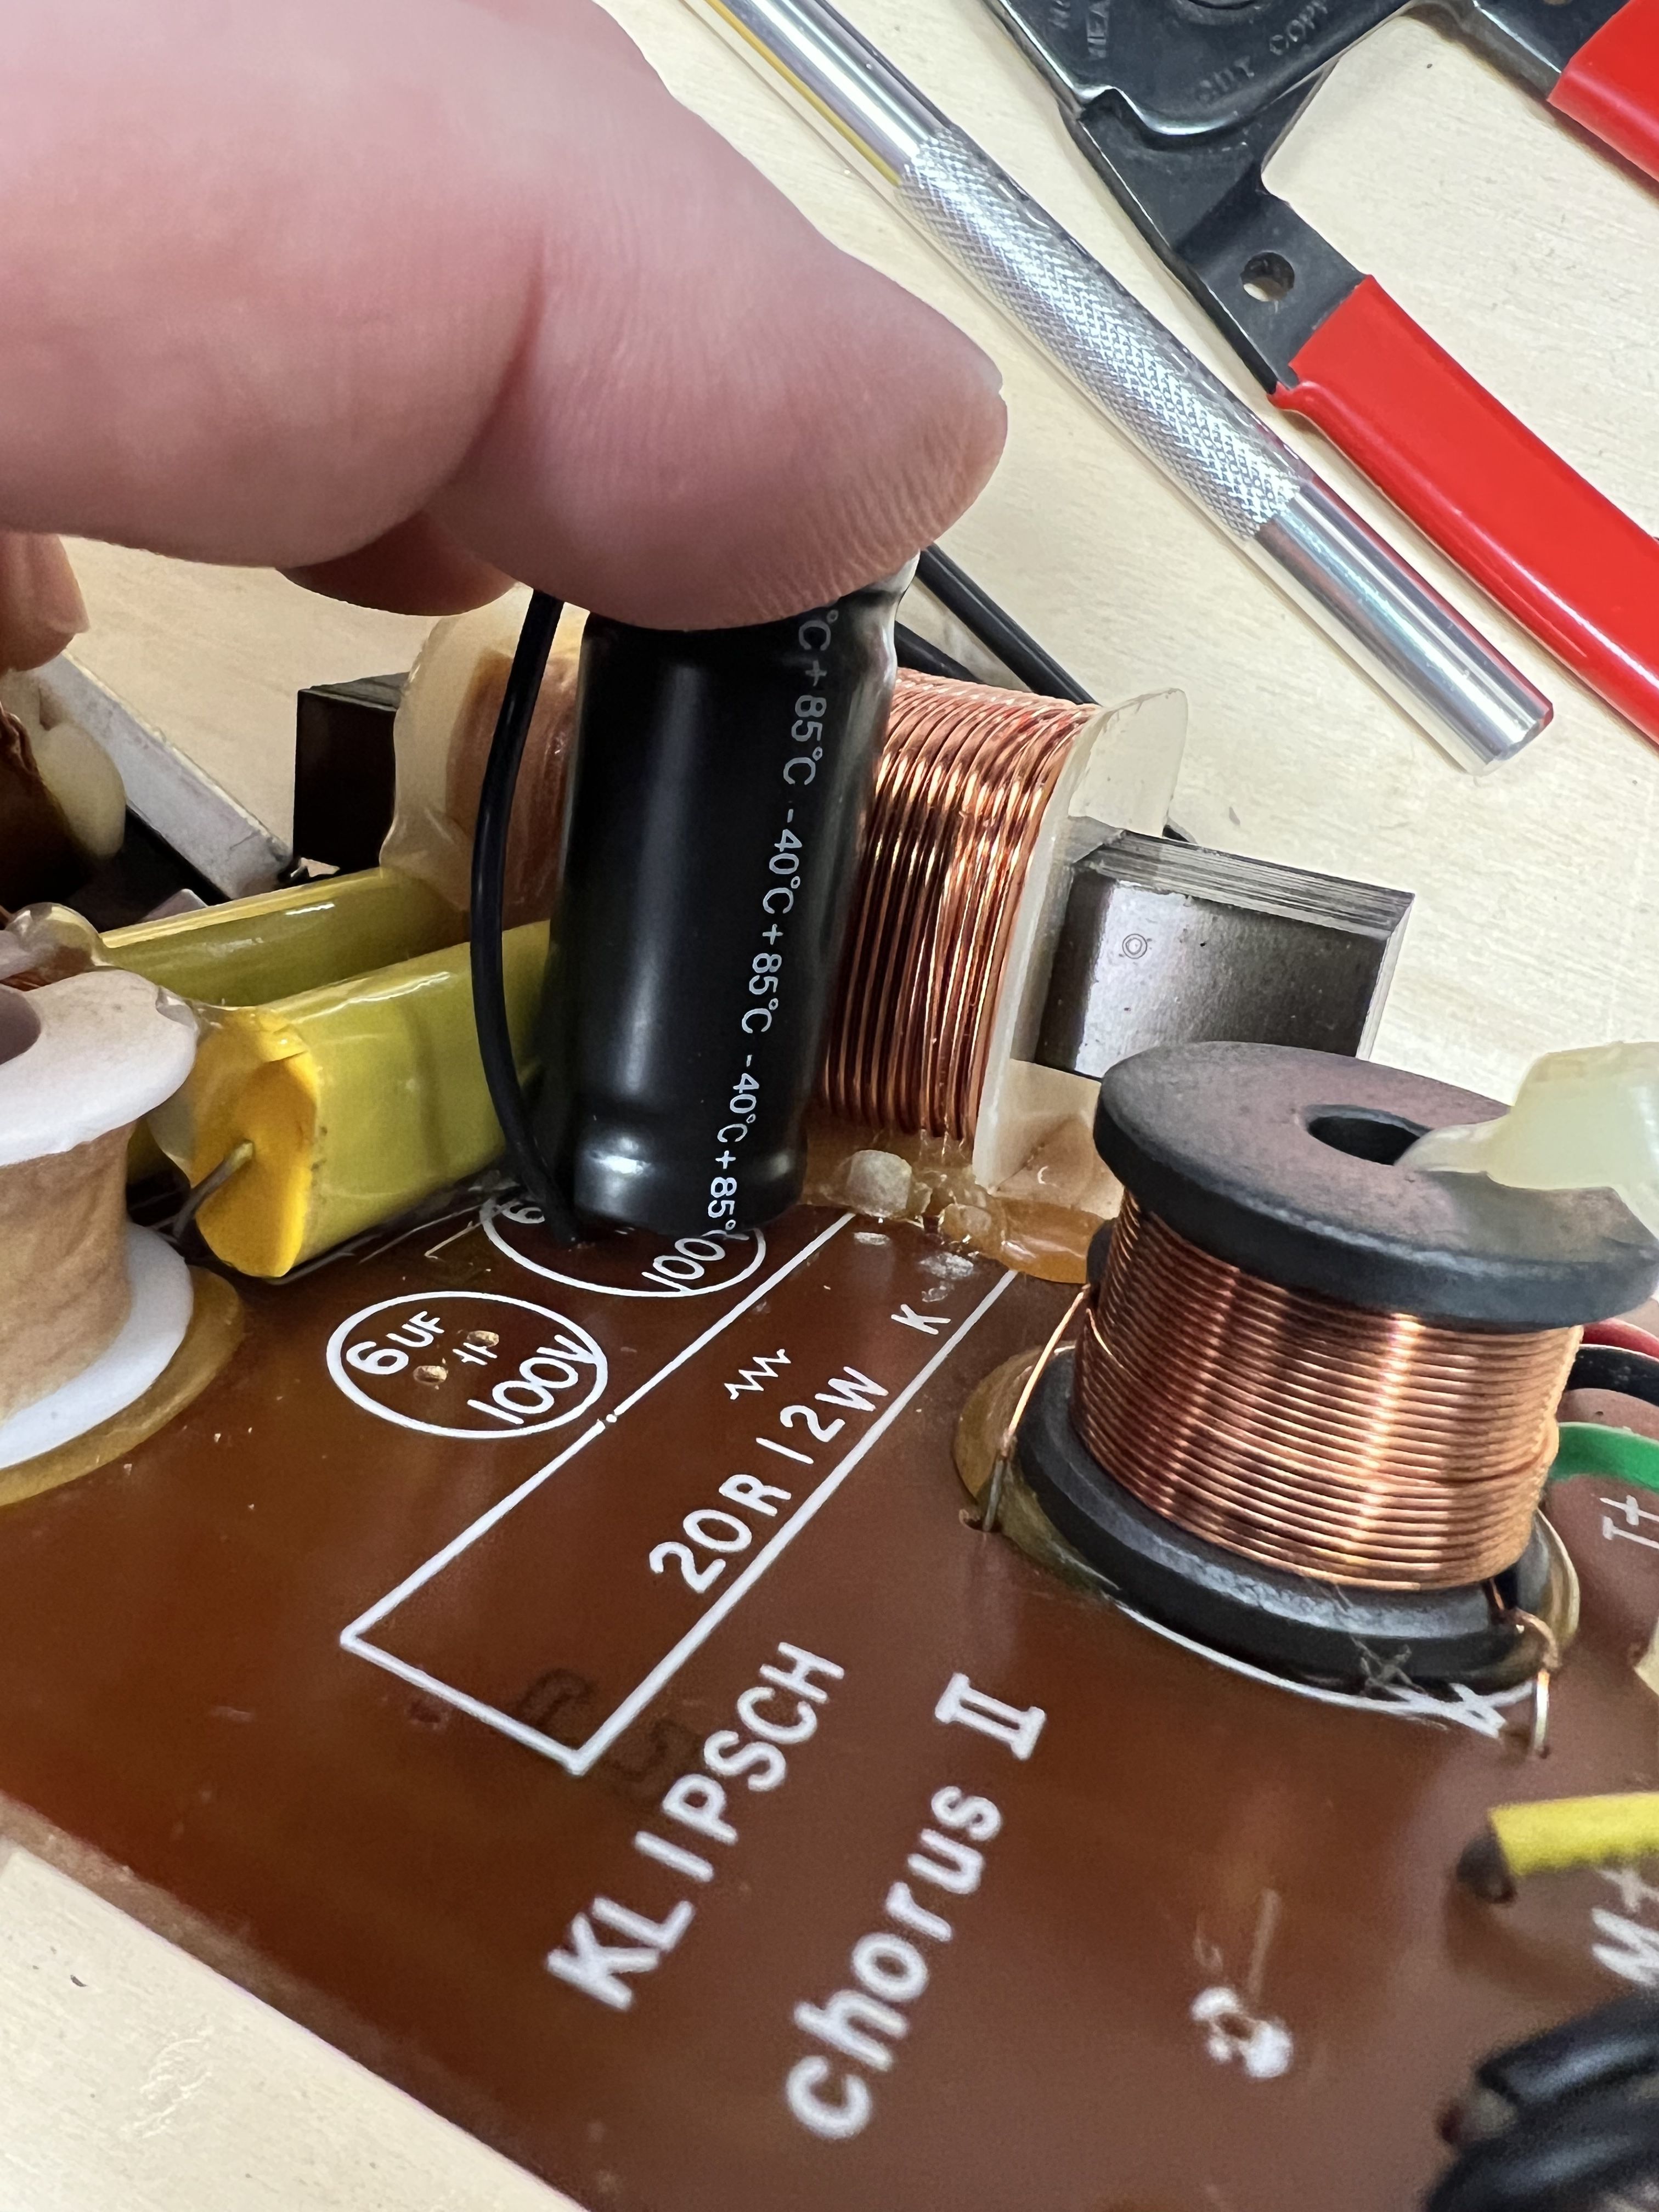
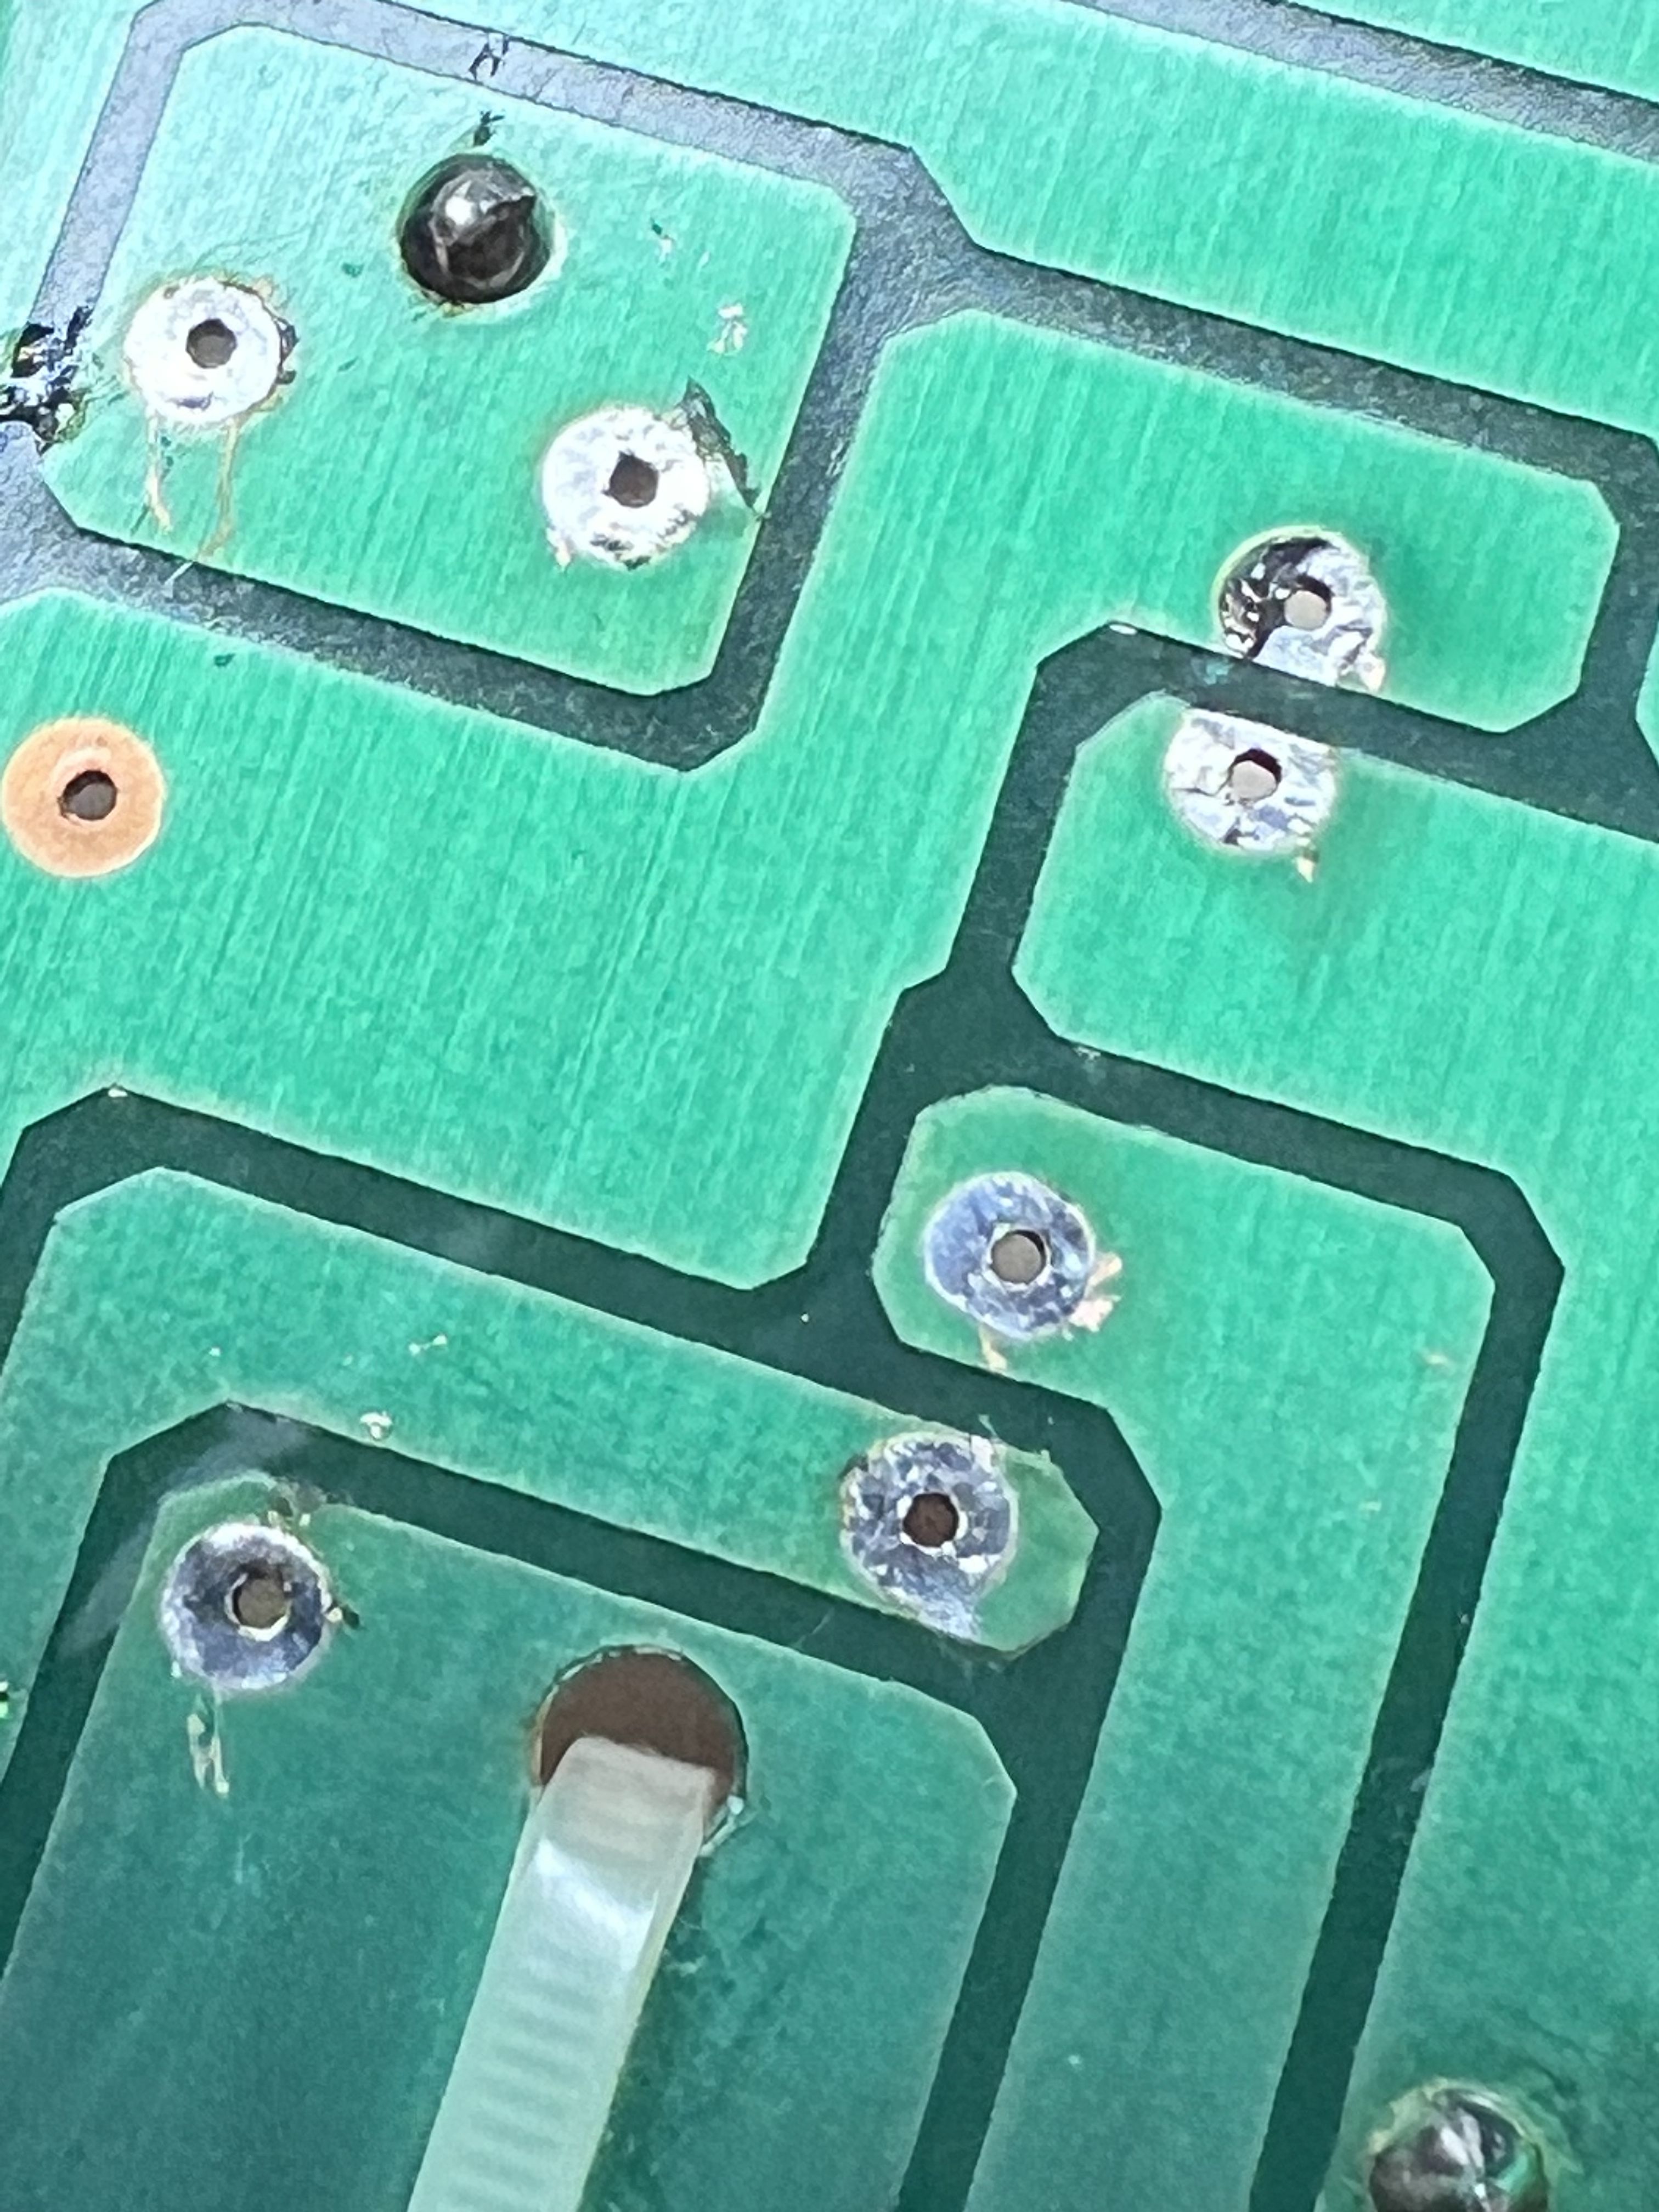
This first picture shows a common way of getting the cap in. It's okay I suppose, but I prefer to radius the leads to the front or rear of the cap and adjust the leads so the capacitor makes contact with the board.
-
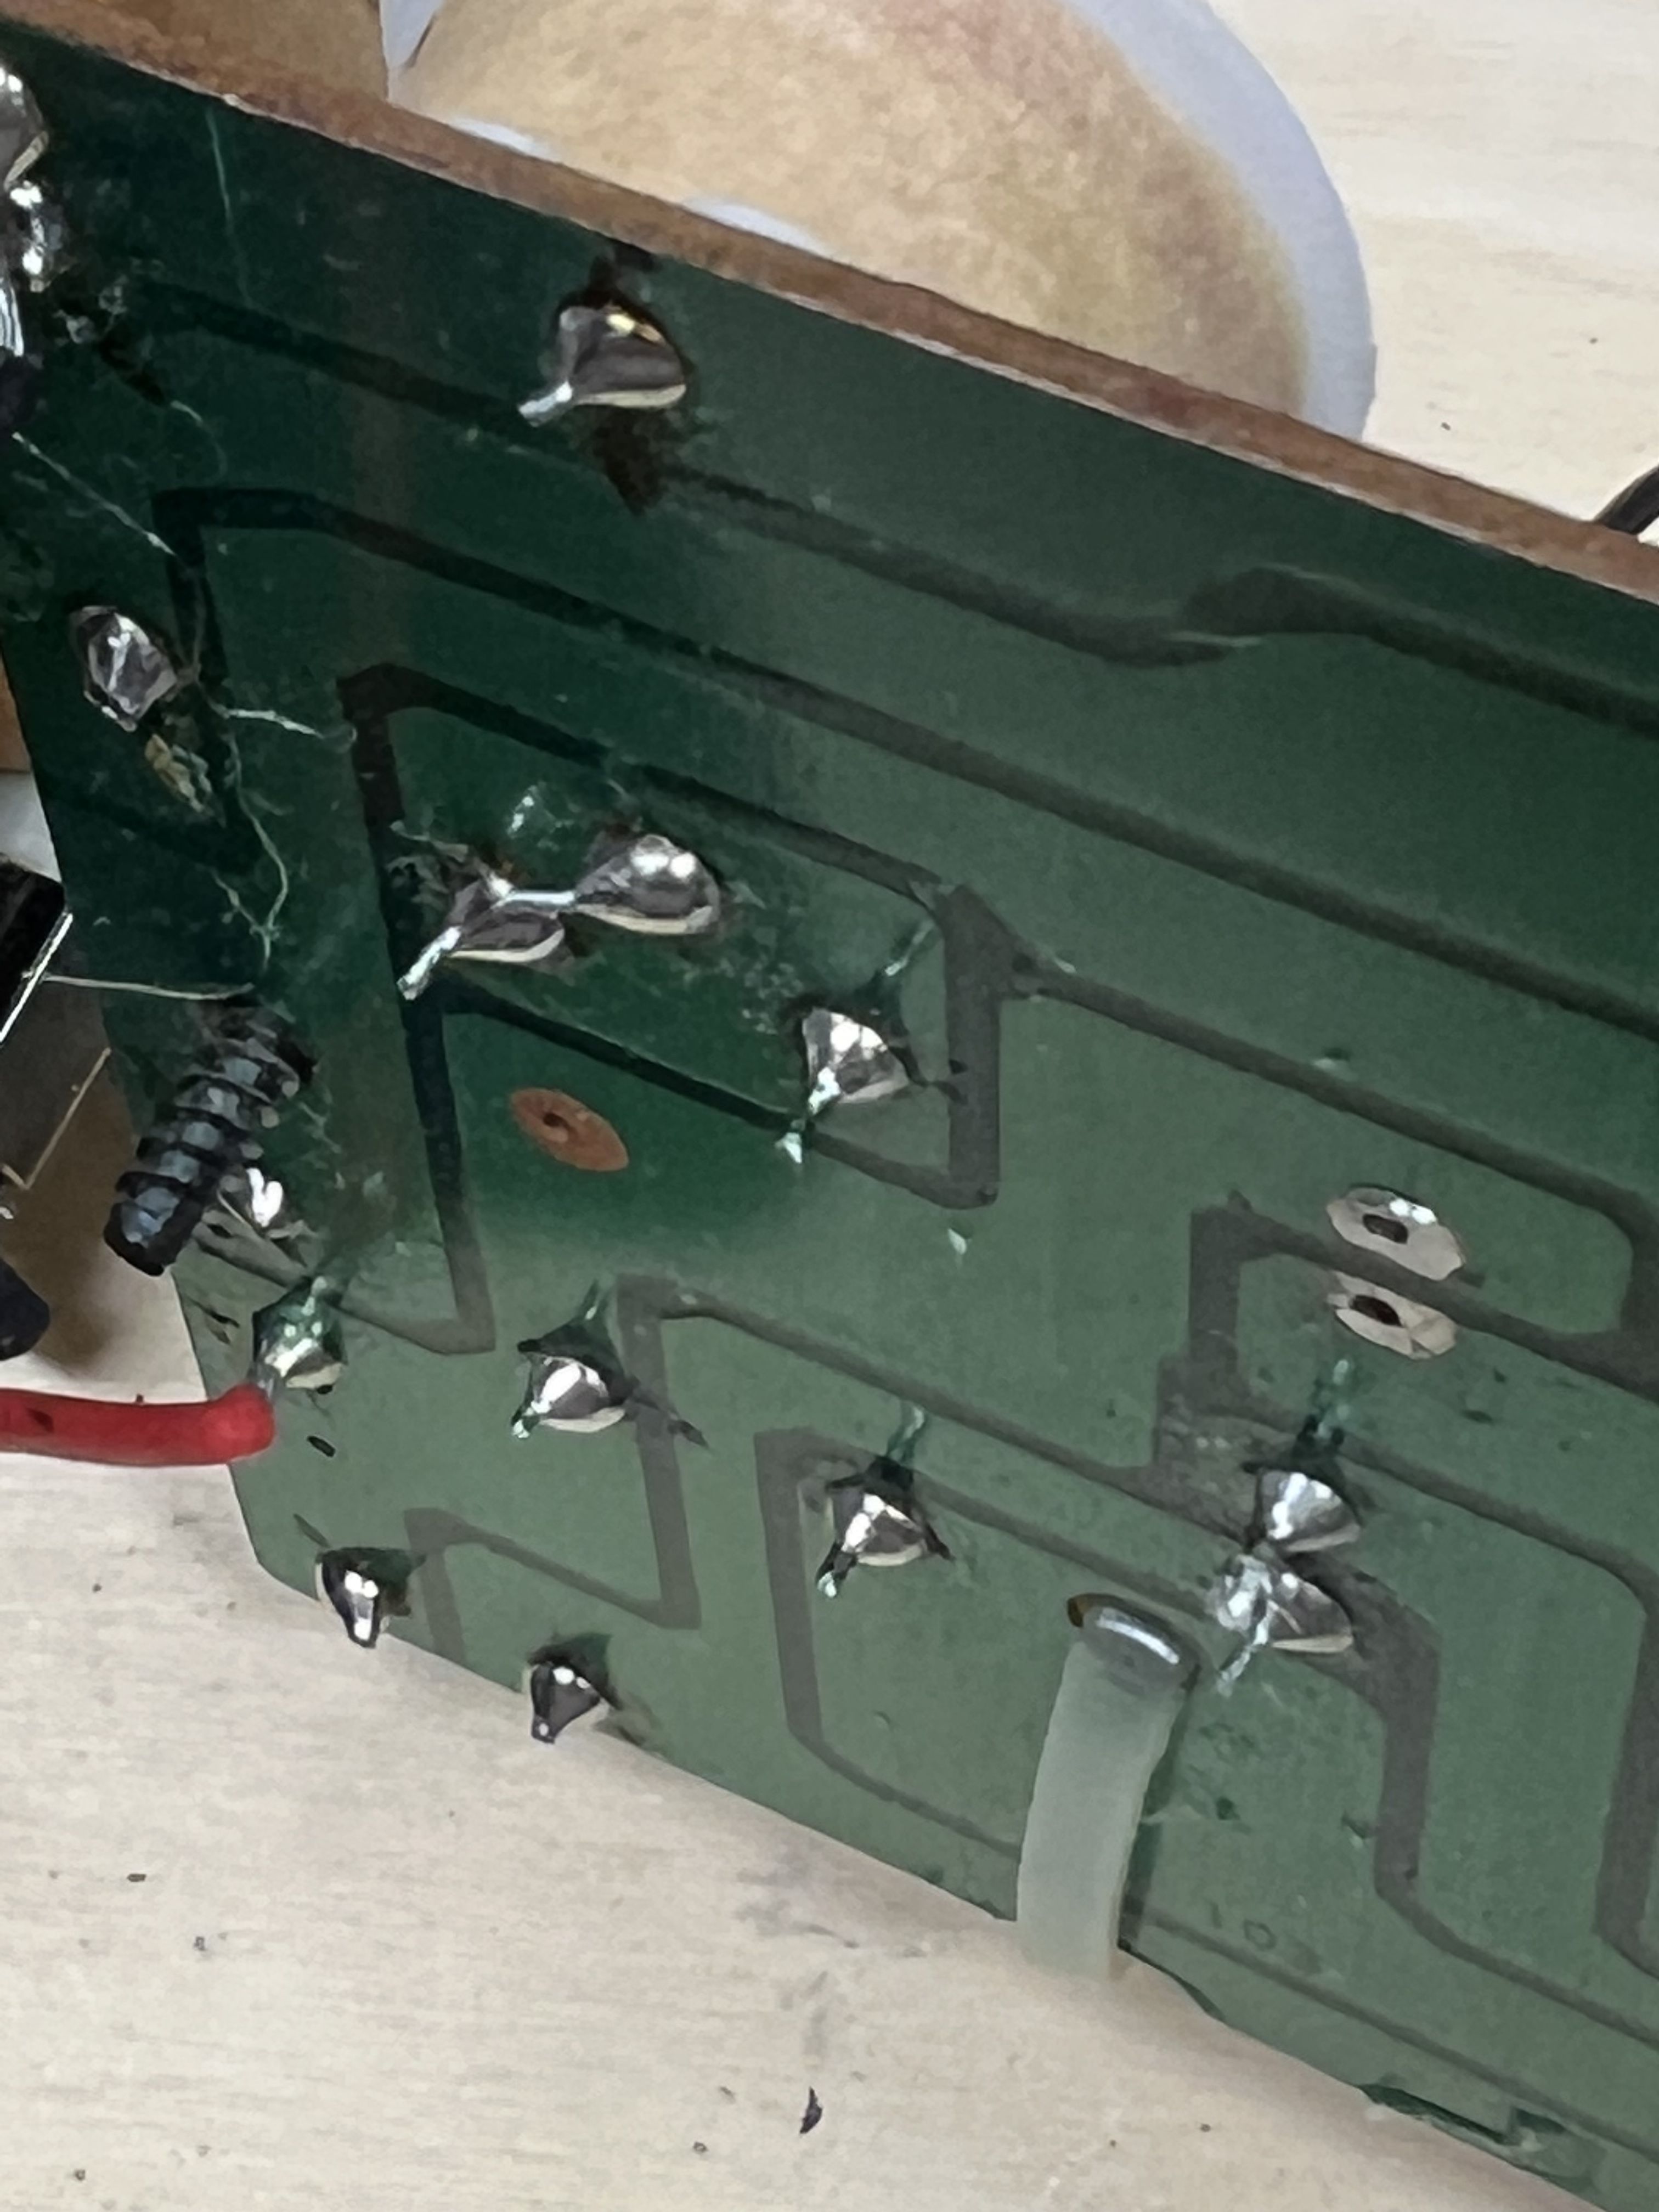
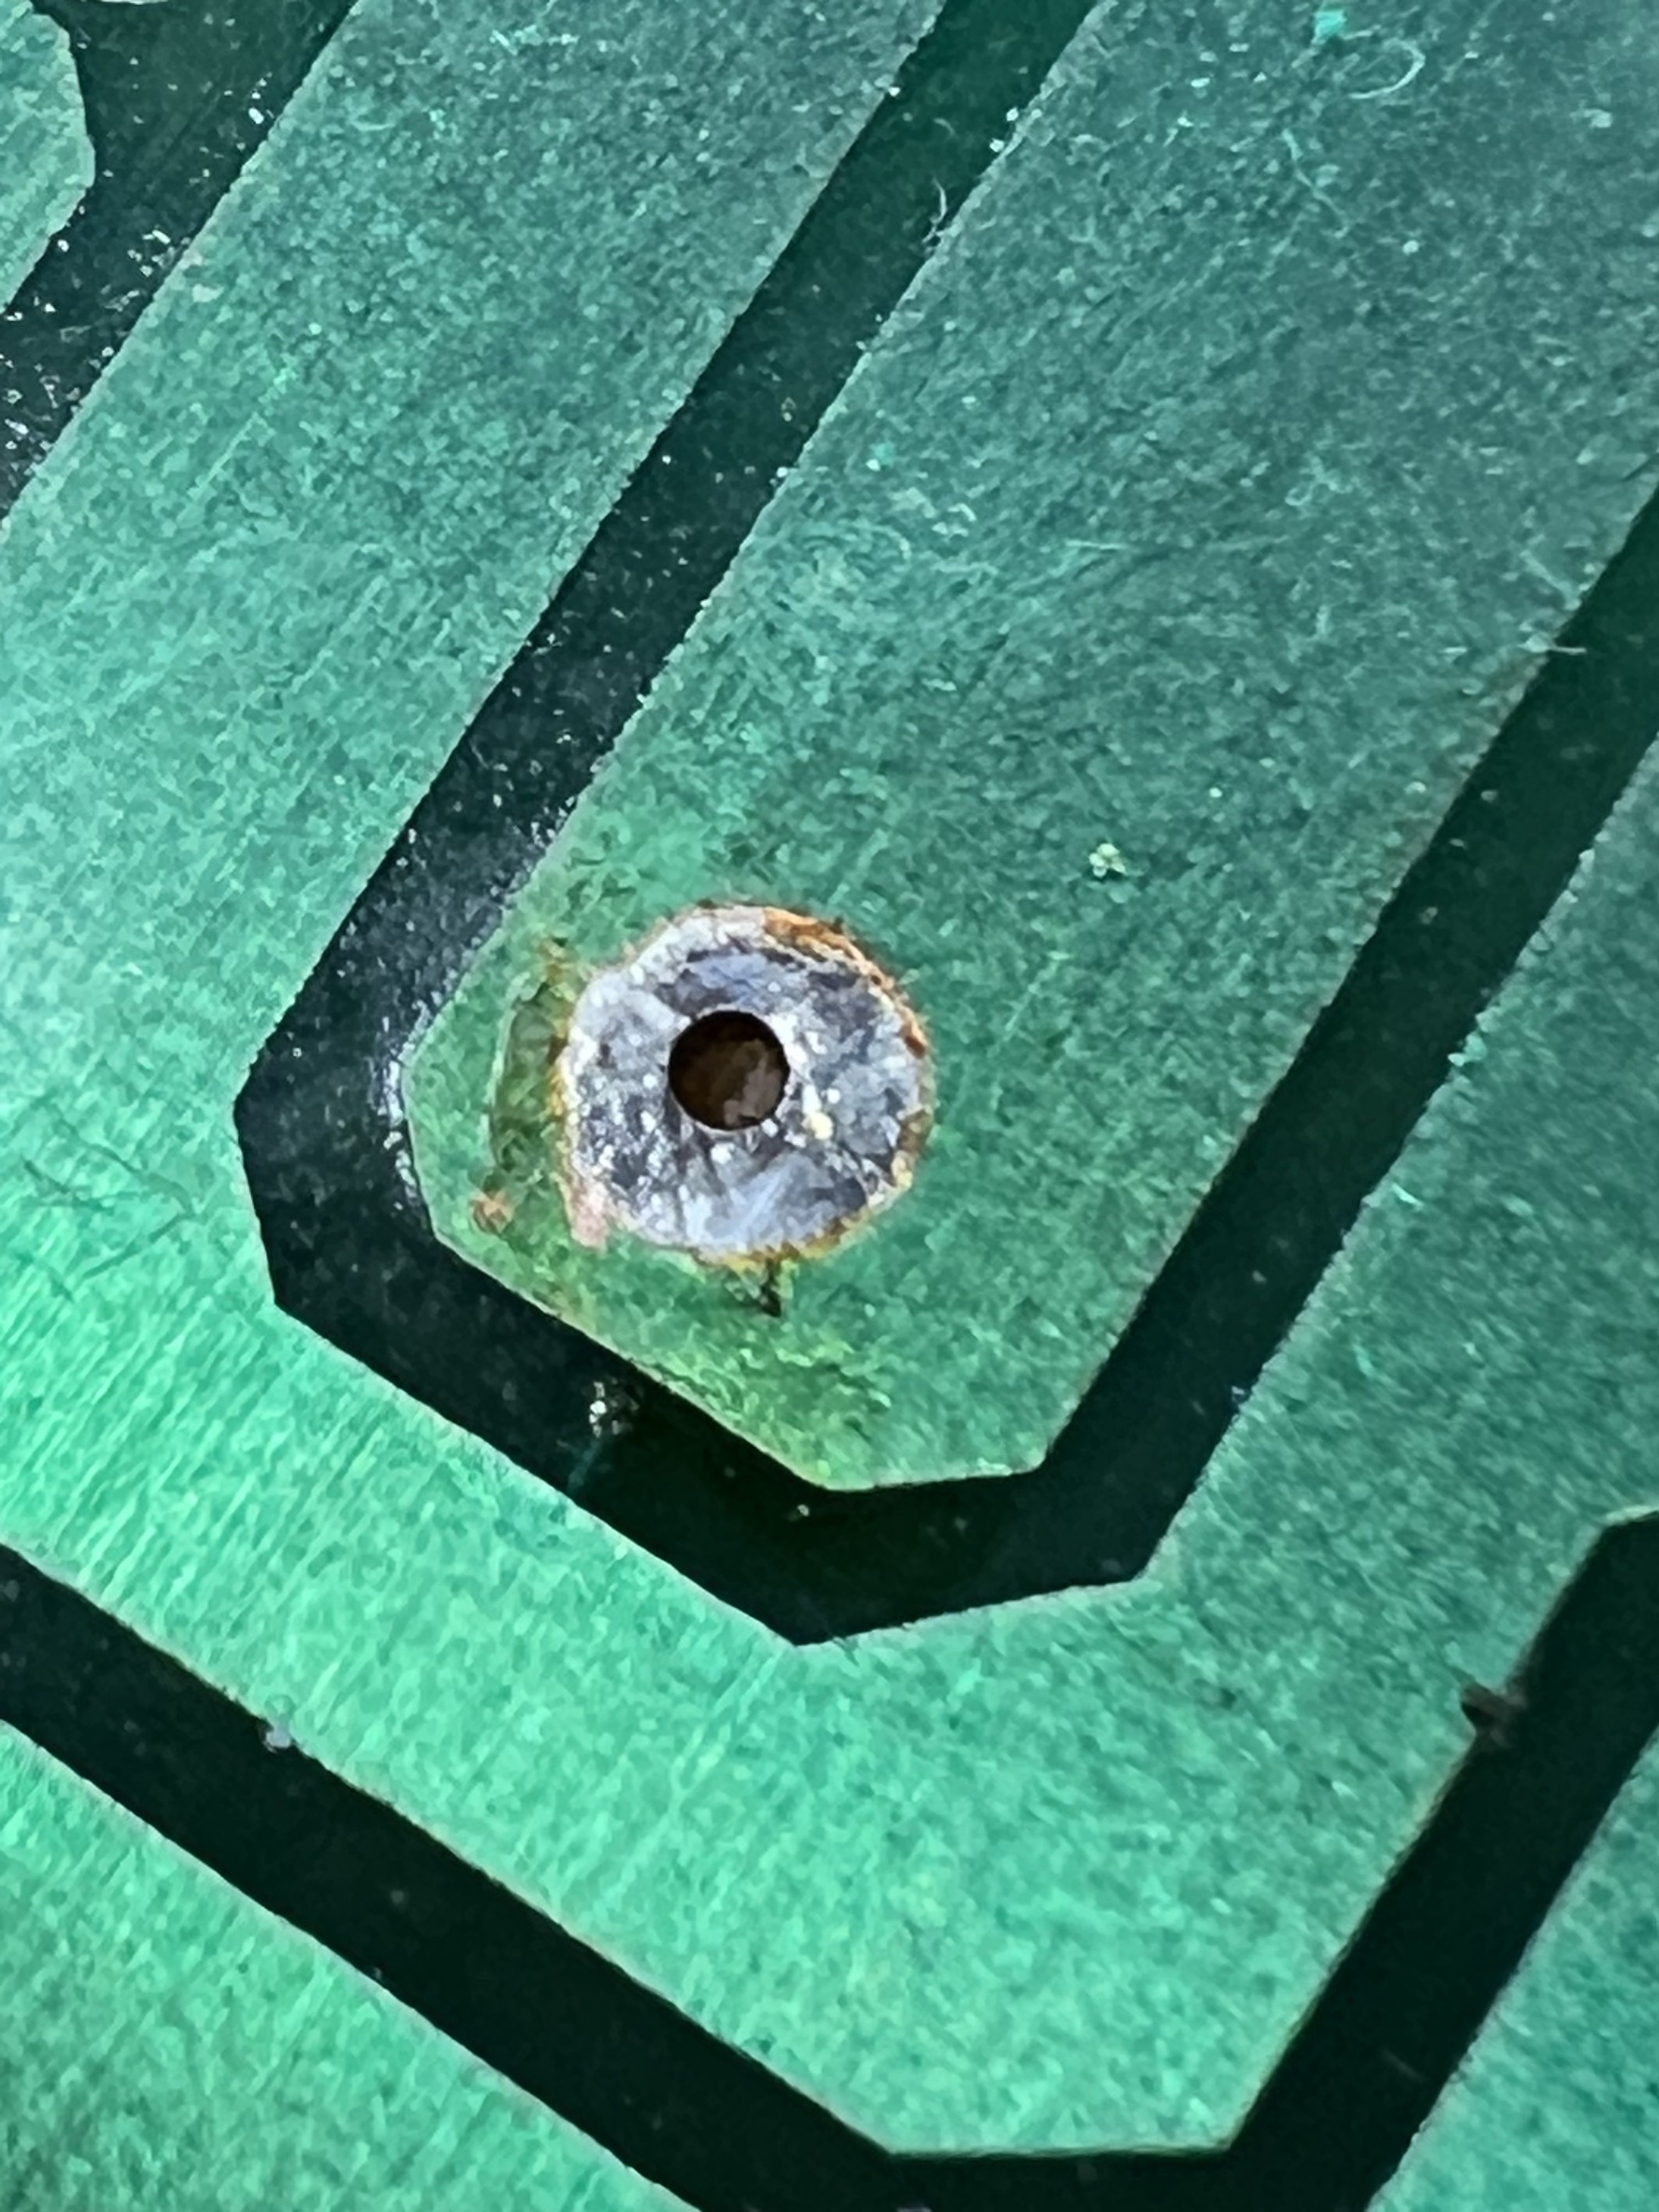
I remove all solder from the pads, and clean the pads. Some people just heat up and add solder (reflow). Don't do this. IMG_0665.MOV
-
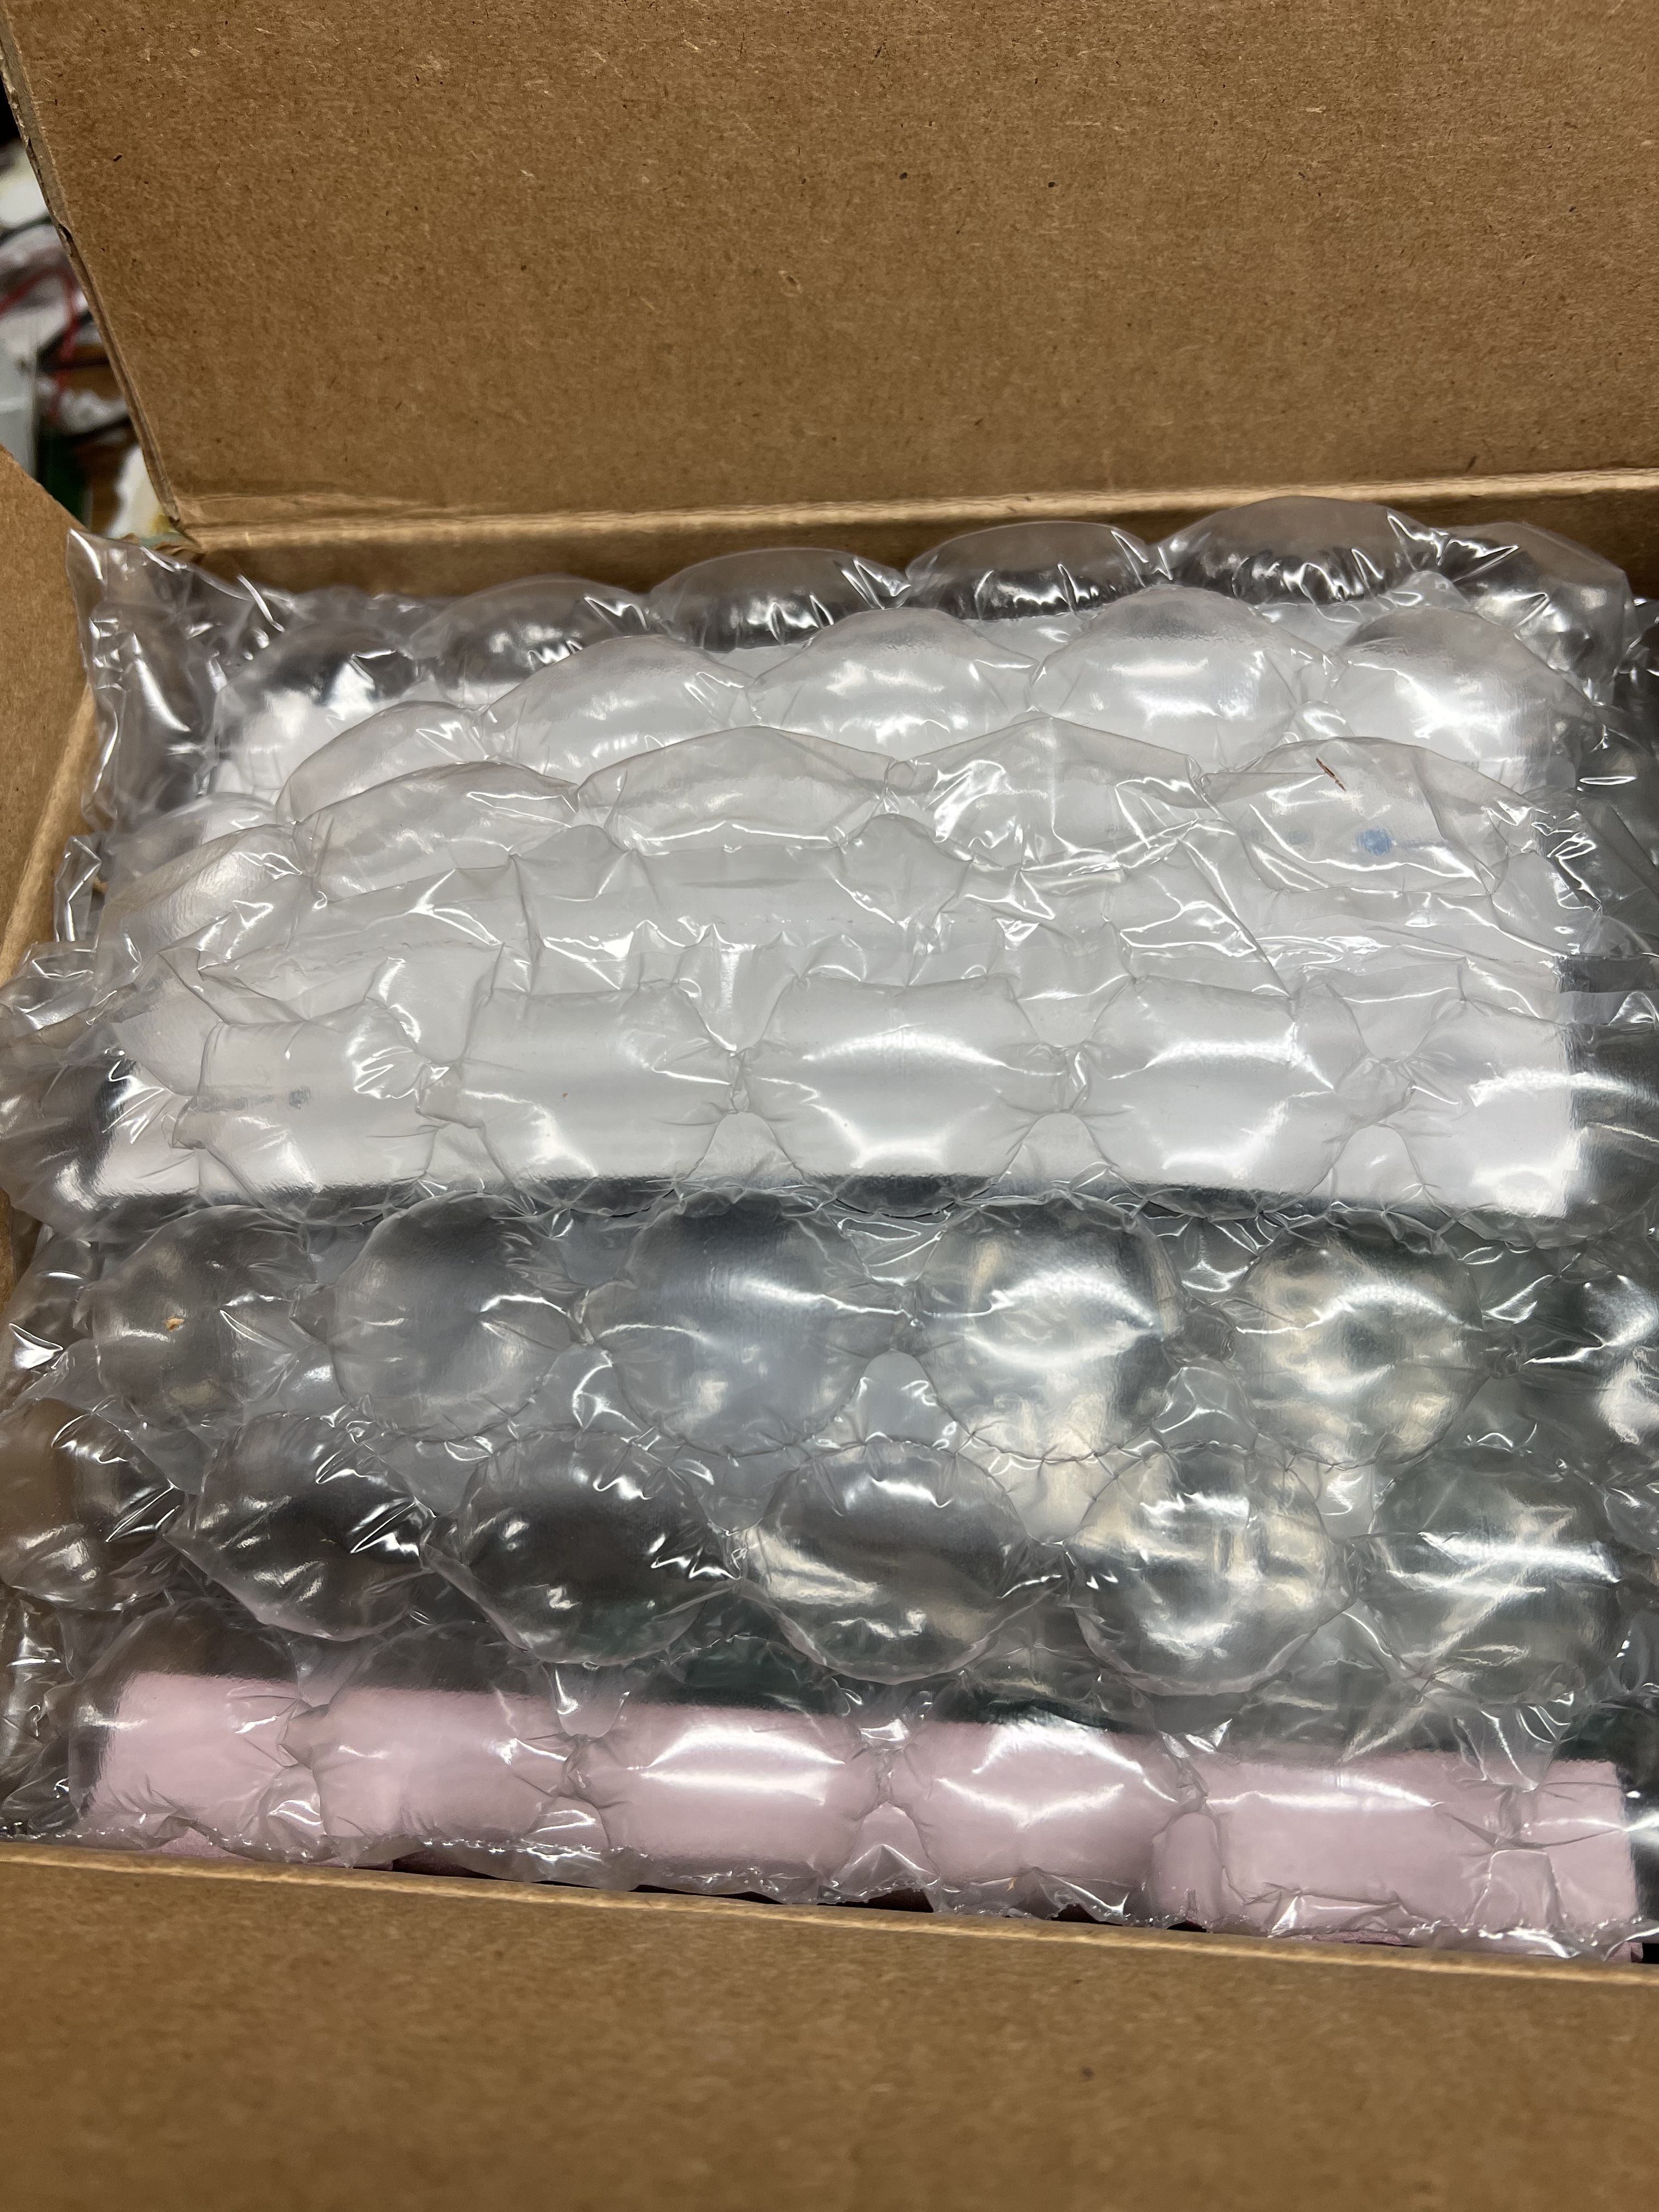
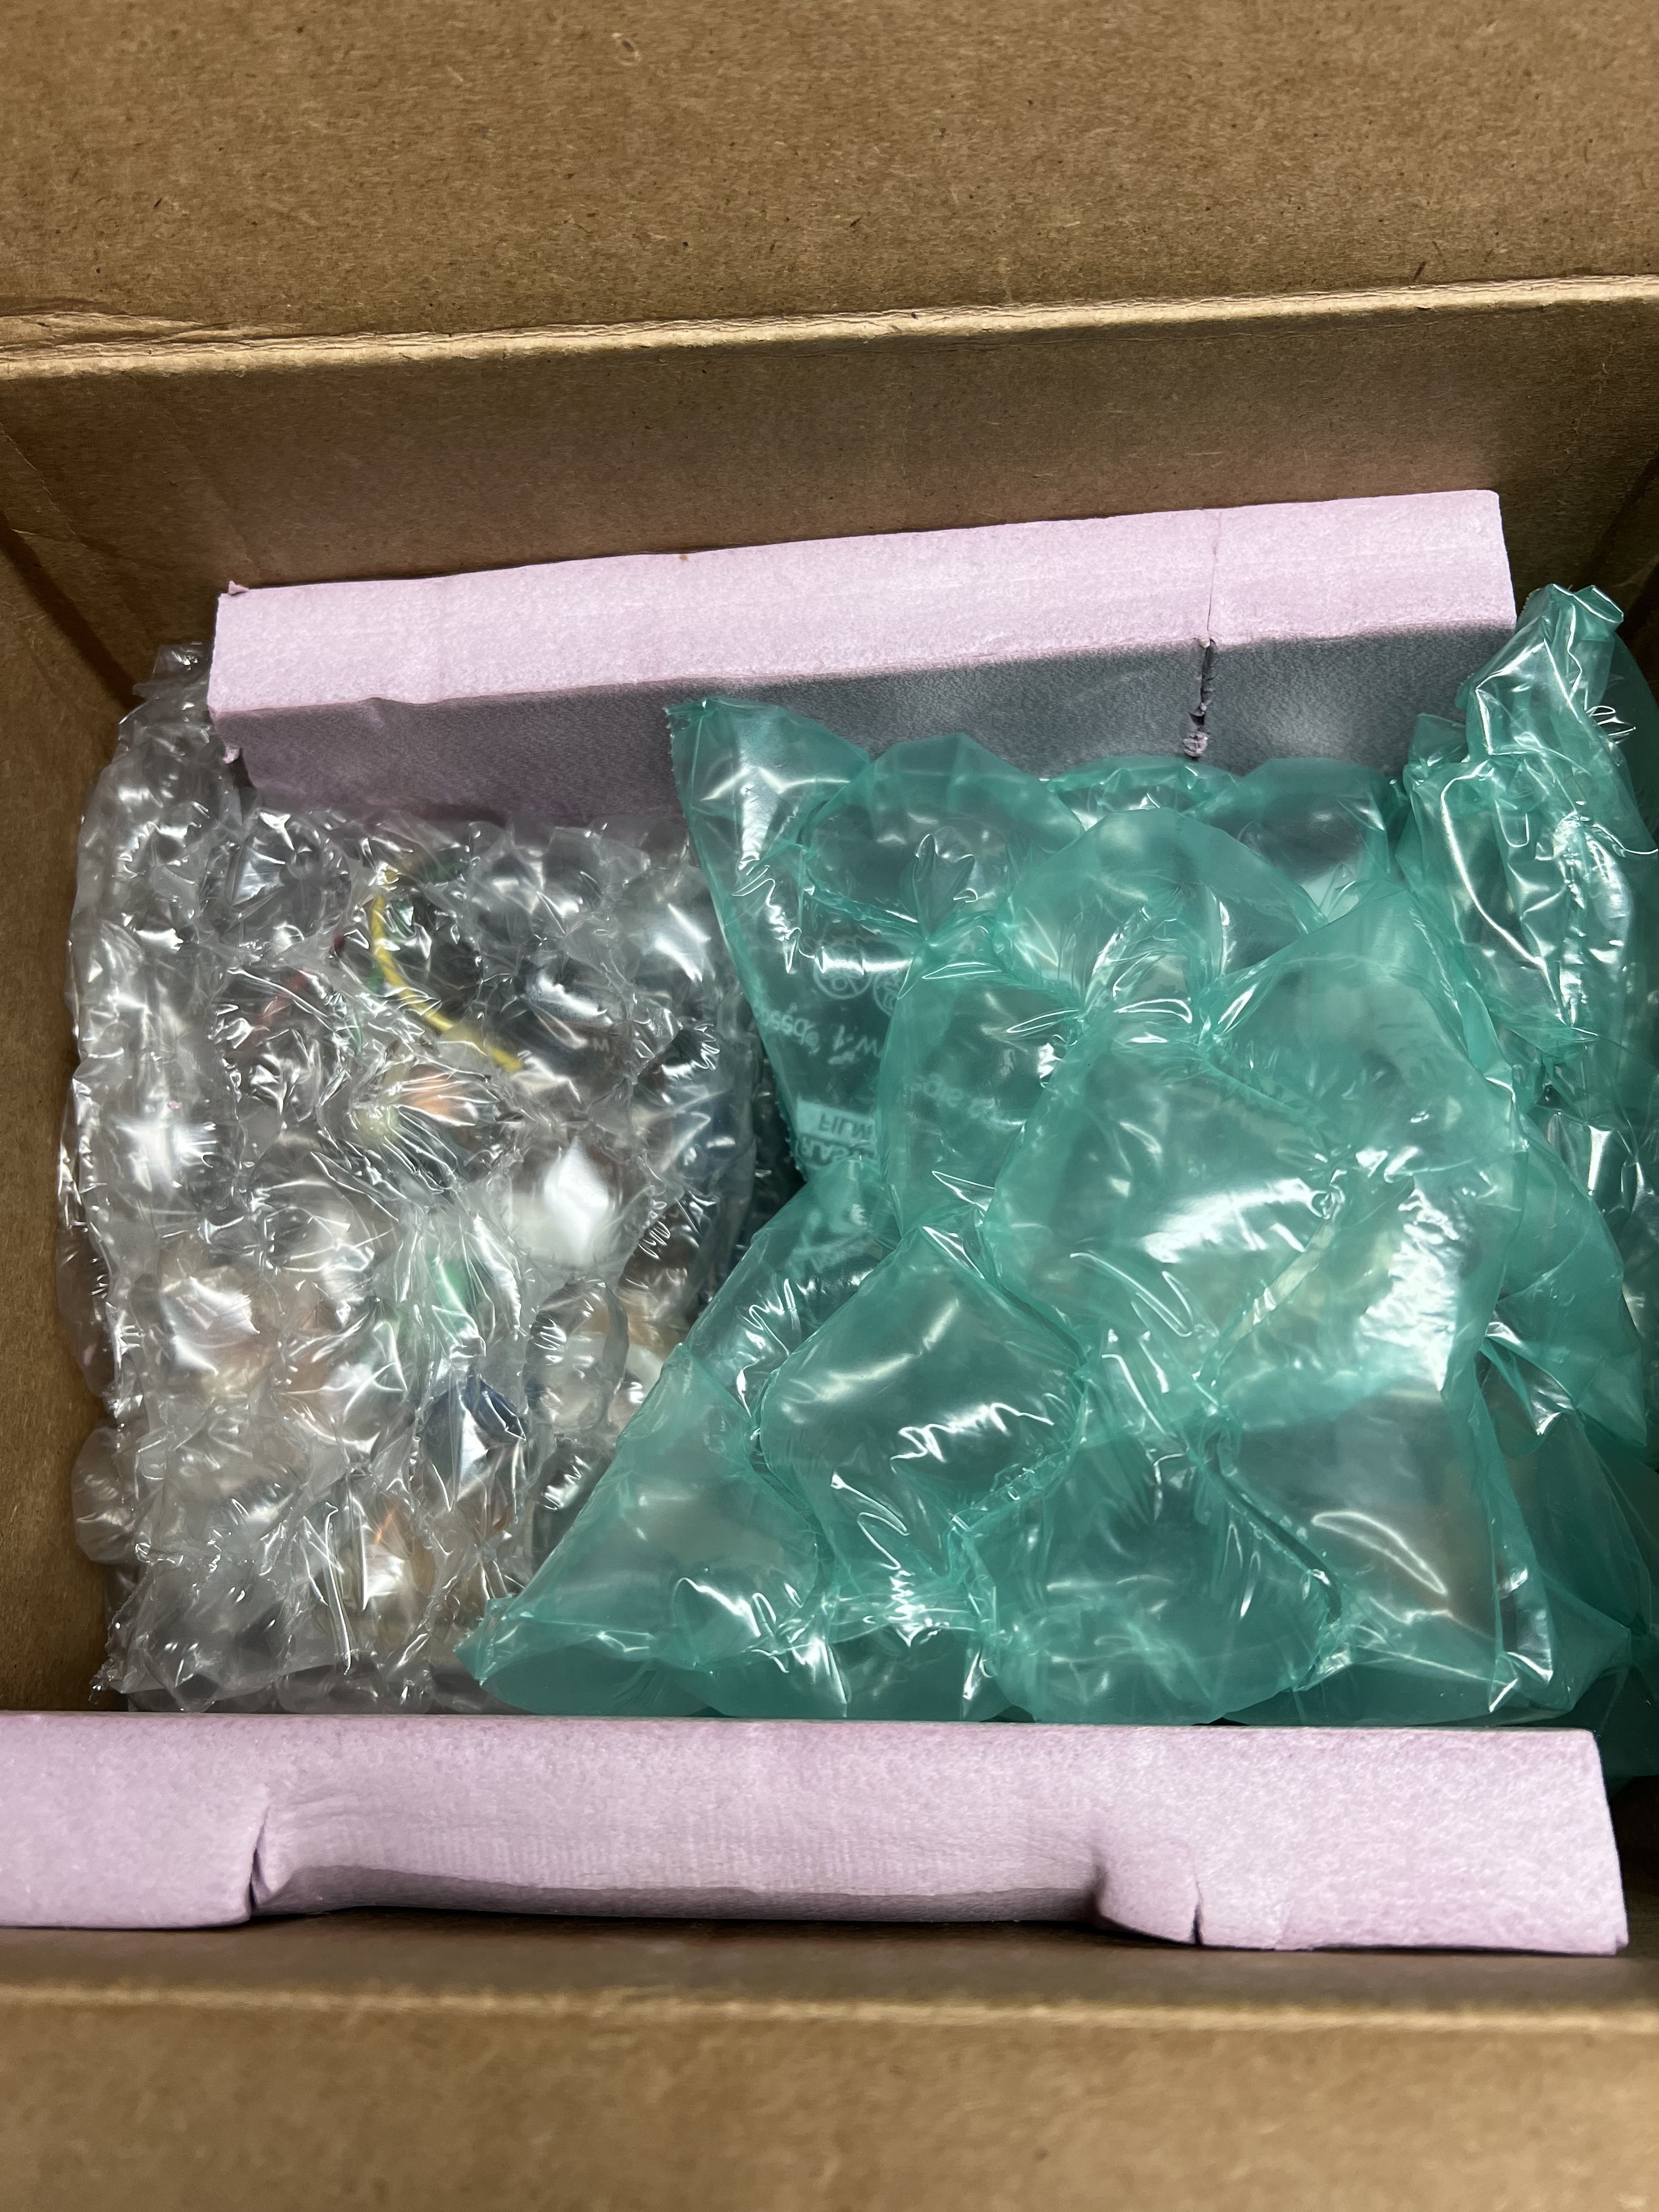
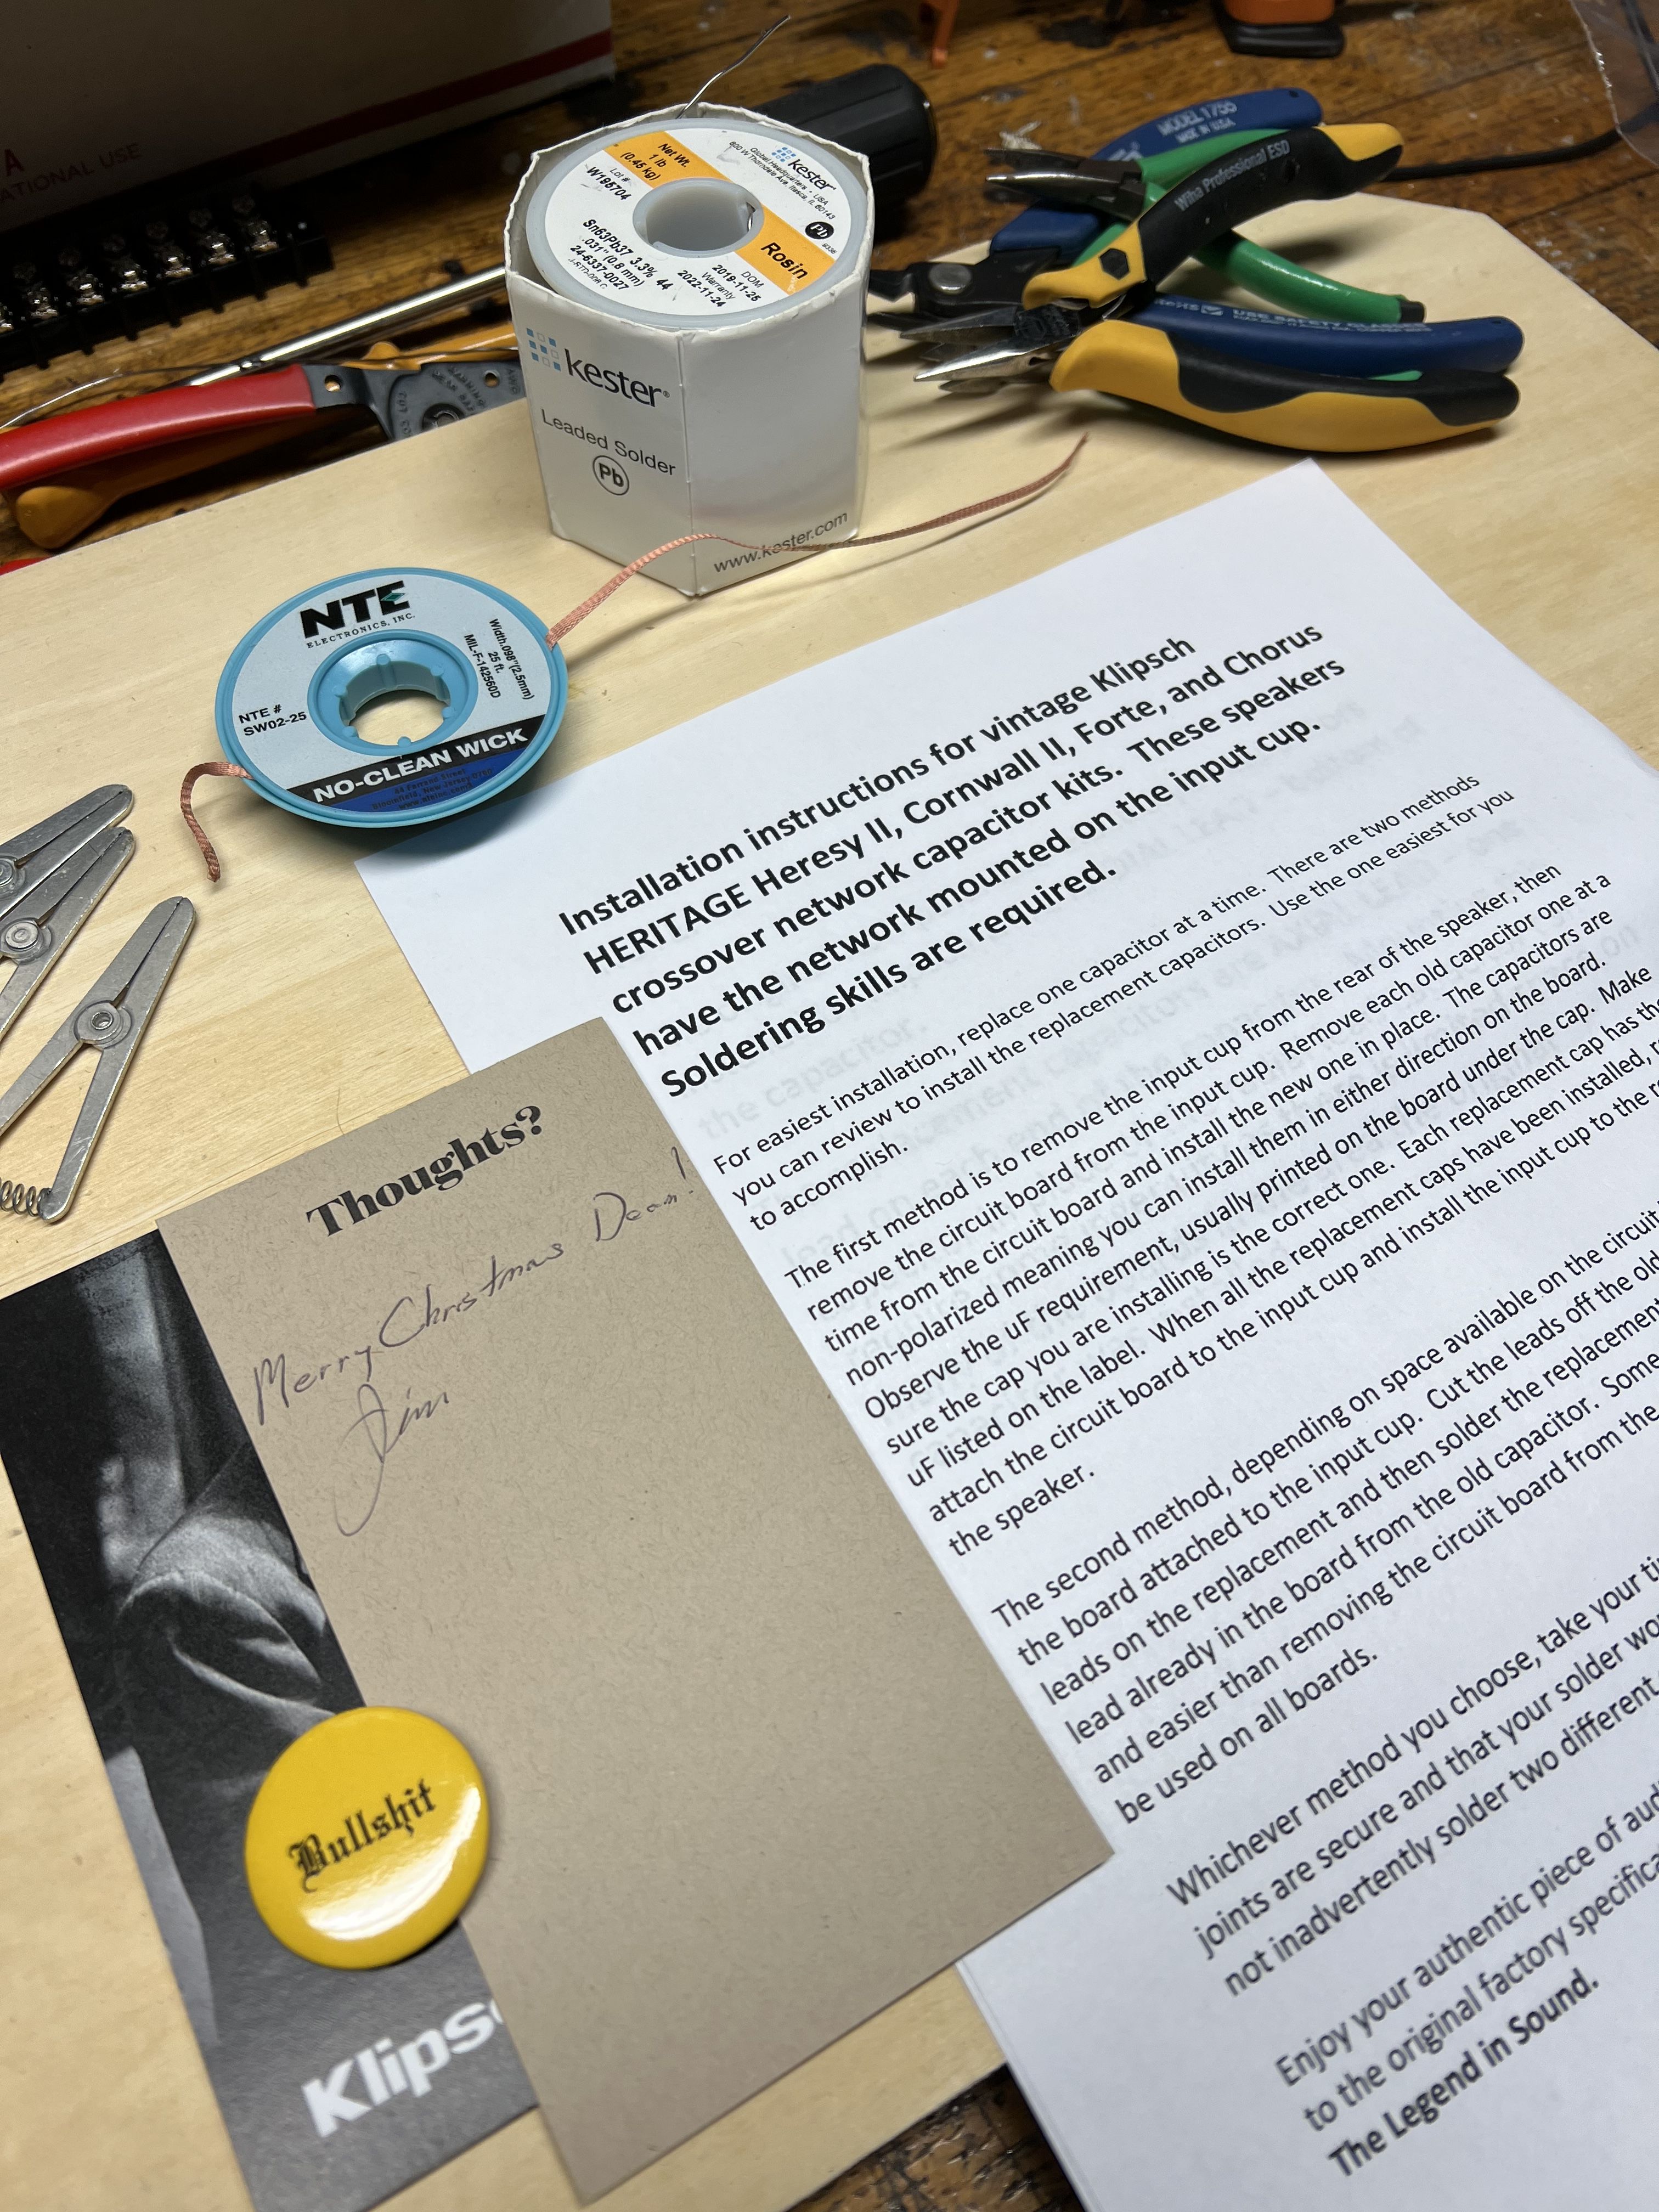
I sent @ampedsome basic shipping instructions. Use large bubble wrap for the networks, and pack them in such a way that they do not shift in the box. He scored a solid A+ Jim from JEM now has 6uF and 7uF values. I bought some, and asked Jim to include the instructions he sends people. I thought maybe I could add something, but they are perfectly fine the way they are. The kit presumes that the person buying the kit has the necessary skills to install the kit. So, you need to know how to desolder, solder, and think out of the box a little. Parts do not just "drop in". You need decent tools. Soldering iron should be at least 40 watts with a quality tip. I use 750 degrees, heat sink my parts, and get in and get out. If you can't get your solder to flow, you either have an underpowered iron, a dirty tip, or need more practice. i really don't want to talk much about soldering because you are already supposed to know how to do this before buying the kit. Jim sent me my first BS button for Christmas!
-
-
 Sealed and acoustic suspension aren’t the same. The Heresy doesn’t require an airtight seal.
 -
They are what they are. The smaller caps should drop right in. It’s only the spot for the electrolytic that creates an issue. The easy and acceptable fix is just to use what was originally in there - another electrolytic. Thousands upon thousands of vintage loudspeakers used them with no complaint until people’s ears started being tickled with nonsense. The complaint is ironic considering what people are stuffing in there these days. I used to build them a mile high, lol. I do get what you’re saying, but what I’m beginning to find out is many don’t know how to get their networks out much less know how to work on them. Providing drop in parts won’t help those folks. Some want them worked on, but think Klipsch just wants to lock them into old technology, and prefer faux “upgrades” from another vendor. I’m going to move the resistor to the bottom of the board and use hi temp silicone. This should create plenty of room for the polyester. I may have to use spacers and slightly longer screws.
-
Nm
-
lol
-
The data sheet doesn’t say, but I think those might be polarized. OTOH, I haven’t had my sixth cup of coffee yet.
-
I probably would have cheated and used a 22uF and a 27uF - both within 10%. The problem you have there is if you didn’t glue them down, then they are largely only being supported by their leads, and the inside of a loudspeaker is a pretty hostile environment. I’m surprised you didn’t update the blue mylars while you had them out.
-
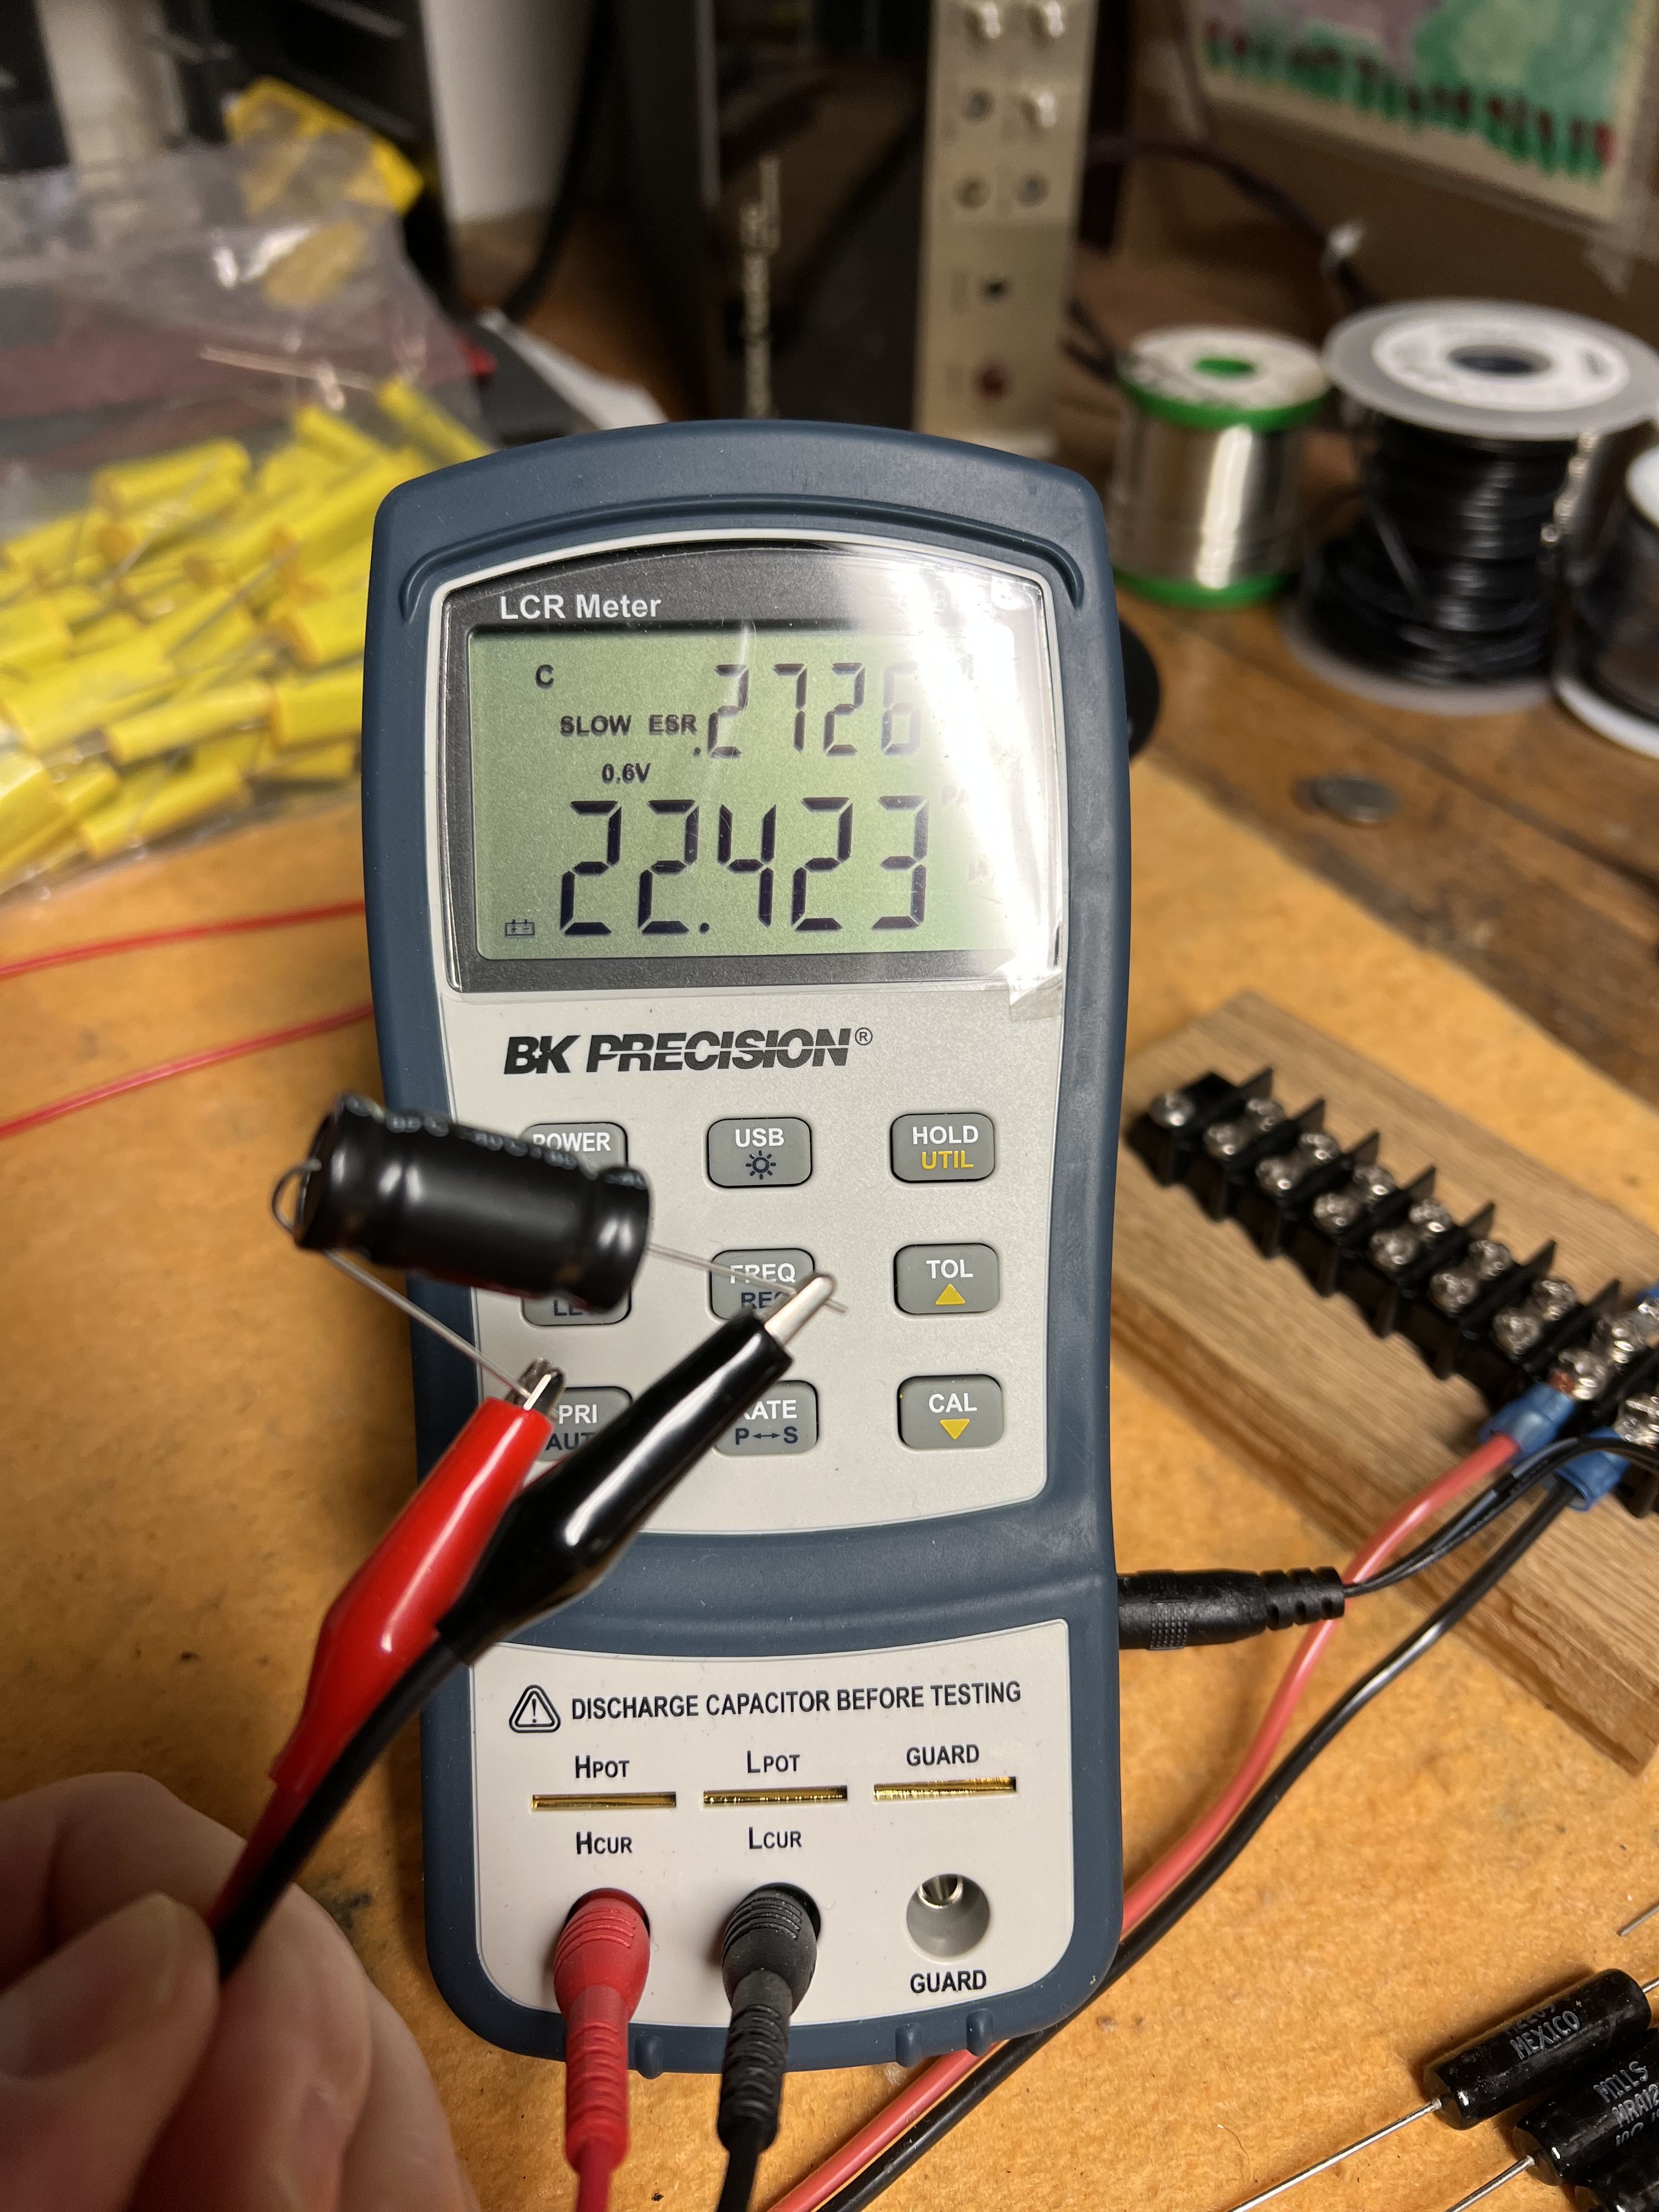
ESR @1kHz is about the same as a Mylar.