HDBRbuilder
-
Posts
4522 -
Joined
-
Last visited
-
Days Won
14
Content Type
Forums
Events
Gallery
Everything posted by HDBRbuilder
-
I hear ya! Just you wait until I get moved and have the room available to grab up stuff from here and there...LOL! Part of my retirement supplemental income thing is doing just that...just don't have any more room here right now....I have some sweet quad H/K stuff ready to go once I am totally moved, too! Downsizing that after I move instead of before I move, though!...even tho my bad back will need to suffer thru moving it all again! With such a renewed interest in early high-quality quad era stuff...gonna start moving it right after I move again....We'll talk sometime! BTW, it was ME who picked up that H/K 630 w/excellent wood case from Tromprof, in case you wondered! I had him down to 100 bucks plus pick-up, but I still gave him the full 200 originally asked for it after I saw it in person and he had demo'd it on his K-horns...it is SOOOOO SWEEEEEET!!!😉 It's gonna be one of my "keepers", tho!
-
I've already heard the new Heresy IV "production prototype"...more bass extension...but everything about it has also placed this "IV" model into an entire new "more better" ballgame! You're in for a BIG SURPRISE!😉
-
Just like in the original L100...supposed to be a "dressed-up home version of the 4311 monitor", but completely different components used...there is always a trade-off when cosmetics are involved. Marketing "gurus" is ALWAYS what drives the "comparisons", too!😉
-
Jim likes the 930, too....he must have something like that laying around to get rid of also! 🤣
-
If/When you remove the rear panels to look inside of them, here is what you SHOULD FIND! First of all, they should be extremely clean inside, with no build up of crap over the years because they are "more or less" sealed cabinets. Second, you will notice that the grille cloth is not mounted to a separate grille panel attached to the face "one way or another" of the speaker motor-boards, but the grille-cloth was INSTEAD wrapped around that motor-board and stapled to the back side of it. This actually produced a slightly less "sealed cabinet" intil they stopped the way the grille cloth was wrapped around the motor-board and stapled to its rear....and started gluing the motor-board DIRECTLY to the glue blocks inside around the inside perimeter of the cabinet. Another thing is that the motor-board is SCREWED to the glue blocks from the outside, most likely, instead from the inside. Doing this required getting the screws started through the grille cloth and before totally tightening them, gently separating the cloth so that the screw-heads could get through it so that they would remain unseen, because they are now UNDER the grille cloth. I have seen this type of motor-board screwed in from both front and rear, though!...until they went to grille panels attached to the motor-board after assembly. Now...HOW TO REMOVE THE REAR PANELS CORRECTLY...and how to re-install them CORRECTLY. First do this to ONE speaker at a time....you will understand WHY a few lines down. Lay the speaker face down on a soft surface, like carpeted floor or towel....preferably on the floor. Putting one hand in the middle of the rear panel and applying slight downward pressure to it, start loosening the screws until they are completely out of the glue blocks inside of the box, but leave those screws in the same holes you found them in. Then take a FLEXIBLE putty knife or something, NOT A SCREW DRIVER, and work it in so that its leading edge can get under the forward edge of the panel and gently lift the panel to where it comes up...DO NOT TRY TO COMPLETELY REMOVE THE PANEL, yet, because the wires from the rear terminal are attached to the networks mounted inside by relatively short wires and you do not want them to come loose so just get it lifted up and rotate it where you can see inside the cabinet. Once you figure out how everything is attached wiring-wise, then you can remove the wires from the rear panel terminals...be sure to mark them to show "hot/ground".THEN you are ready to totally remove the rear panel. Mark it inside so that you know which speaker it came from. And you are ready to do the same process for the other speaker rear panel removal, following all steps given. While you are inside the box, you will most likely find that the terminal wires are screwed down using connectors at their ends to the network board. First things first...ENSURE THE NETWORK BOARDS ARE TIGHTLY attached to the speaker inside panel. As old as yours are they may have slightly loosened due to the thickness of the wood getting less thick as it lost moisture over the years. So, GENTLY tighten them up using the screws that were used to attach them. The wires from the network board to the drivers are also connected in that manner. But the wires at the terminals of the drivers are likely soldered on considering when the speakers were made. So, removing one wire at a time from the network, ensure the connectors are clean, no corrosion or crud build up...you can use rubbing alcohol to clean them with Q-tips. Any corrosion or rust can be removed by using one of those green scrubbing pads. Once the connectors on both the network board and the wires are cleaned, then use "di-electric grease" (you can get this at almost any automotive parts store!!) and apply a tiny bit to q-tips and ensure all connecting surfaces get coated, replaced to the CORRECT locations and screwed down. This will provide a long-lasting good connection which also resists corrosion....HINT! HINT! You will also need to do this routine for the terminals on the rear panels....both inside and outside of the panel. Many also change out the capacitors of the networks early on if the speakers are already old. If there are signs of leakage they DEFINITELY need to ALL be changed out! Signs of leakage are seeing an oily substance either around the edges of where the cans are crimped and/or where the solder was used to seal "filler hole" in the can after it was filled with oil. OK....so...now that you have done the necessary maintenance inside and whatever else stuff you wanted to look at or work on, it is time to replace the back panels. Take the rear panel marked inside of it for that particular speaker, put the screws in until they have just their points sticking out a tiny bit...and gently lay them on the glue blocks around the rear perimeter of the cabinet. Then wiggle them a little bit to "feel" the tips of the screws go into the previous glue block holes. DO NOT just start screwing them in...but one at a time gently start turning the screw-driver until the screws make contact inside of the old glue block holes, and then gently back them out and do it again once you FEEL the screws going back in with little resistance to exactly where the threads in the wooden glue blocks start...then place one hand down in the center of the rear panel, apply slight down-wards pressure to the panel, and gently get them all snug but not yet tight. Once that is done tighten them all up but be careful not to strip out the holes they went into...YOU SHOULD NOT SEE THE SCREW HEADS GOING DEEP INTO THE WOOD SURFACE OF THE REAR PANEL!...if they do you have tightened them TOO MUCH and will be stripping the wood out of the glue blocks underneath the panel!...which will create a new problem you do NOT want to deal with! OK? Now, hook them up and enjoy them...the electrical connections are clean and good electrical contact is now going on and they should sound great! I reviewed what I have written and don't think that I have left anything out! LOL!
-
TUBES are a REQUIREMENT, huh? Too bad, since your budget is under a grand! That leaves out the H/K 930 twin-powered receiver, then...too bad! It would be a great match for your speakers!
-

Raw Birch..... What’s your finishing secret sauce?
HDBRbuilder replied to Don McPhee's topic in Technical/Restorations
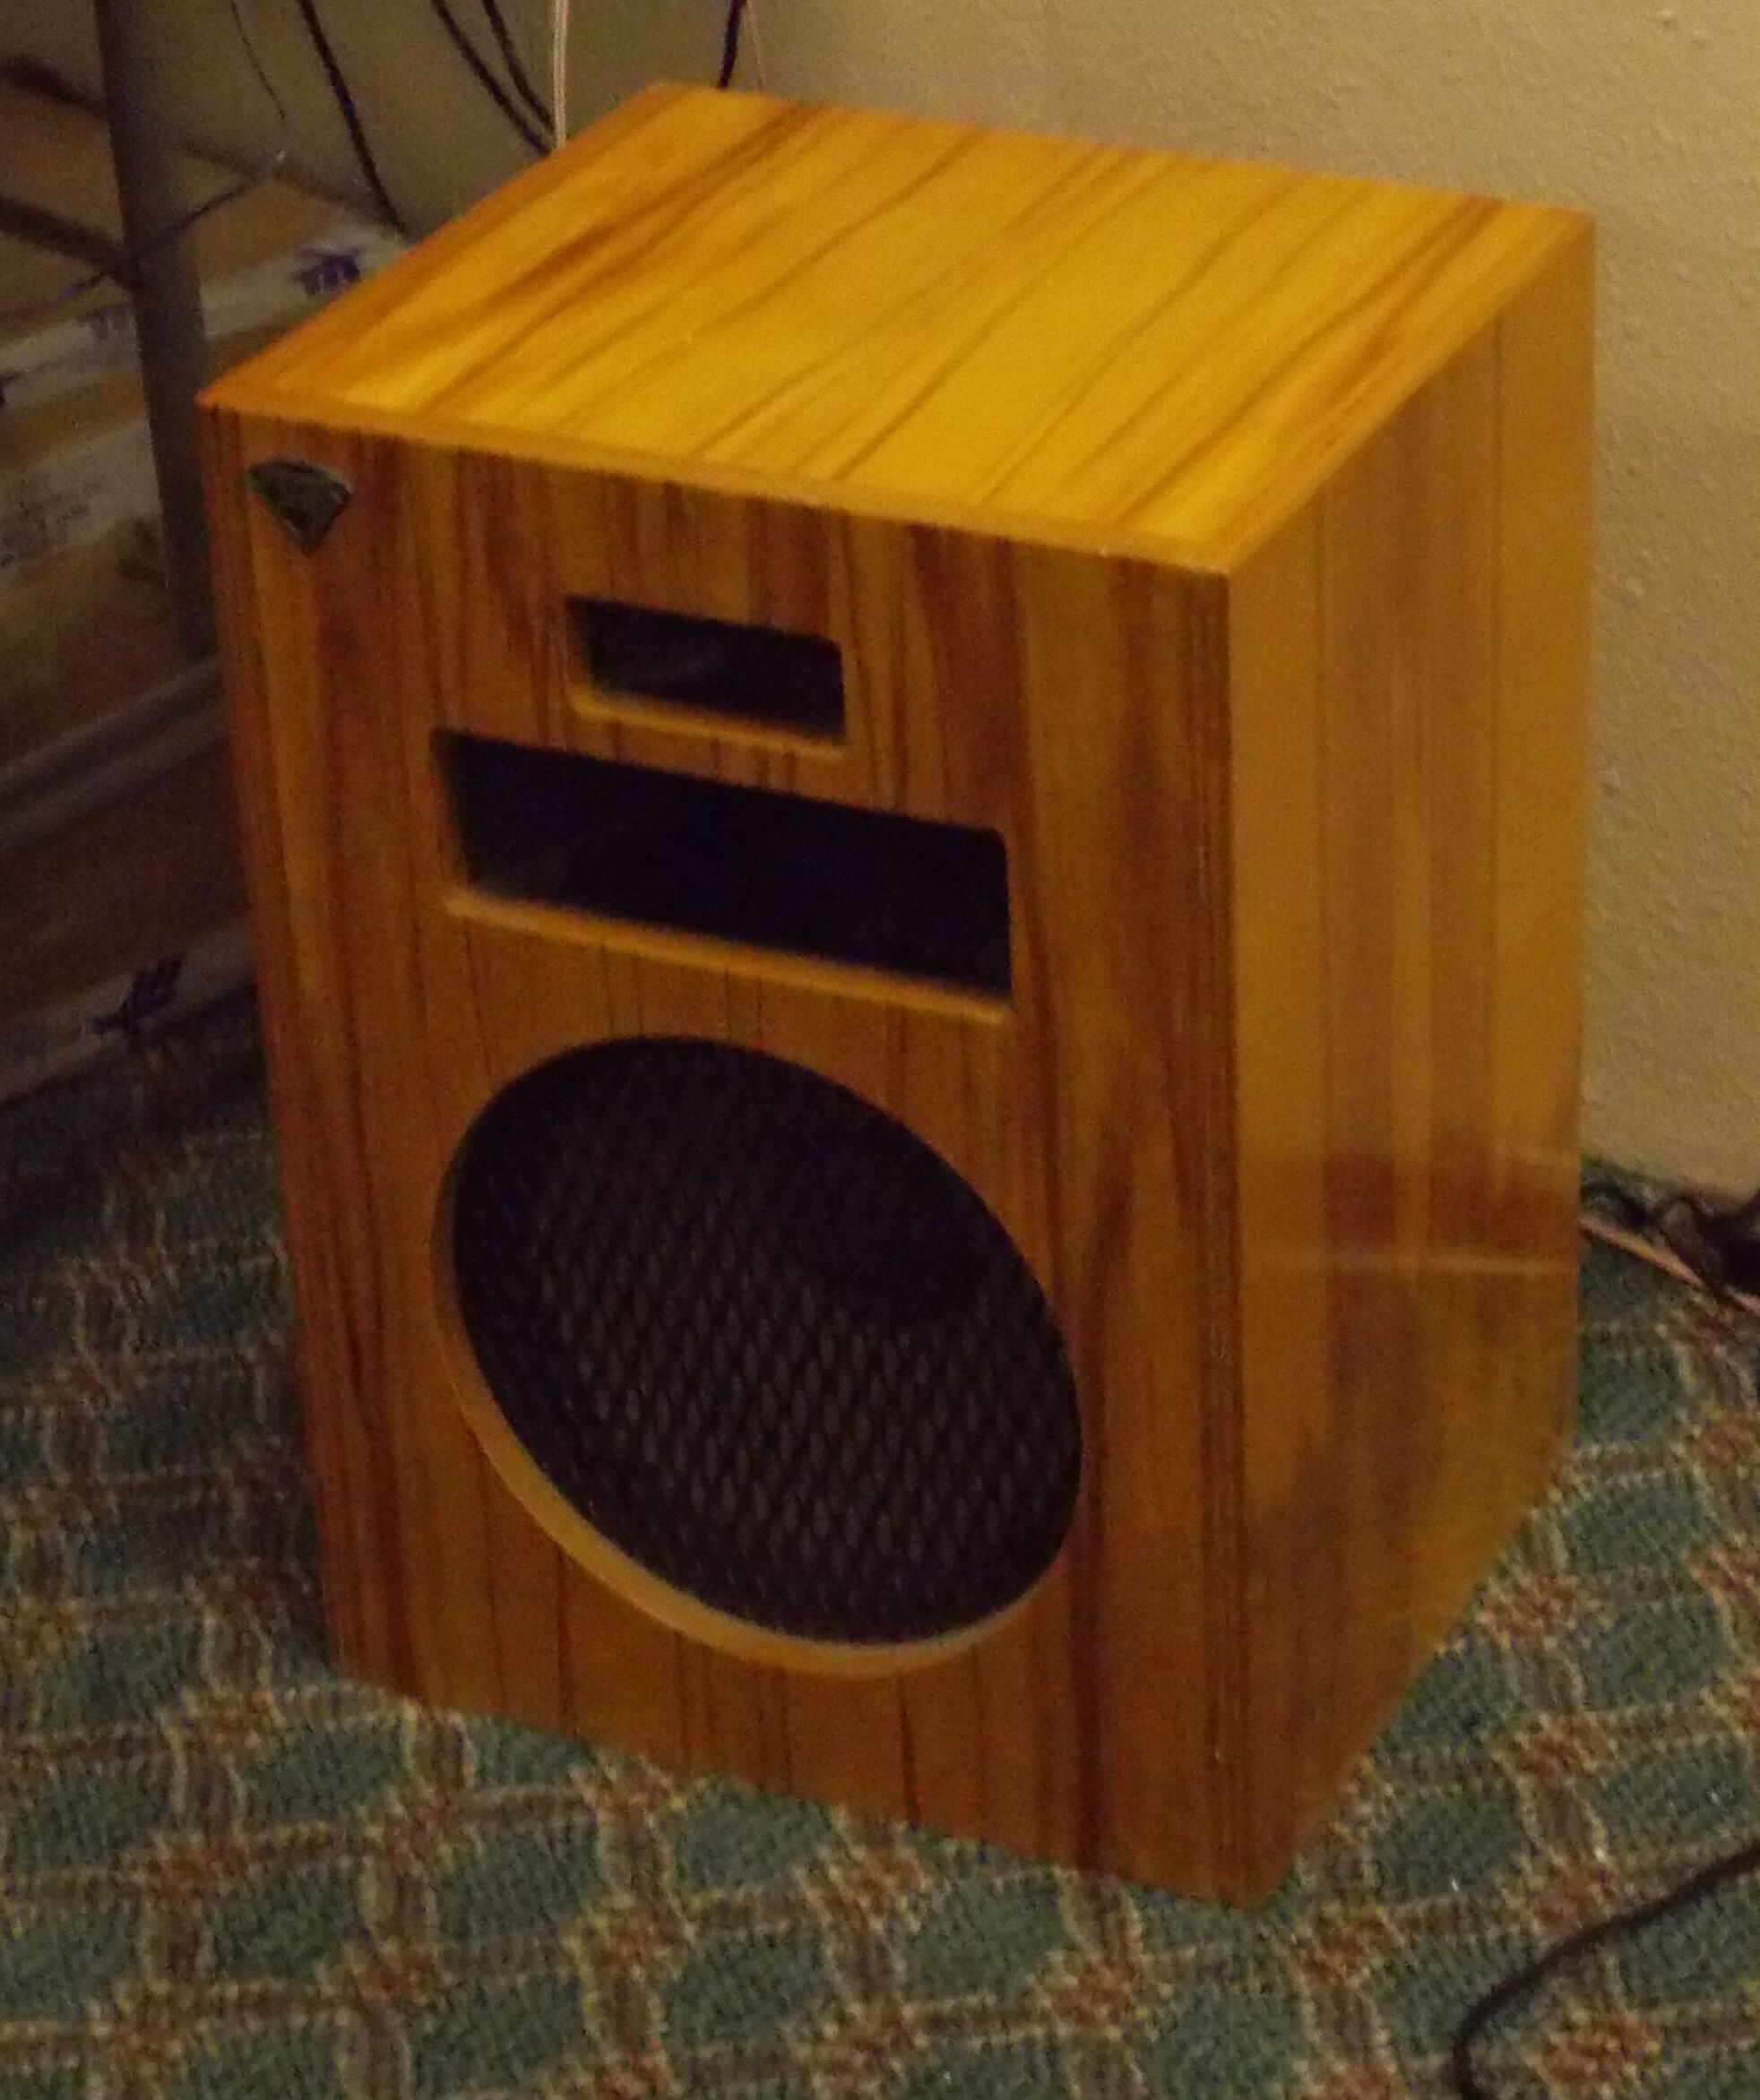
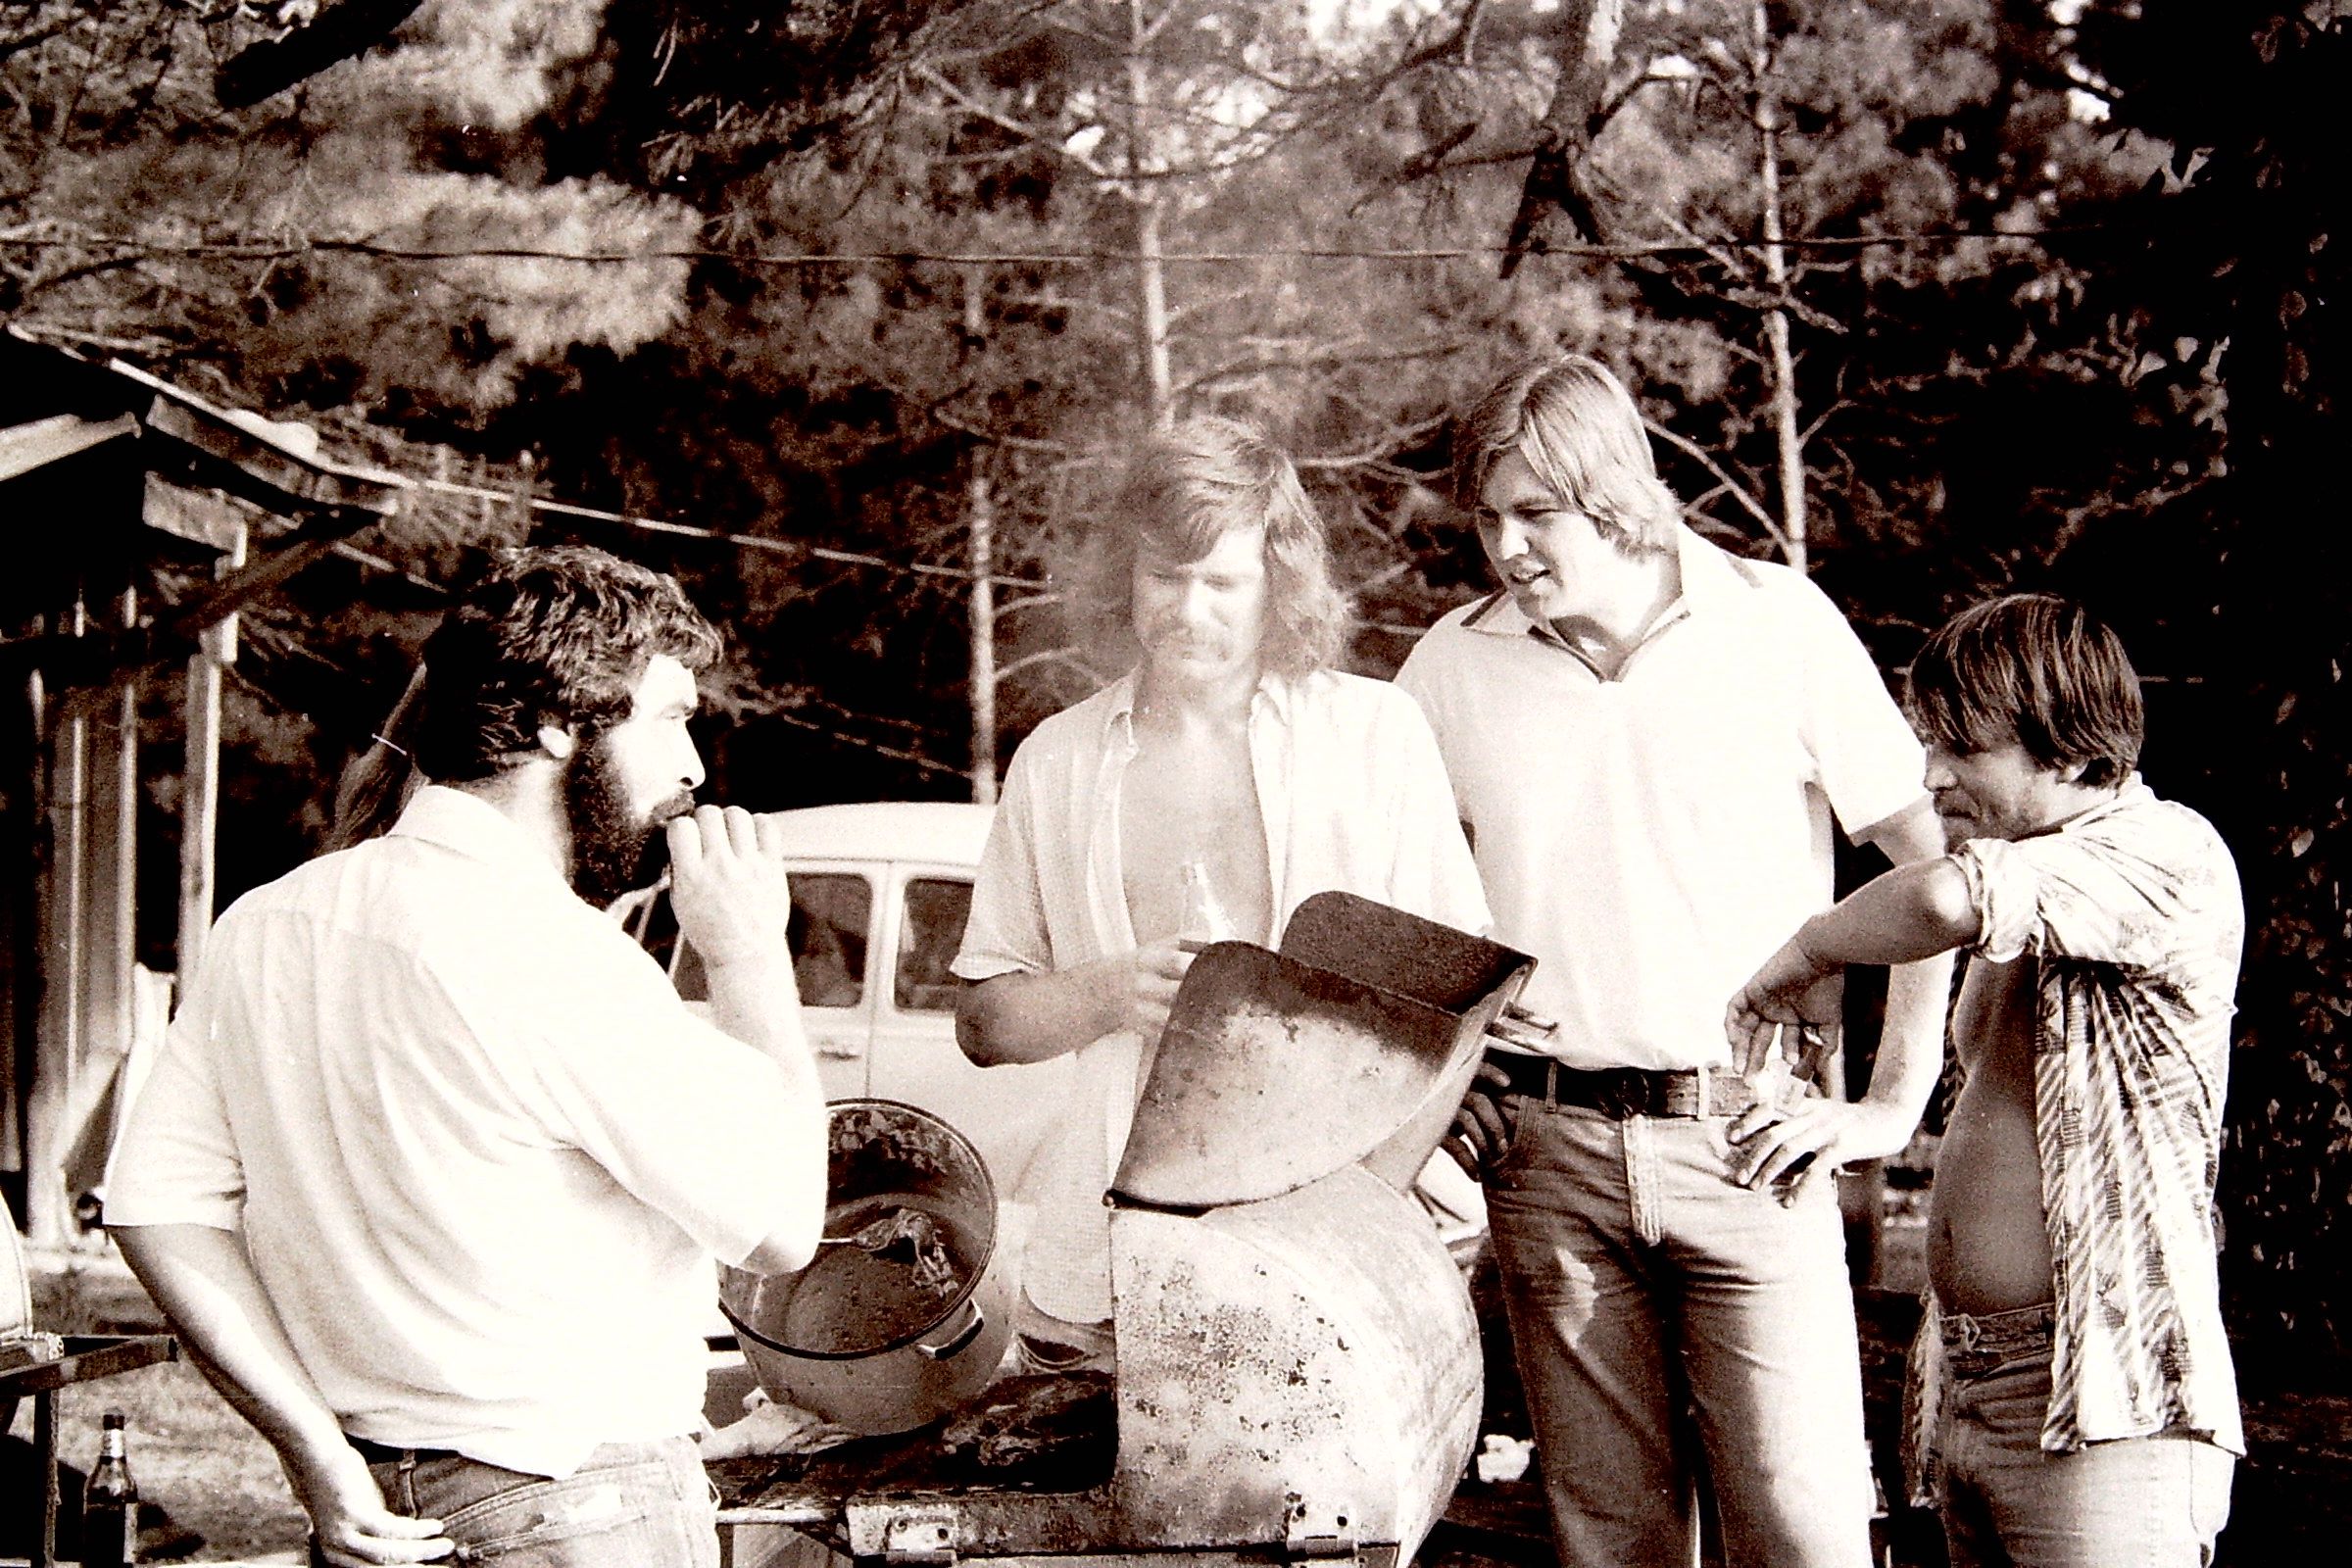
Larry and I worked there at the same time. His LaScalas are most likely "employee specials" and were shot with a few coats of sealer, and then with around four coats of clear gloss laquer...just like my "employee specials" HDBL "flame twins" were done! Just like most employees, he probably found really nice panels to use that just happened to be able to end up making a really nice matched pair! Here is a lousy pic of one of my flame twins, followed with a pic of Larry taken at a BBQ event "somewhere in the countryside" around Hope, AR...back in those days he worked at Klipsch! Larry second from left watching the food cook like a buzzard waiting for something to die!
-
"New" PWK Biography by Belle Klipsch
HDBRbuilder replied to Travis In Austin's topic in Klipsch Museum: News & Announcements
Everybody has good points and bad points...I personally "endured" a step-mother who aggressively tried to erase the existence/memories of...of my father's previous wife...my mother and the mother of my other two siblings! THAT being said: I can see that when it occurs...or appears to have occurred. I am NOT one to point fingers, though! And I definitely knew that Ms. Valerie loved and was devoted to PWK, and saw herself as his staunch first line of defense...and over time I got to know her....so.... The only point I make about the commissioned biography of PWK is that Belle is pretty much left completely out of it, and it is a shame that she was. I am happy to finally see at least SOME of what I have wondered about...concerning her. And it is easiest to see that when one reads by her own hand, her descriptions of PWK in theses segments of the "lost story" which has come to light! Things like: "During his father’s life he taught Paul to shoot, a sport which Paul has followed and made contributions to the art. He does not care for hunting but likes target shooting, a highly competitive game." I already knew this, and it is EXACTLY WHY we tended to have a number of personal "in his office after work" one-on-one discussions to begin with!...simply a common-interest we both had which was totally un-related to work! "Well, Mr. Paul, I finally bought a REAL hunting rifle!" "What did you buy?...and what is its caliber? And why did you select that one?" "Well, Mr. Paul, it is a .300 WinMag….." "Mr. Barr, I just happen to have a number of .308 diameter match bullets in differing weights and if you can bring to me some of your expended brass, then, I can work-up some hand-loads for that rifle for you to try out!" Which he did! We also found other common interests outside of work during our chats...which led us to more discussions together! Ever since I left Klipsch, I have really missed those chats, too! and....things like: "During the years in Chile, his hobbies included golf, 16 MM Movies, swimming. NOT gardening – except to measure the growth of the Kentucky Wonder climbing beans up the pole each 24 hours, and eating the garden products." Anecdotes like this are very insightful/and at times inciteful to the "home-place working/living environment", along with PWK's eccentricities, while still showing Belle's sense of humor in the situation as she descriptively remembers it! I laughed out loud when I read this one!!😂 Biographies WITHOUT the anecdotes are slow reading, to me...but now we are finally seeing what SHOULD HAVE BEEN IN HIS! So...I am eagerly awaiting MORE of this, for SURE!😉 -
Raw Birch..... What’s your finishing secret sauce?
HDBRbuilder replied to Don McPhee's topic in Technical/Restorations
For the type of custom birch cabinet-grade plywood used on the LaScalas from that time frame, I would HIGHLY suggest a number of coats of semi-gloss polyurethane for the finish. Semi-gloss finishes actually are more durable than high gloss finishes and much easier to "touch-up" over time is any scratches occur. By using polyurethane, you are providing excellent water resistance to the cabinets, also. WIth Semi-gloss urethane, in multiple THIN coats with light very fine grit sanding between coats, you CAN end up with the ability to "FEEL" the wood grain when swiping a hand across the finished panels, and it just has a better appearance to ME. NOW...for the rest of the story: Semi-gloss is basically high-gloss with silica added into it to reduce the gloss when the finish cures. In order to have nice even application APPEARANCE after it cures you MUST continually stir the stuff during application to keep the silica within in it, in solution, in order to achieve the best results. I actually just BRUSH it on...never spraying it. BUT there is a reason I brush it on always WITH THE GRAIN...because the brush bristle tips will work the finish into the surface wood fiber better, giving it stronger adherence to the surface. After the first two coats, then that is not so much of an issue. Another thing, urethanes are also DUST MAGNETS when wet...so ensure this is done in a dust free environment! By brushing it on, especially in the first one or two coats, and you will find that it makes a world of difference when lightly-sanding between each coat! An added convenience when using urethane finishes is that you can get them in stain-tints, such as "honey-pine"...which looks GREAT on birch plywood!...and on raw oak! Oil finishes are not my cup of tea for birch veneered plywood...fine for darker fine veneers, but not for birch plywood....IMHO! Why? Well take a piece of birch plywood and test it with an oil finish, including the sanded edges where the plys are showing!...you will find that the sanded plywood edge where the plys show will be very LOUD...and there are lots of those showing on those LaScalas! So, if you don't want those plywood edges to be a visual attractant...no oil finishes is the answer....IMHO! I know...you CAN cover SOME or MOST of those showing edges with birch veneer edge banding strips added to them (HINT! HINT!)...but not ALL of them (and have them flush with adjacent wood at the joints, such as the top panels)...the bottom line is...what do YOU want them to look like? And what do YOU want other peoples' eyes attracted to, the plys?...or the panel surfaces? This is an oak veneered plywood LaScala custom build with "honey pine" semi-gloss poly-urethane finish applied:
-
Harman Kardon Citation II Tube Amy with Heritage
HDBRbuilder replied to texas42's topic in Talkin' Tubes
Thanks for the clarification, Justin, and for those who really DON'T know much about the ORIGINAL designer of both of these amps (Cit II and Cit V...and many others!)...but love Carver Amps...here is some info FROM Carver, himself: https://www.audioasylum.com/messages/tubes/209646/re-bob-carver-on-stu-hegeman-ultralinear-and-6550-vs-kt88 Enjoy! -
To upgrade or not upgrade Heresy II's?
HDBRbuilder replied to HDBRbuilder's topic in Technical/Restorations
I was at the Klipsch museum event over this weekend. and I was EXTREMELY IMPRESSED with the new Heresy IV listening experience...it actually brought me to tears! The New "IV" Heresy is SO MUCH MORE THAN IT EVER HAS BEEN BEFORE! The cabinet has been enlarged UPWARDS about an inch in order to fit the rear tractrix porting, and make that porting work properly! AND THAT IS BASICALLY ALL, external cabinet size-wise! Don't get me wrong, the Cornwall IV is also a major improvement, too! BUT, I was personally much more impressed with the change in the Heresy! It's a "whole new ball-game", now, for the "runt" of the original "Heritage" line!! TRUST ME! When I heard the Heresy IV, I leaned over to one of the dealers in the lab listening-room and said: "Once people hear them, you're gonna sell a crap-load of THESE!" -
what are the best year model(s) cornwalls?
HDBRbuilder replied to avman's topic in 2-Channel Home Audio
Yep, the New Cornwall IV is a great improvement...but what has been done to the Heresy IV is simply amazing! It actually brought tears to my eyes today! Just like when I first heard K-horns so many years ago! PWK is certainly grinning about the new Heresy IV !! That was Chief Bonehead's intention, too! Those familiar with the different Heresy versions over the years, will totally freak-out when hearing the Heresy IV for the first time! Trust me! -
There goes Dave A again spewing wisdom that many don't realize IS wisdom! BTW, Dave thanks a bunch for helping me out on Thursday evening...I really appreciate it!
-
Heard the new Heresy IV today...simply amazing! No kidding, it brought tears to my eyes...seriously! You GOTTA HEAR these!
-
Harman Kardon Citation II Tube Amy with Heritage
HDBRbuilder replied to texas42's topic in Talkin' Tubes
Well...I'm sure he will comment when he sees us discussing...then we will know for sure...LOL! I'm VERY INTERESTED in what he has been up to with the H/K Cit II and Cit V in monoblock formatting! I love both of these original units! -
Harman Kardon Citation II Tube Amy with Heritage
HDBRbuilder replied to texas42's topic in Talkin' Tubes
same REAL full name...what are the odds? -
Harman Kardon Citation II Tube Amy with Heritage
HDBRbuilder replied to texas42's topic in Talkin' Tubes
Same guy different forum name. Put two and two together...when did this new name show up on the forum? -
Audio Technical Theater of the Absurd
HDBRbuilder replied to Dave A's topic in Technical/Restorations
IMHO, Nowadays there sure are a lot of bandwagons totally overloaded with fools who jumped onto them and never want to get off again, but invite passersby to join them...for a price! -
what are the best year model(s) cornwalls?
HDBRbuilder replied to avman's topic in 2-Channel Home Audio
Load test for structural integrity is a good one! It may take years, but the gas-out test is also a good one...I've seen many instances of veneer bubbles forming between the veneers used and the substrate to which they were glued when MDF is used! This primariiy happens due to gas-out from the substrates forming those bubbles, too! If the gas-out from the substrate cannot escape or builds-up too quickly, to let itself escape through the veneers, it makes bubbles under the veneer! Years ago, before I had Klipsch speakers this occurred to my JBL L-36's in just a few months! The substrate was LDF, though, but the same thing happens with MDF!...especially when the veneer has been lacquered! Lots of gas-out from fiberboard because it is just glue mixed with sawdust! The gasses are coming from the glue in the substrate!! Plywood has much slower gas-out to it from its glues! Fast gas-out is the REAL issue here! And MDF has fast gas-out!.... and a much higher amount of chemicals in it to create that gas! It has to escape, one way or another! -
what are the best year model(s) cornwalls?
HDBRbuilder replied to avman's topic in 2-Channel Home Audio
I'll play this game, too!😁 I need new knees, too...and hip replacements...and a complete spinal-column rebuild/replacement (Vertebrae and discs!), if and when that will ever be possible!...old paratrooper syndrome, ya'know! Not only THAT, but I still need the other shoulder surgery...but first things first...ANOTHER hemorrhoidectomy!! LUCKY ME, huh??... I almost bled out a few months ago!!..SERIOUSLY...VERY NEAR to death! The worst part about THAT situation is that I never even KNEW I had them again! I was actually worried about colon cancer until they did the colonoscopy and told me everything was fine, except for my massive hemorrhoid issue! Ain't that a buncha chit?? I gotta get my body ABLE to AT LEAST do SOME of the stuff when my retirement home starts going up in about a year or so! -
My plan is to eventually build a pair of K-horns veneered in relatively dark pecan crotch-wood But I also intend for the front panel and the H/F top panel to have marquetry inlay going on....in something like jet black ebony...using the pie-slice logo. I think it would look too cool, and all be dark enough to not be too loud, but still be visible. The logos in something like jet black ebony will not be small, either! Dead center! on those panels!! It could also be done in something like black walnut with maple inlays....but that would be much louder for the eyes, IMHO! Actually, I wish Klipsch would come out with a special edition, maybe the 75th anniversary edition??...doing something like that!! The veneer with its logo marquetry inlays would negate the NEED to have any other logo on the speaker, except maybe something small near the kick-plate with "75th Anniversary Edition" on it. And if THAT had a hinge at its top edge, and you lifted it up...there could be an inset "bulllshit" button underneath it there!! IOW...You could lift up the part that says "75th Anniversary Edition", and under it wouild be a small bullshiit button...out of sight unless the "lid" is lifted!...as needed! I have always liked this idea of mine! Let veneer-inlays be the logo! And have a hidden bullshit button that can be "displayed as necessary"!
-
The "pre-Akansas Jam" MCM 1900 systems destruction aftermath
HDBRbuilder replied to HDBRbuilder's topic in Ask the Historian
Thanks JRH...I knew that the original driver was a Cetec, but had forgotten its diameter! Shortly after we first started building the MSSM's, I was tasked with replacing the drilling jig for the T-nut holes in the MSSM motor-board because the original drilling jig had gotten worn-out because it was just plain wood, with no steel drilling-guide inserts in it. "Hey Andy, final assembly is complaining again. Do you still have your drafting set under your work bench with the compass in it?" "Yep" "Well they can't get the machine screws that hold the driver to the MSSM motor-board to all go into the t-nuts easily, anymore. We need a new drilling jig made up for that-- fast! The one we have is just wood with no steel drilling-guide inserts and its holes are all wallered-out! So, take this driver and these steel inserts and let's make a new one, OK?" "OK...so, just how fast do we need it?" "REAL FAST!" I kinda "cheated" on making it, though. I made the "almost-new" router form for the motor-board compression slot do double-duty as a drilling template. It was fairly easy to do, too! After all, he had said we needed it "REAL FAST"! It was ready in about an hour! Problem solved!😉 Then I went back to doing what I HAD BEEN doing., because I had no idea where he had gone! Awhile later...in he came... "Hey Andy! Why aren't you working on that drilling jig we need?" "Because it's already done!" "Where is it?" "Go over there and look at the MSSM motor-board routing form....it's doing double-duty, now! You told me we needed it real fast and real fast is whatcha got! I already checked it out, too...it works like a charm!" "How didya get it done so fast?" "Trade secret!"😁 -
To upgrade or not upgrade Heresy II's?
HDBRbuilder replied to HDBRbuilder's topic in Technical/Restorations
Folks, I apologize! In Retrospect, I really SHOULD HAVE given the ENTIRE PLAN for what I am thinking about doing up-front when I originally started this thread; but, I left out the intended use of the old ever-so-slightly-used HII guts! I will now add that plan to the original post, just wanted you all to know that I screwed-up! (And no, I wasn't under the influence when I started the thread, BELIEVE IT OR NOT!) -
To upgrade or not upgrade Heresy II's?
HDBRbuilder replied to HDBRbuilder's topic in Technical/Restorations
I plan to use the HII guts in another pair of new boxes for my nephew's use. That way I basically end up with TWO pairs of Heresys (one pair upgraded to HIII's! for MY OWN USE!) for just the expense of one set of new guts and still have only relatively little out-of-pocket expense. Those new boxes I build with the SLIGHTLY-used HII guts will be his High School graduation surprise in a year and a half!...along with an H/K 430 receiver in great condition! -
To upgrade or not upgrade Heresy II's?
HDBRbuilder replied to HDBRbuilder's topic in Technical/Restorations
I'm hoping that will happen this coming weekend for me while at the museum event.